Woodworking basics: Frame display shelves
Natasha Dickins
These timber frames are a simple project that can be done without using power tools – no drill or mitre saw required.
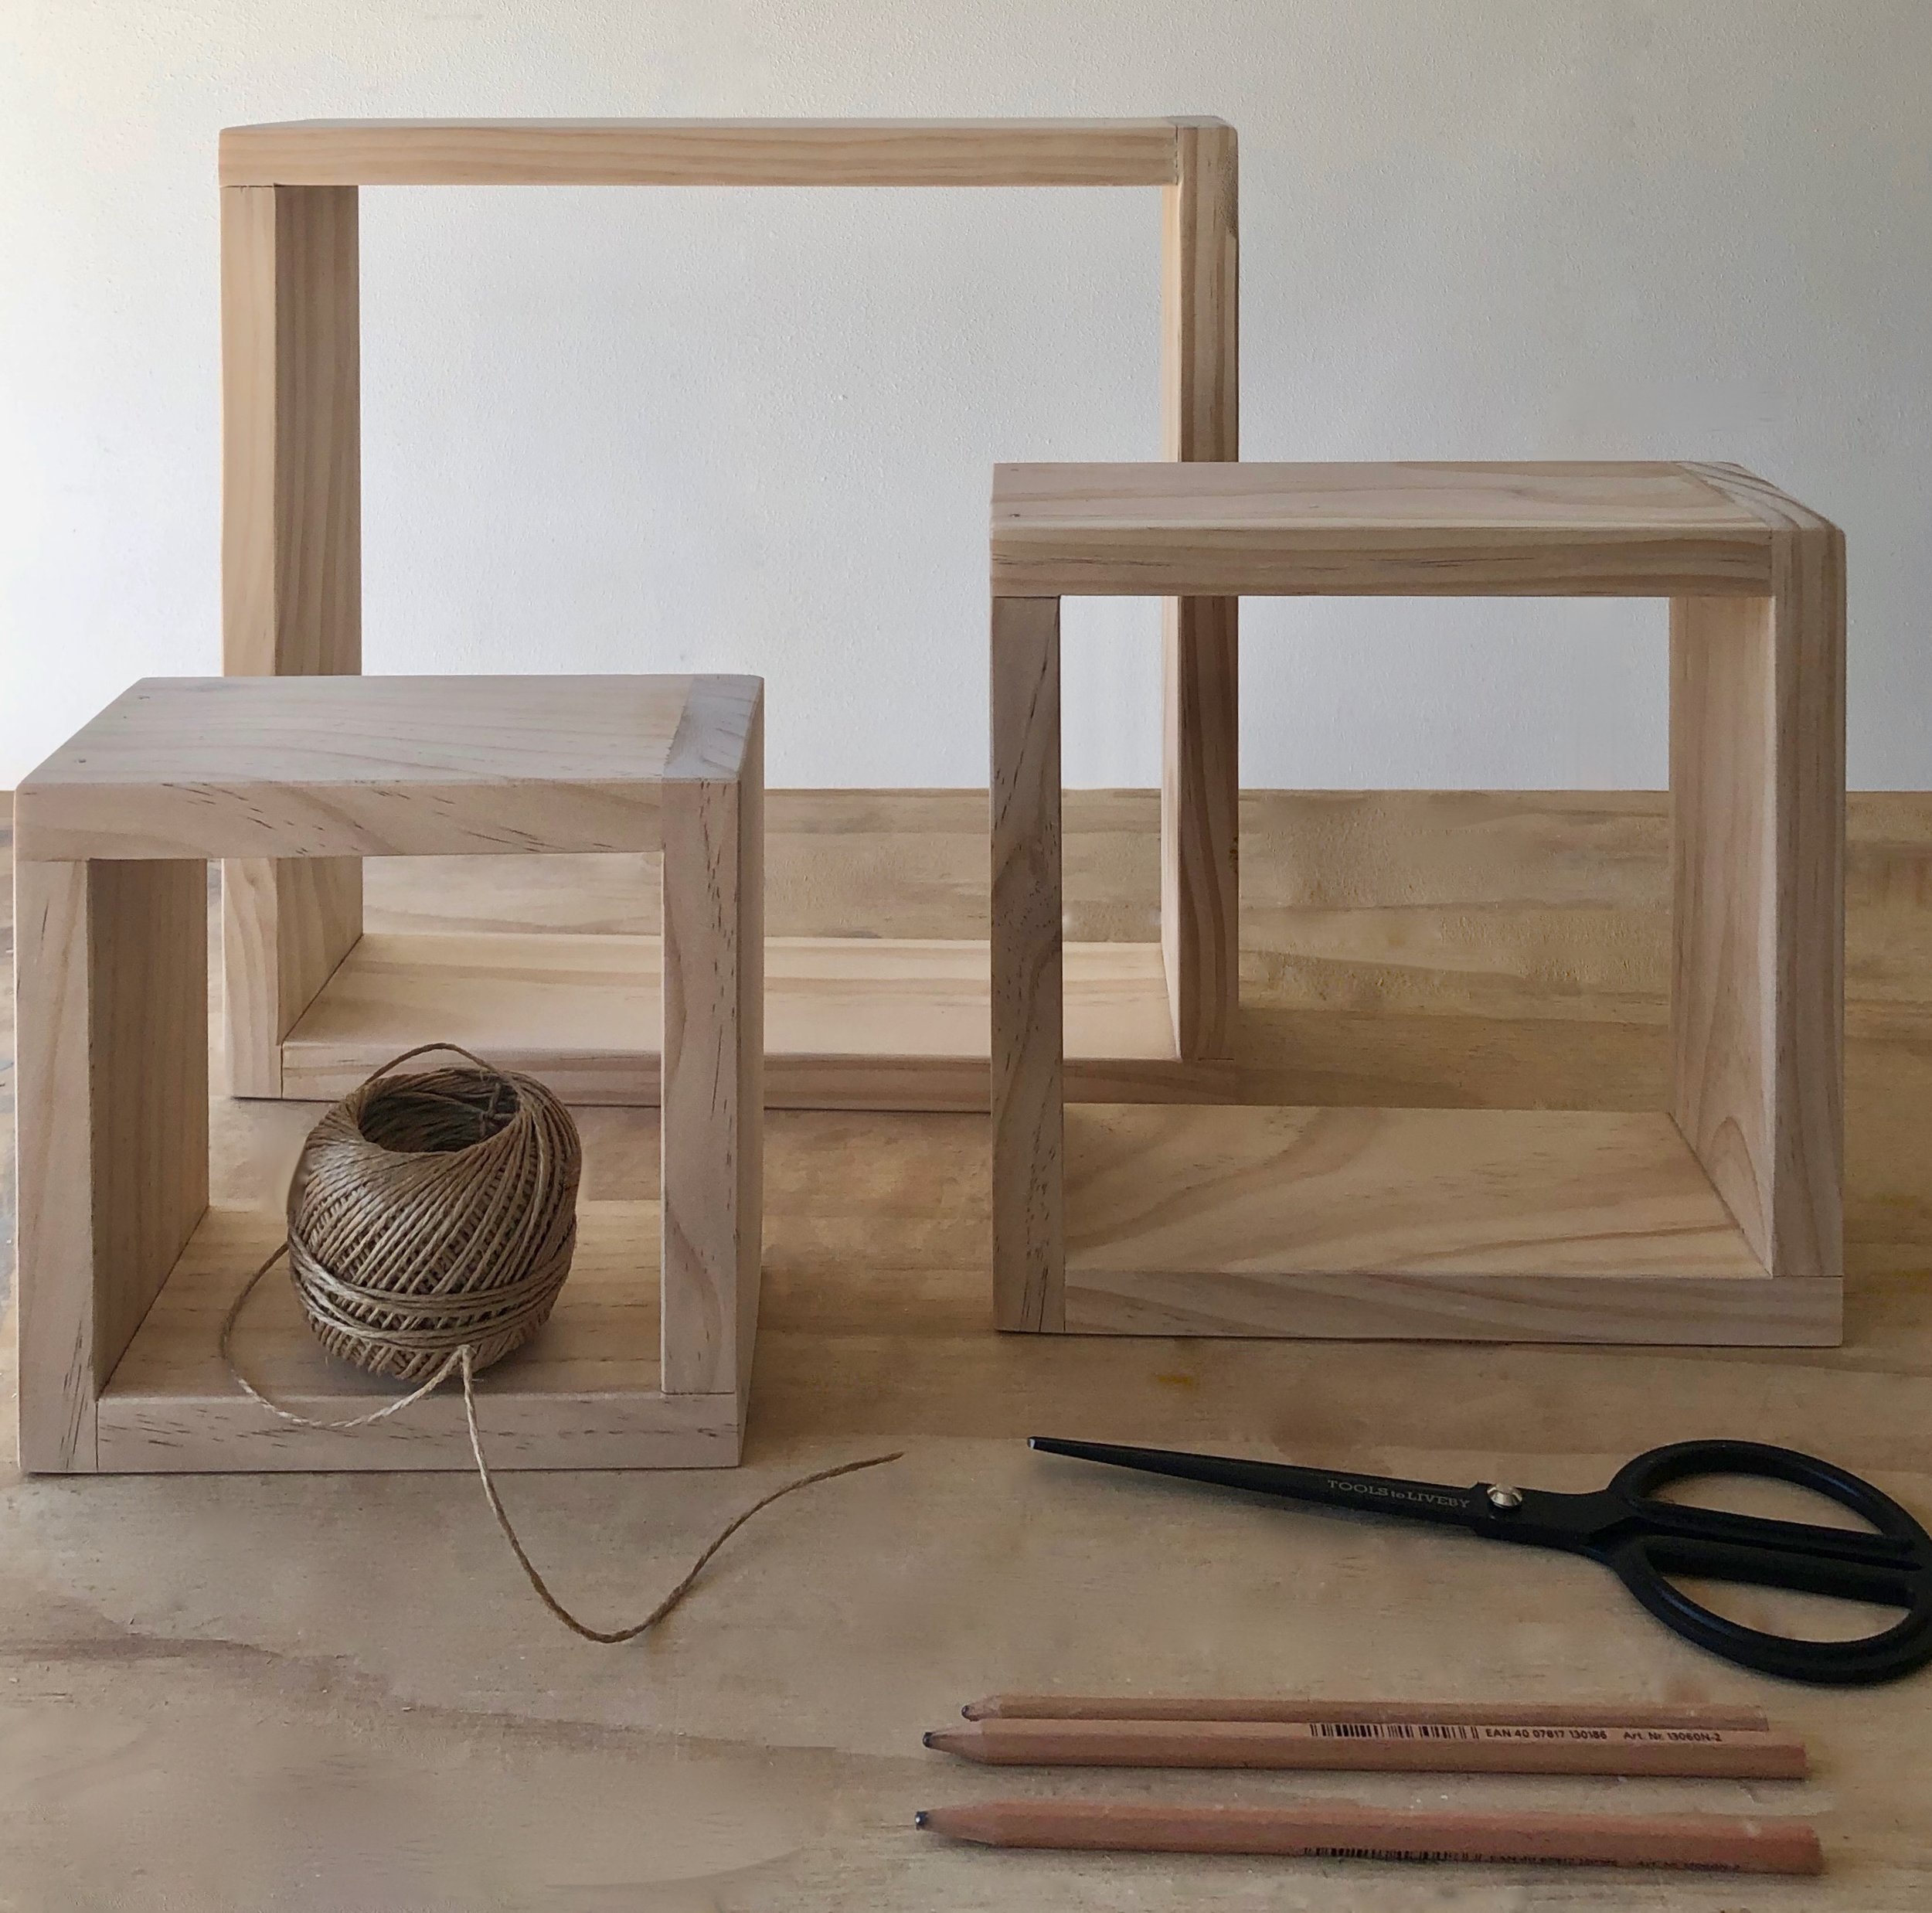
Pine is a lightweight, softwood that’s an easy-to-find, budget choice for woodworking. I’ve used lengths of 64mm x 19mm DAR pine to make these frames that are wall-mounted as box-style shelves.
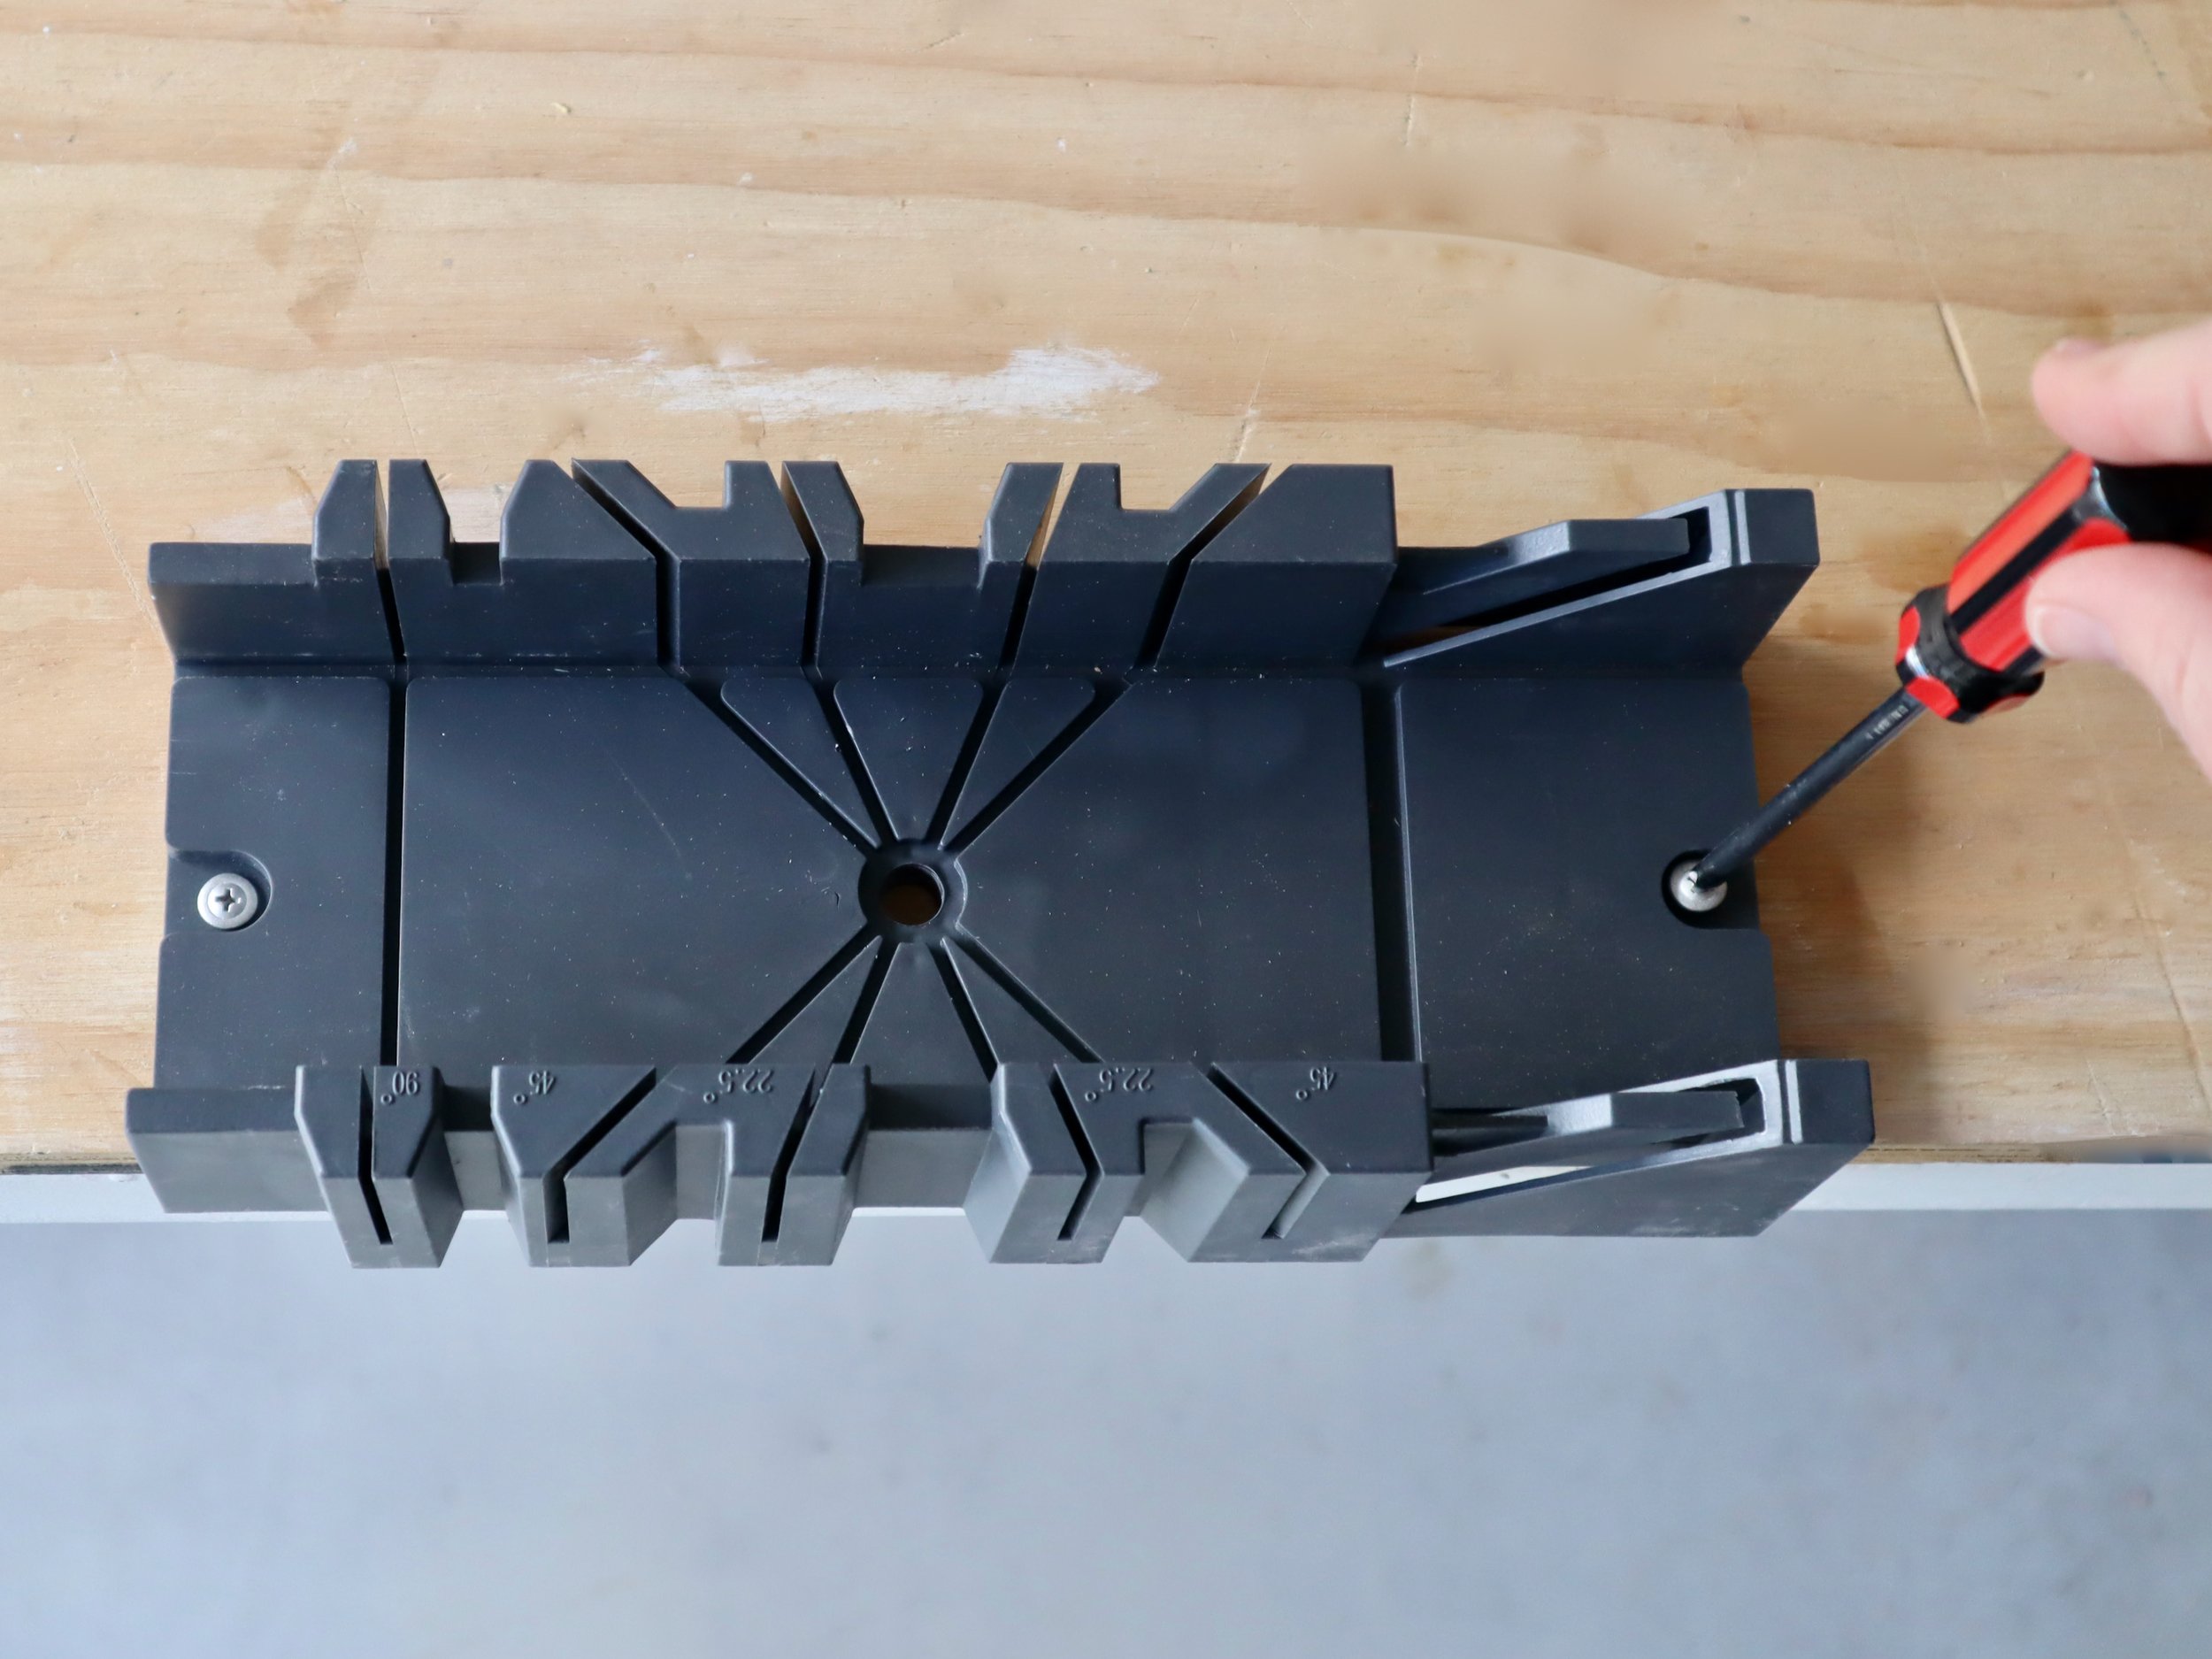
Using a mitre box with a handsaw helps keep the cuts straight and even. I secured the box to the edge of the workbench with button screws to keep it stable.
TIP Pick up a basic mitre box set from any hardware store. This one was less than $15.
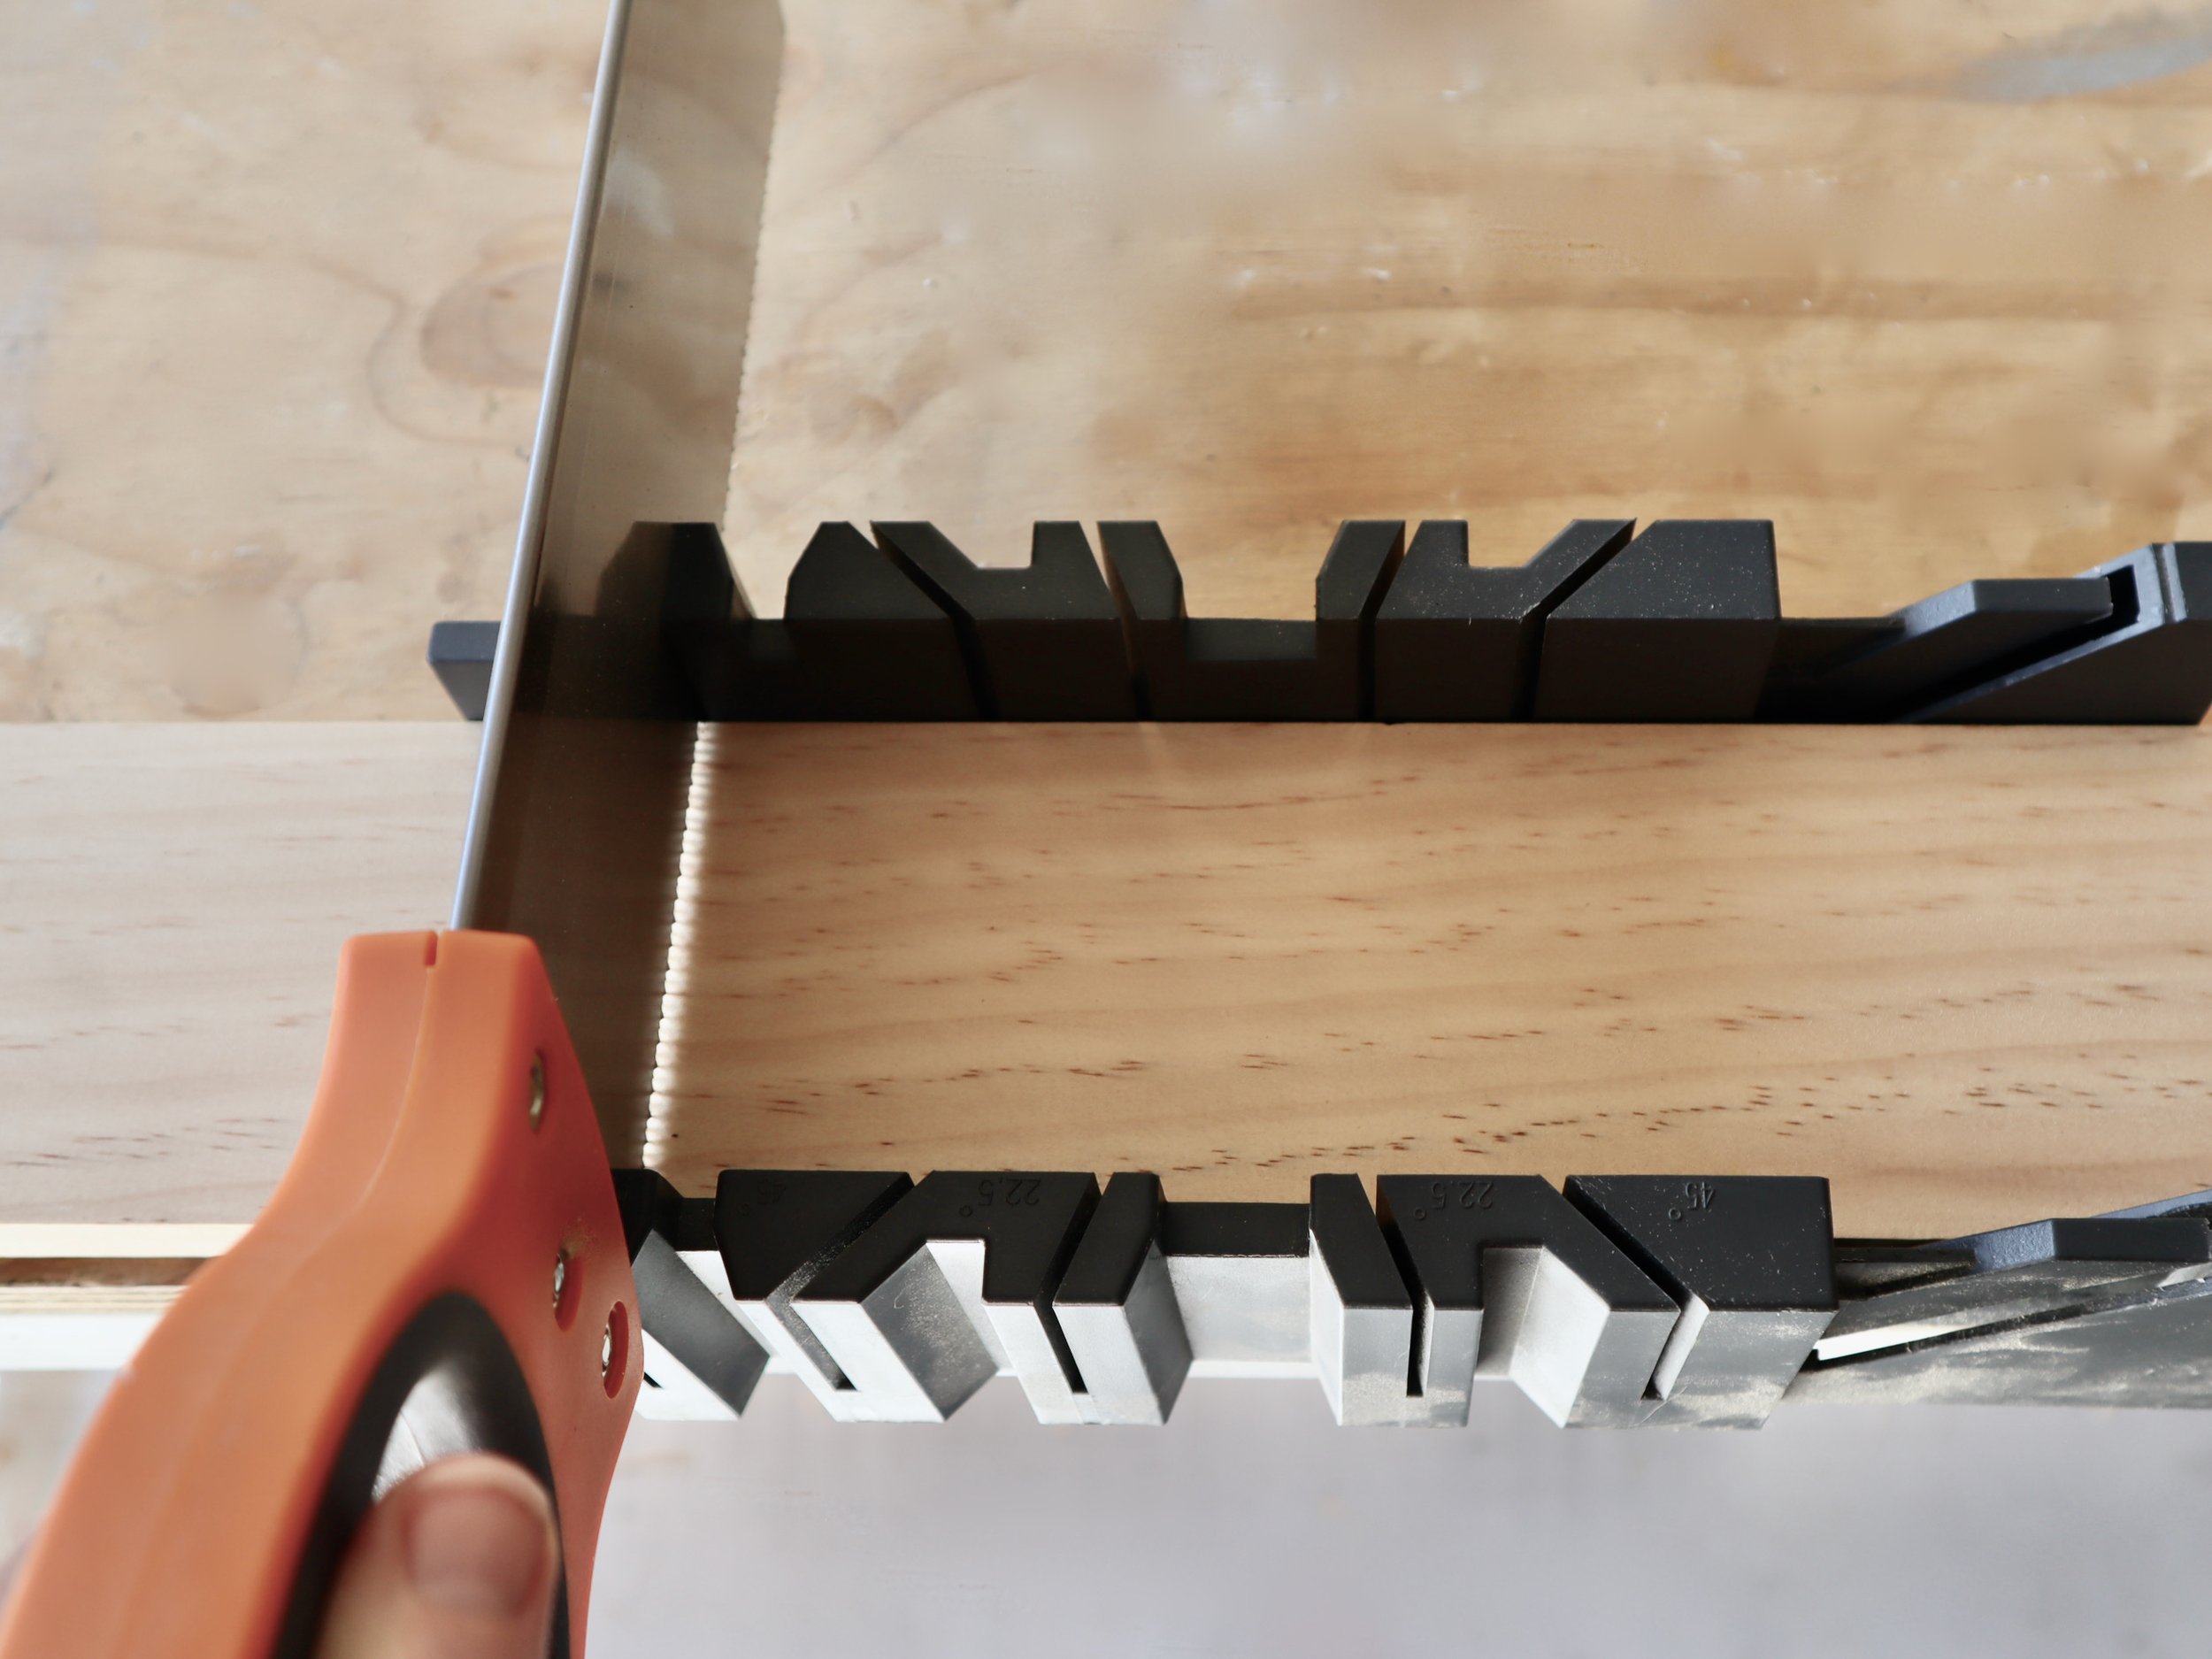
The key to well-made frames is to ensure all sides are exactly the same. To do this, mark and cut the first piece then use it as a template for the others, marking and cutting one length of pine at a time.
TIP Measuring each one after cutting allows for the width of the saw blade, helping to keep equal lengths.
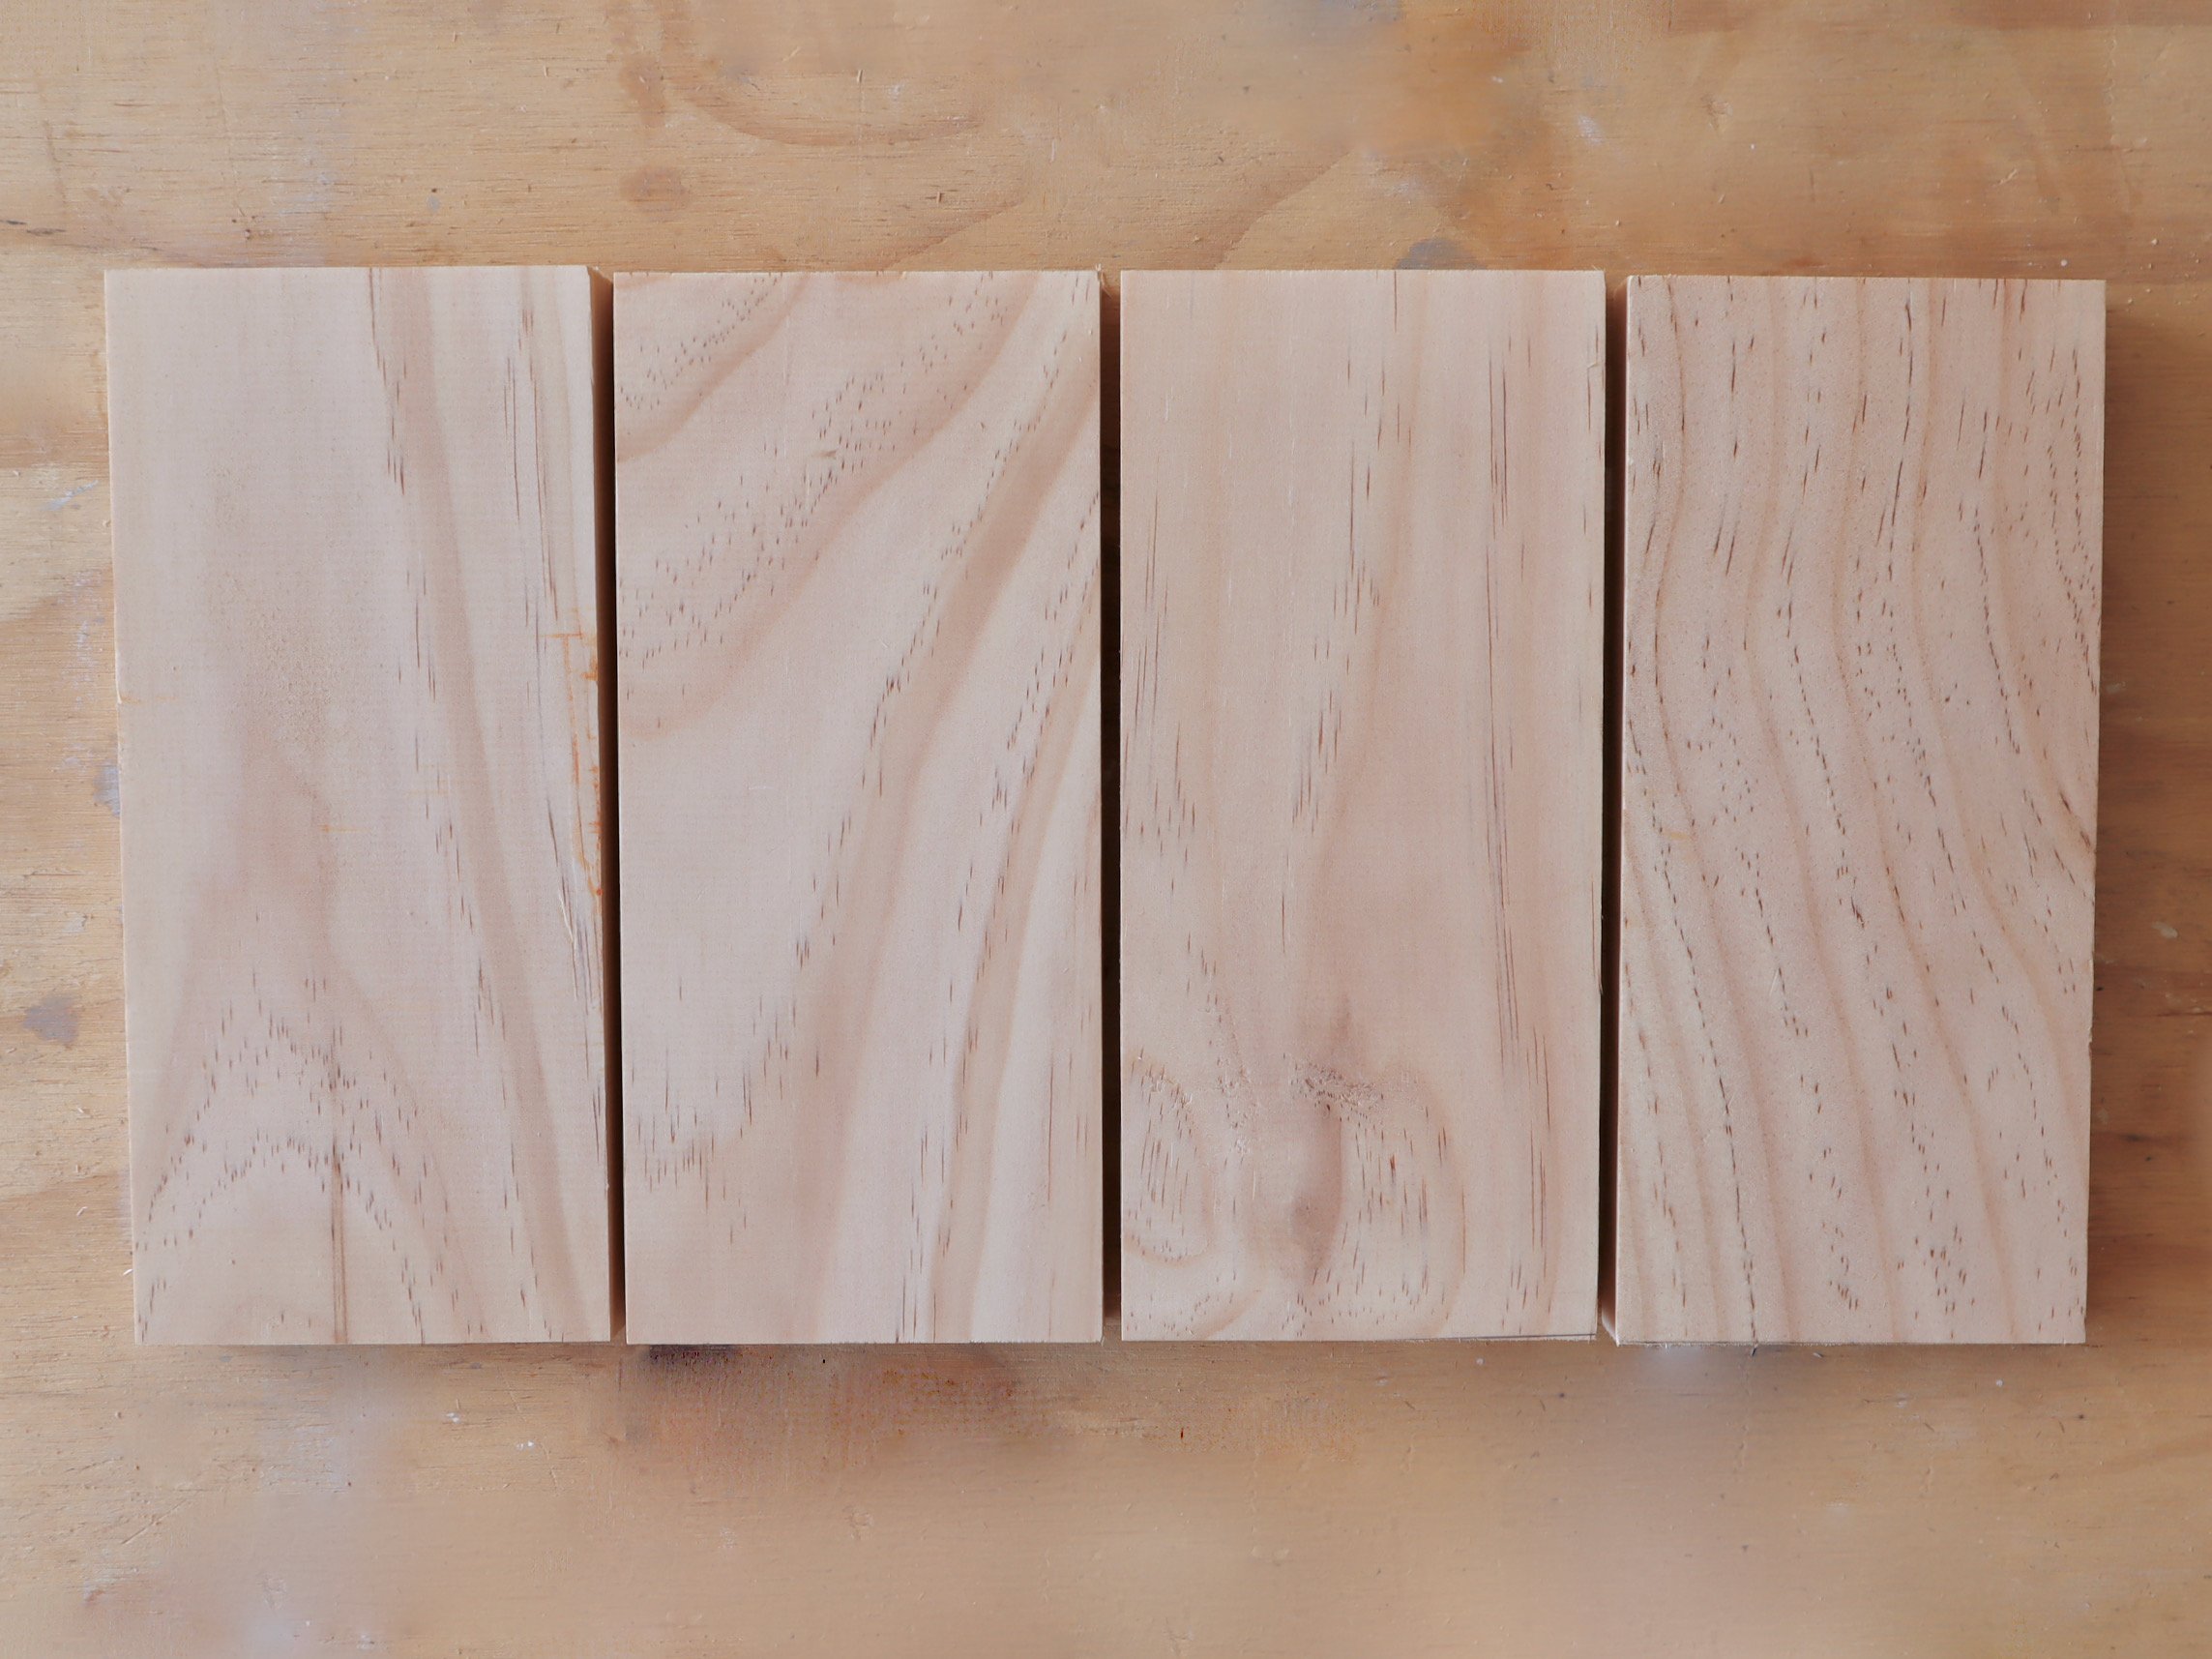
To make these three frames, I cut four 300mm-long pieces from a 1200mm length for the larger one, 200mm lengths for the medium and 150mm lengths for the small.
TIP Use a tape measure and pencil to mark the length and a 150mm combination square to make the cut lines across the pine.

I set out the frame by butting one side flush against the base, the top against this side, with the remaining side against the top and over the base.
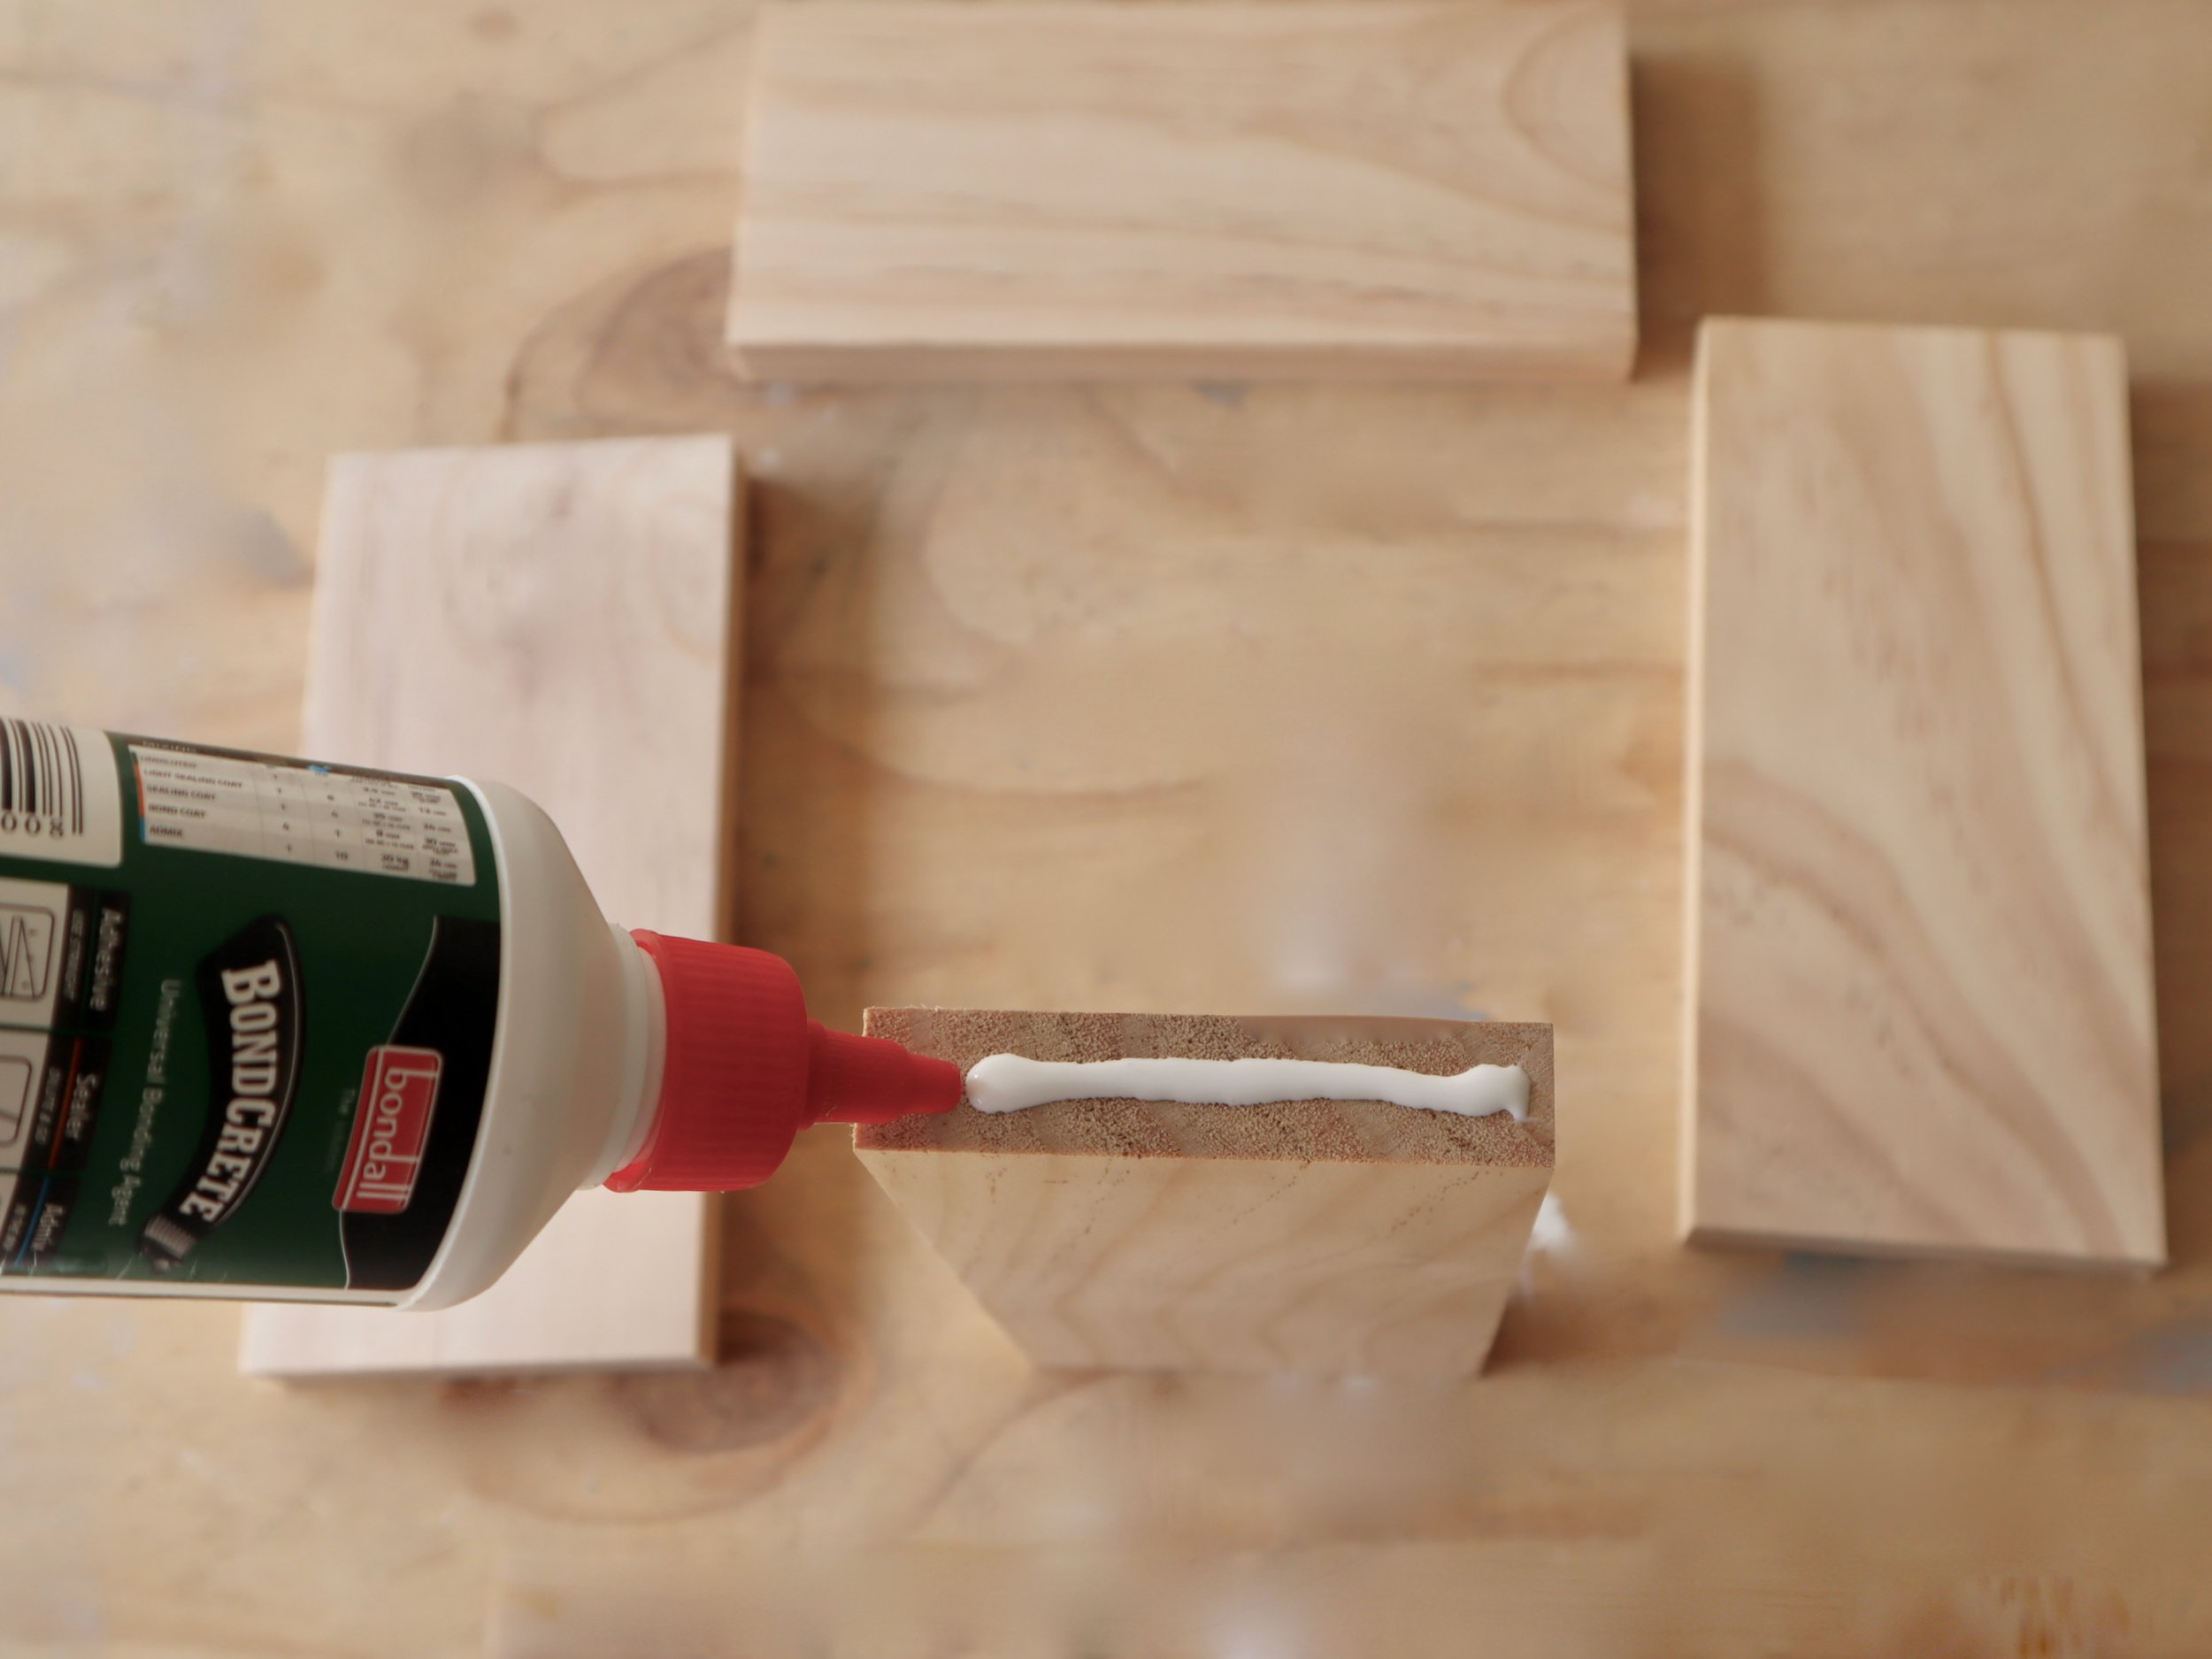
After tipping the pieces outwards to lie flat and keep them in position, I applied Bondcrete woodworking adhesive along each end-grain joint while reassembling the frame.
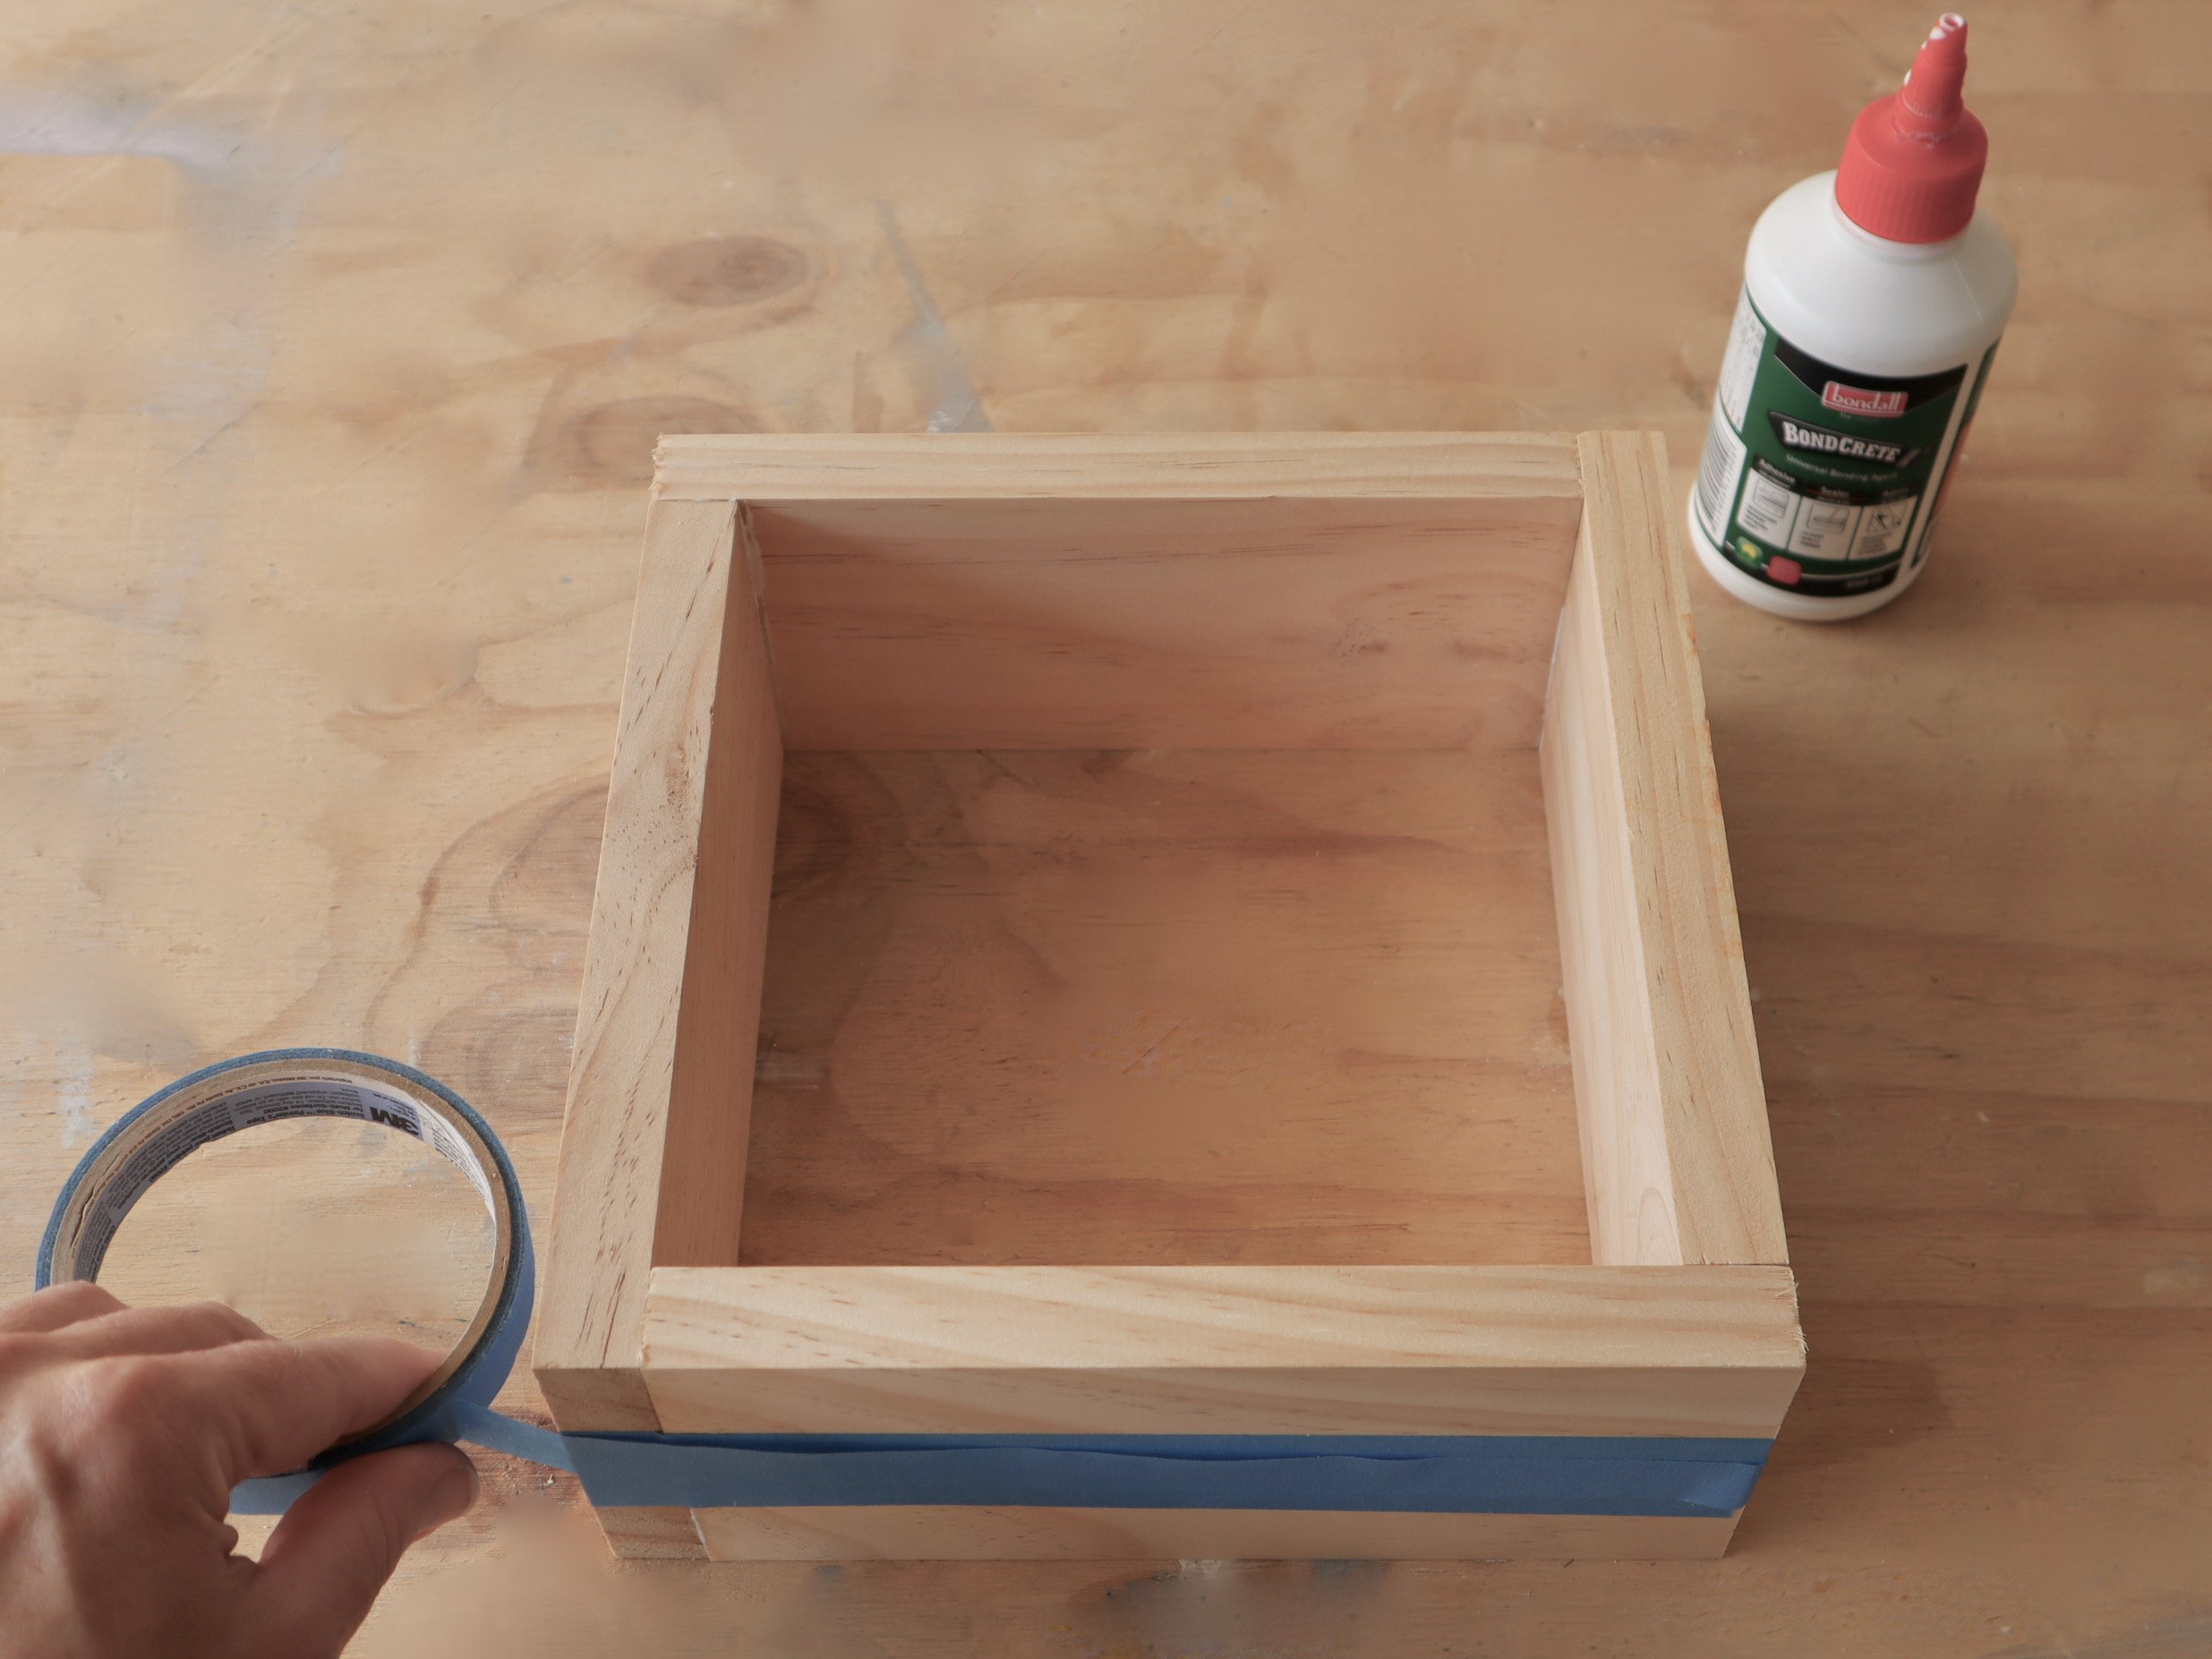
I wrapped painter’s tape twice around the centre, pulling it firmly then using a damp cloth to wipe away excess adhesive from inside and around the back of the frame. I checked that the sides lined up and the joints were square then left it to dry flat on the workbench.

I tapped two 30mm x 1.6mm bright bullet head nails to reinforce each joint, flipping the frame to hammer into each side from the top.
TIP Nailing close to the edges can split the pine, so position the nails at least 10mm from the ends and sides.
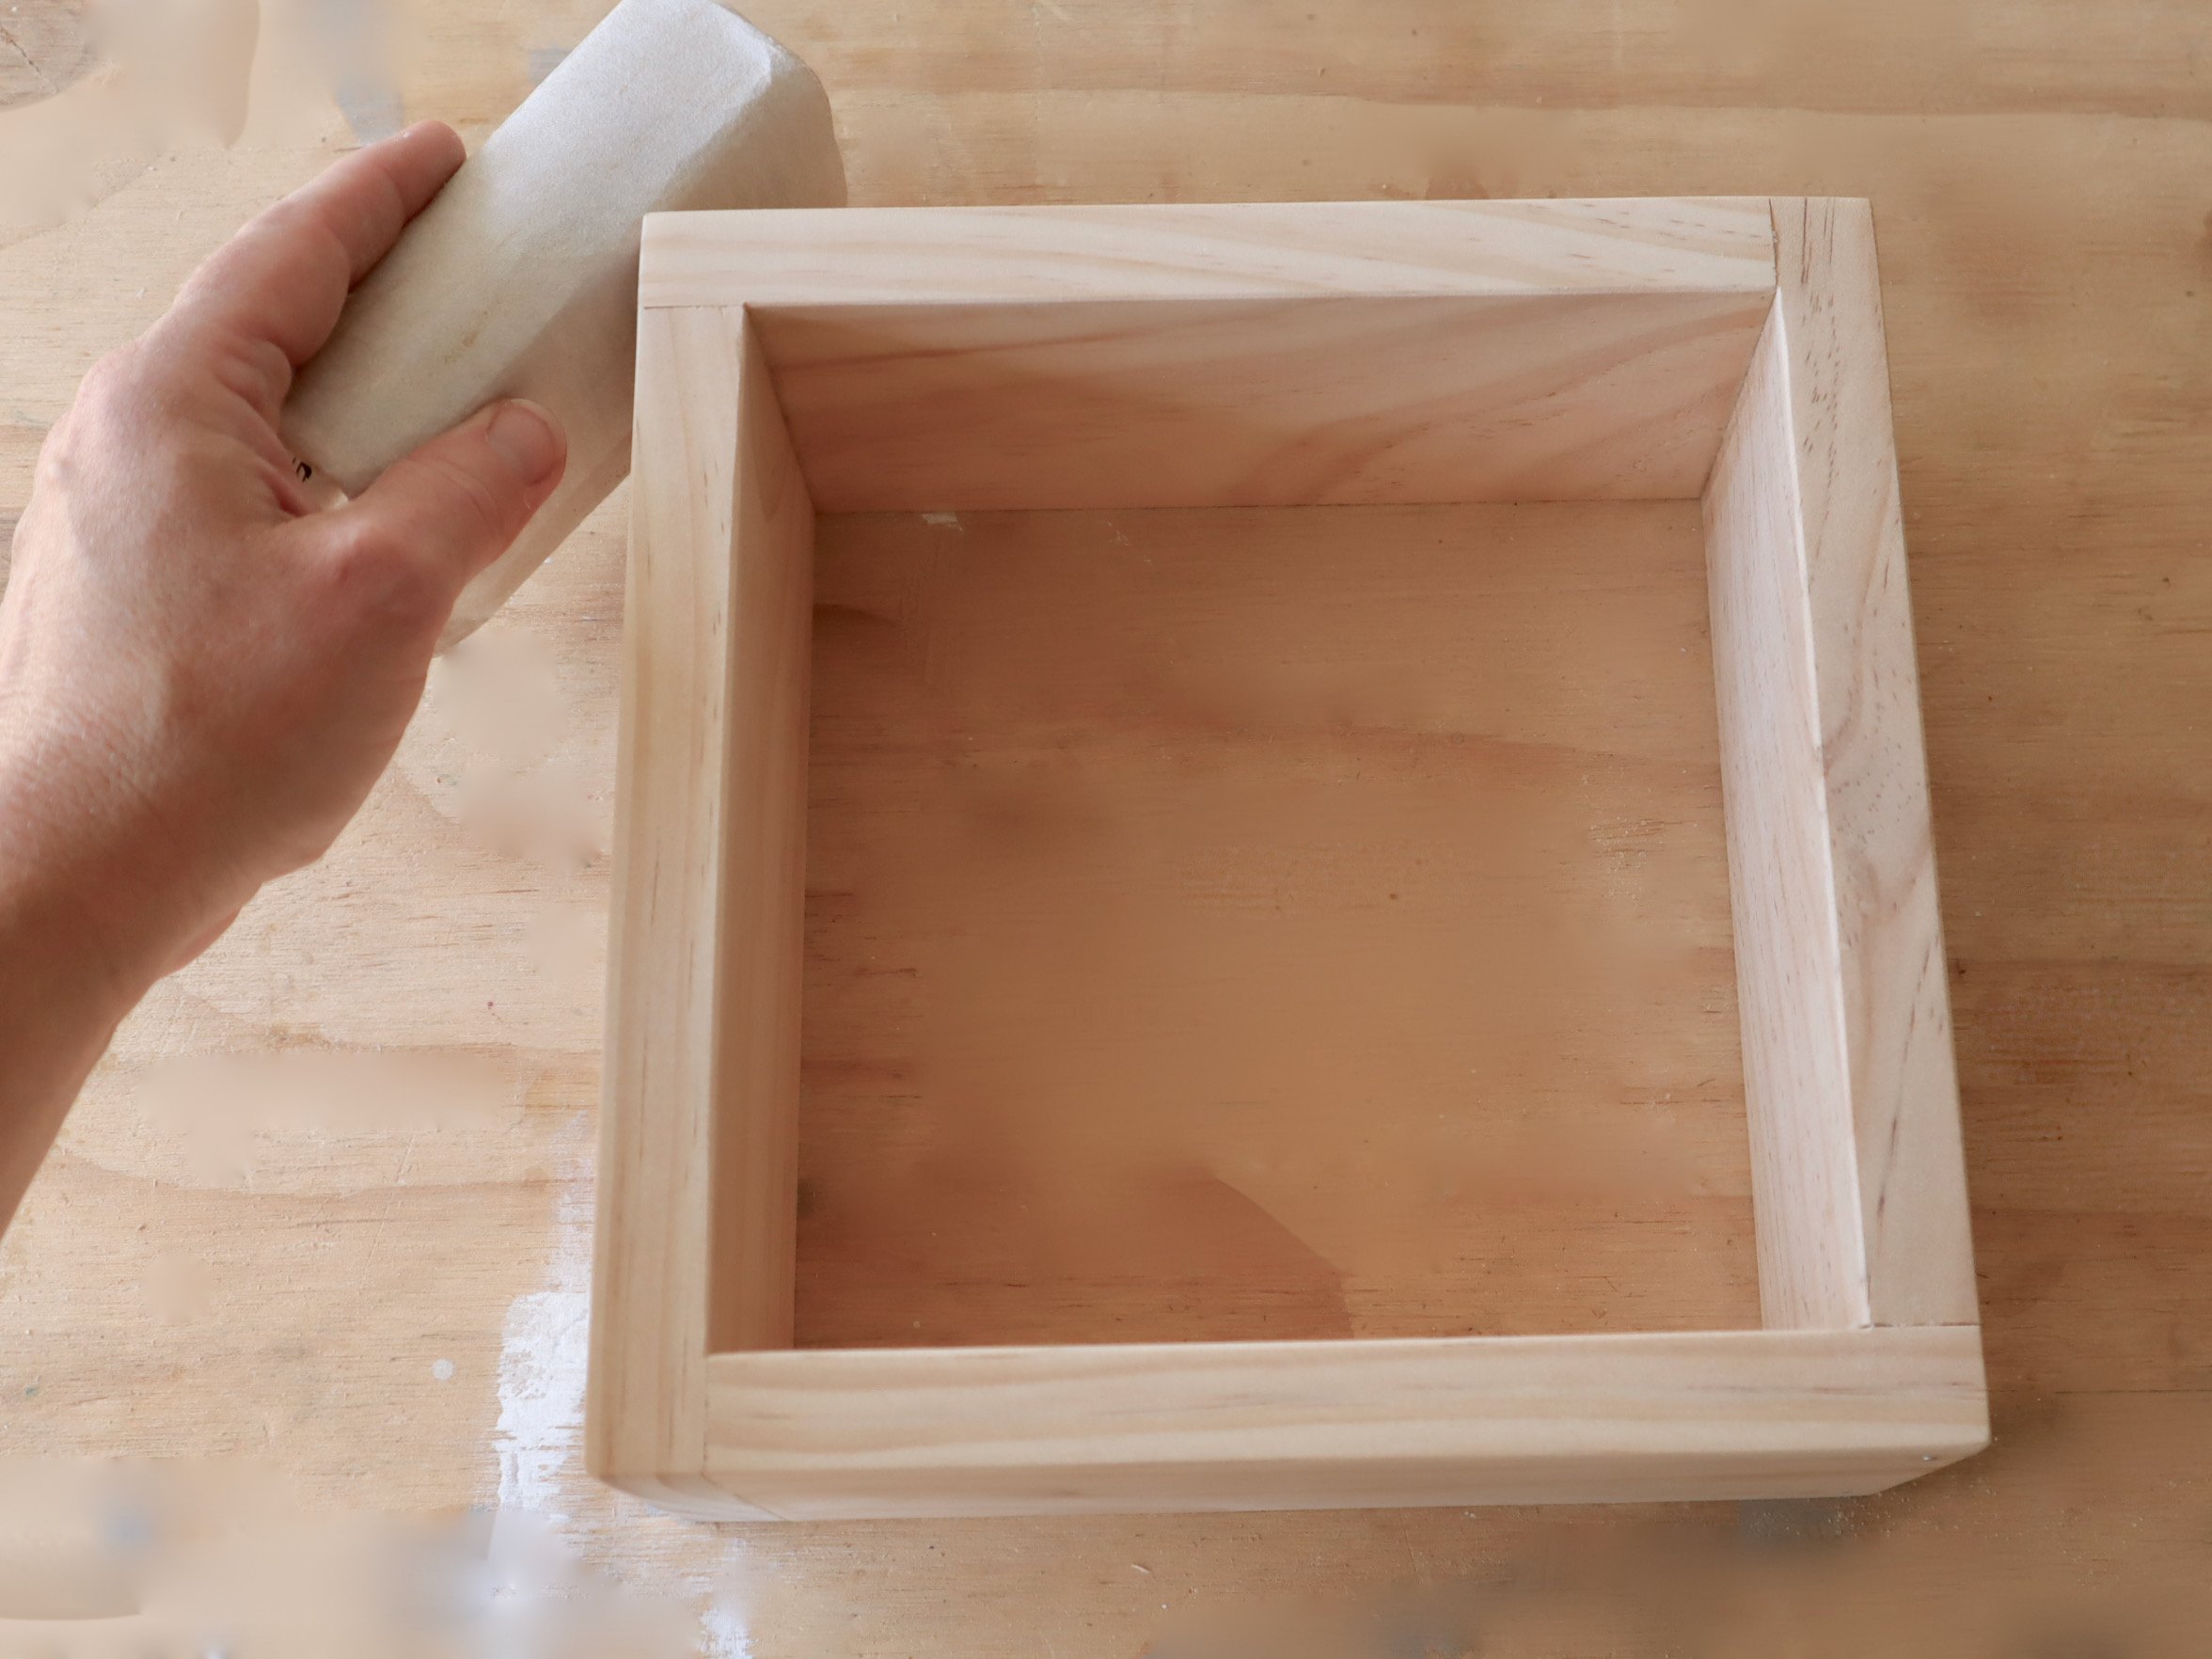
After removing the tape, I used 180-grit abrasive paper to sand away any adhesive, rounding over the edges and corners of the frame to remove any breakout from the cutting, then wiped all over with a damp cloth to remove dust.
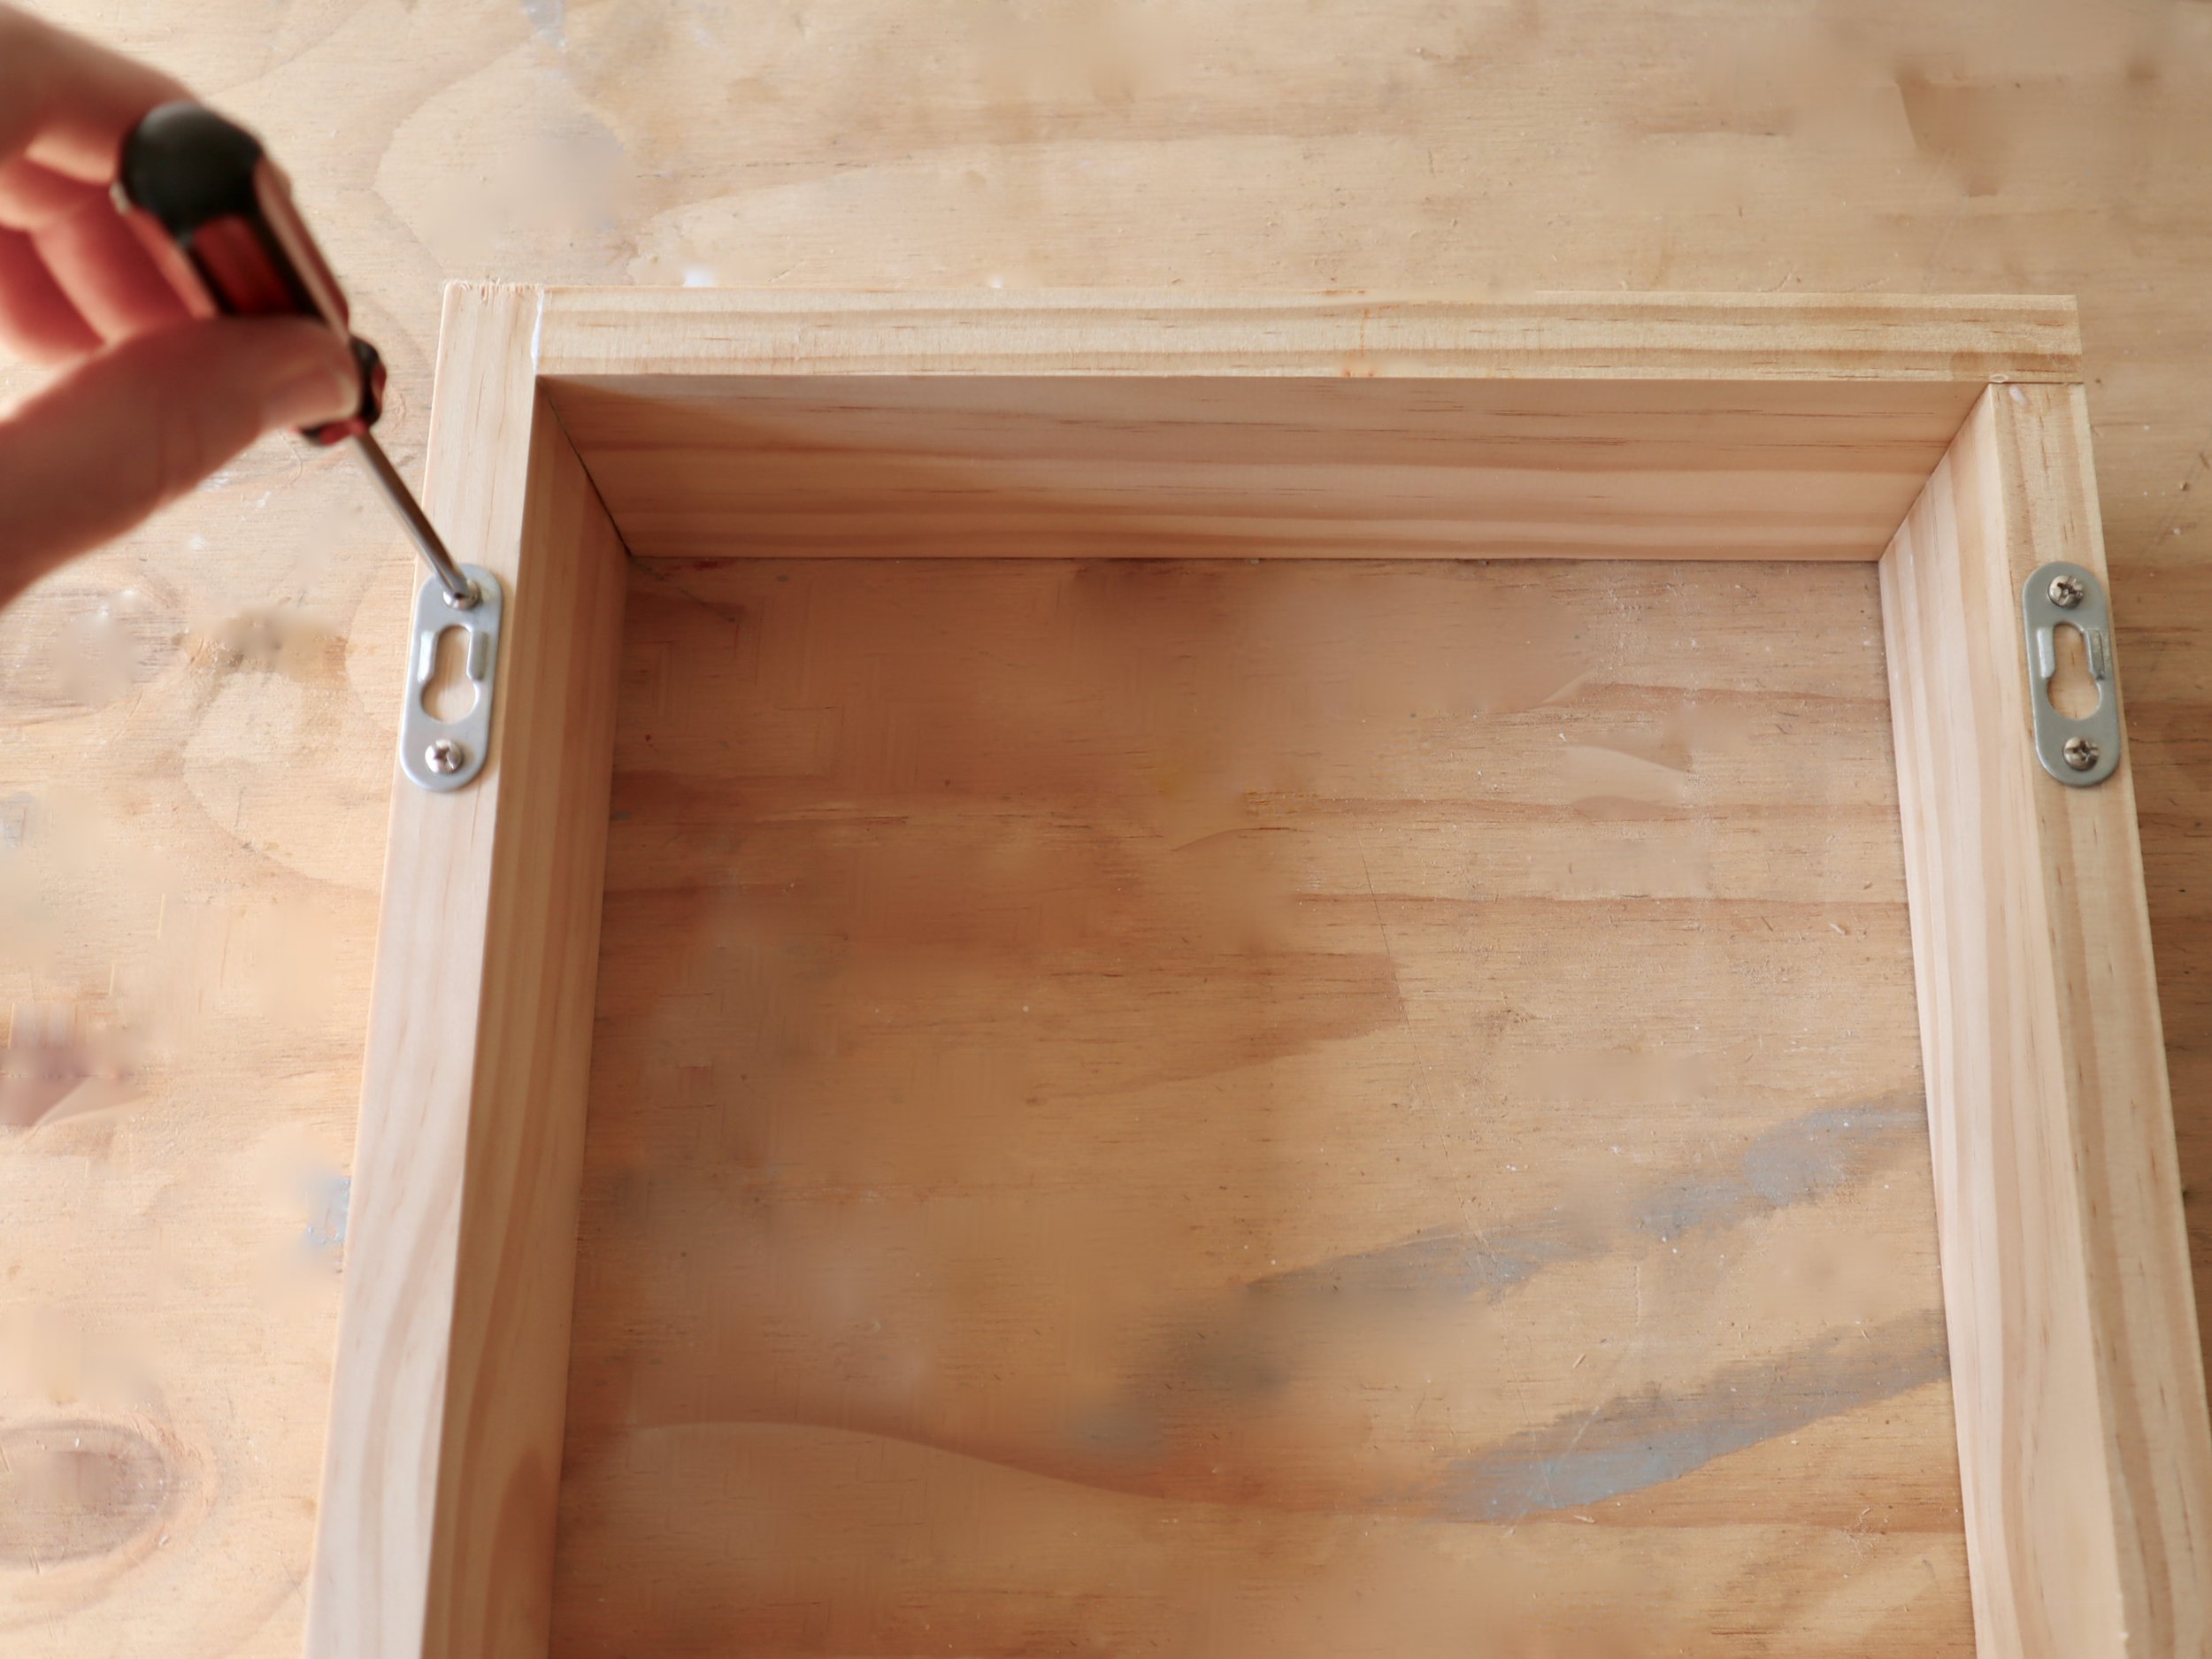
At the back, I measured 60mm down from the top to position keyhole plates, securing them with the supplied screws on opposite sides. Then I used a clean cloth to apply Monocel Furniture Oil trigger pack and left it to dry.
TIP To mount a frame, hold it against the wall, with the keyhole plates facing out and use a pencil to mark the wall above them to position and install screws. Hanging it from both sides adds stability.
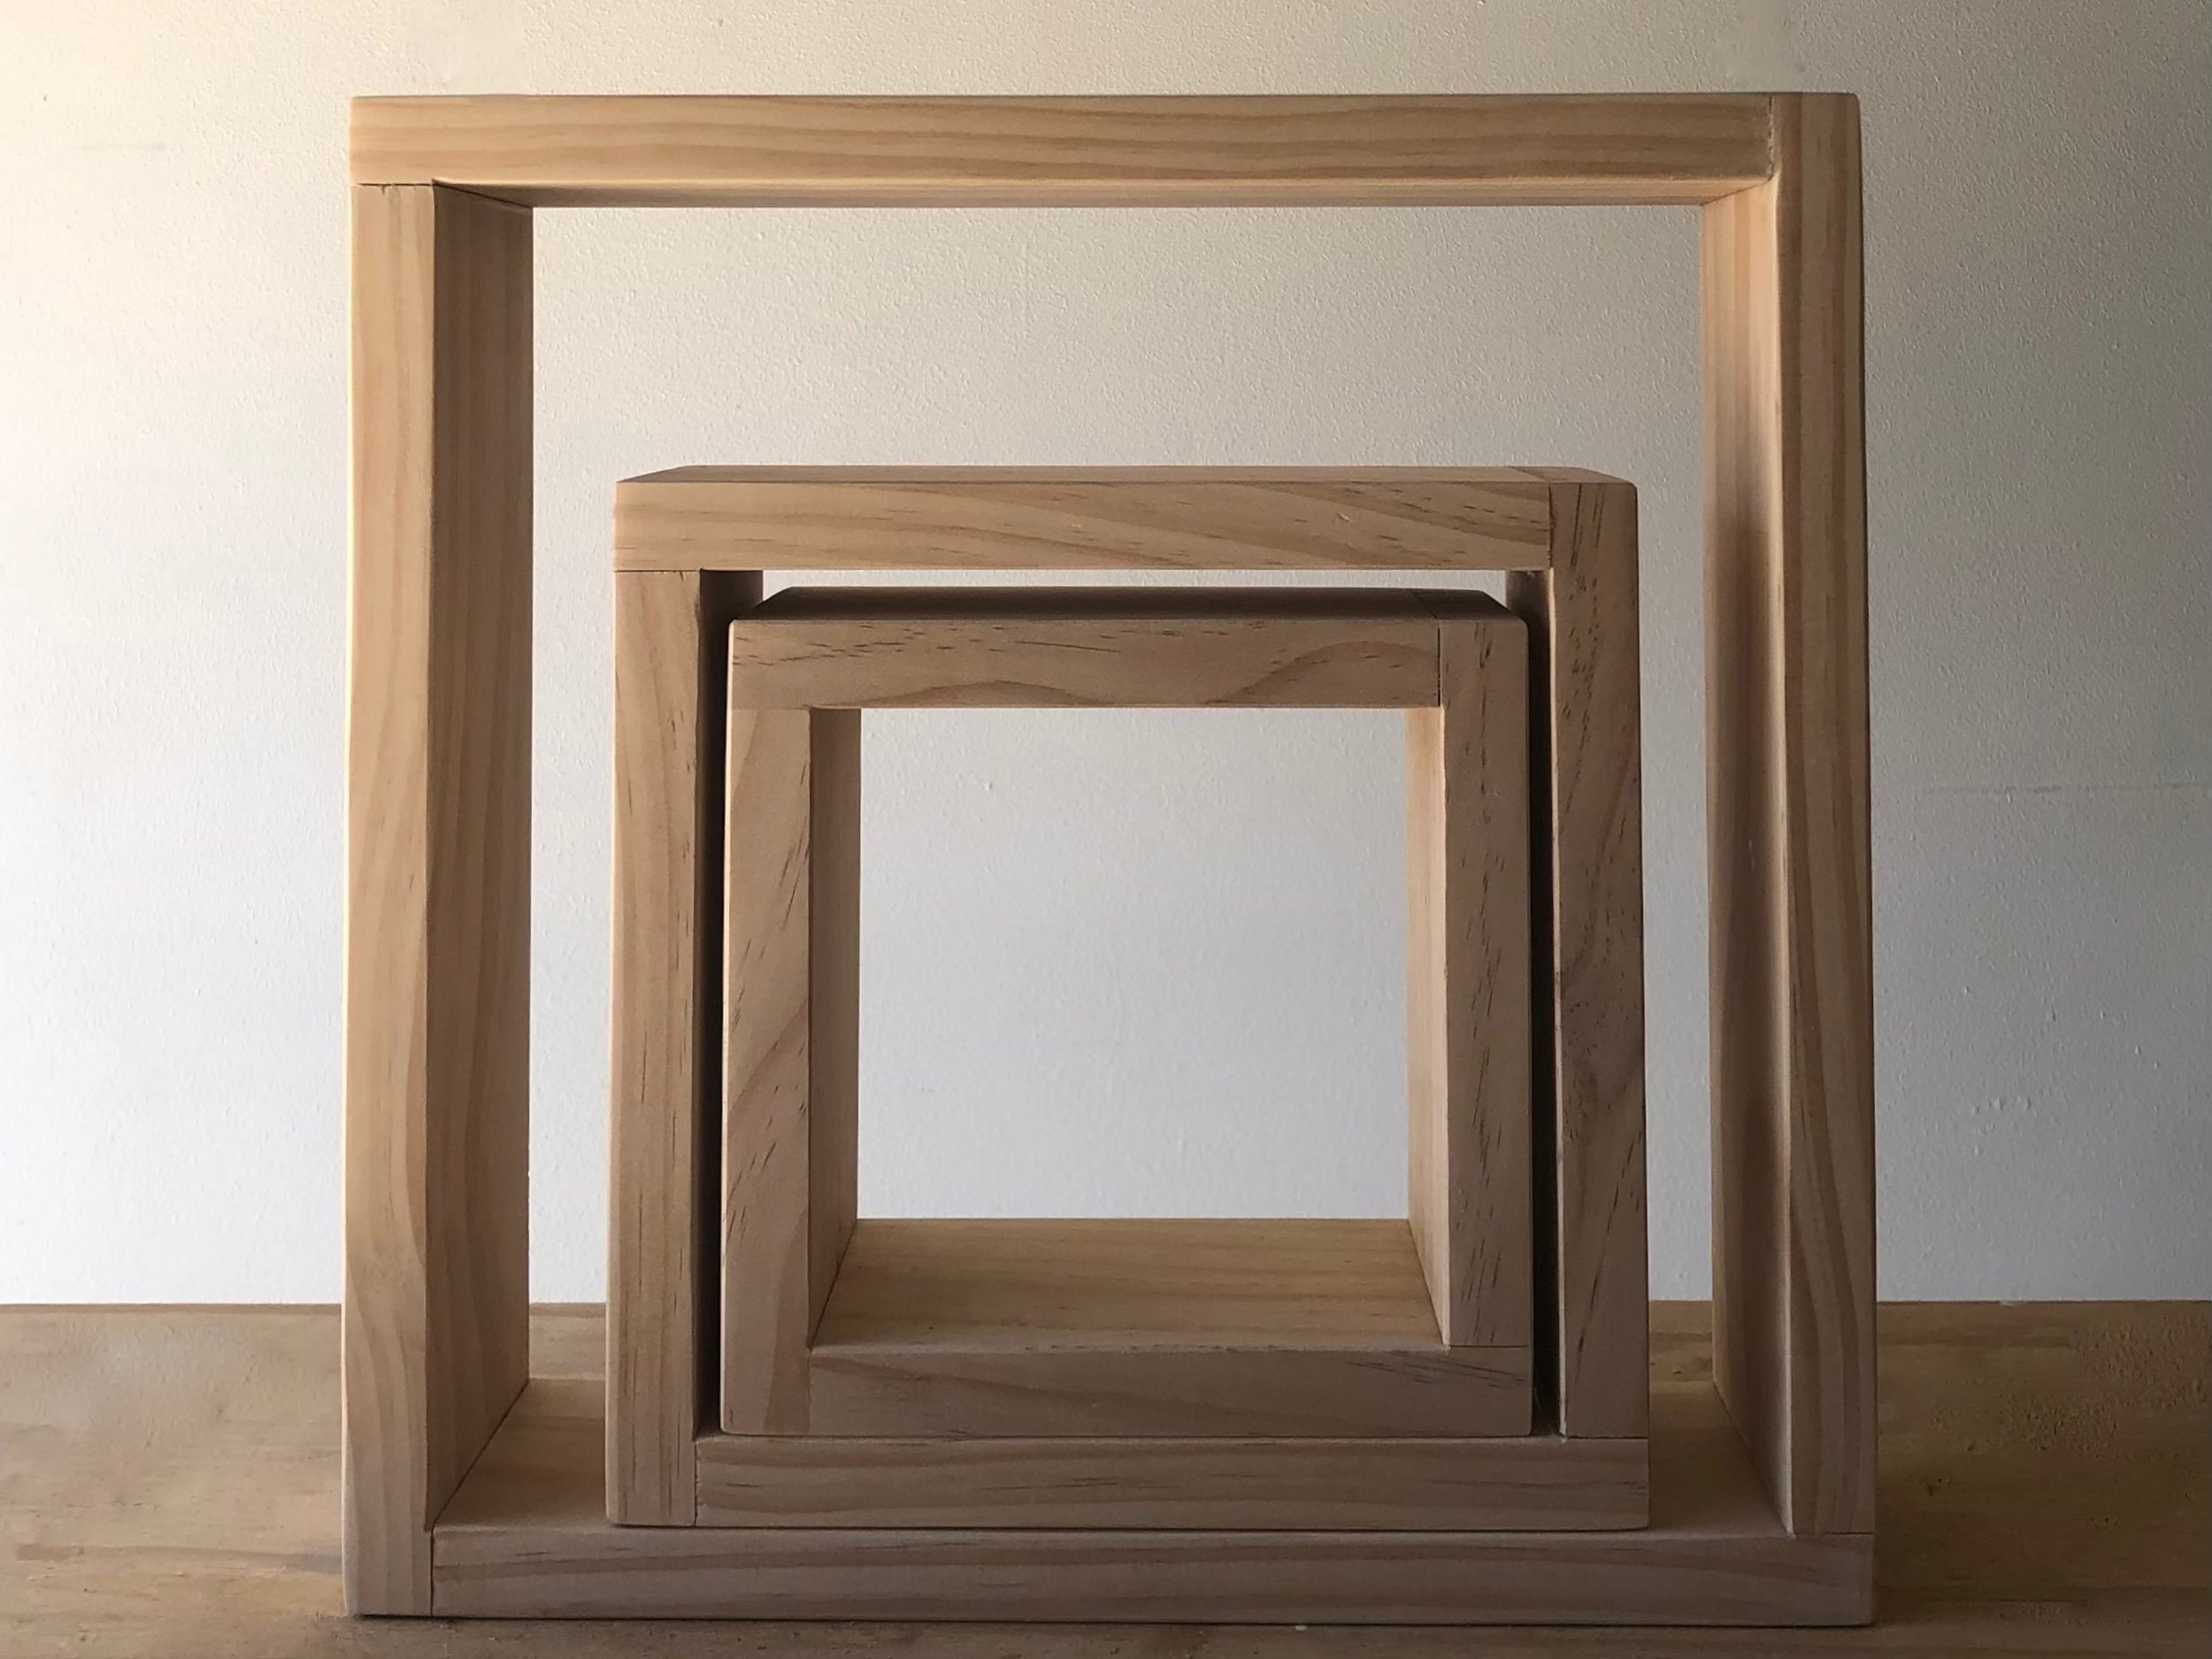
Avoid making the boxes bigger than about 350mm-square as the joints aren’t designed to support large, heavy objects.
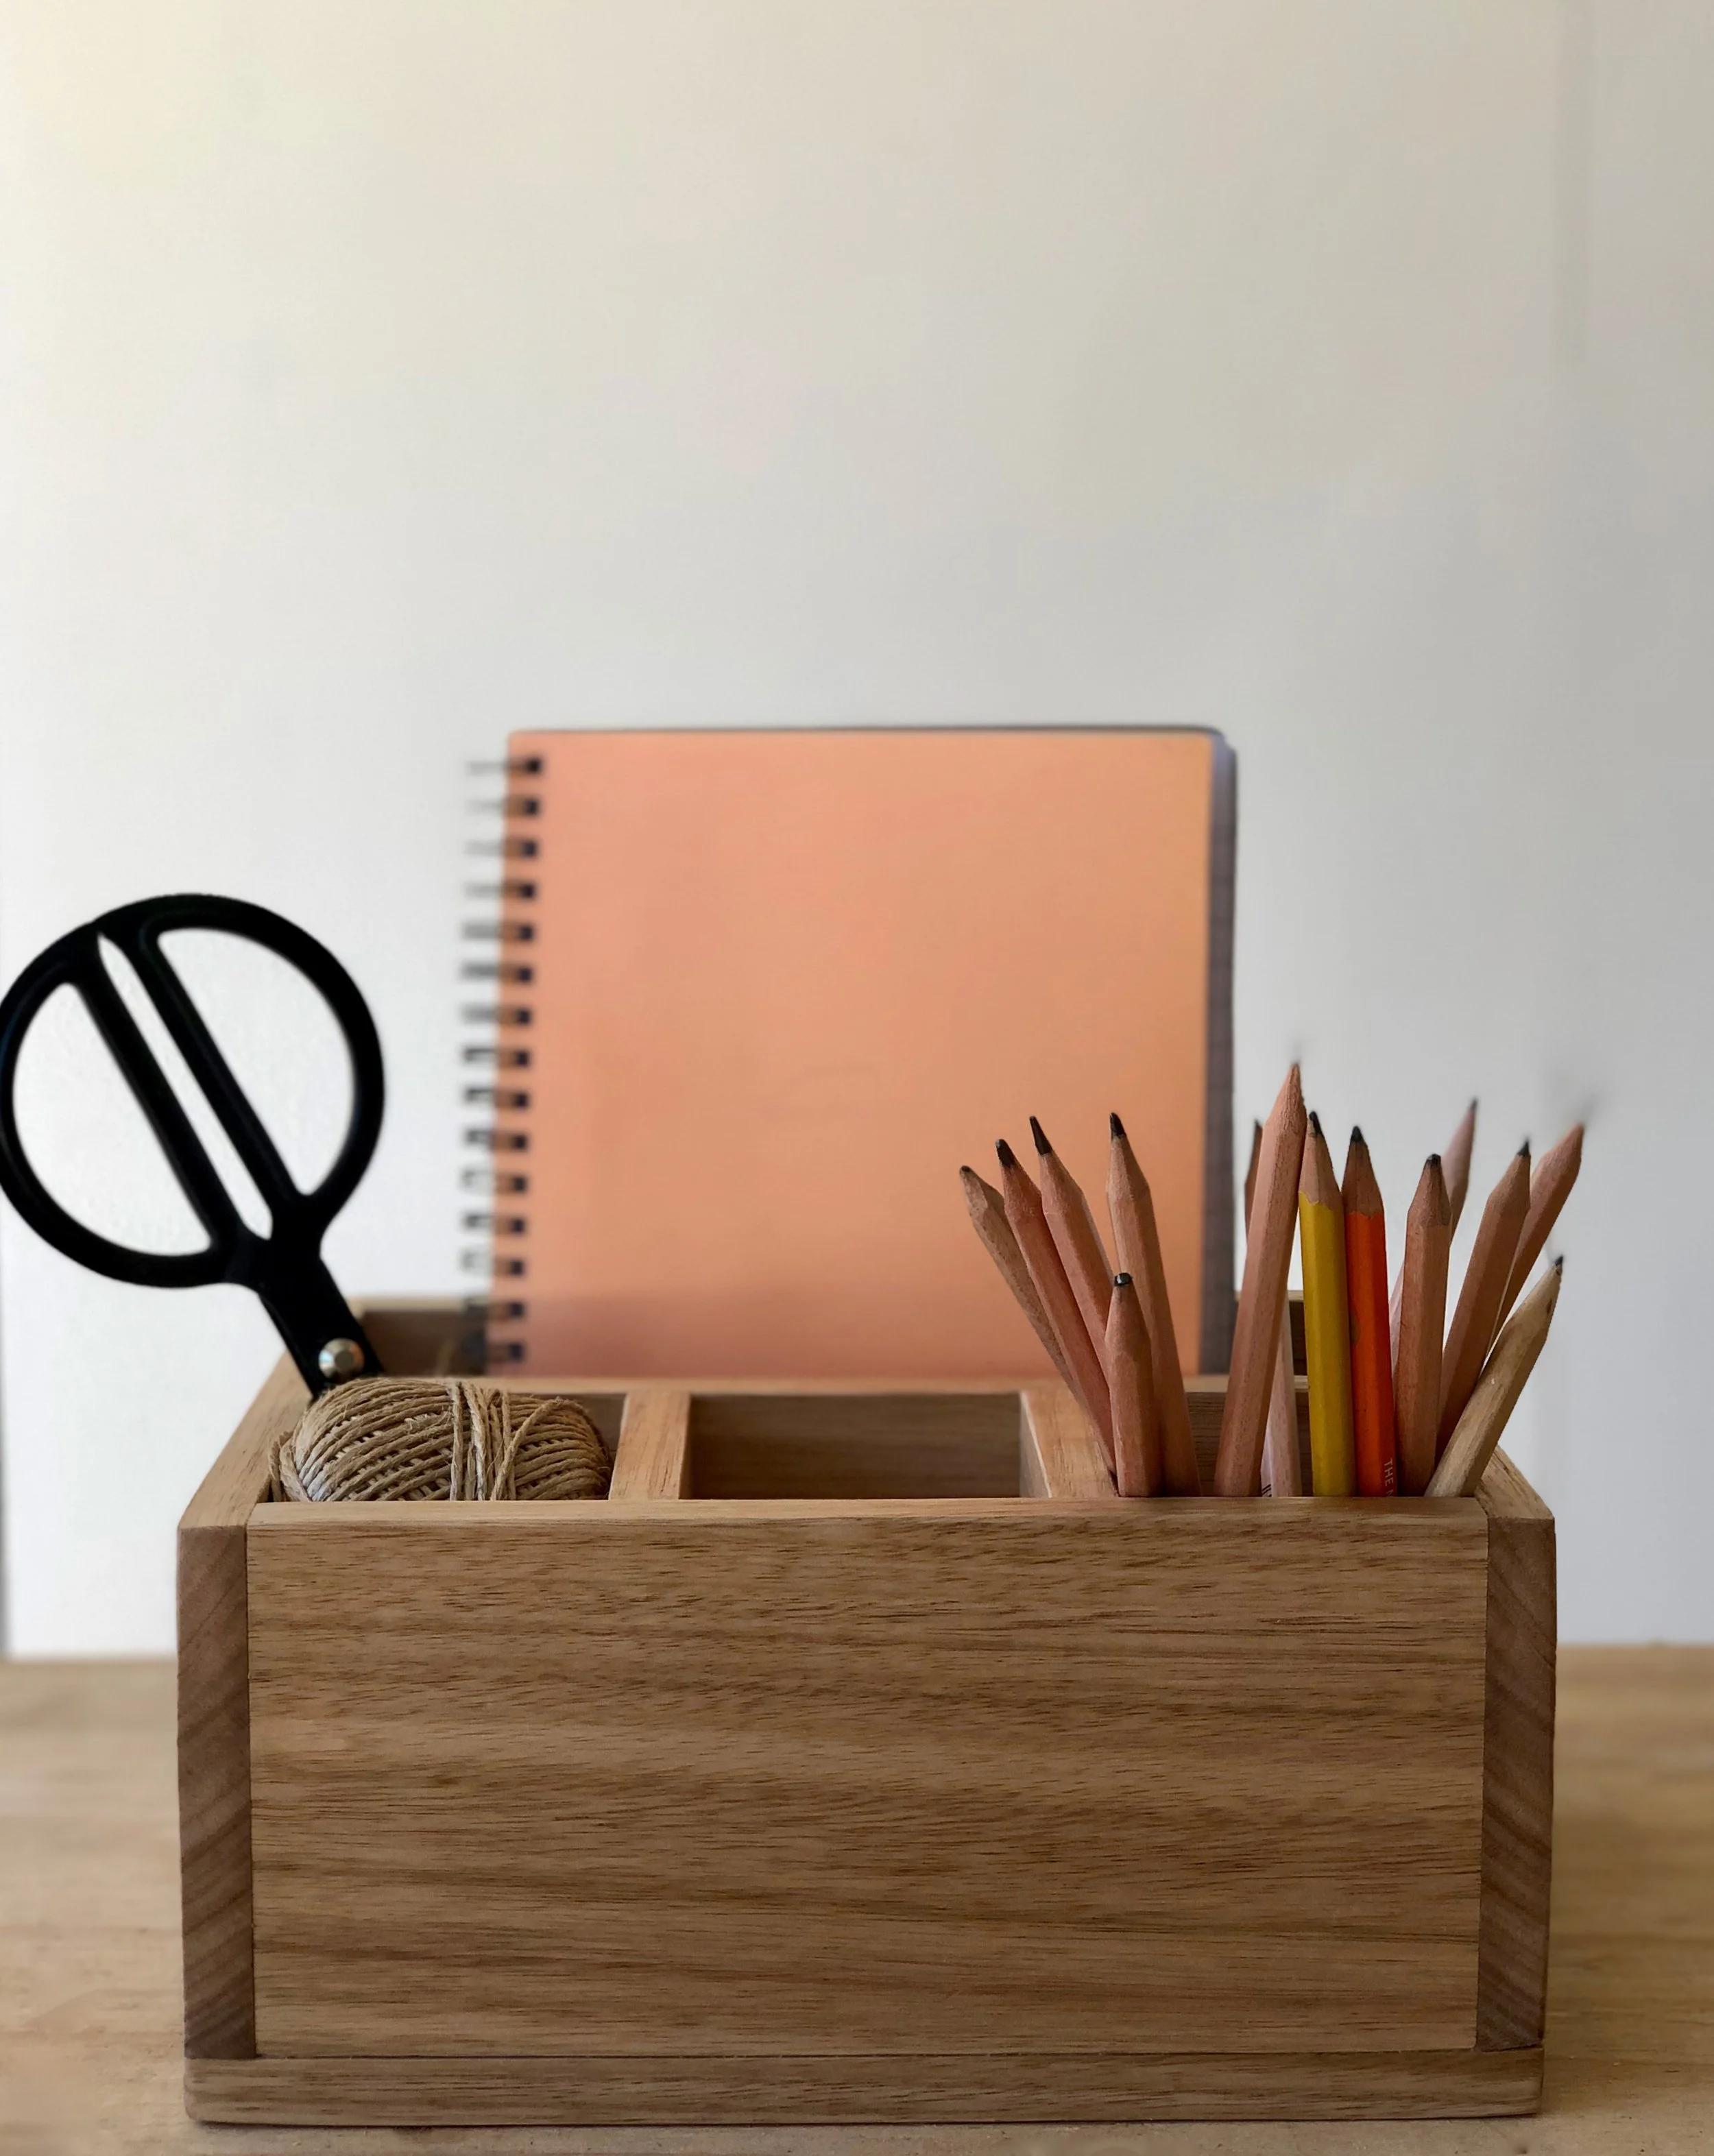
In another story about woodworking without power tools, I made this cute desk organiser to feature in a story for Bunnings Magazine. Check out the how-to steps and materials list here.

Would you like to try your hand at more woodworking?
Follow my daily DIY journey on Instagram for more renovating and home improvement, tool tips and simple building projects.