Frame a Stretched Canvas
Natasha Dickins
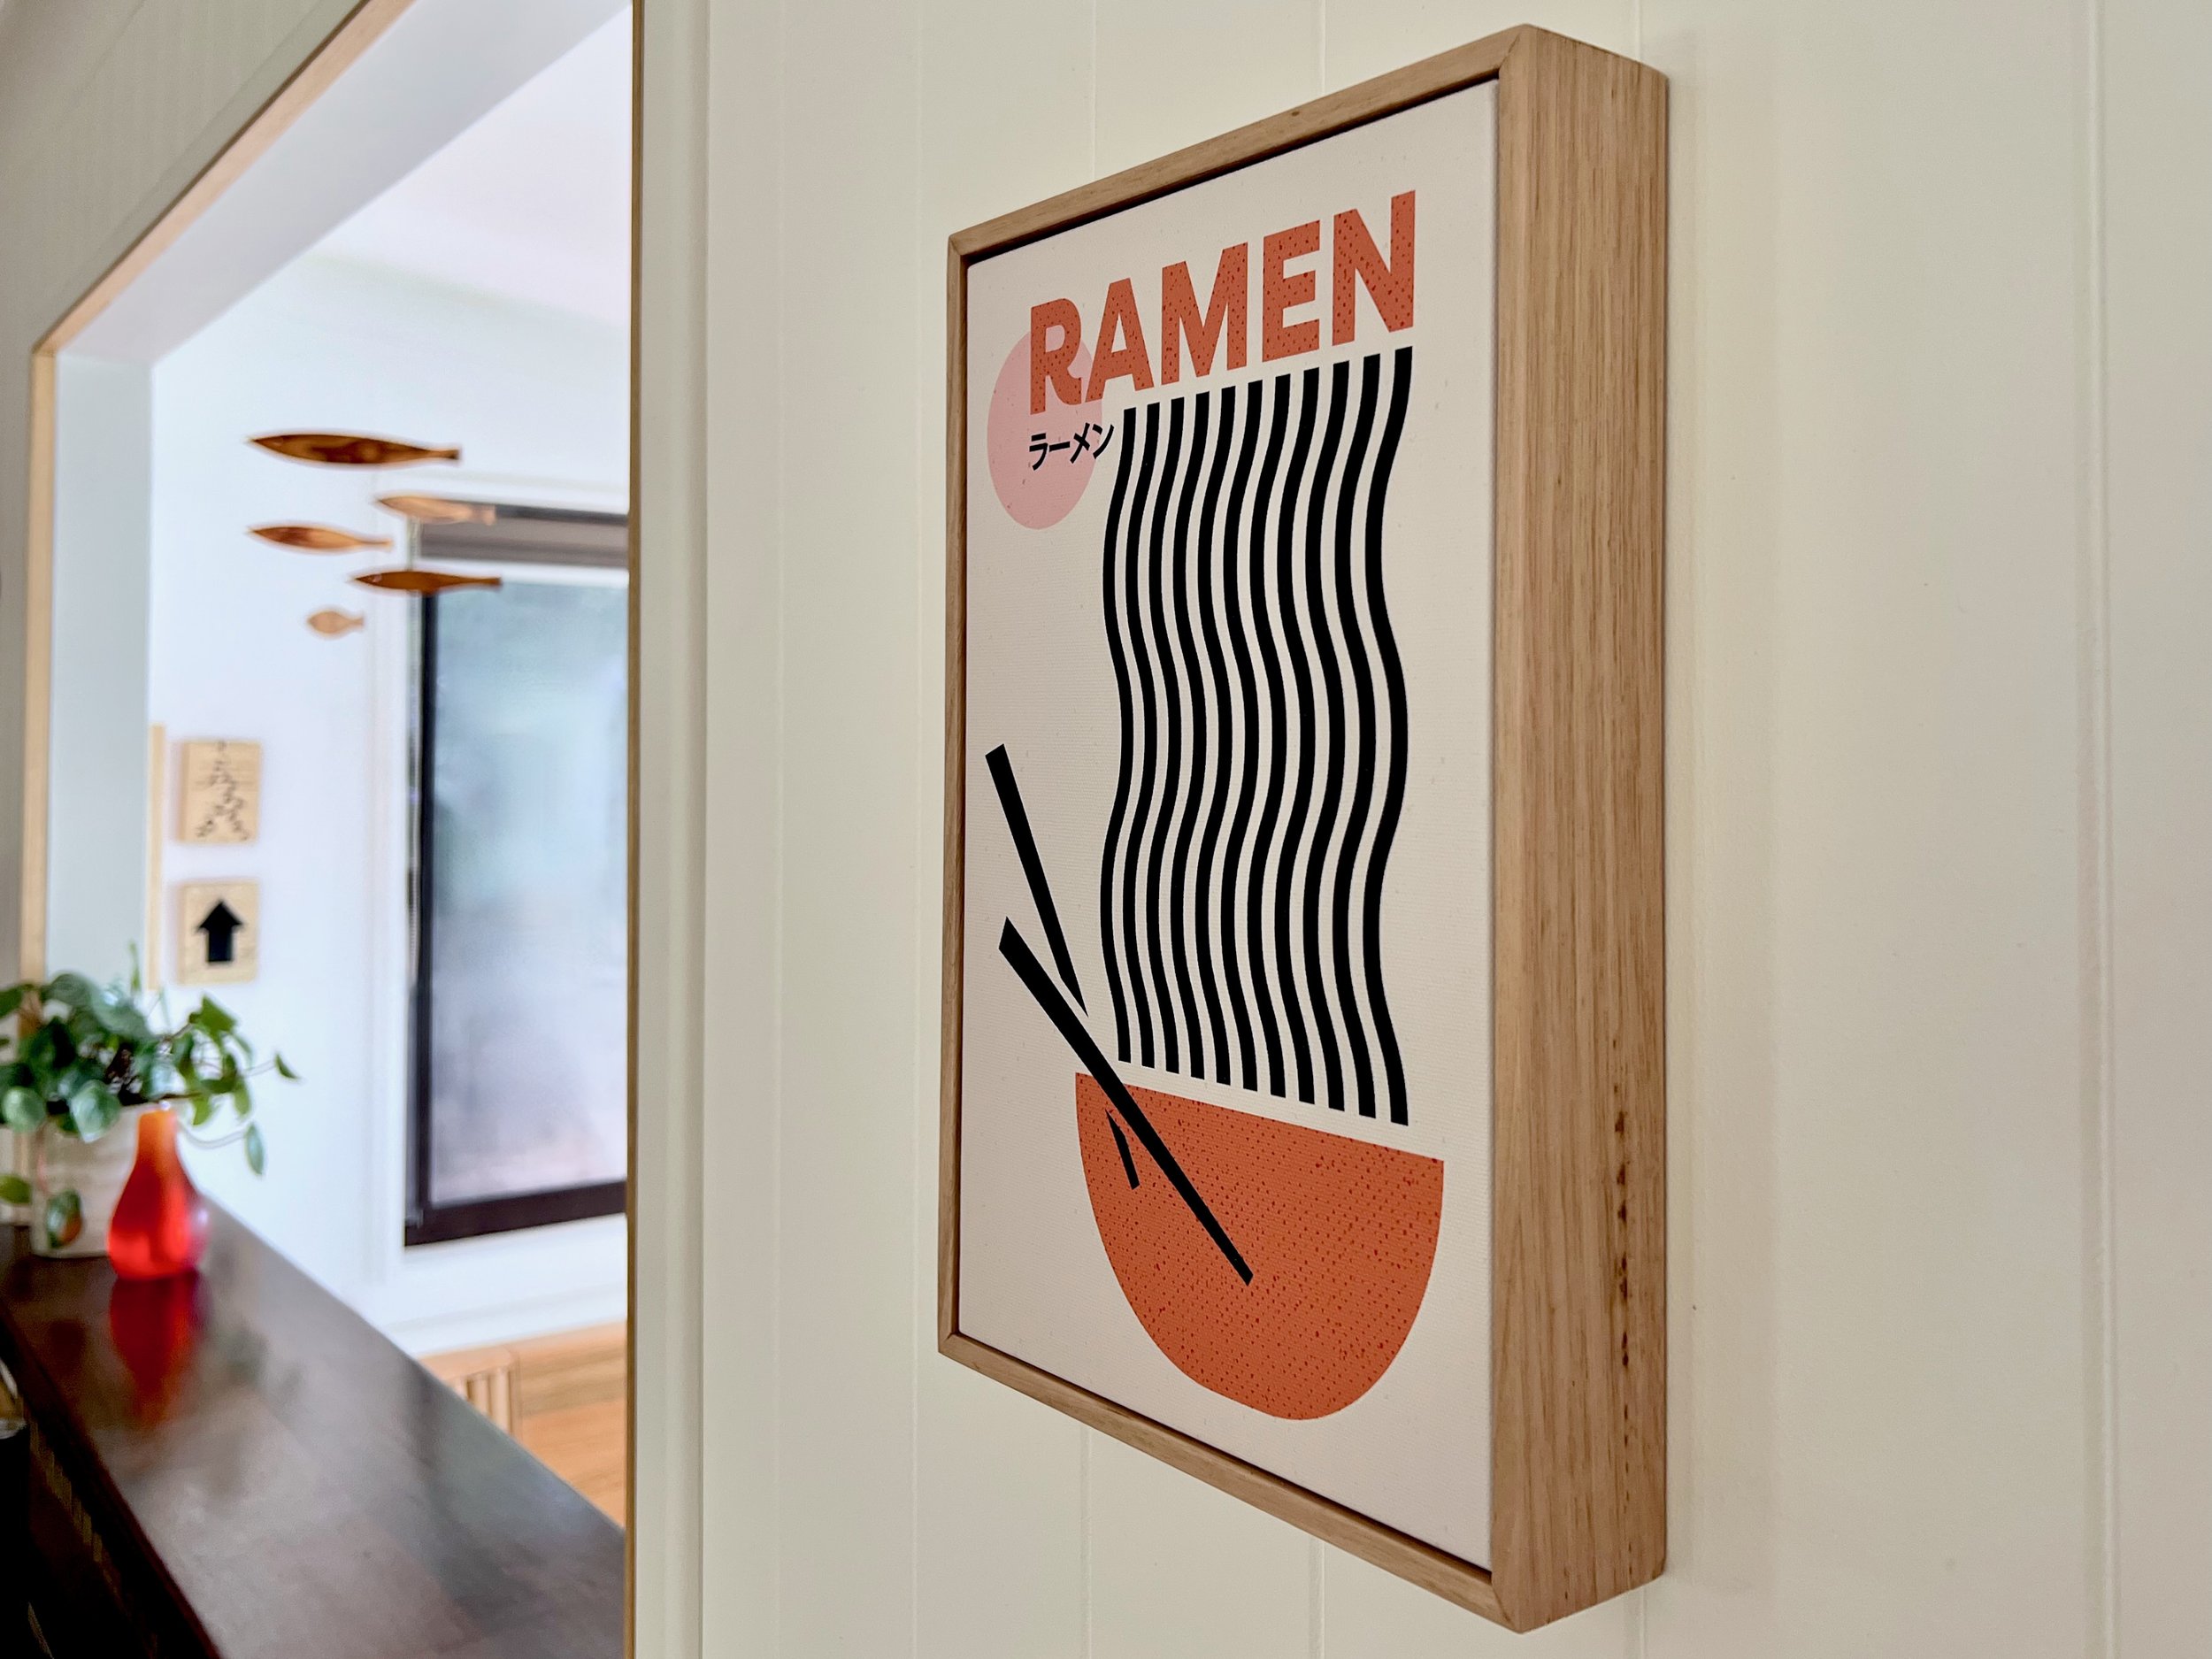
When I bought it, this sweet printed canvas was already mounted on a backing frame (called stretcher bars). I wanted to add a timber surround to make it feel finished, give it sense of importance and match it to the other pictures in the house.
TIP If you’re creating artwork from scratch, pick up a blank deep-edge stretched blank canvas from Officeworks, such as this 37mm-deep one, which is a similar size to mine.
The ‘Ramen’ artwork is by enricadenicola from Redbubble and it came with attached picture wire.
“Pick up the timber moulding from a hardware store and follow the steps to make a mitred frame for a totally professional result around any size canvas.”
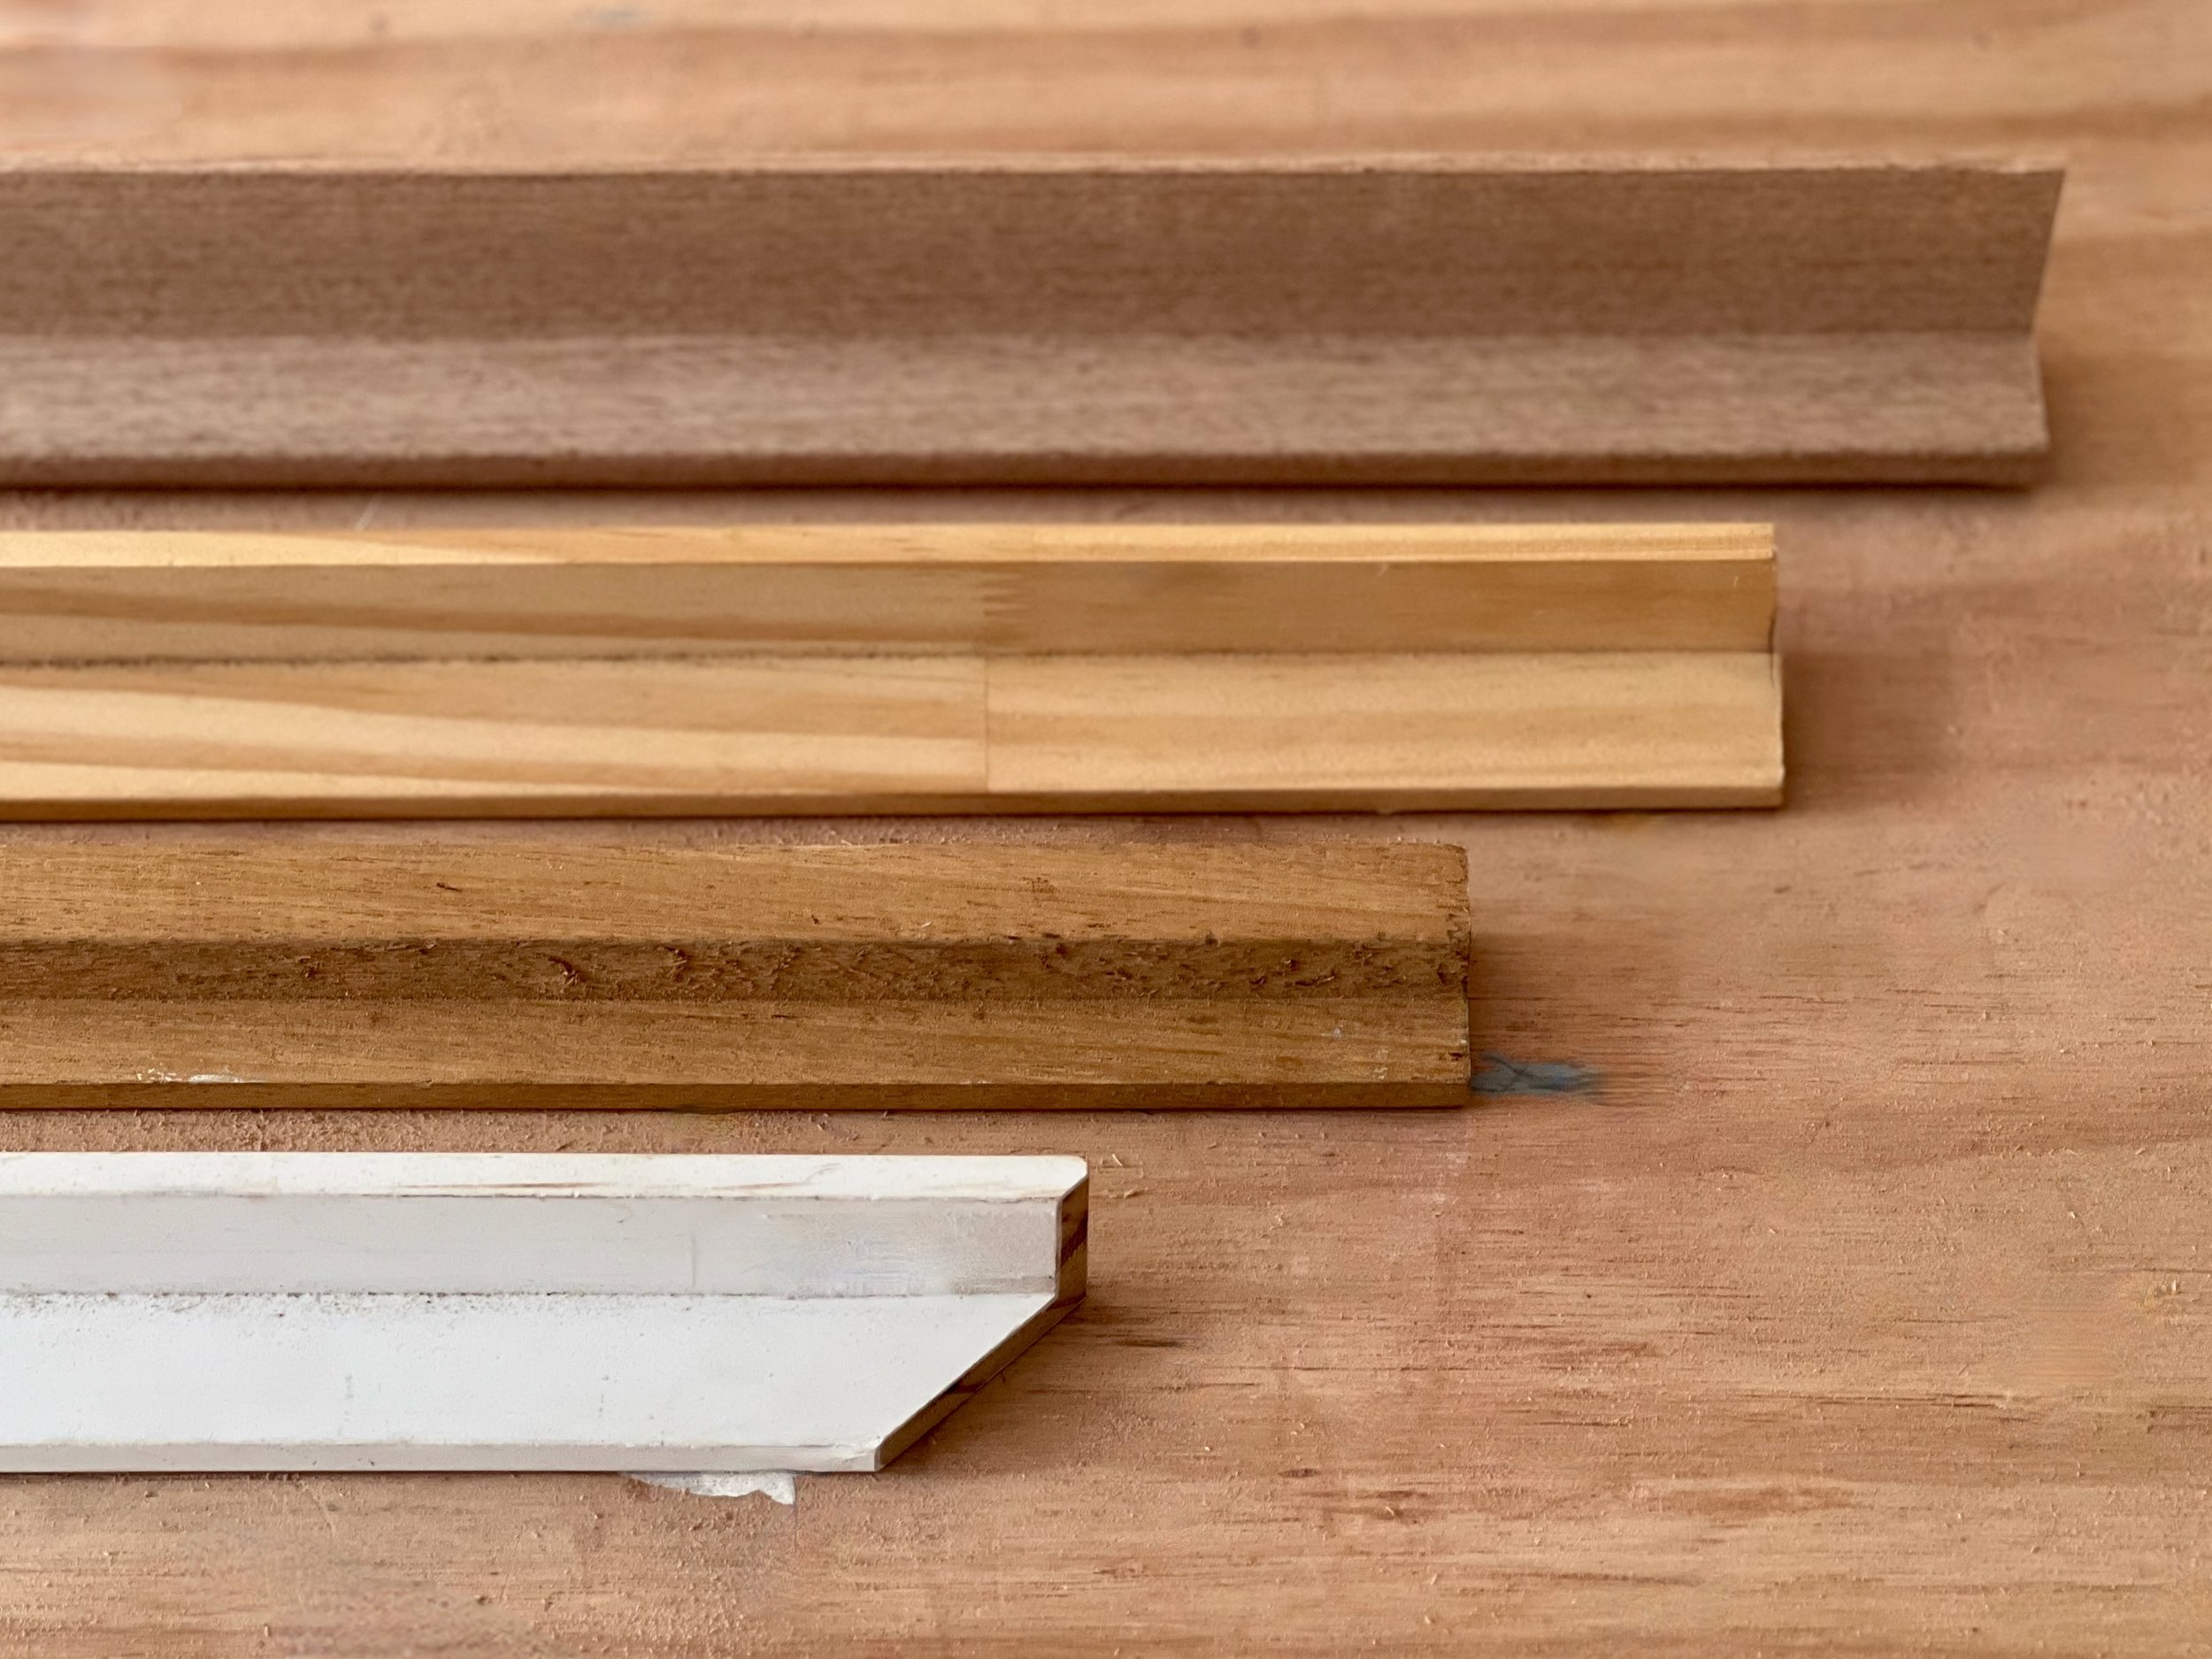
I bought a 1200mm length of Porta Timber 45mm x 30mm Tasmanian oak picture framing moulding from Bunnings after checking it was deep enough for the artwork to sit inside so the edges are flush with the front of the canvas.
TIP Moulding comes in various profiles and finishes. Take your artwork in-store to test the depth and find one that fits. There’s also primed moulding ready to paint if you prefer colour to a natural finish.
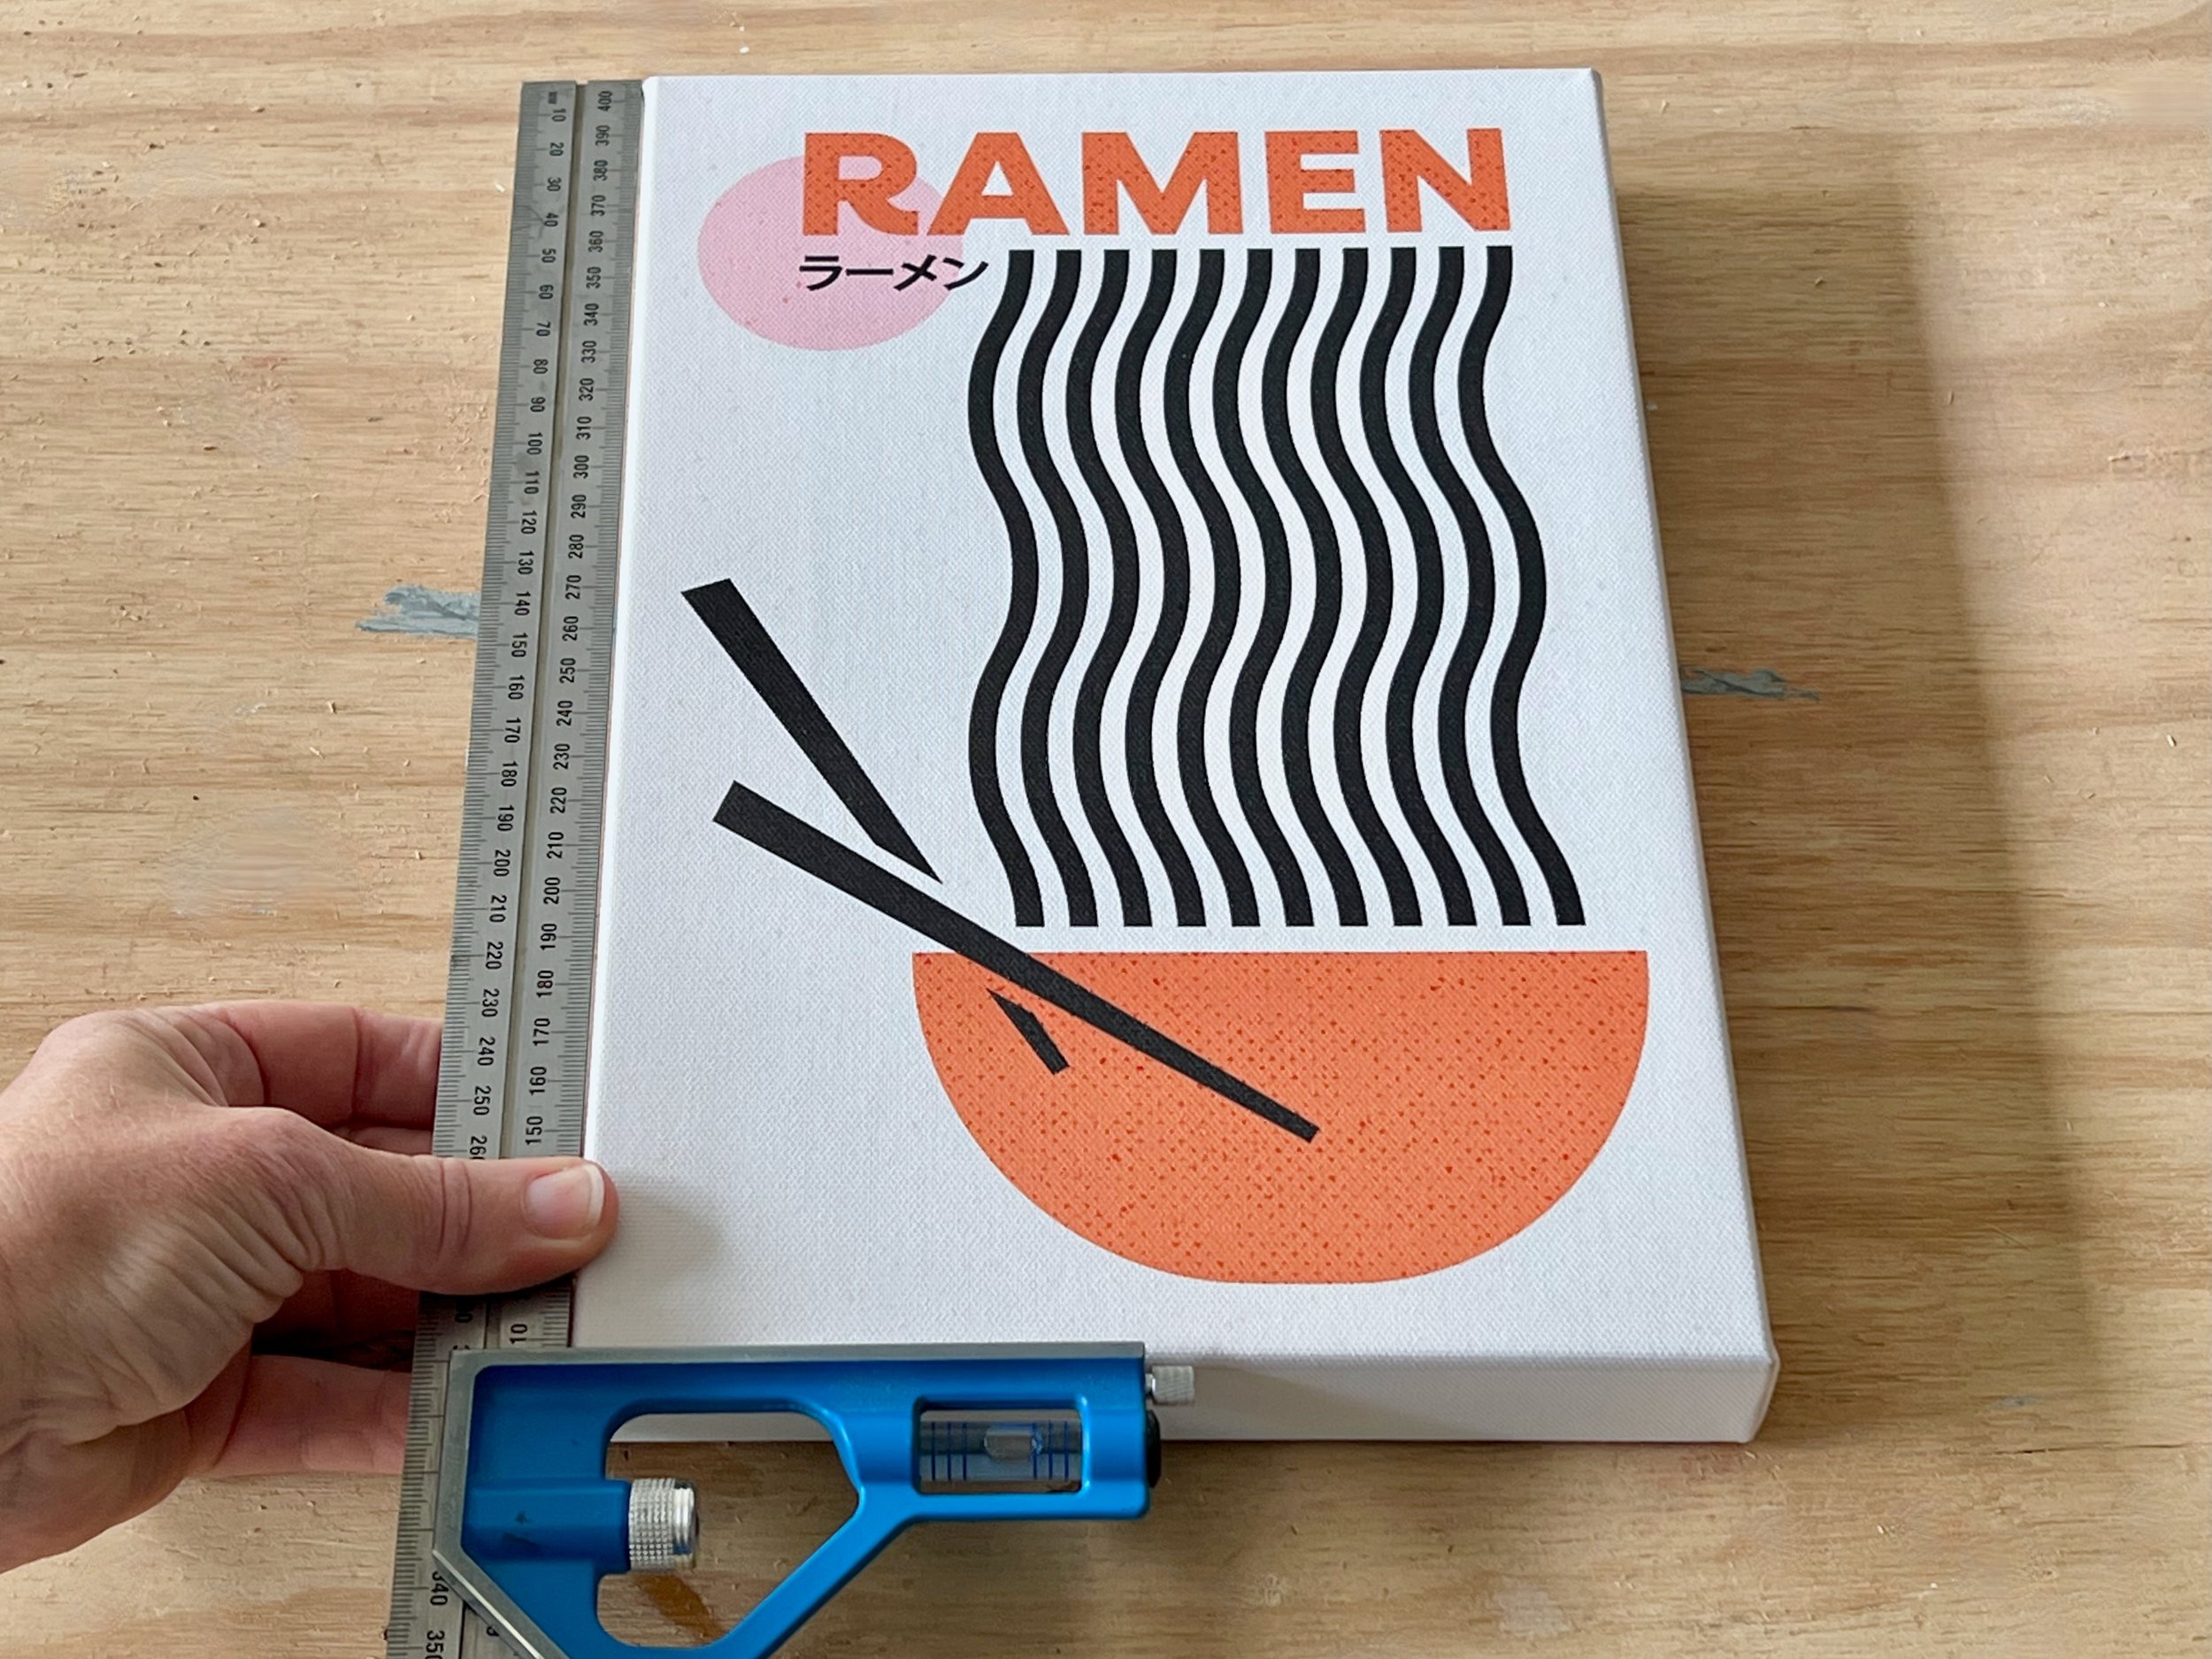
Using a combination square, I measured around the outside of the canvas, adding 4mm to the sides and ends to allow for any bulky folds at the corners while creating a shadow line inside the frame.
TIP To work out how much moulding you need, measure around the outside and add about 10% extra to allow for mitres and offcuts. Standard lengths to buy are 1200mm and 2400mm.

I set my sliding compound mitre saw at 45° to the left and trimmed close to the end, then transferred the canvas measurement from inside the mitre, measuring along the inside edge of the moulding, not the back. My canvas is 300mm long, so adding 4mm means the side piece is 308mm between the inside corners of the mitres.
TIP Always cut long pieces first, so if you make a mistake they can be cut down for shorter pieces to minimise wastage.

I flipped the mitre saw 45° to the right to make the next cut, then checked the length before cutting the other side piece to be exactly the same.
TIP Position the blade on the outside of the mark rather than centred. This allows for the thickness of the blade (called the kerf, which is about 3mm) to slice into the offcut rather than the piece you’ve measured out.
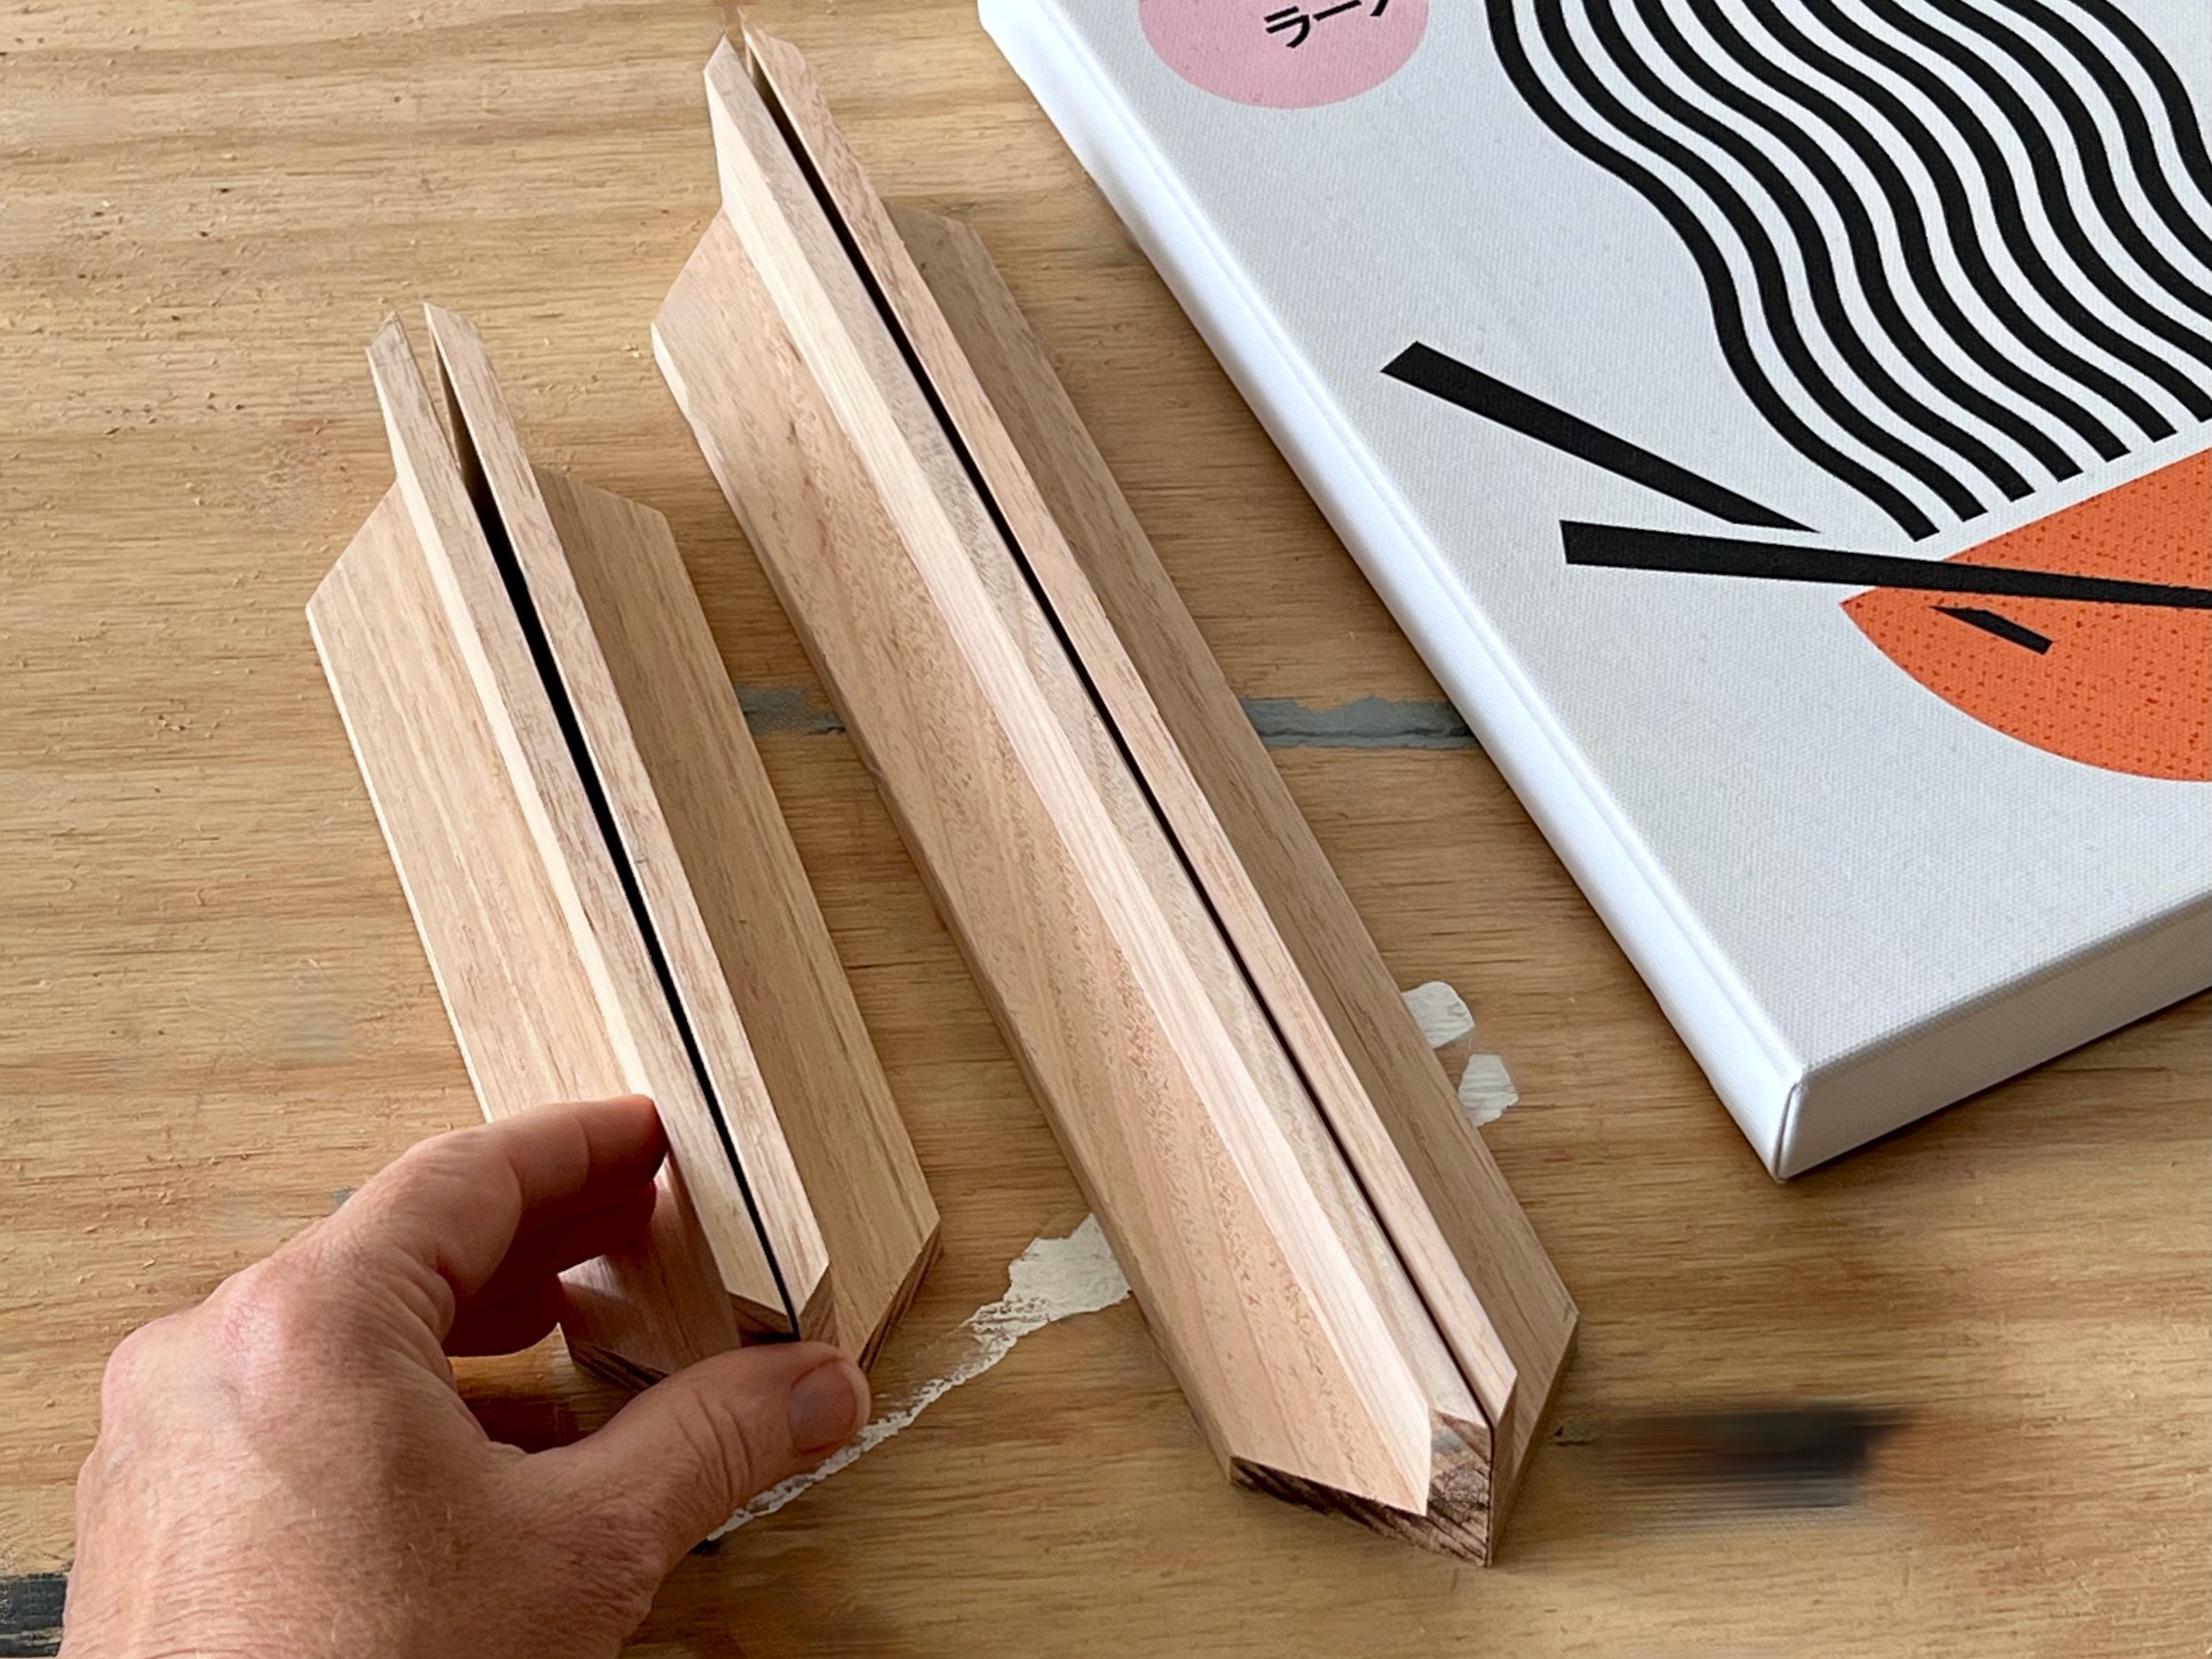
After cutting the end pieces to fit, I double-checked they’re exactly the same by positioning them back-to-back…

… then dry-fit the frame around the canvas, sanding off any breakout from the cuts with 180-grit abrasive paper.
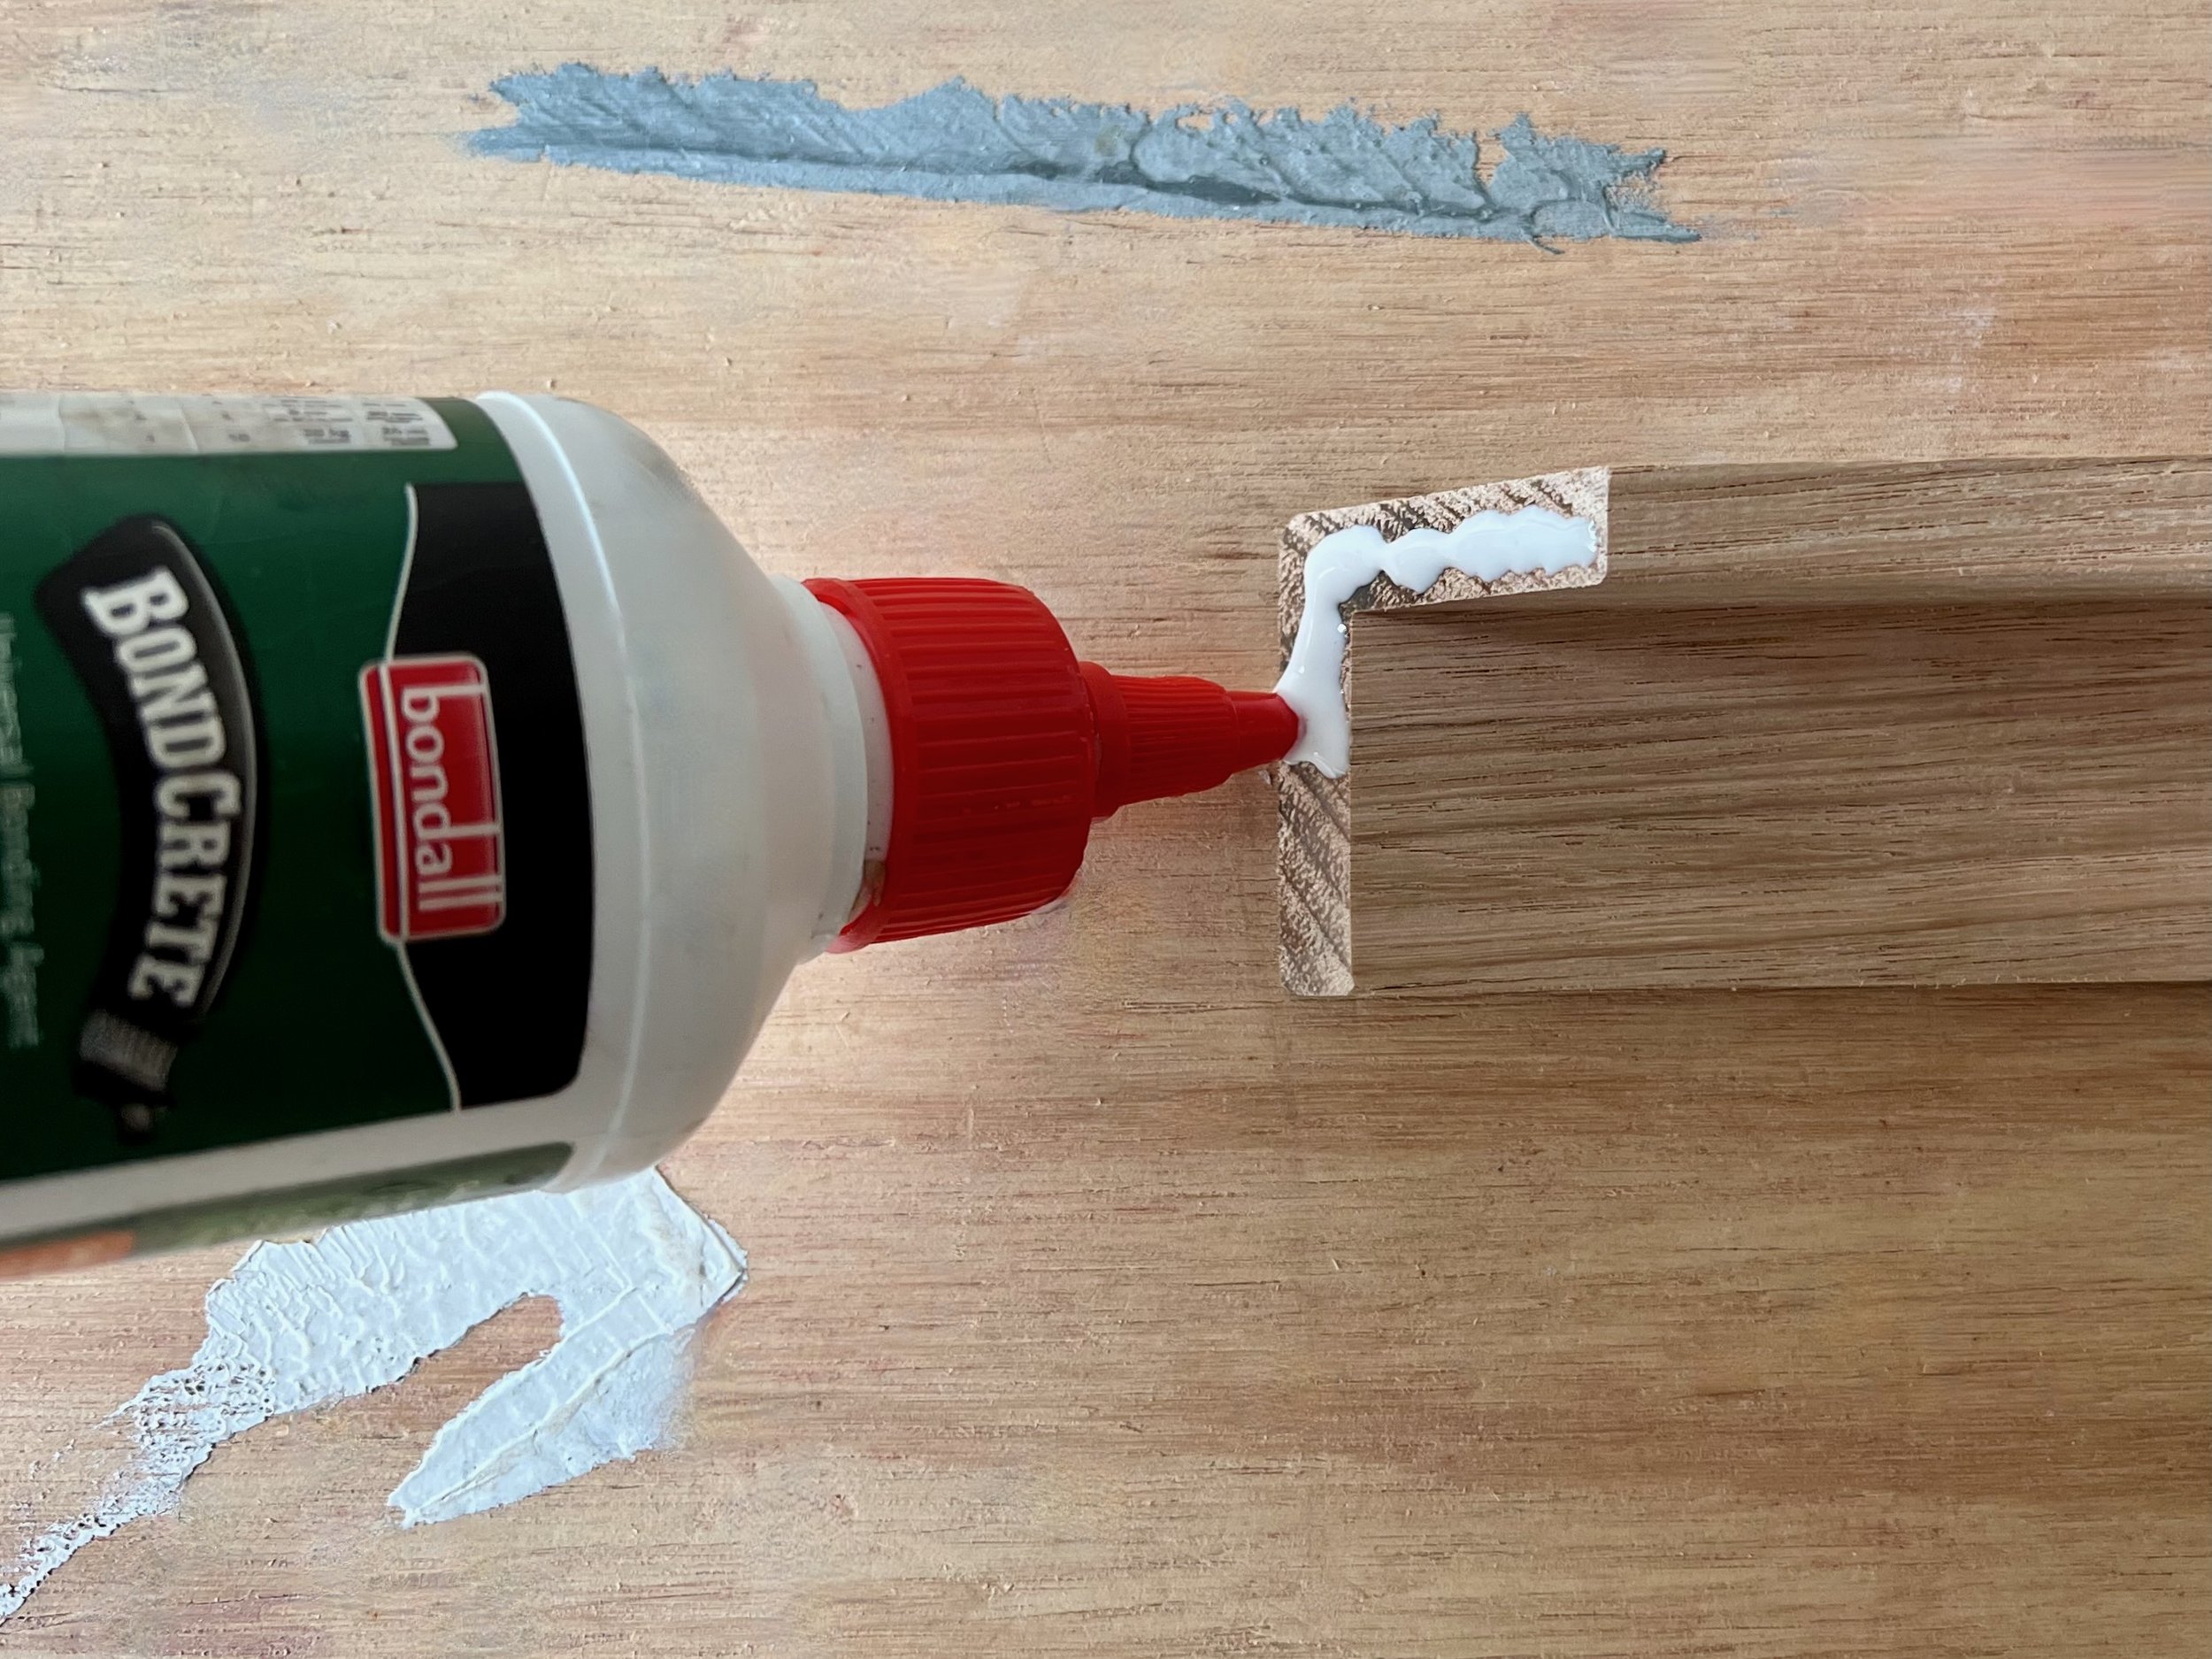
I applied Bondall Bondcrete woodworking adhesive over the end-grain of the mitres and assembled the frame using painter’s tape to hold the joints together.
TIP Bondcrete dries clear, but have a clean damp cloth handy to wipe away excess adhesive as it squishes out to avoid having to sand it off later.
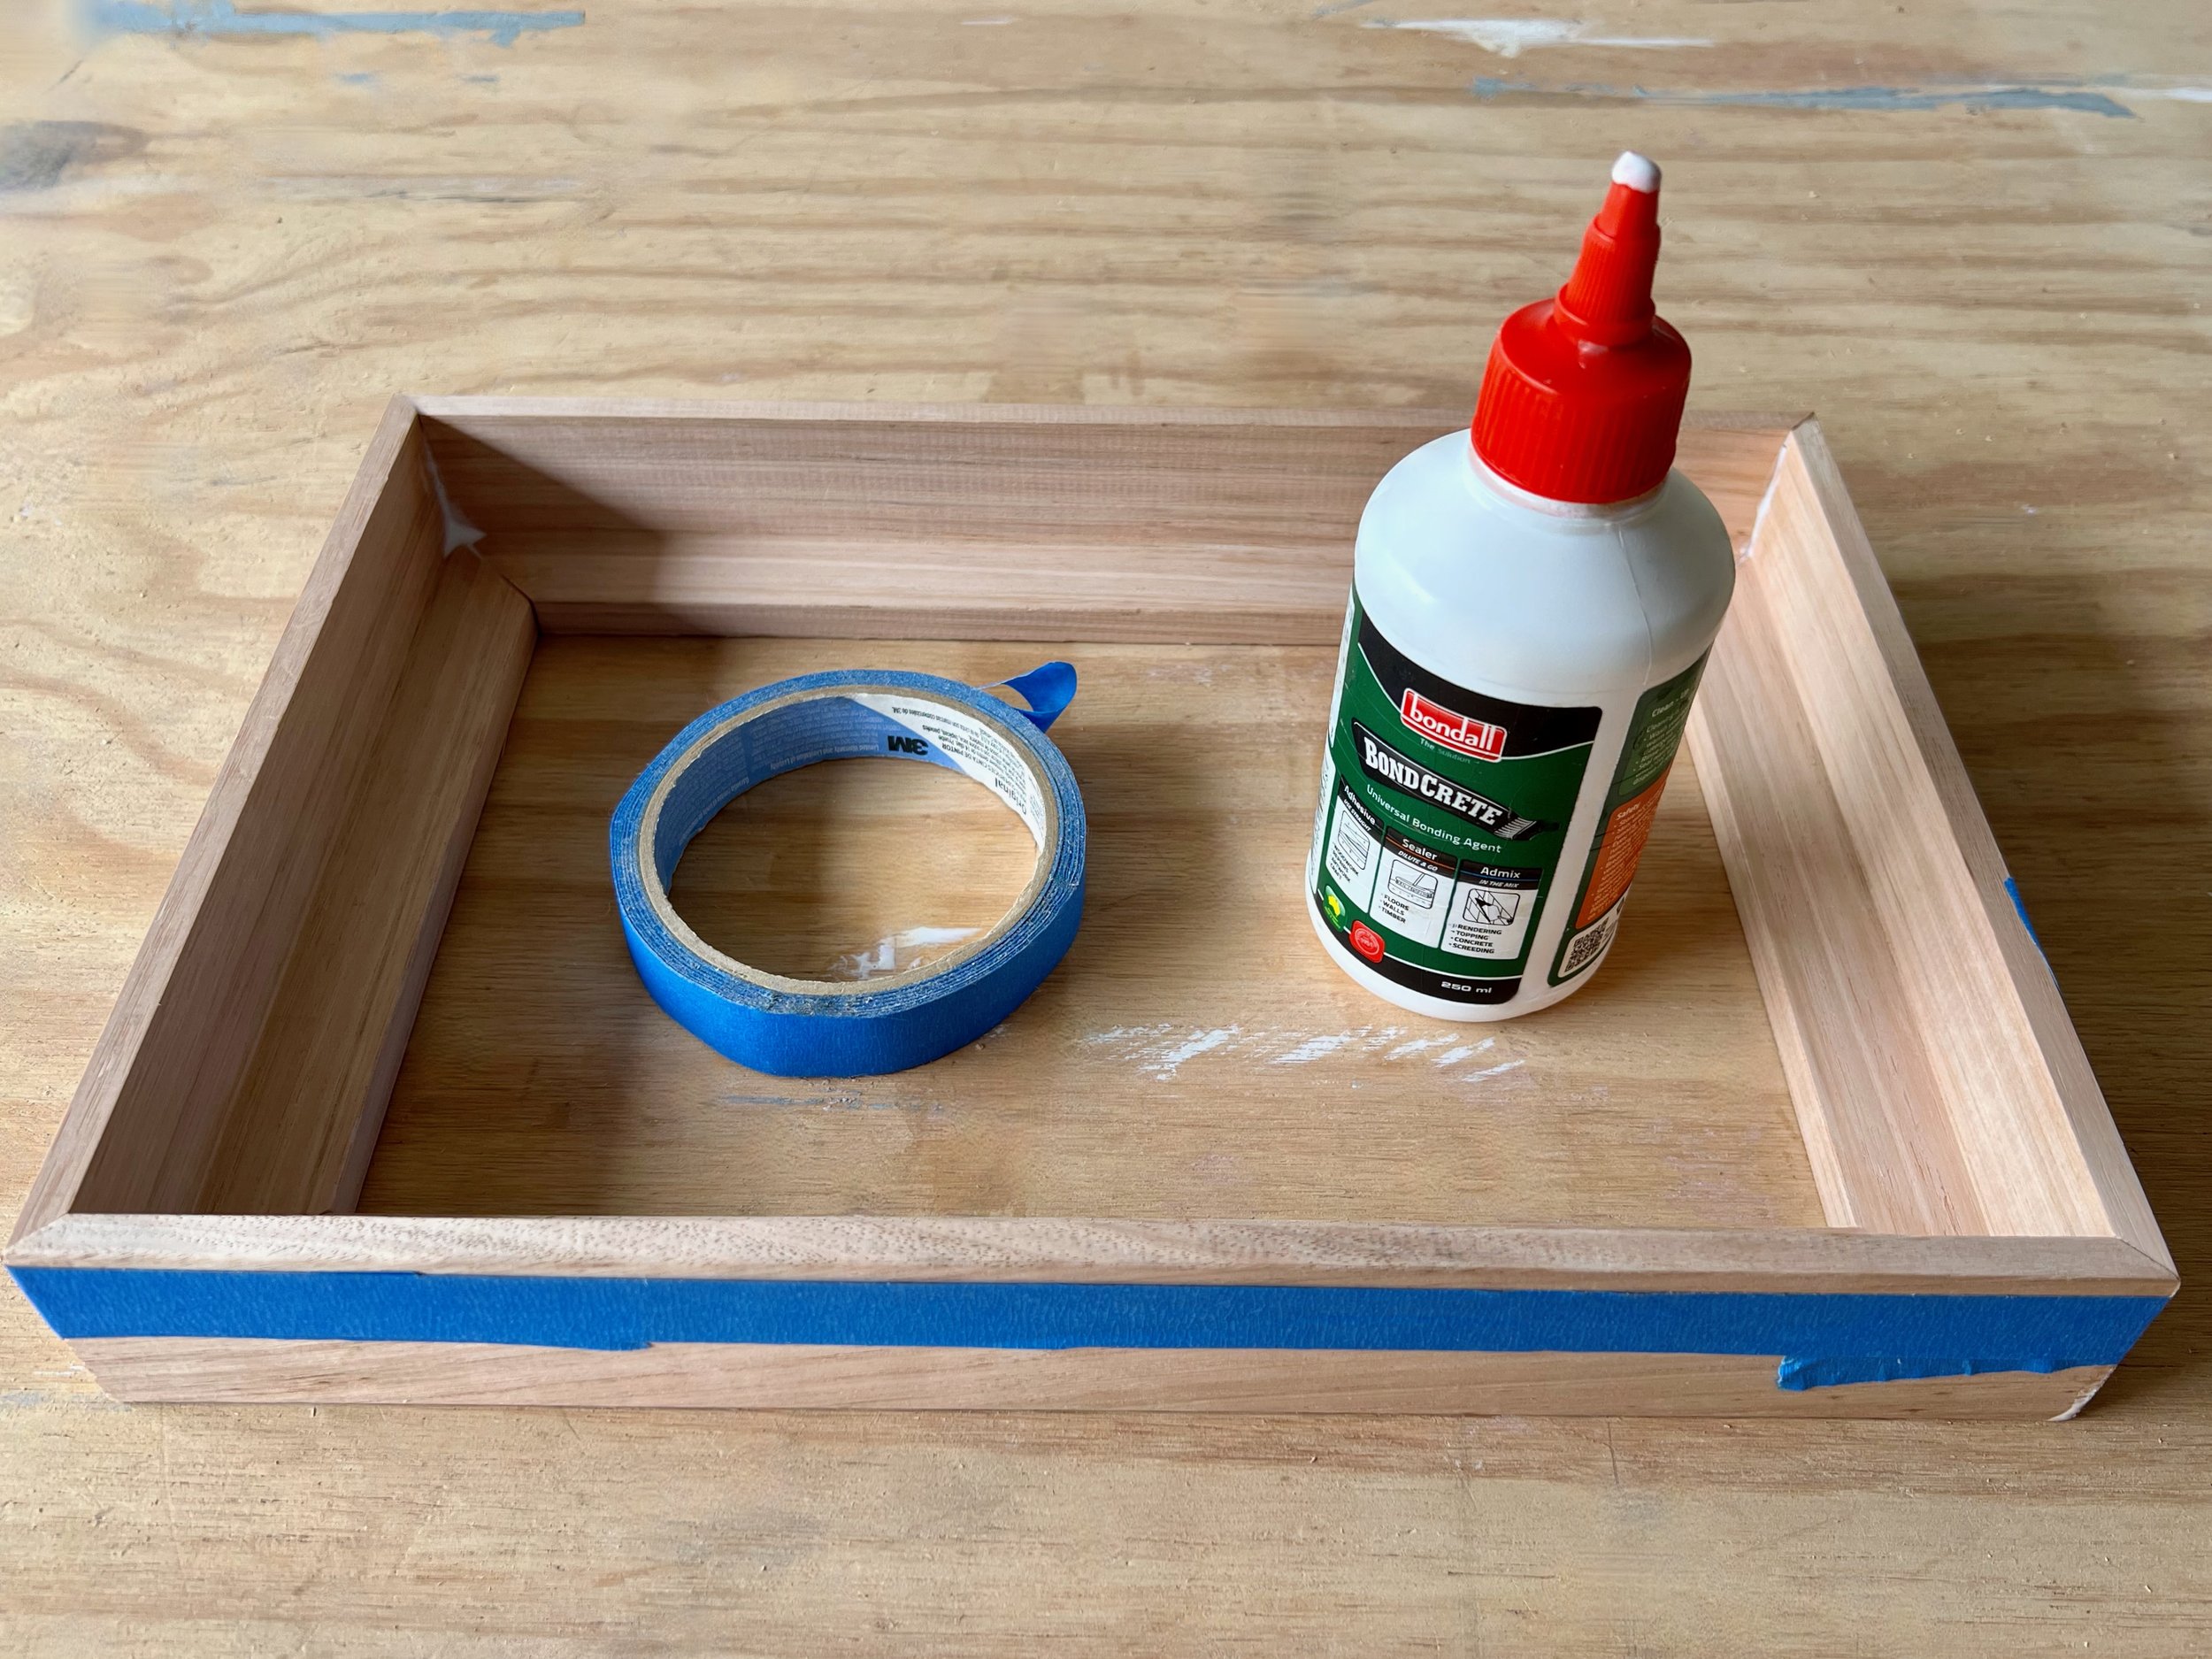
Then I stretched painter’s tape around the frame, pulling it tight to keep the joints secure and left it to dry flat for a couple of hours.
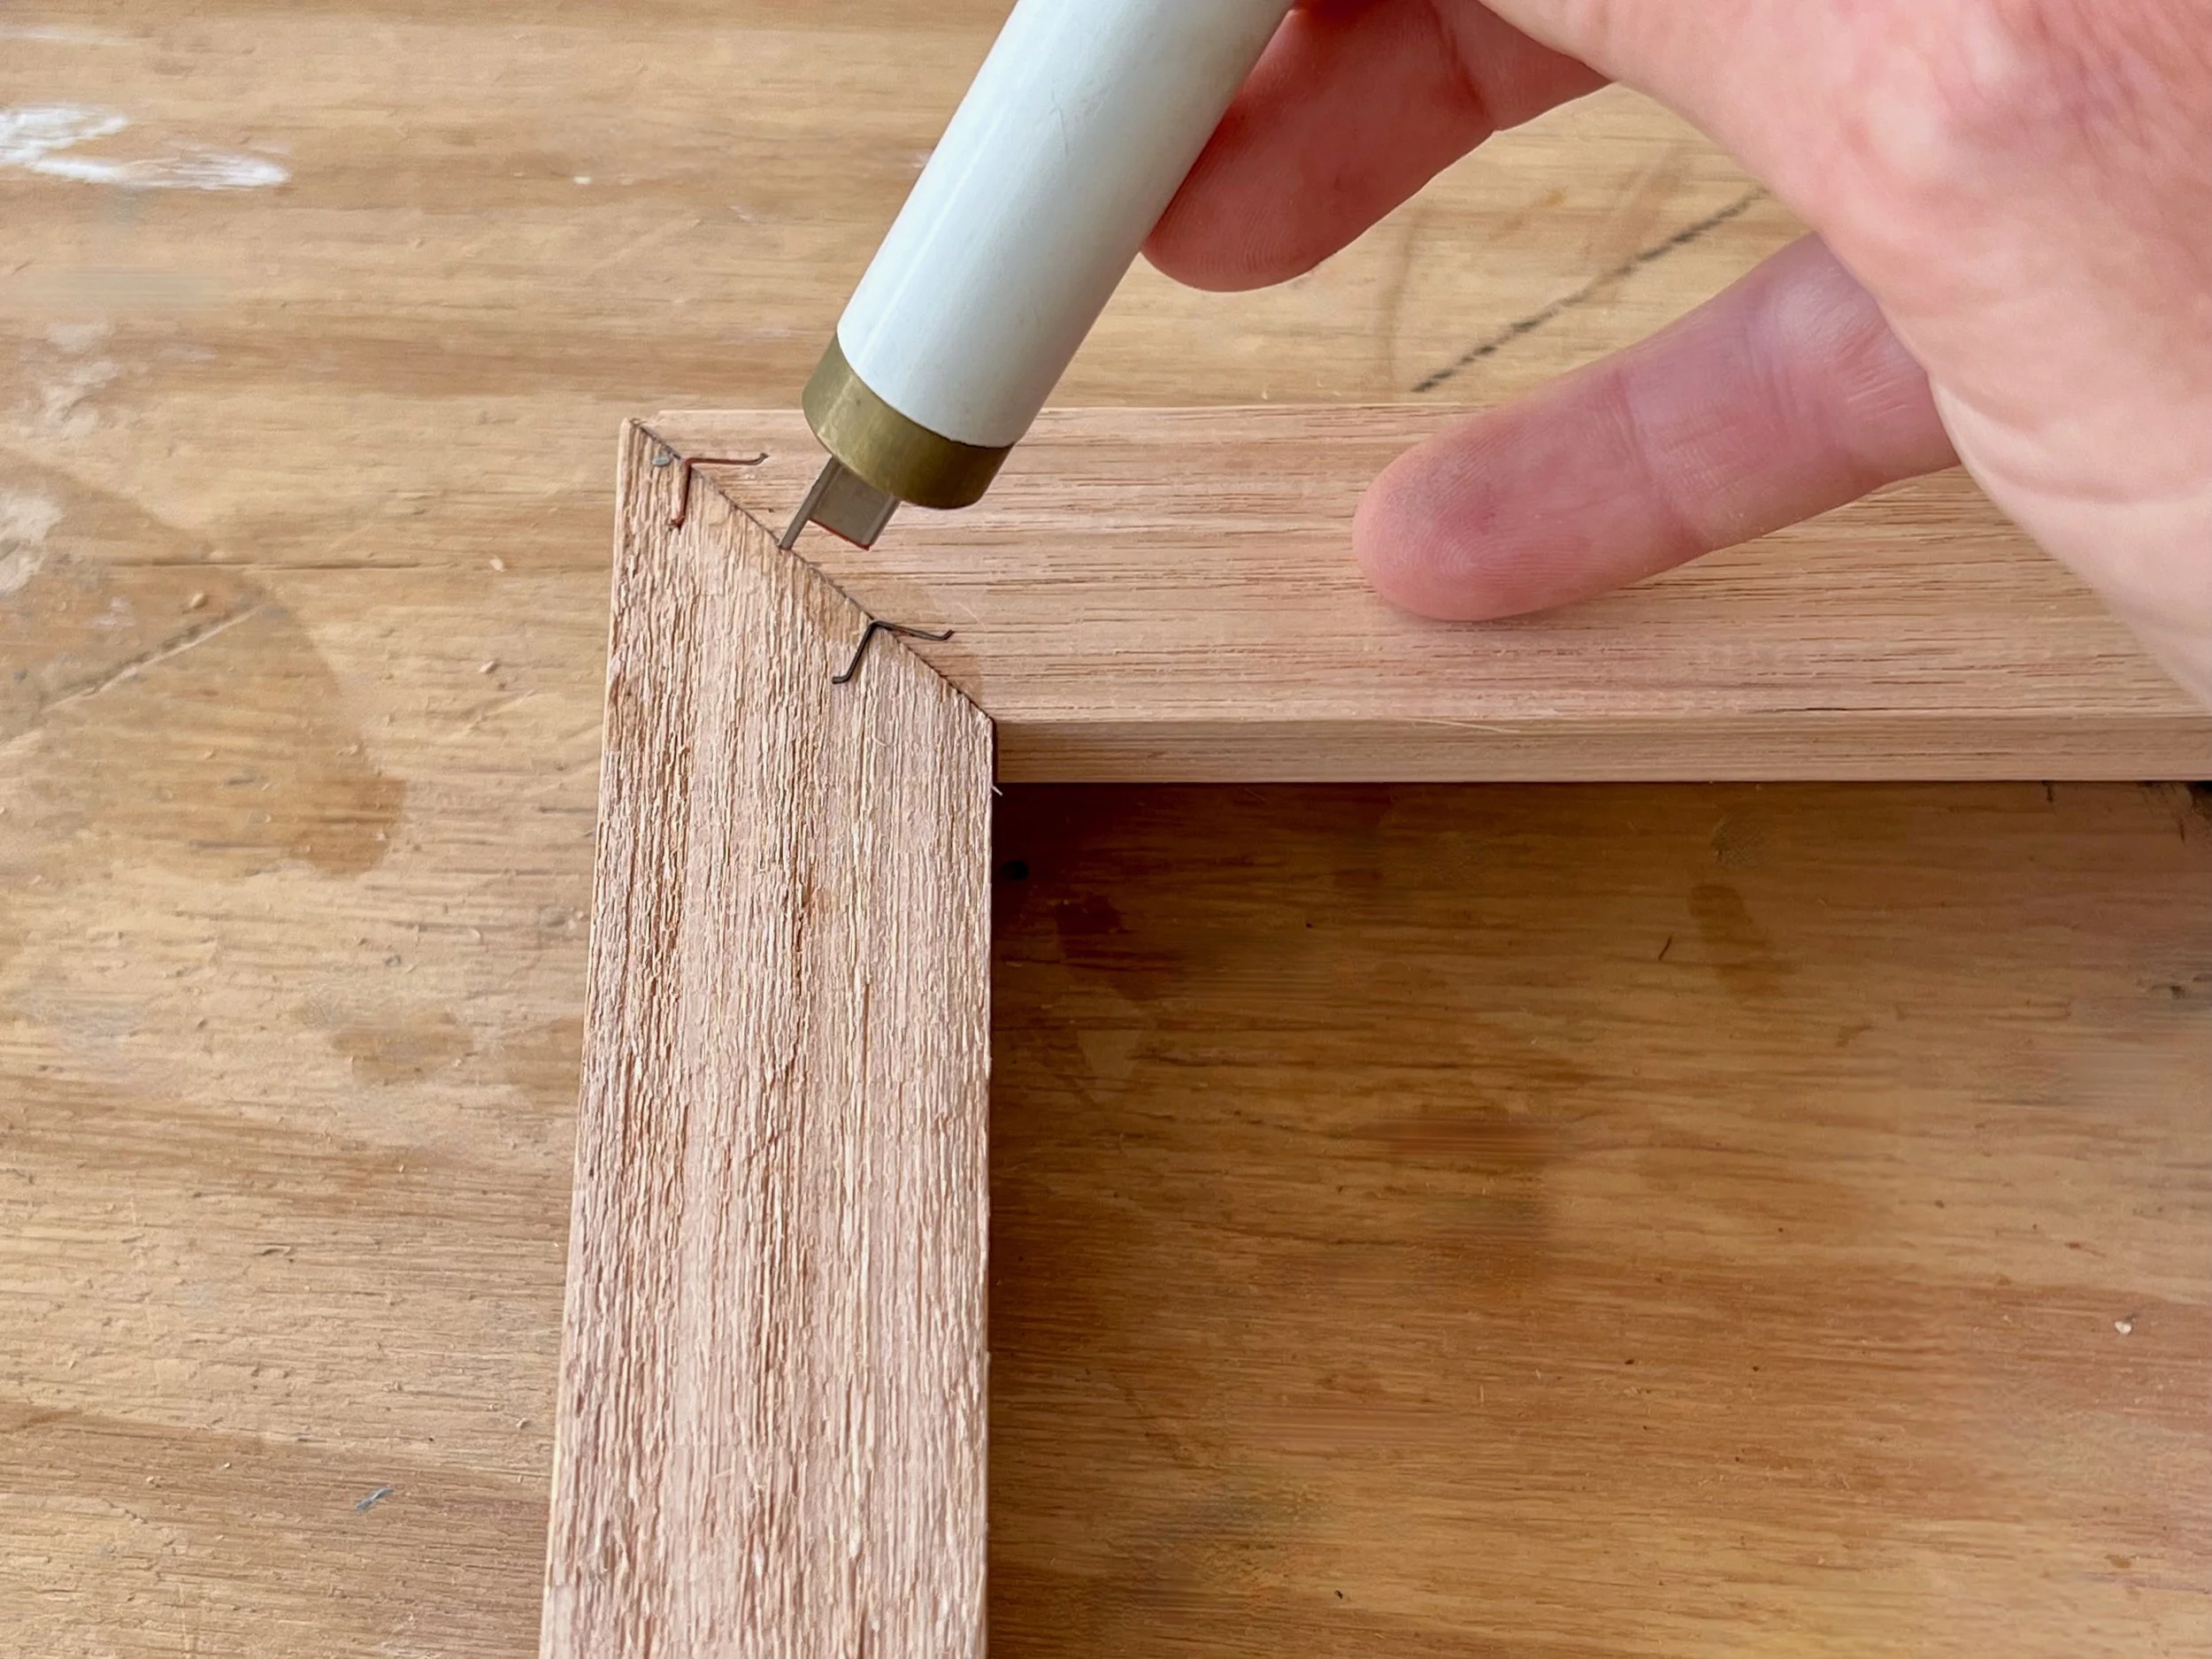
I used two quick-grip clamps at the corner of the workbench to keep the frame from moving while tapping in V-nails with a magnetic punch tool and rubber mallet. The nails reinforce the joints but could be replaced with staples.
TIP I bought the nails and punch from a framing supplier. Try theartshop.com.au or similar to purchase online. If you can’t find a magnetic punch, tap the V-nails in directly using a small hammer.
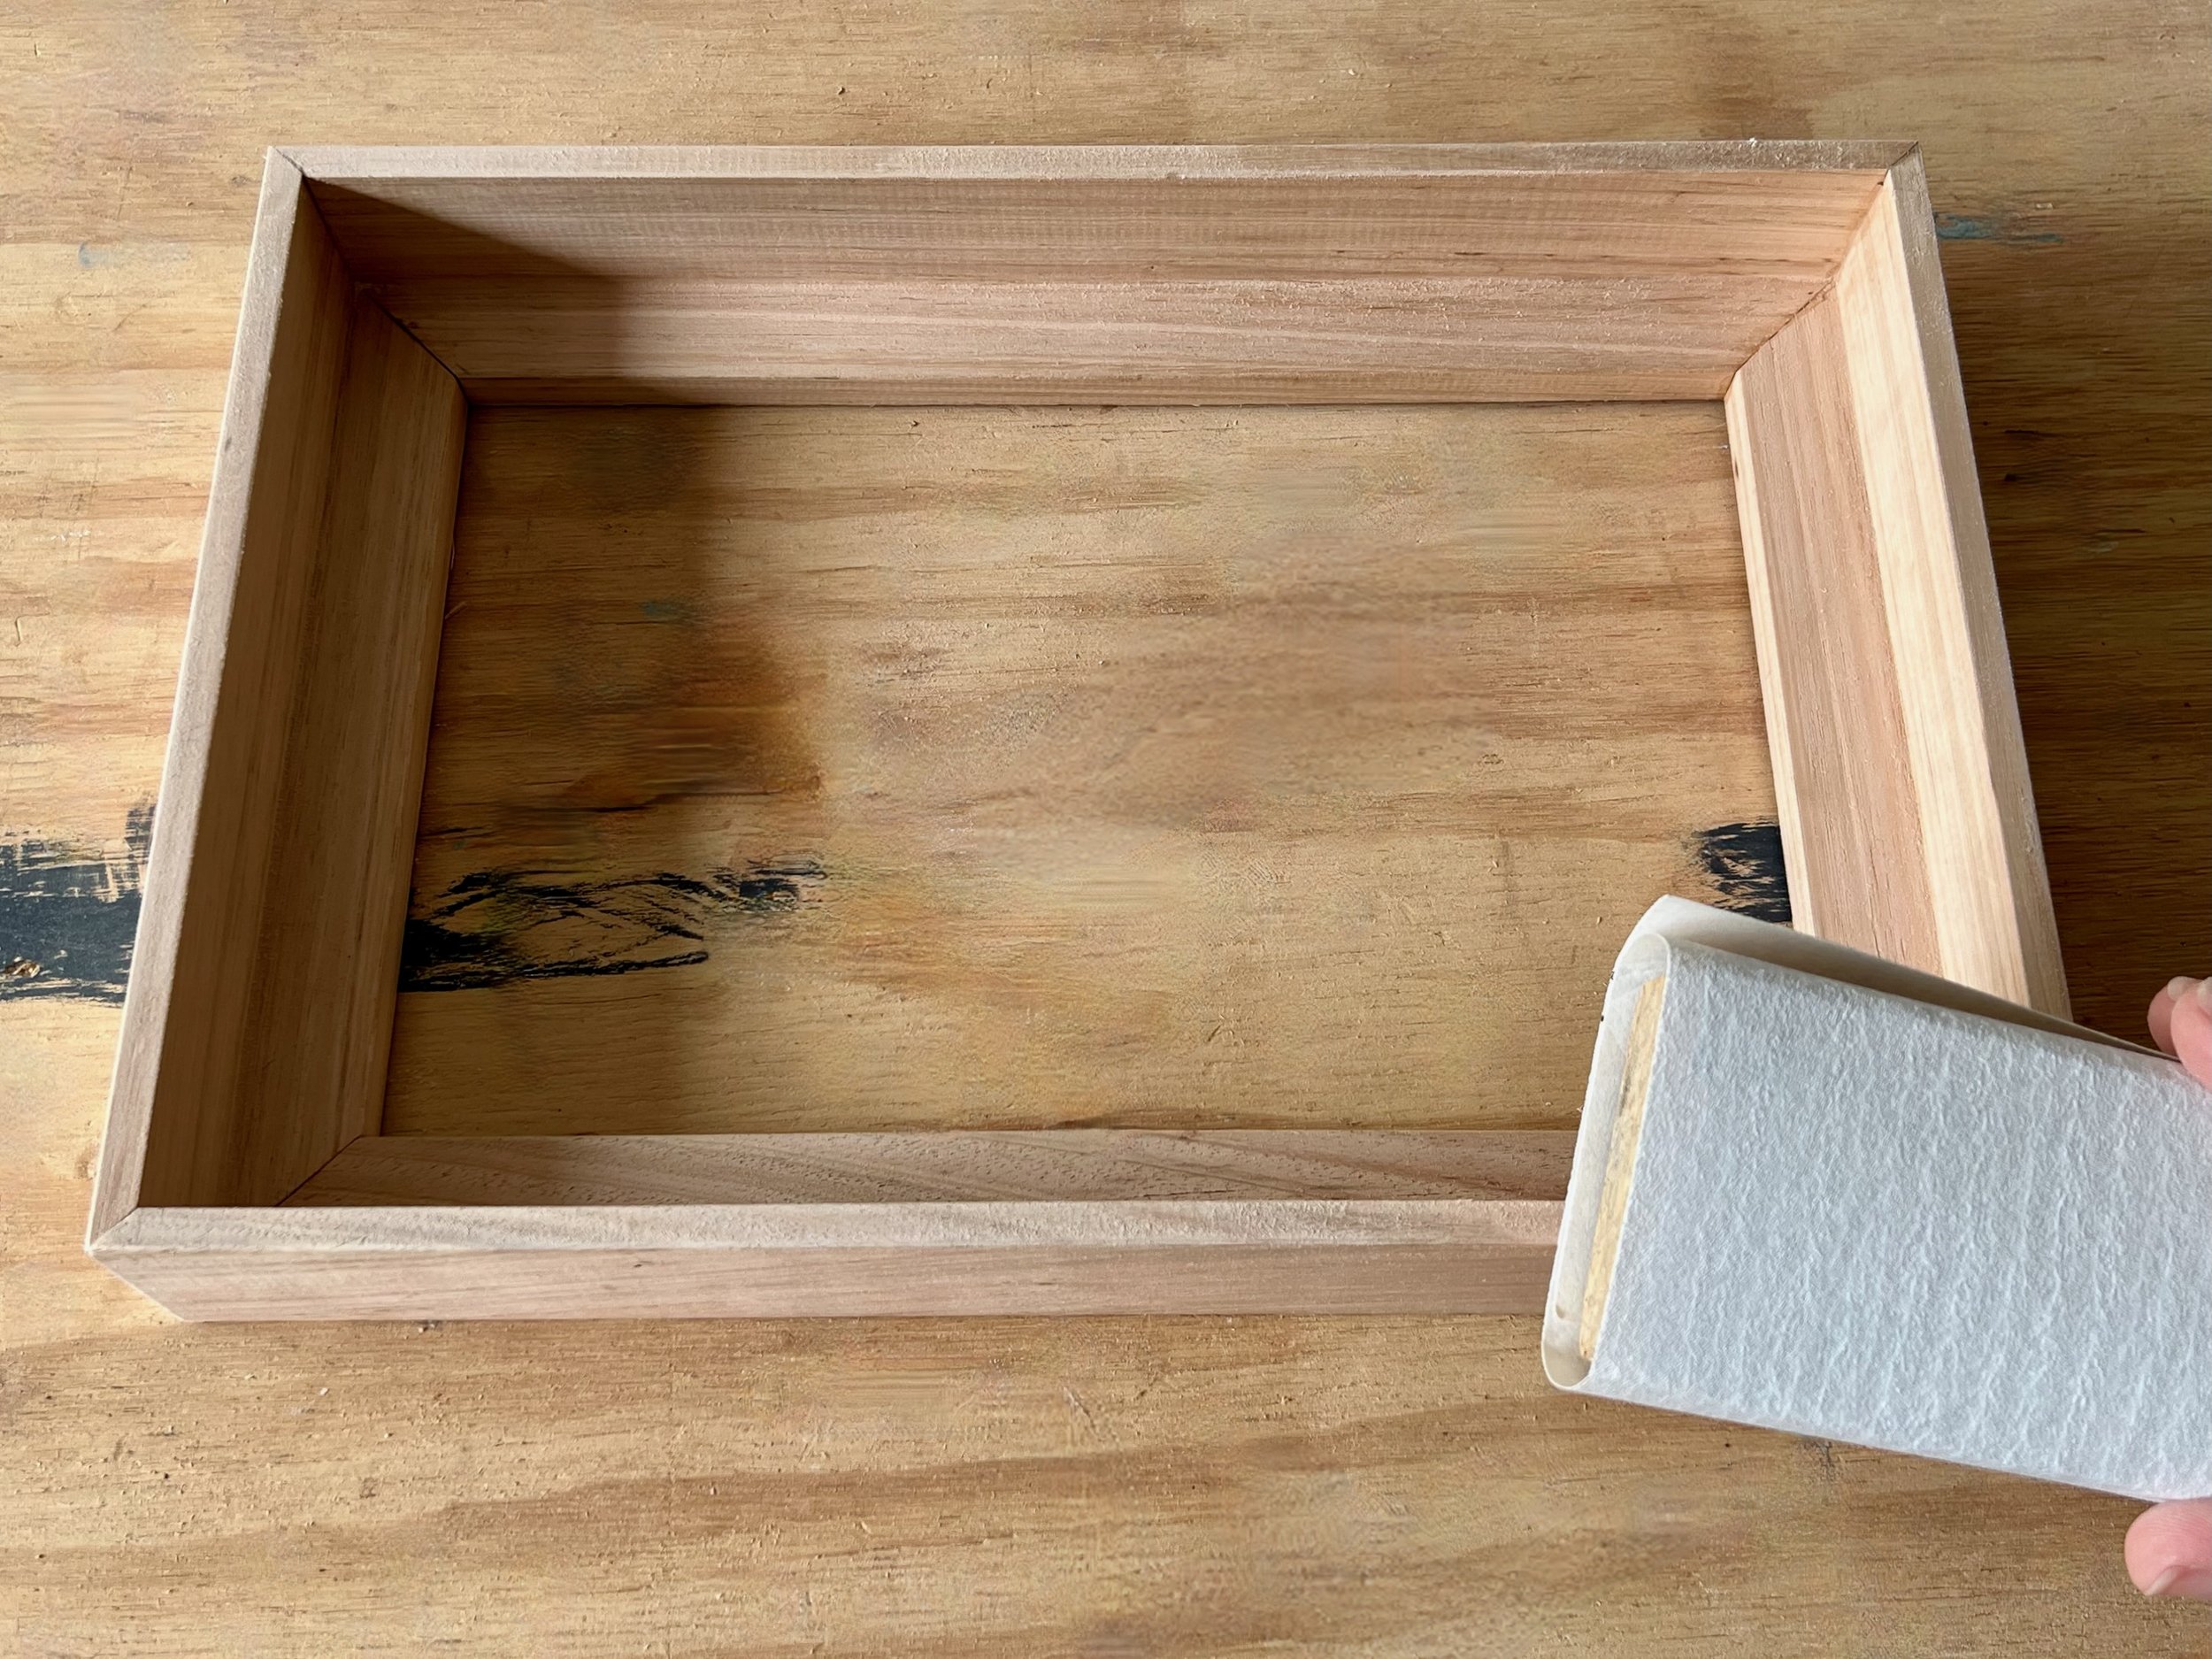
After removing the tape, I sanded all over with 180-grit abrasive paper, rounding over the edges and corners slightly and smoothing away any dents or splinters.
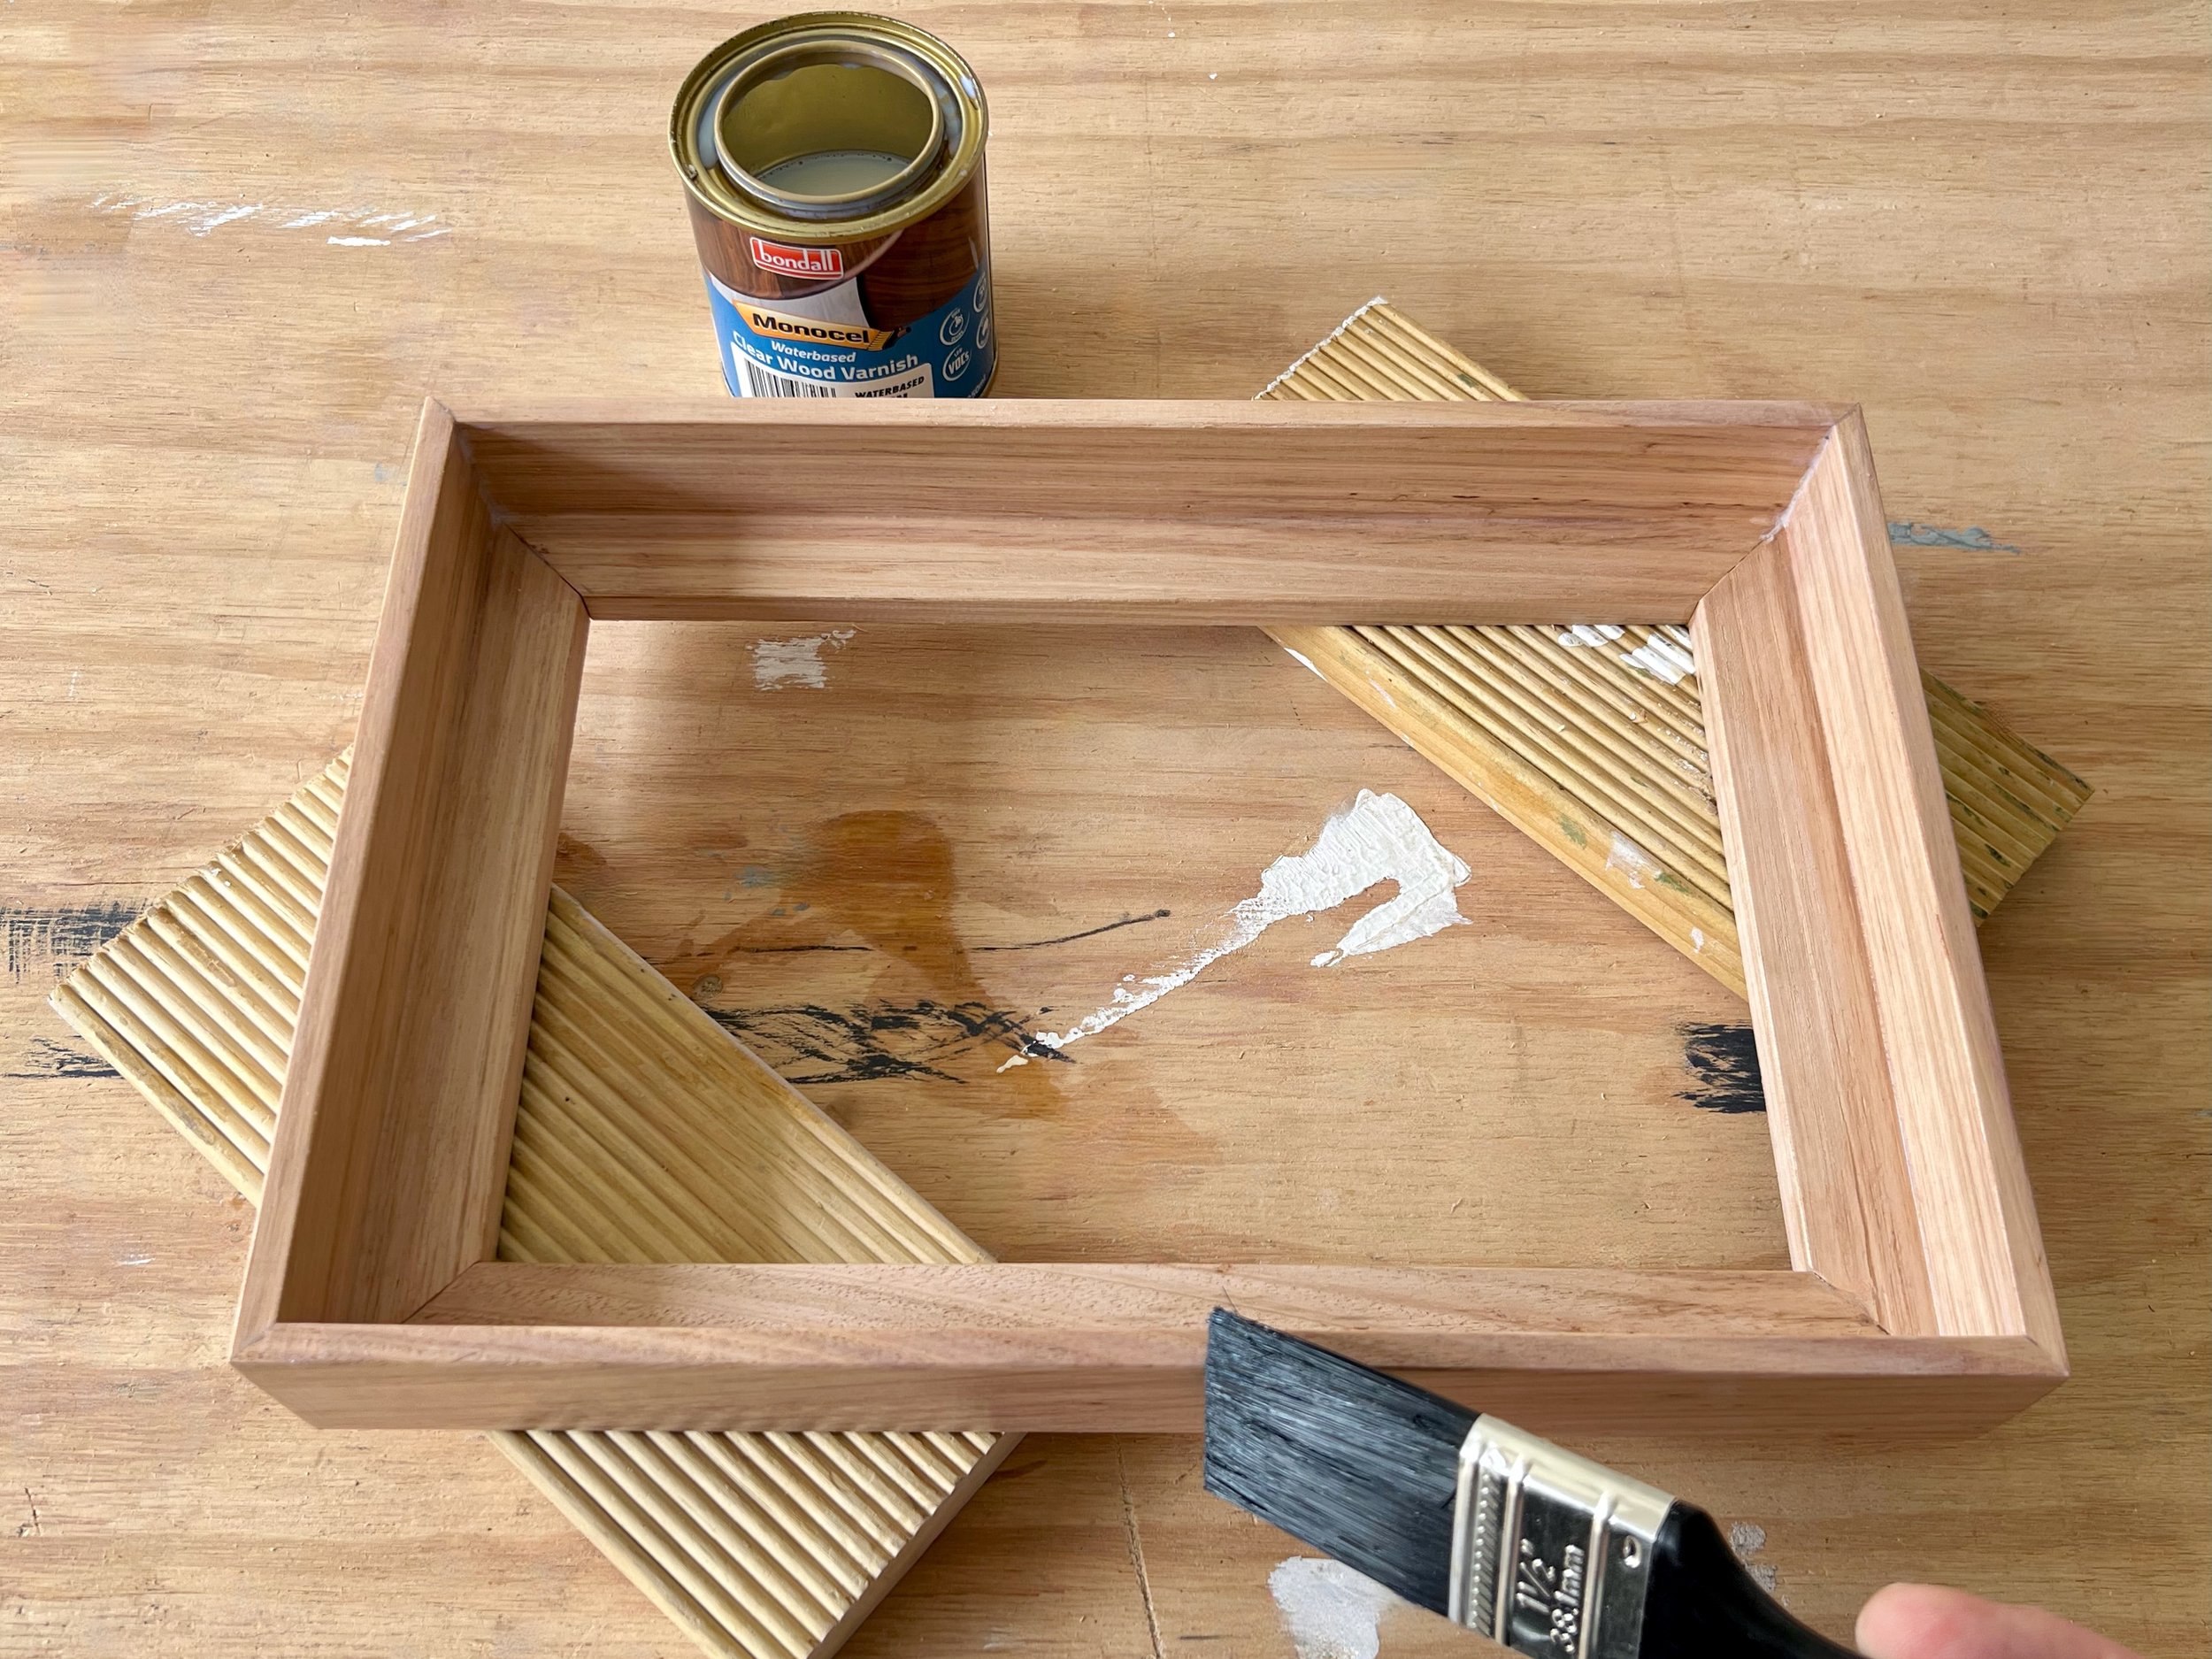
To seal the timber, I set the frame on some offcuts and applied two coats of Monocel Waterbased Clear Wood Varnish for a lovely matt finish that dries quickly without changing the tone of the timber.
TIP Be sure to stir the varnish first and use a small brush that fits into the tin.
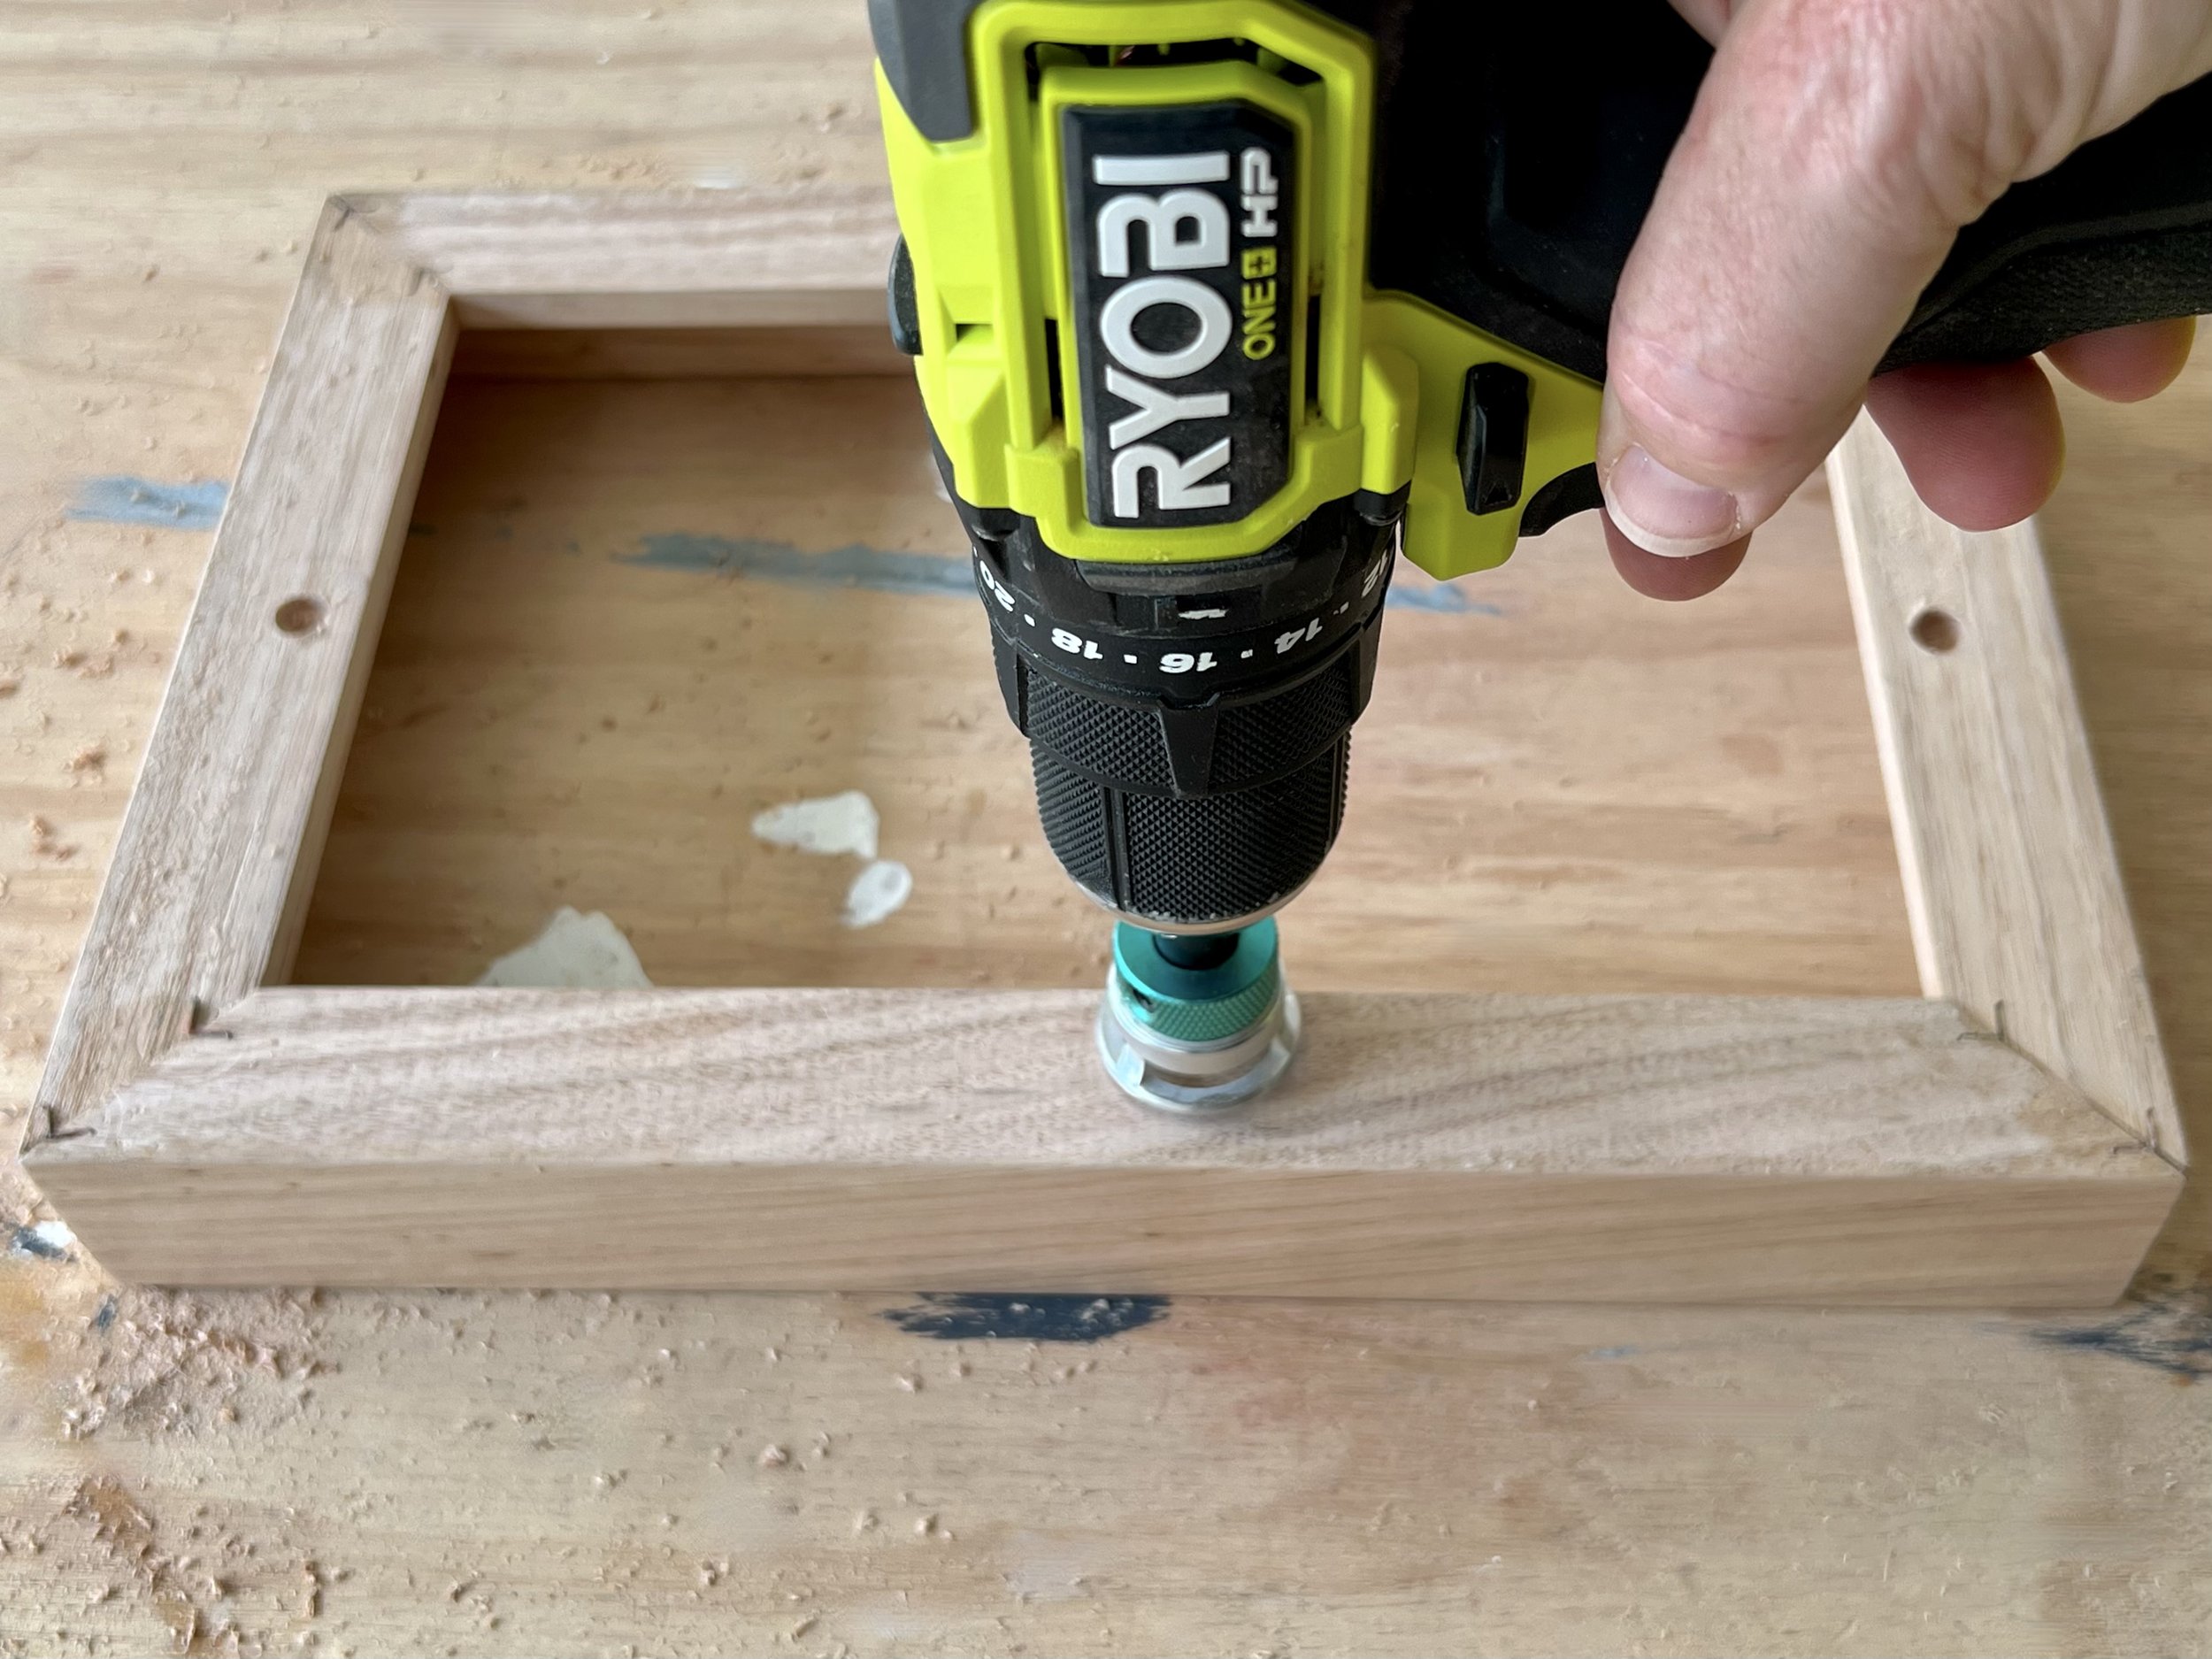
Working from the back of the frame, I used an 8G countersinking bit to pre-drill holes through the sides and ends, finishing the holes with a longer 3mm bit.
TIP Countersinking the screws ensures the frame sits flat against the wall. My bit has a depth-stop collar but, if you’re starting out, pick up a set of combined pilot drill and countersinking bits for about $23. Match the bit to the screws you’ll be using. For this project, use the 8G bit with 8G x 30mm screws.
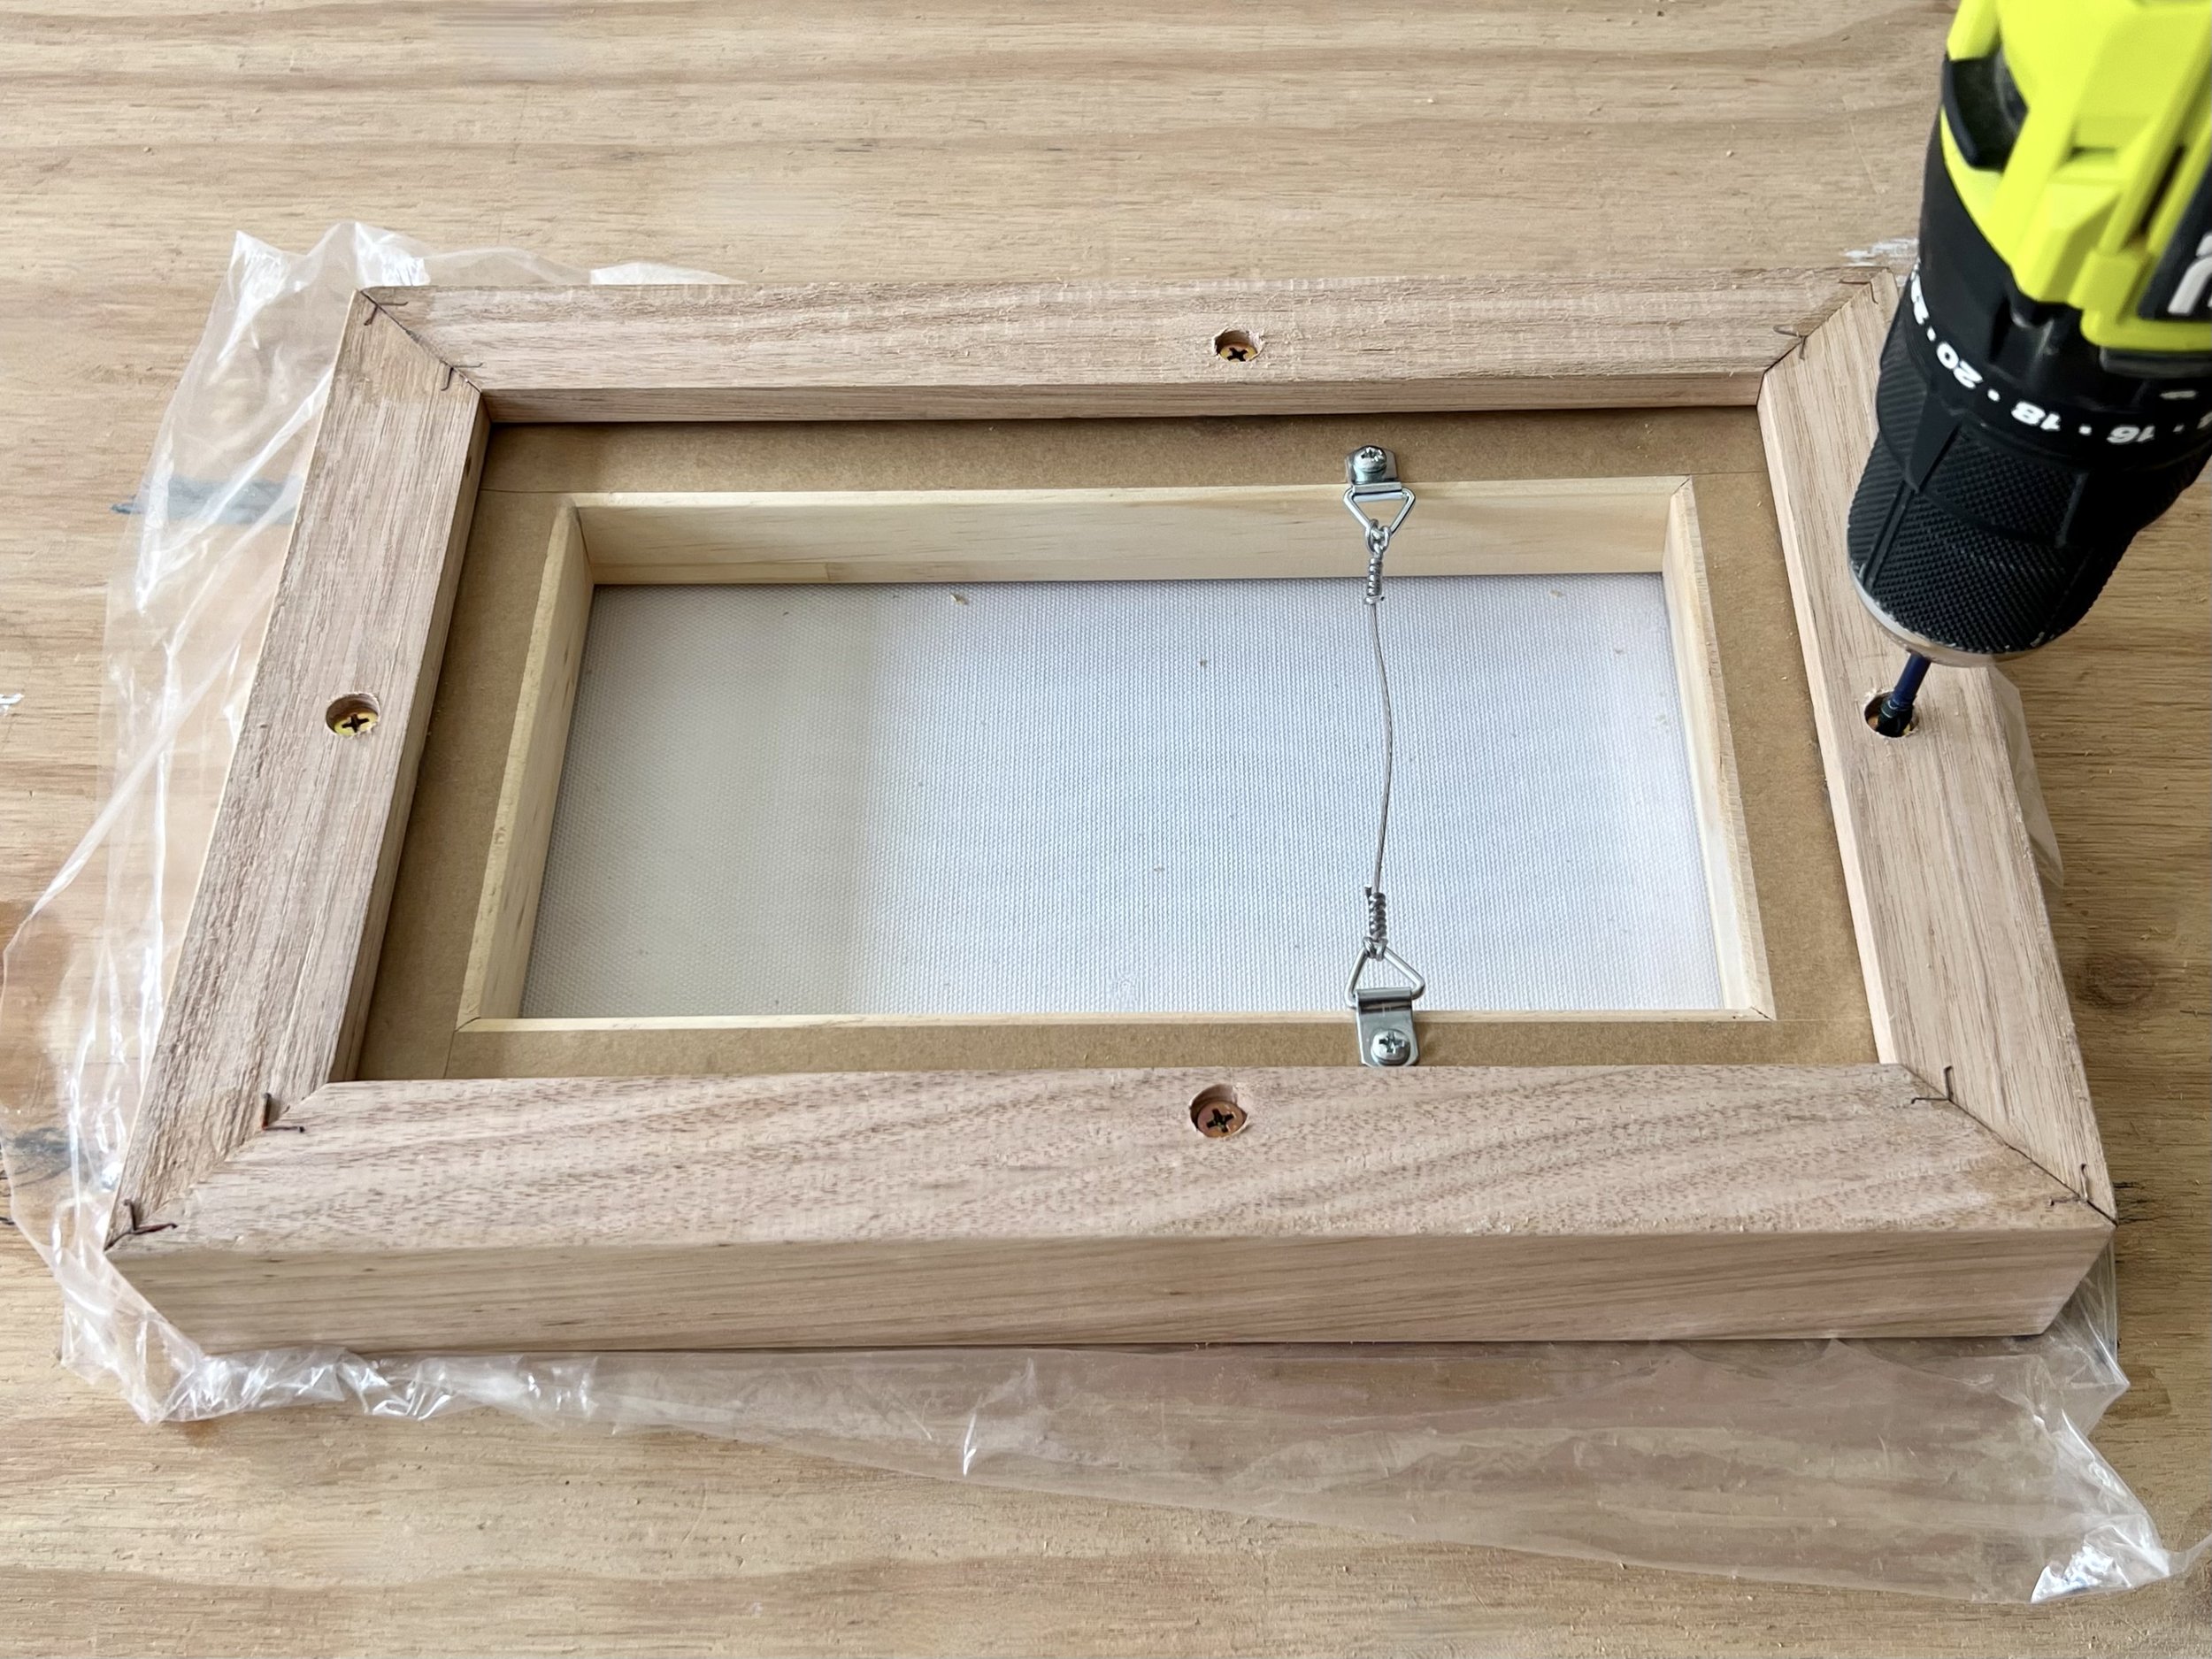
I placed the canvas in the frame with an even shadow line all around, then flipped it to secure 30mm screws through the frame and into the stretcher bars.
TIP Check your screws are not so long they will puncture the canvas. Work on a clean, dust-free surface to avoid damaging the artwork.

If your canvas isn’t ready to hang, pick up a DIY kit for a few dollars to install D-rings and wire with the supplied screws.

Do you have artwork that needs framing?
Tag me on your project and follow more of my #howtoDIY journey on Instagram for tool tips, home improvement and simple building projects.