Climbing plant stake
Natasha Dickins
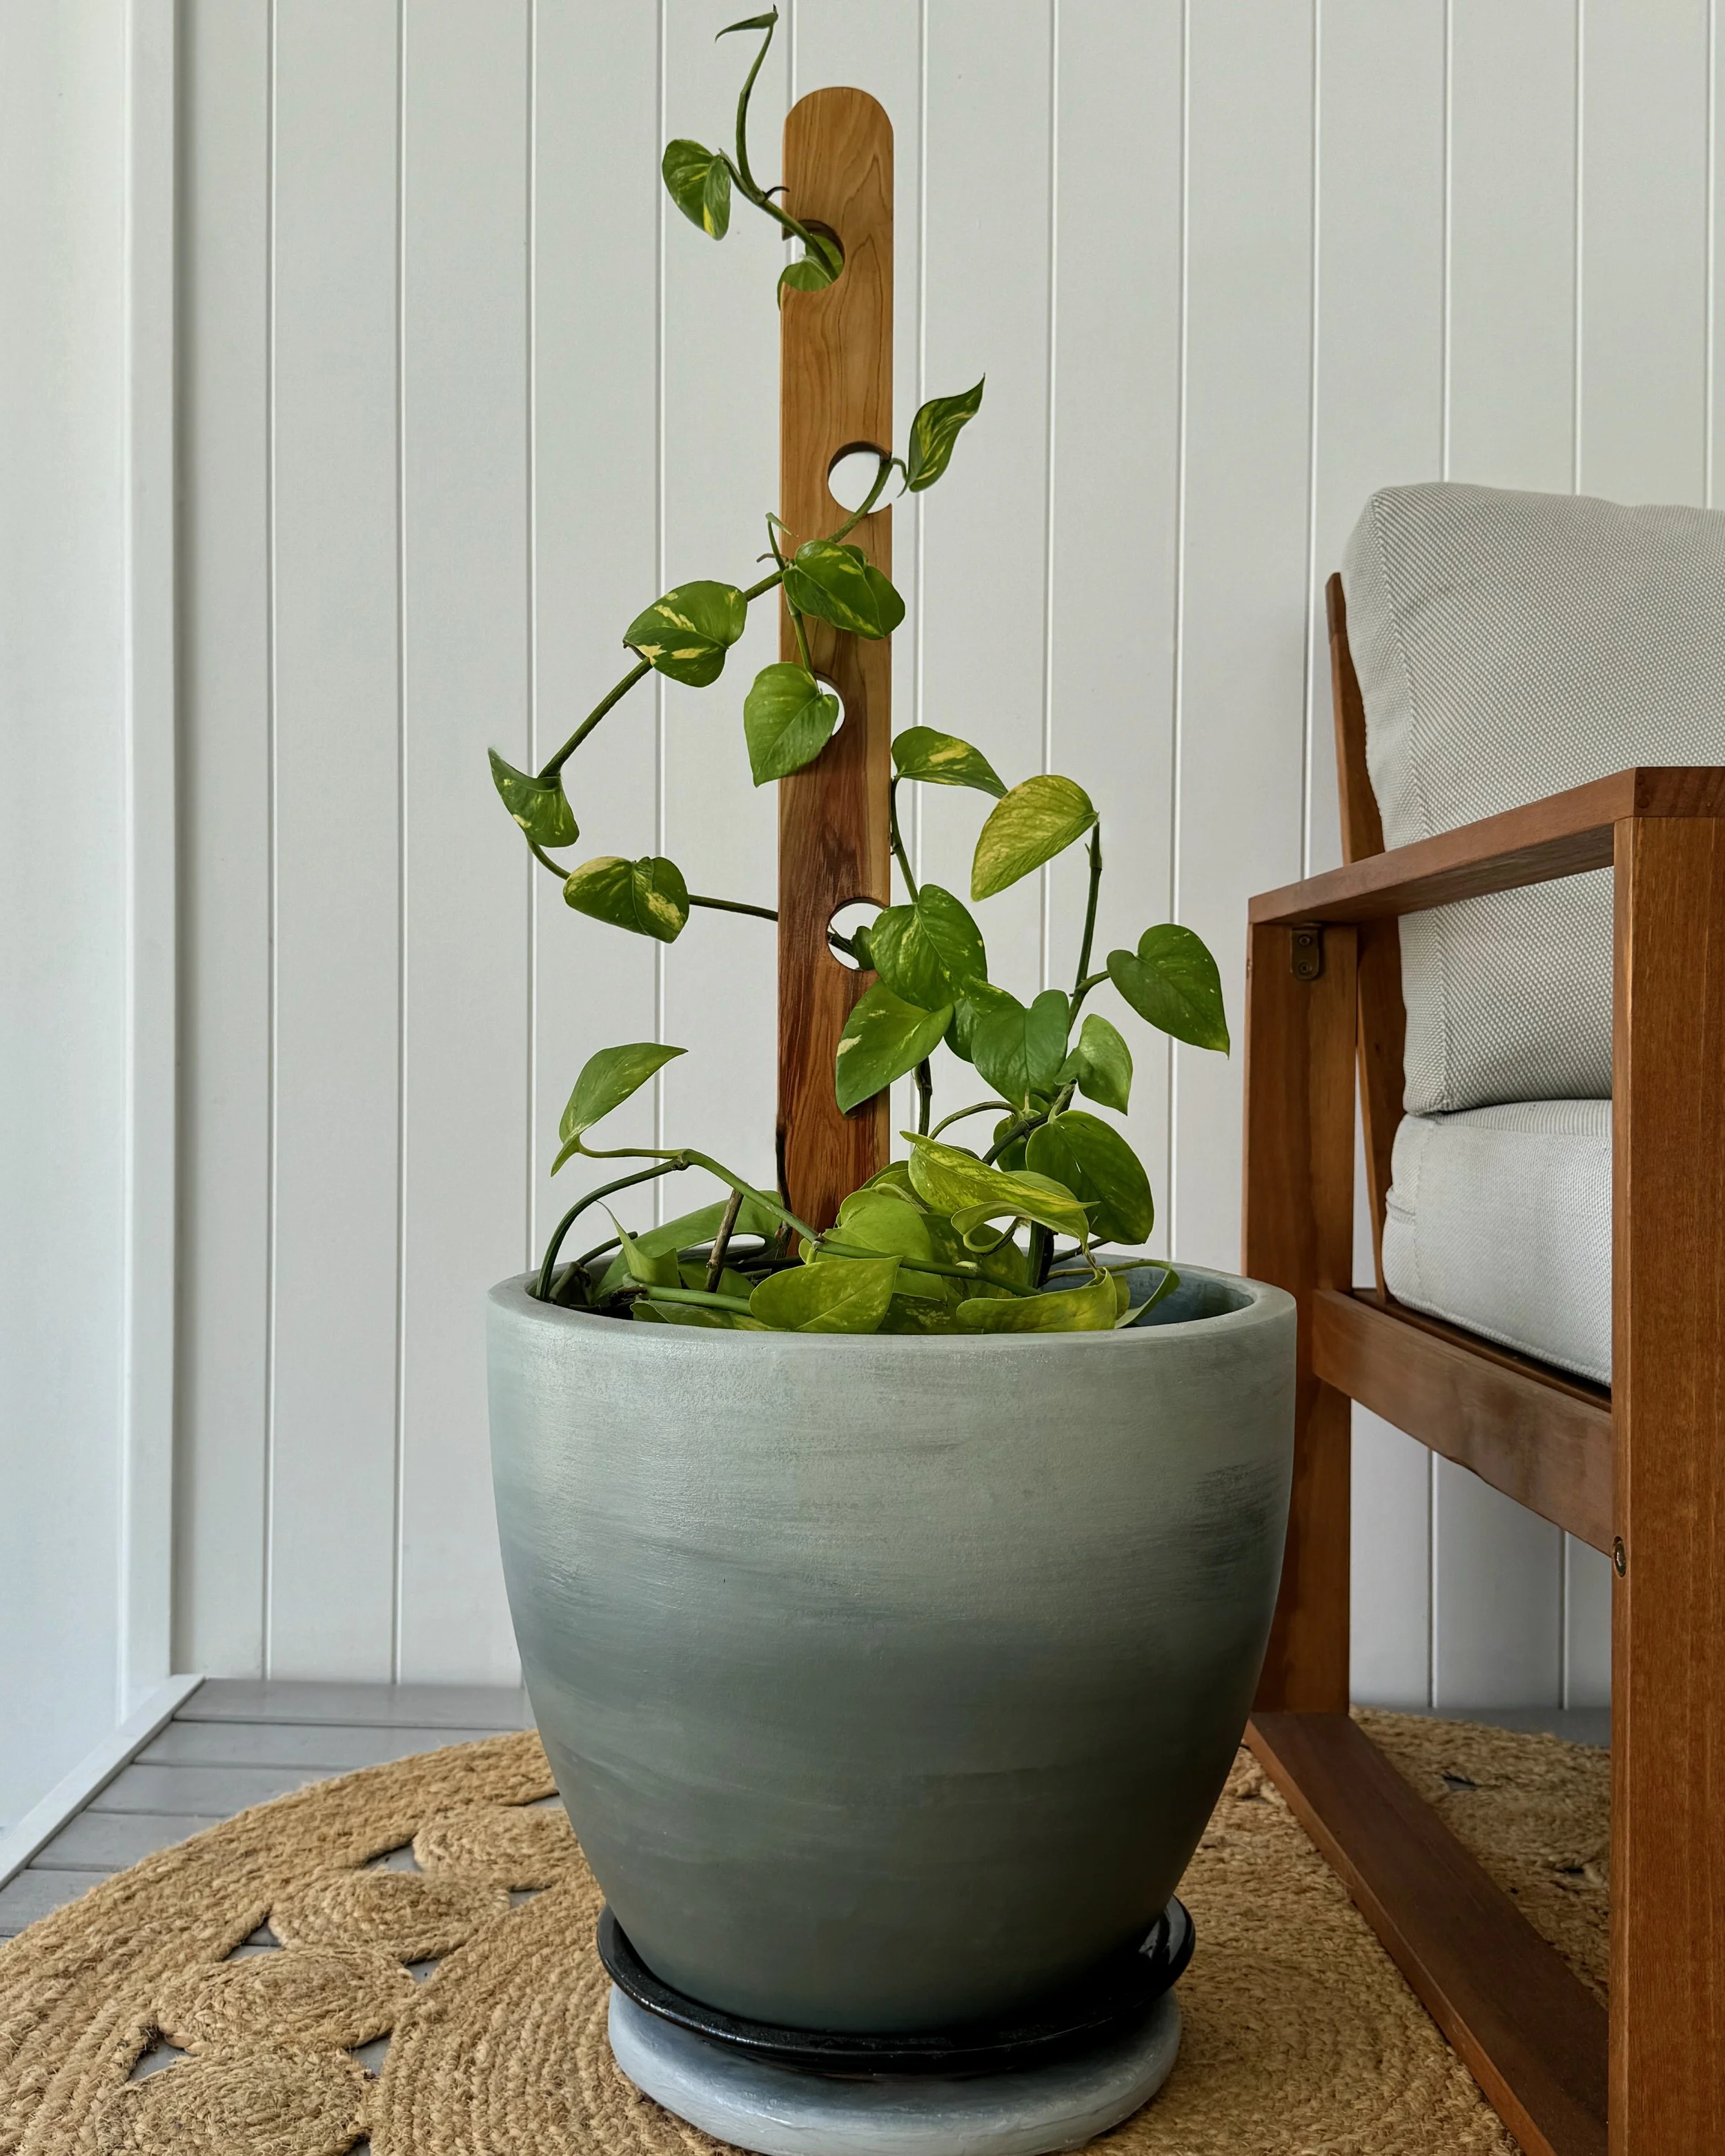
My overgrown devil’s ivy needed some inspiration to branch out, so I repotted it into a bigger vessel.
Then I used some simple woodworking techniques to upcycle a fence picket into a trellis, giving my plant a climbing option.
“The spike is sealed with bitumen coating to prevent toxins from leeching into the soil while protecting the timber from moisture damage. The top is sealed in marine-grade varnish to keep it looking good.”
WHAT YOU NEED
• Monocel Gold aerosol in Gloss
• 900mm fence picket
• Ruler and pencil
• Combination square
• Jigsaw
• Quick-grip clamps
• Timber offcuts
• Drill
• 41mm holesaw with auger
• Orbital sander with 180-grit disc
• 180-grit sandpaper
• Cloth
• Bondall In-Ground Timber Protector
• Paintbrush
• Cardboard
• Climbing plant in a pot
MARK UP THE ENDS
To mark out the curved top, I positioned the spray can at the top of the picket and traced around it. At the base, I marked the middle of the picket and 150mm up, then used a ruler to mark diagonal lines for the stake.
TIP If your picket is longer than 900mm, cut it to size with a jigsaw before marking up.
MARK THE HOLES
Using a ruler and combination square, I marked 100mm down from the top and 15mm in from the left. From this, I marked 130mm down and 15mm in from the right, then repeated to mark two more locations for the holes on alternate sides.
JIGSAW THE ENDS
Working over the edge of the bench, I used a jigsaw to cut around the marks at the top to make a nice curve and along the diagonal lines at the base to create a spike.

DRILL THE HOLES
I used two quick-grip clamps to secure the picket onto timber offcuts to protect the bench. Then I set up my drill with a 41mm holesaw, positioned the auger (the centre drill bit) on the marks to drill right through.
SAND ALL OVER
I used an orbital sander with 180-grit disc to round over the curved end and smooth out the cuts along the spike, then a piece of sandpaper to smooth into the holes and remove the sharp edges.
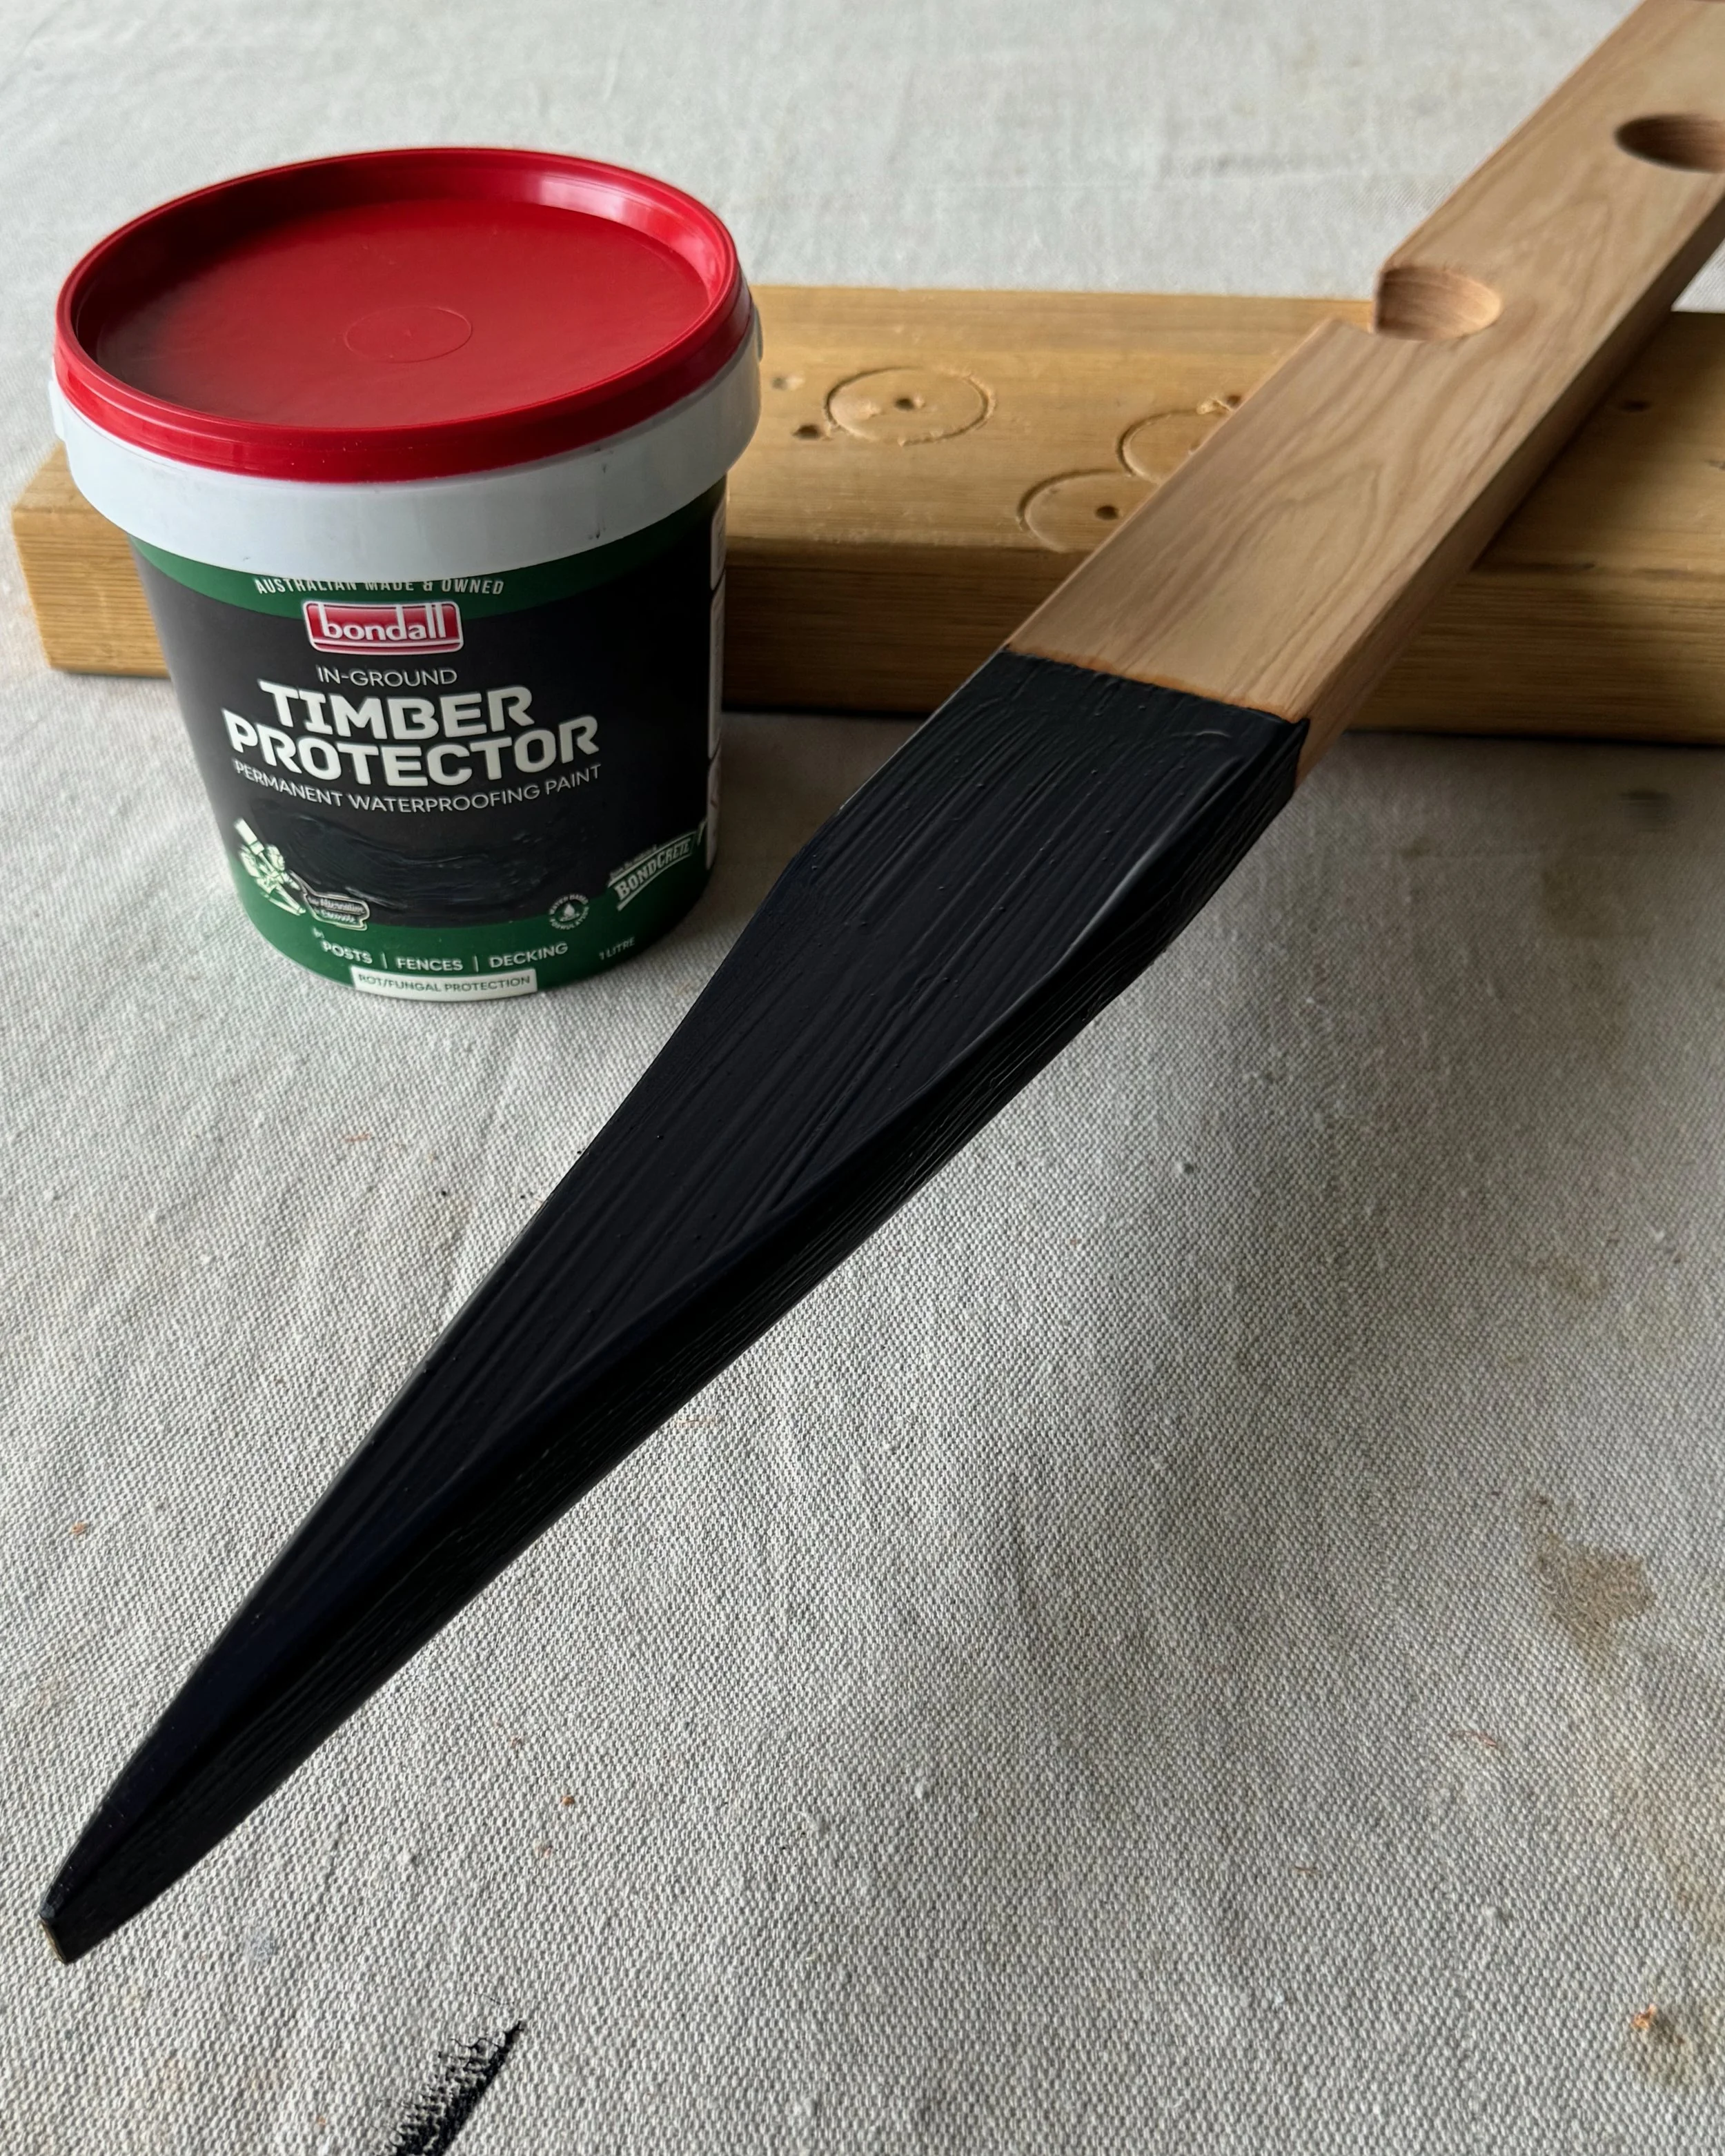
SEAL THE SPIKE
After wiping away the dust with a cloth, I applied Bondall In-Ground Timber Protector, a waterproofing paint, with a brush to coat the spike on all sides, left it to dry then applied another coat and left it to dry overnight.
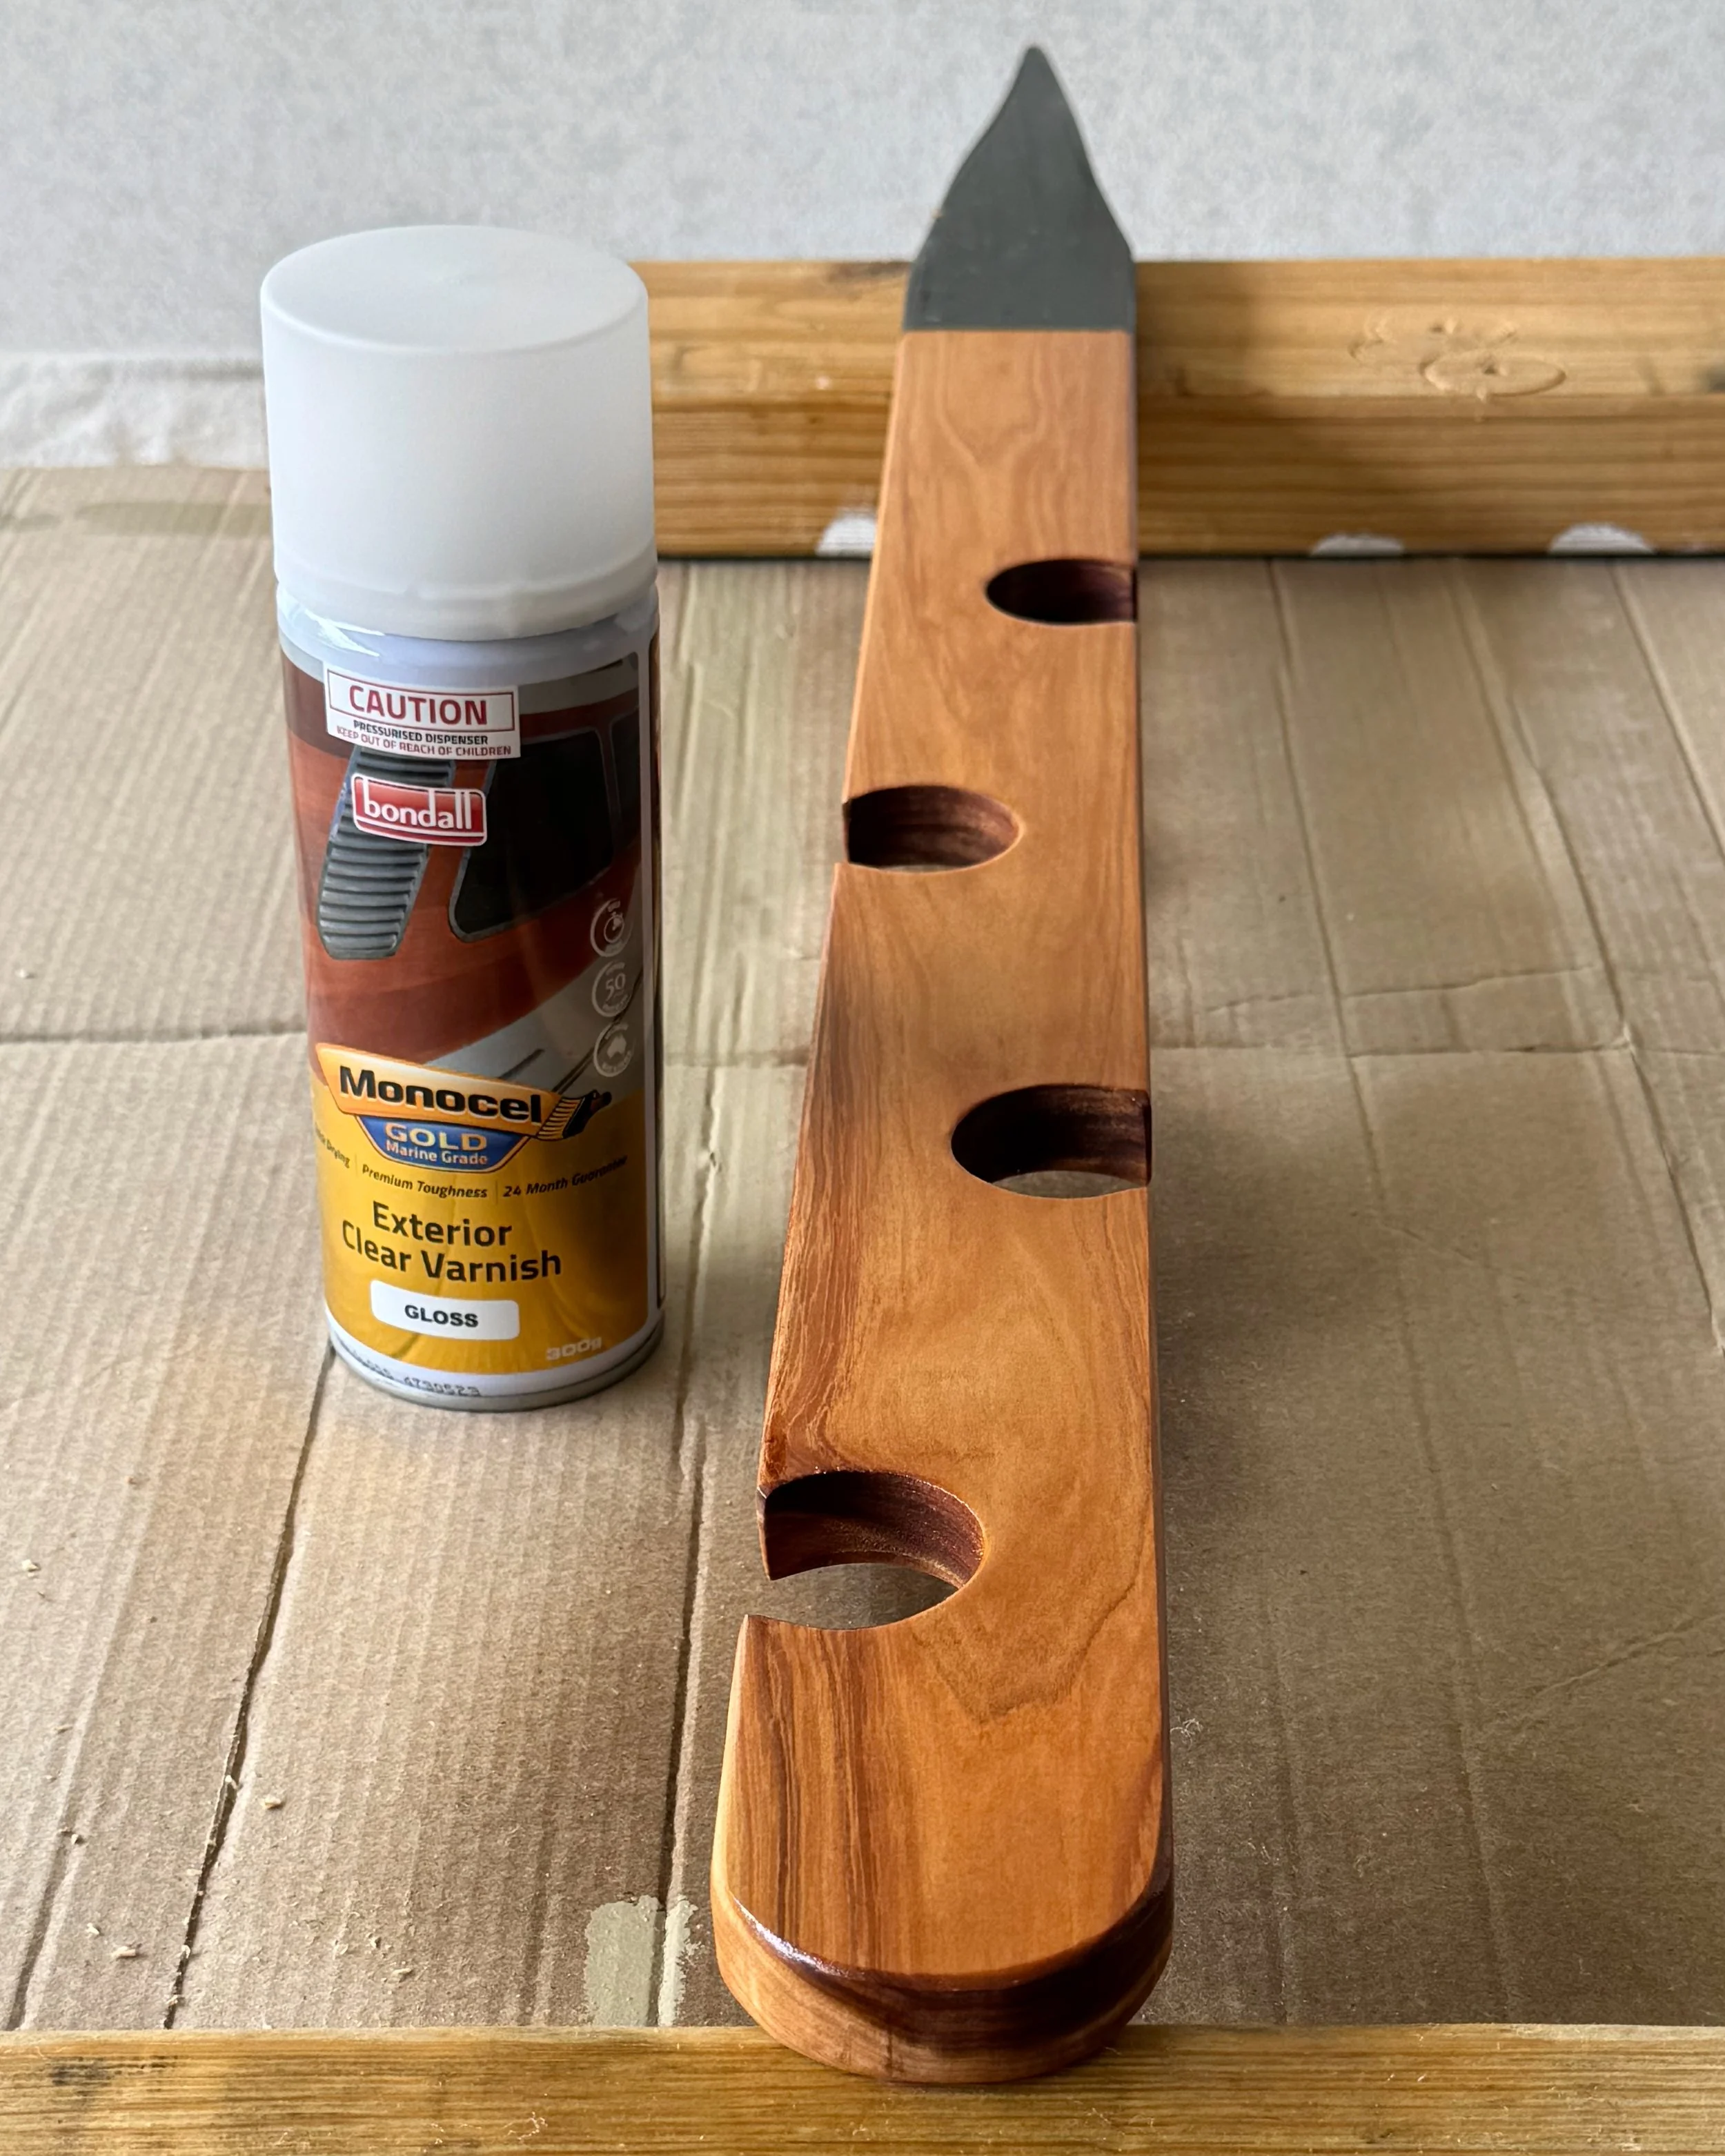
SEAL THE PICKET
I set out cardboard to protect the bench from overspray then sprayed Monocel Gold aerosol in Gloss over the top section, being sure to seal into the holes. I left it for an hour then applied a second coat and left it to dry overnight before staking it into a potted plant.
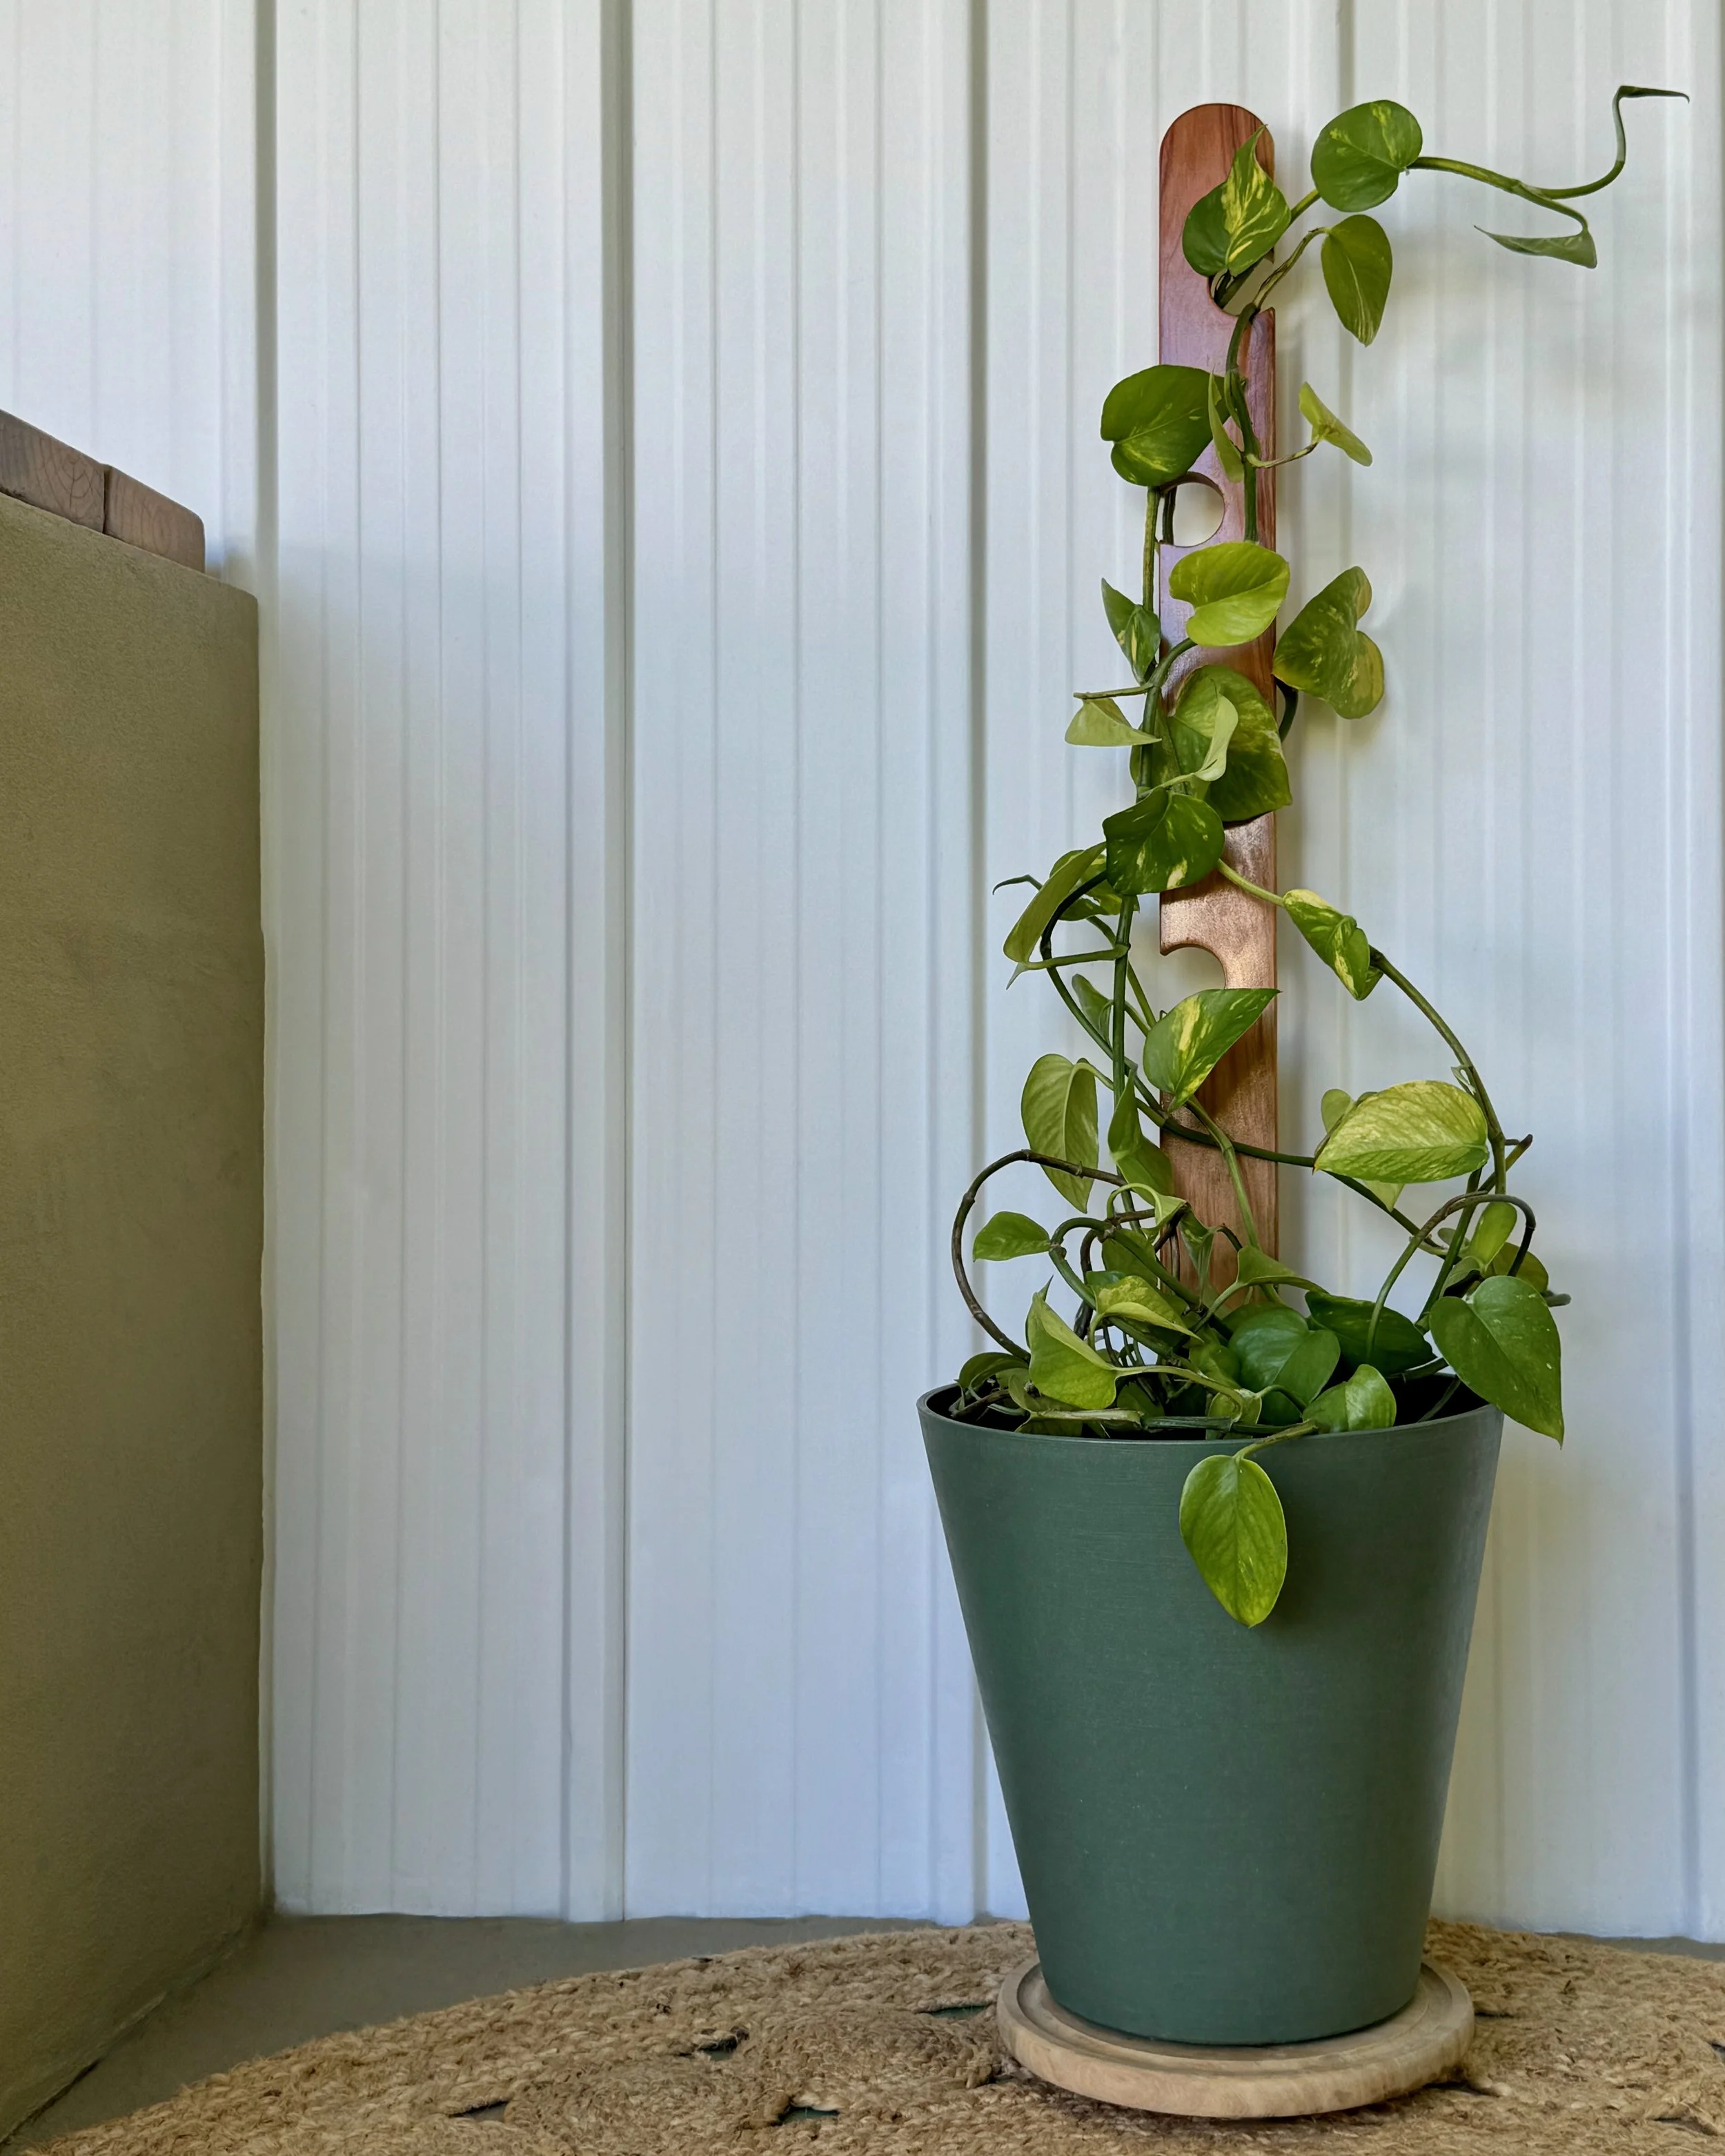
STYLE THE PLANT
Push the stake into the soil towards the back of the pot then arrange the tendrils up through the holes.

Has this project inspired you to upcycle a fence picket?
Tag me on your project and follow more of my DIY journey on Instagram for tool tips, home improvement and simple building tutorials.