Revive Outdoor Furniture
Natasha Dickins

All the rain in the past year means our backyard and decking area has been constantly damp. As a result, all the hard surfaces have developed mould.
With spring on the way, I decided to spruce up the outdoor furniture so it looks clean again and to prevent further weathering.
TIP This method is for exterior-grade timbers such as teak. Don’t soak indoor furniture with water or deck cleaner.
“When restoring outdoor timber furniture, make sure the cleaning and sealing products you choose are specifically for exterior use so they combat UV and moisture damage.”

As the original coating wore away from my outdoor setting, UV light oxidised the tannins, breaking down the natural glues of the timber in a process that attracts mould. The result is weathered timber with mouldy patches.

To do this project, I set up outside, in a well-ventilated area with drainage, then cleaned the bare frames with barbecue wipes to remove built-up grime, insect deposits and surface mould.
TIP Remove the cushions and any add-on fixtures, such as the drop-down leaves of a bar table.
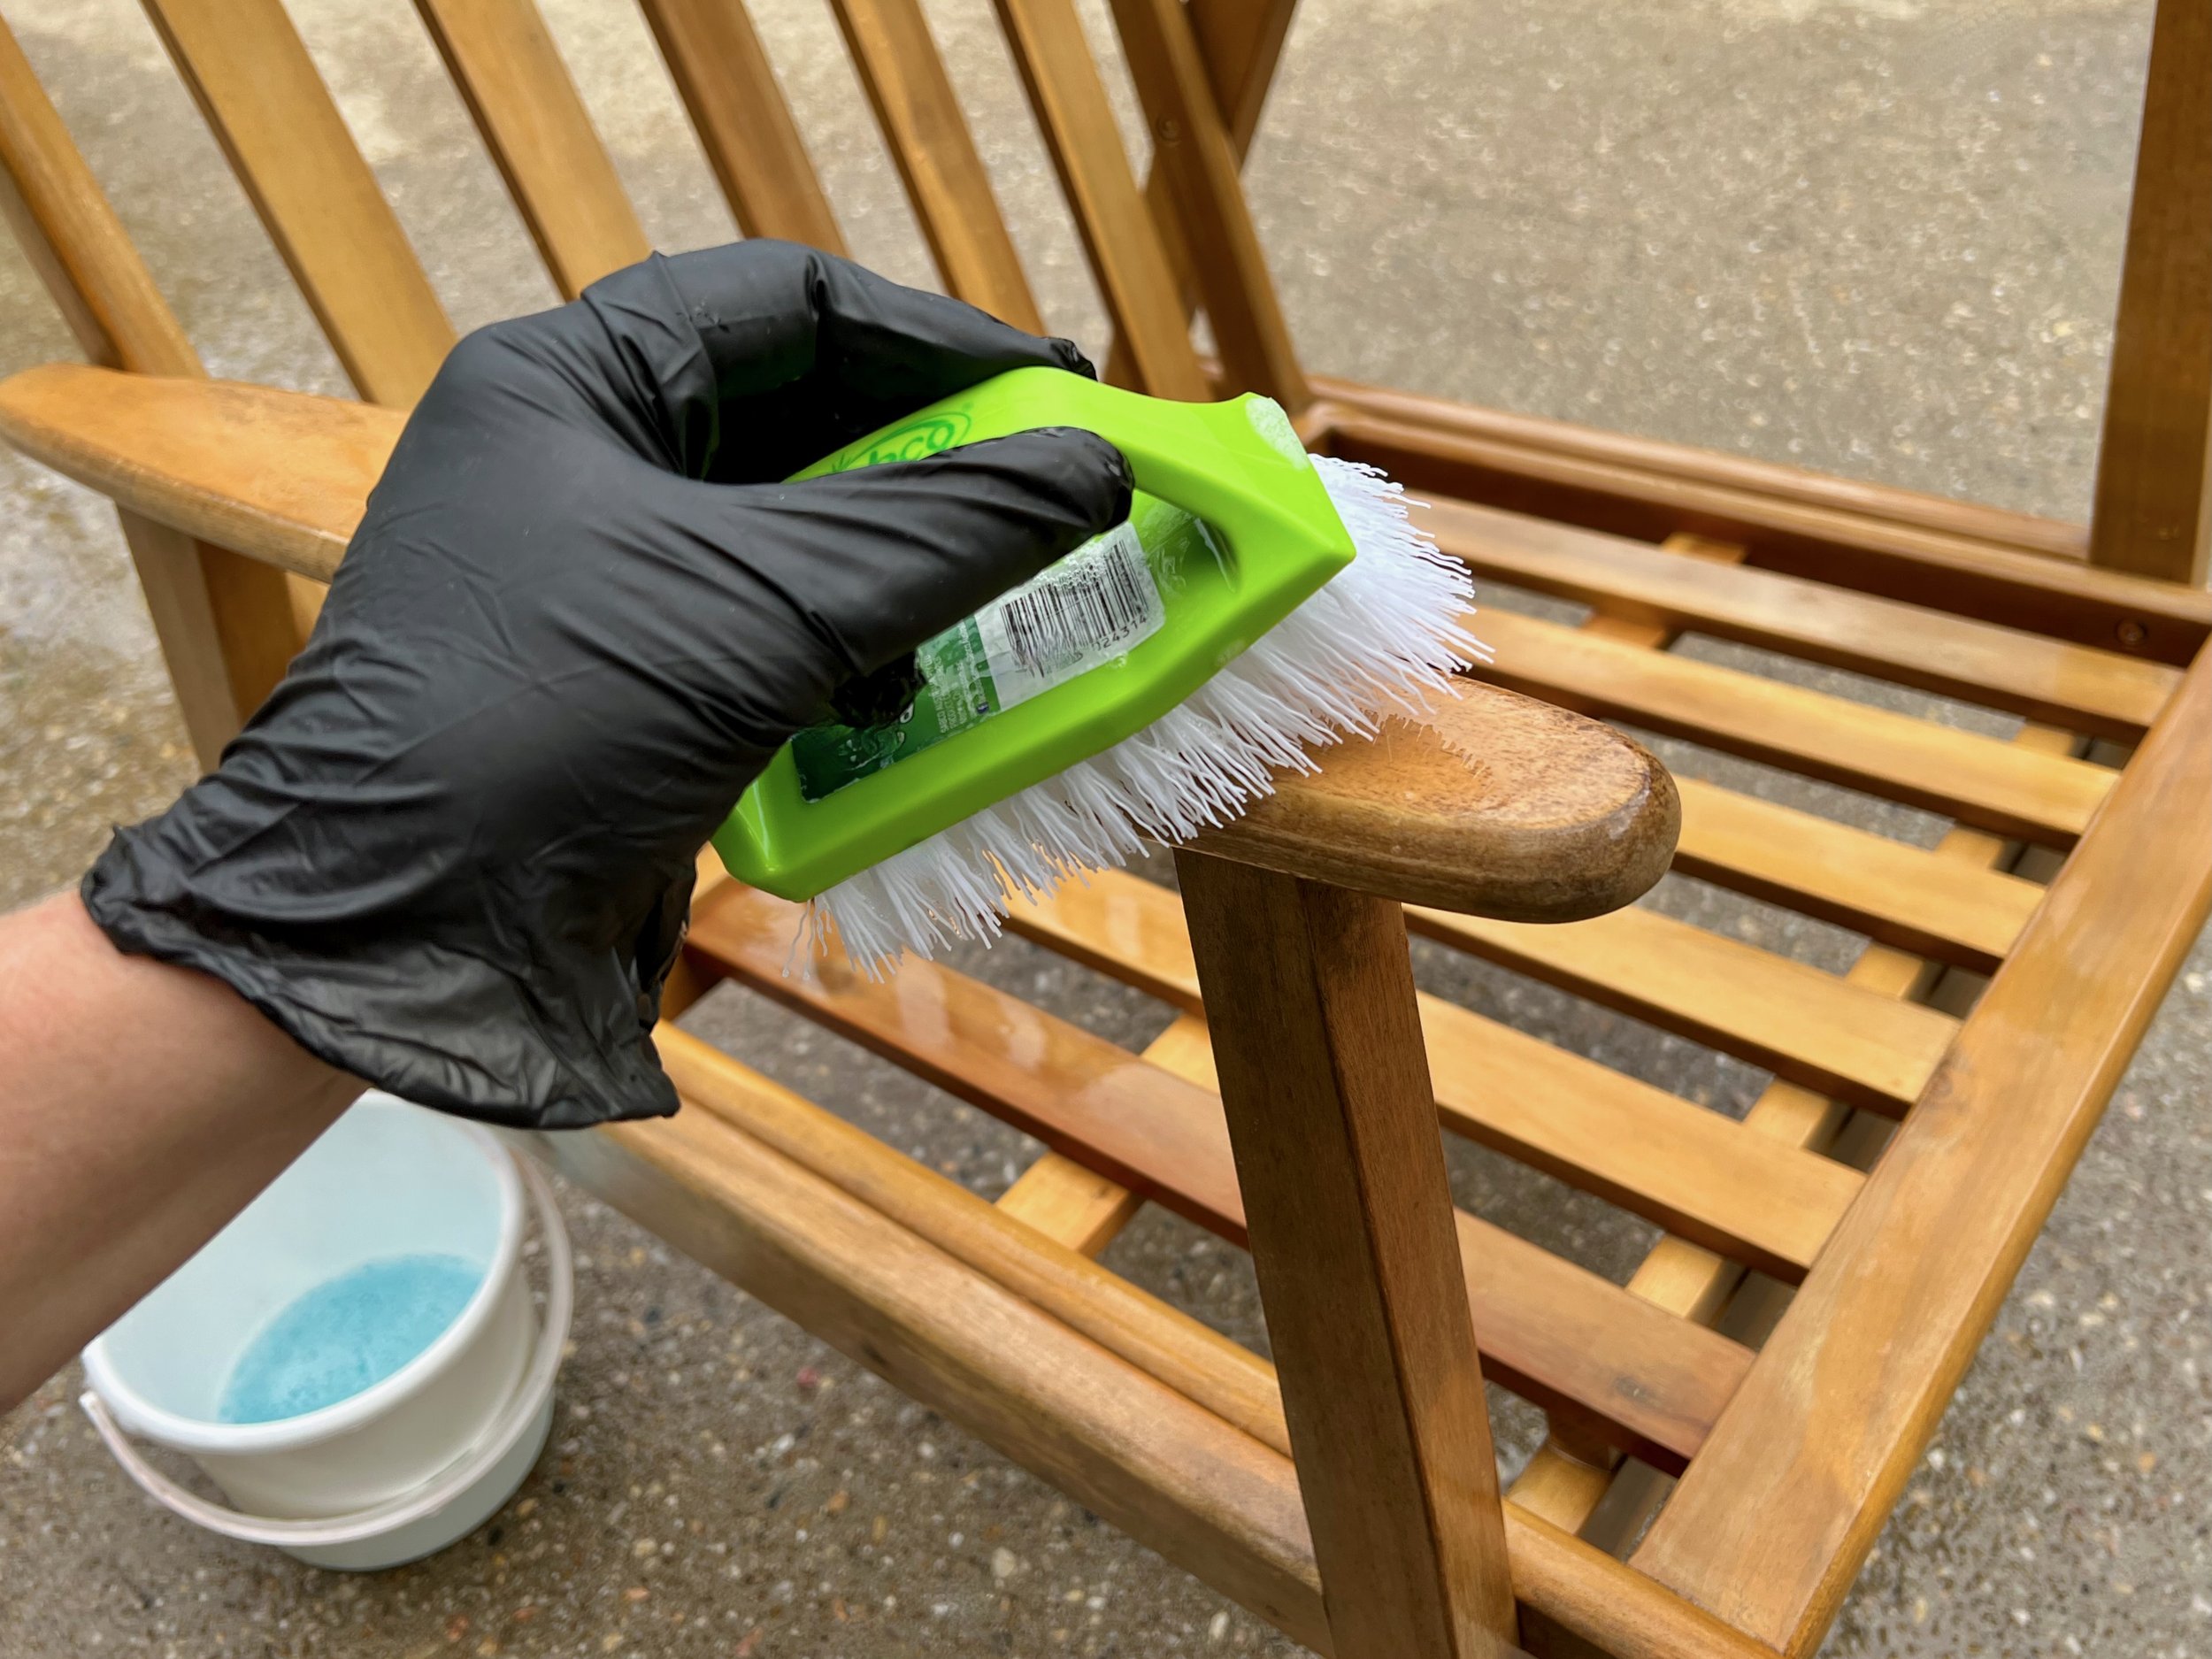
To prep the frames, I soaked them using a hose with a nozzle. In a small bucket, I used a measuring cup to mix one part deck-cleaning solution with three parts water, then applied with a scrubbing brush, working it into the blackened areas.
TIP I mixed up about a quarter cup of deck cleaner per armchair.
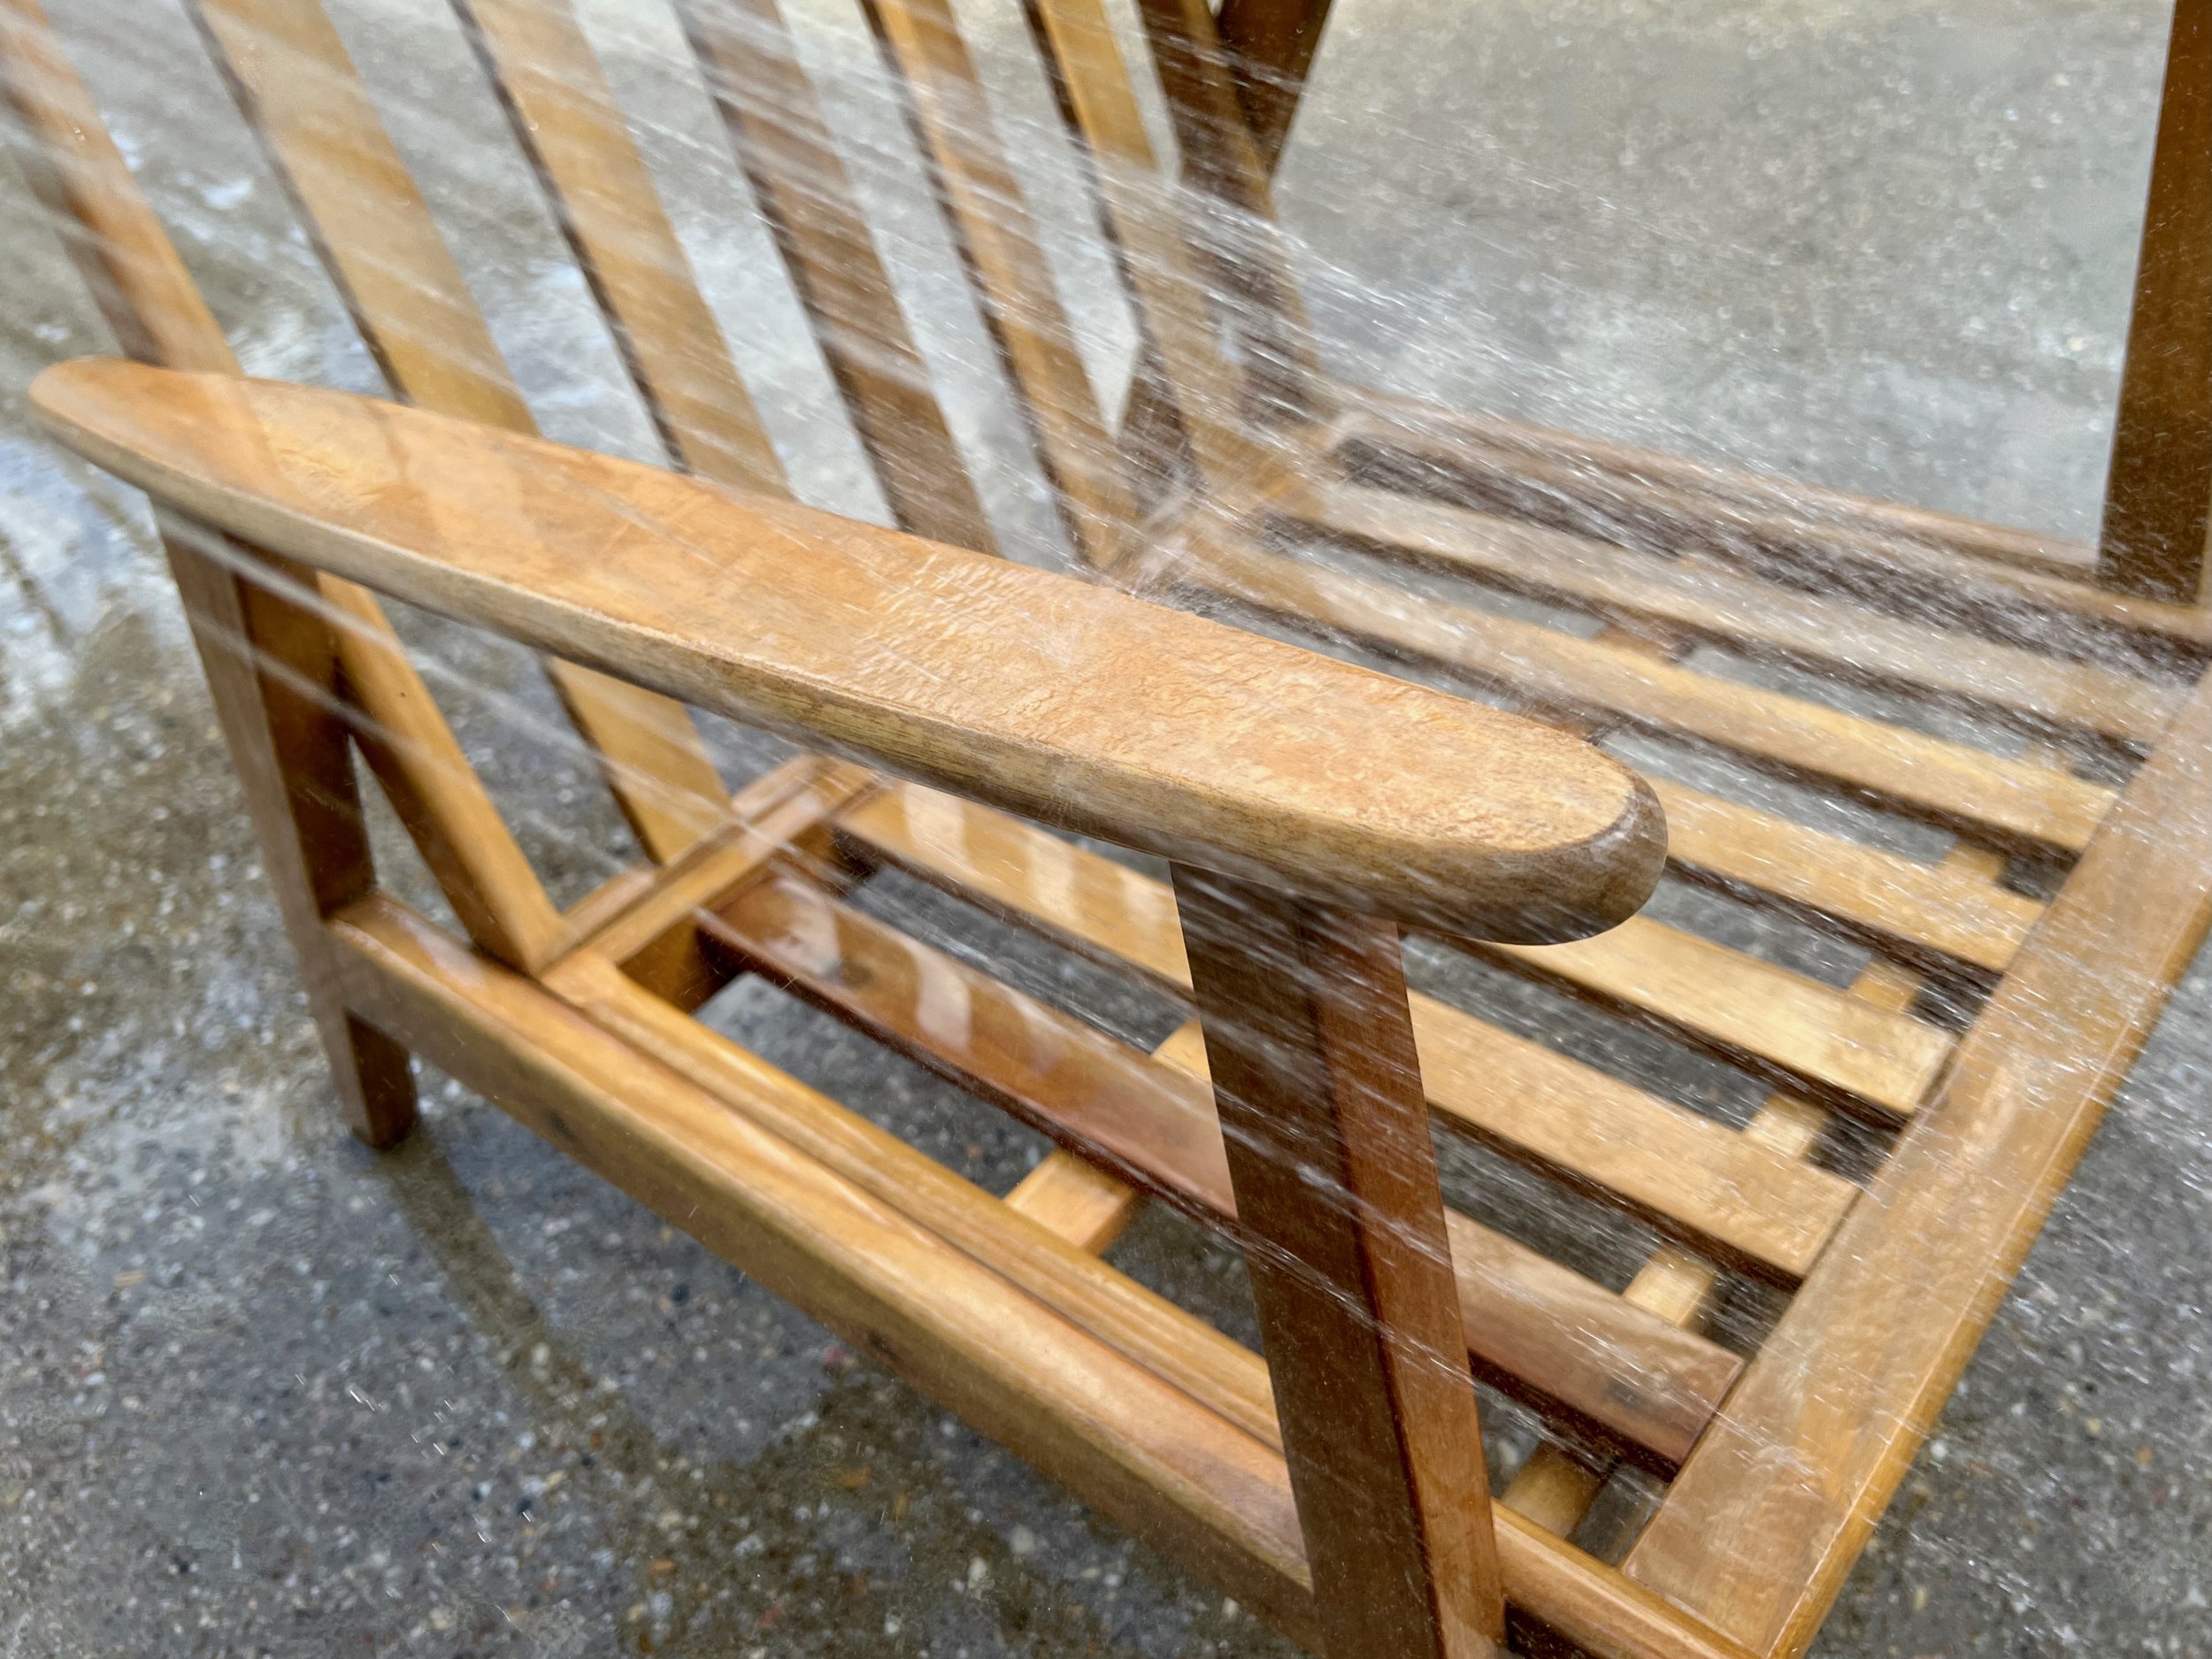
While leaving the solution to work it’s magic for about 20 minutes, I checked the timber was kept damp by misting it lightly with the hose every few minutes. Then I switched to a jet spray to wash away the residue and left the frames to dry in the sunshine.
TIP The amount of misting needed is determined by how hot and windy the day is.
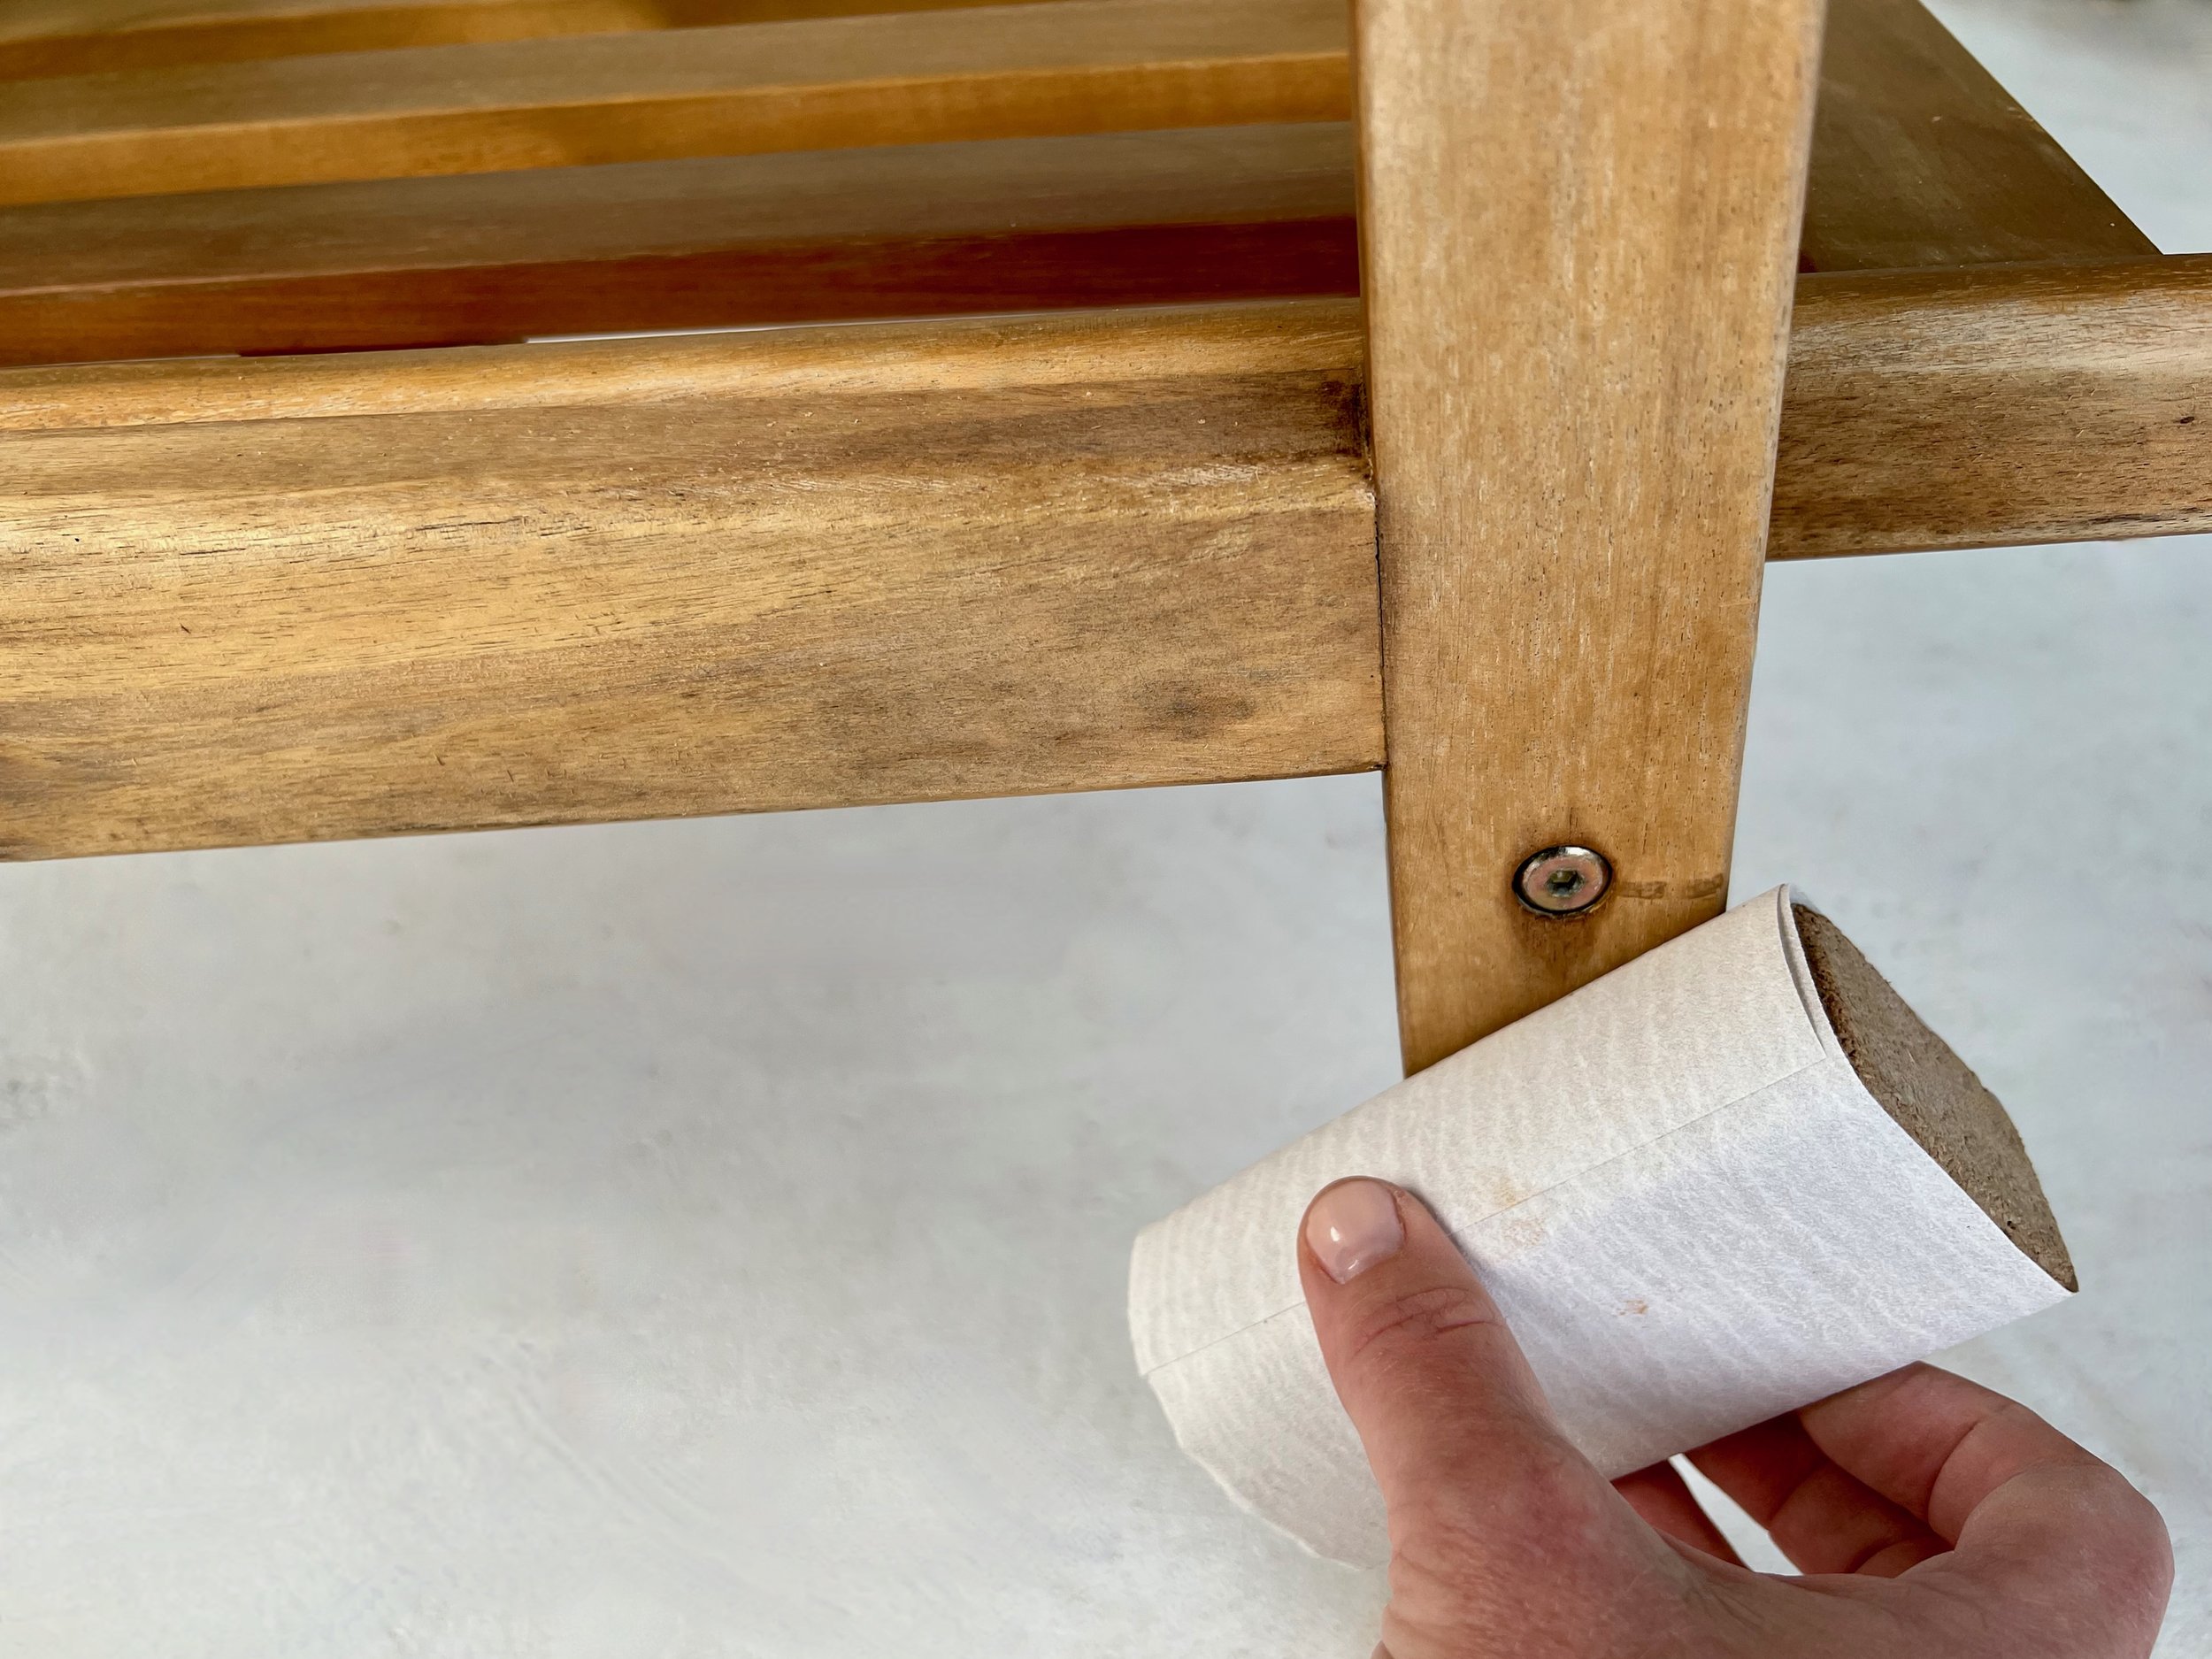
I smoothed the frames with 120-grit abrasive paper and a sanding block, working over any stubborn patches of mould, then switched to a palm sander with a 180-grit disc, touching up by hand-sanding into any hard-to-reach spots.
TIP If the timber frame is clean after washing, you could skip sanding and go straight to the next step, but I chose to work over the surface to remove ingrained mould and help the varnish absorb more efficiently.

To seal the chairs, I used Monocel Gold Clear Timber Varnish with an aerosol application, keeping the can vertical and about 250mm from the surface, spraying with even strokes, overlapping each for thorough coverage. I left it to be touch-dry, then applied a second coat and left it overnight.

I zipped the covers off the foam and simply washed them in a normal machine cycle and hung on the line to dry. I also rubbed over stubborn marks using a microfibre cloth with a spot cleaner.
TIP Avoid using bleach as it can fade and discolour the fabric.

Keeping furniture undercover and out of extreme weather will extend the durability of the finishes and fabric. I’ll look after this setting by cleaning regularly with wipes to remove surface dirt and mould.
TIP I bought this chair, sofa and coffee table setting about two years ago and made some quick videos showing how to assemble them.

This how-to DIY project also featured in Bunnings Magazine, where you’ll find a more detailed list of tools and materials.

Are you planning to refresh your outdoor area before summer?
Tag me on your project and follow more of my DIY journey on Instagram for tool tips, home improvement and simple building tutorials.