SIMPLE PLANTER BASE
Alun Machin

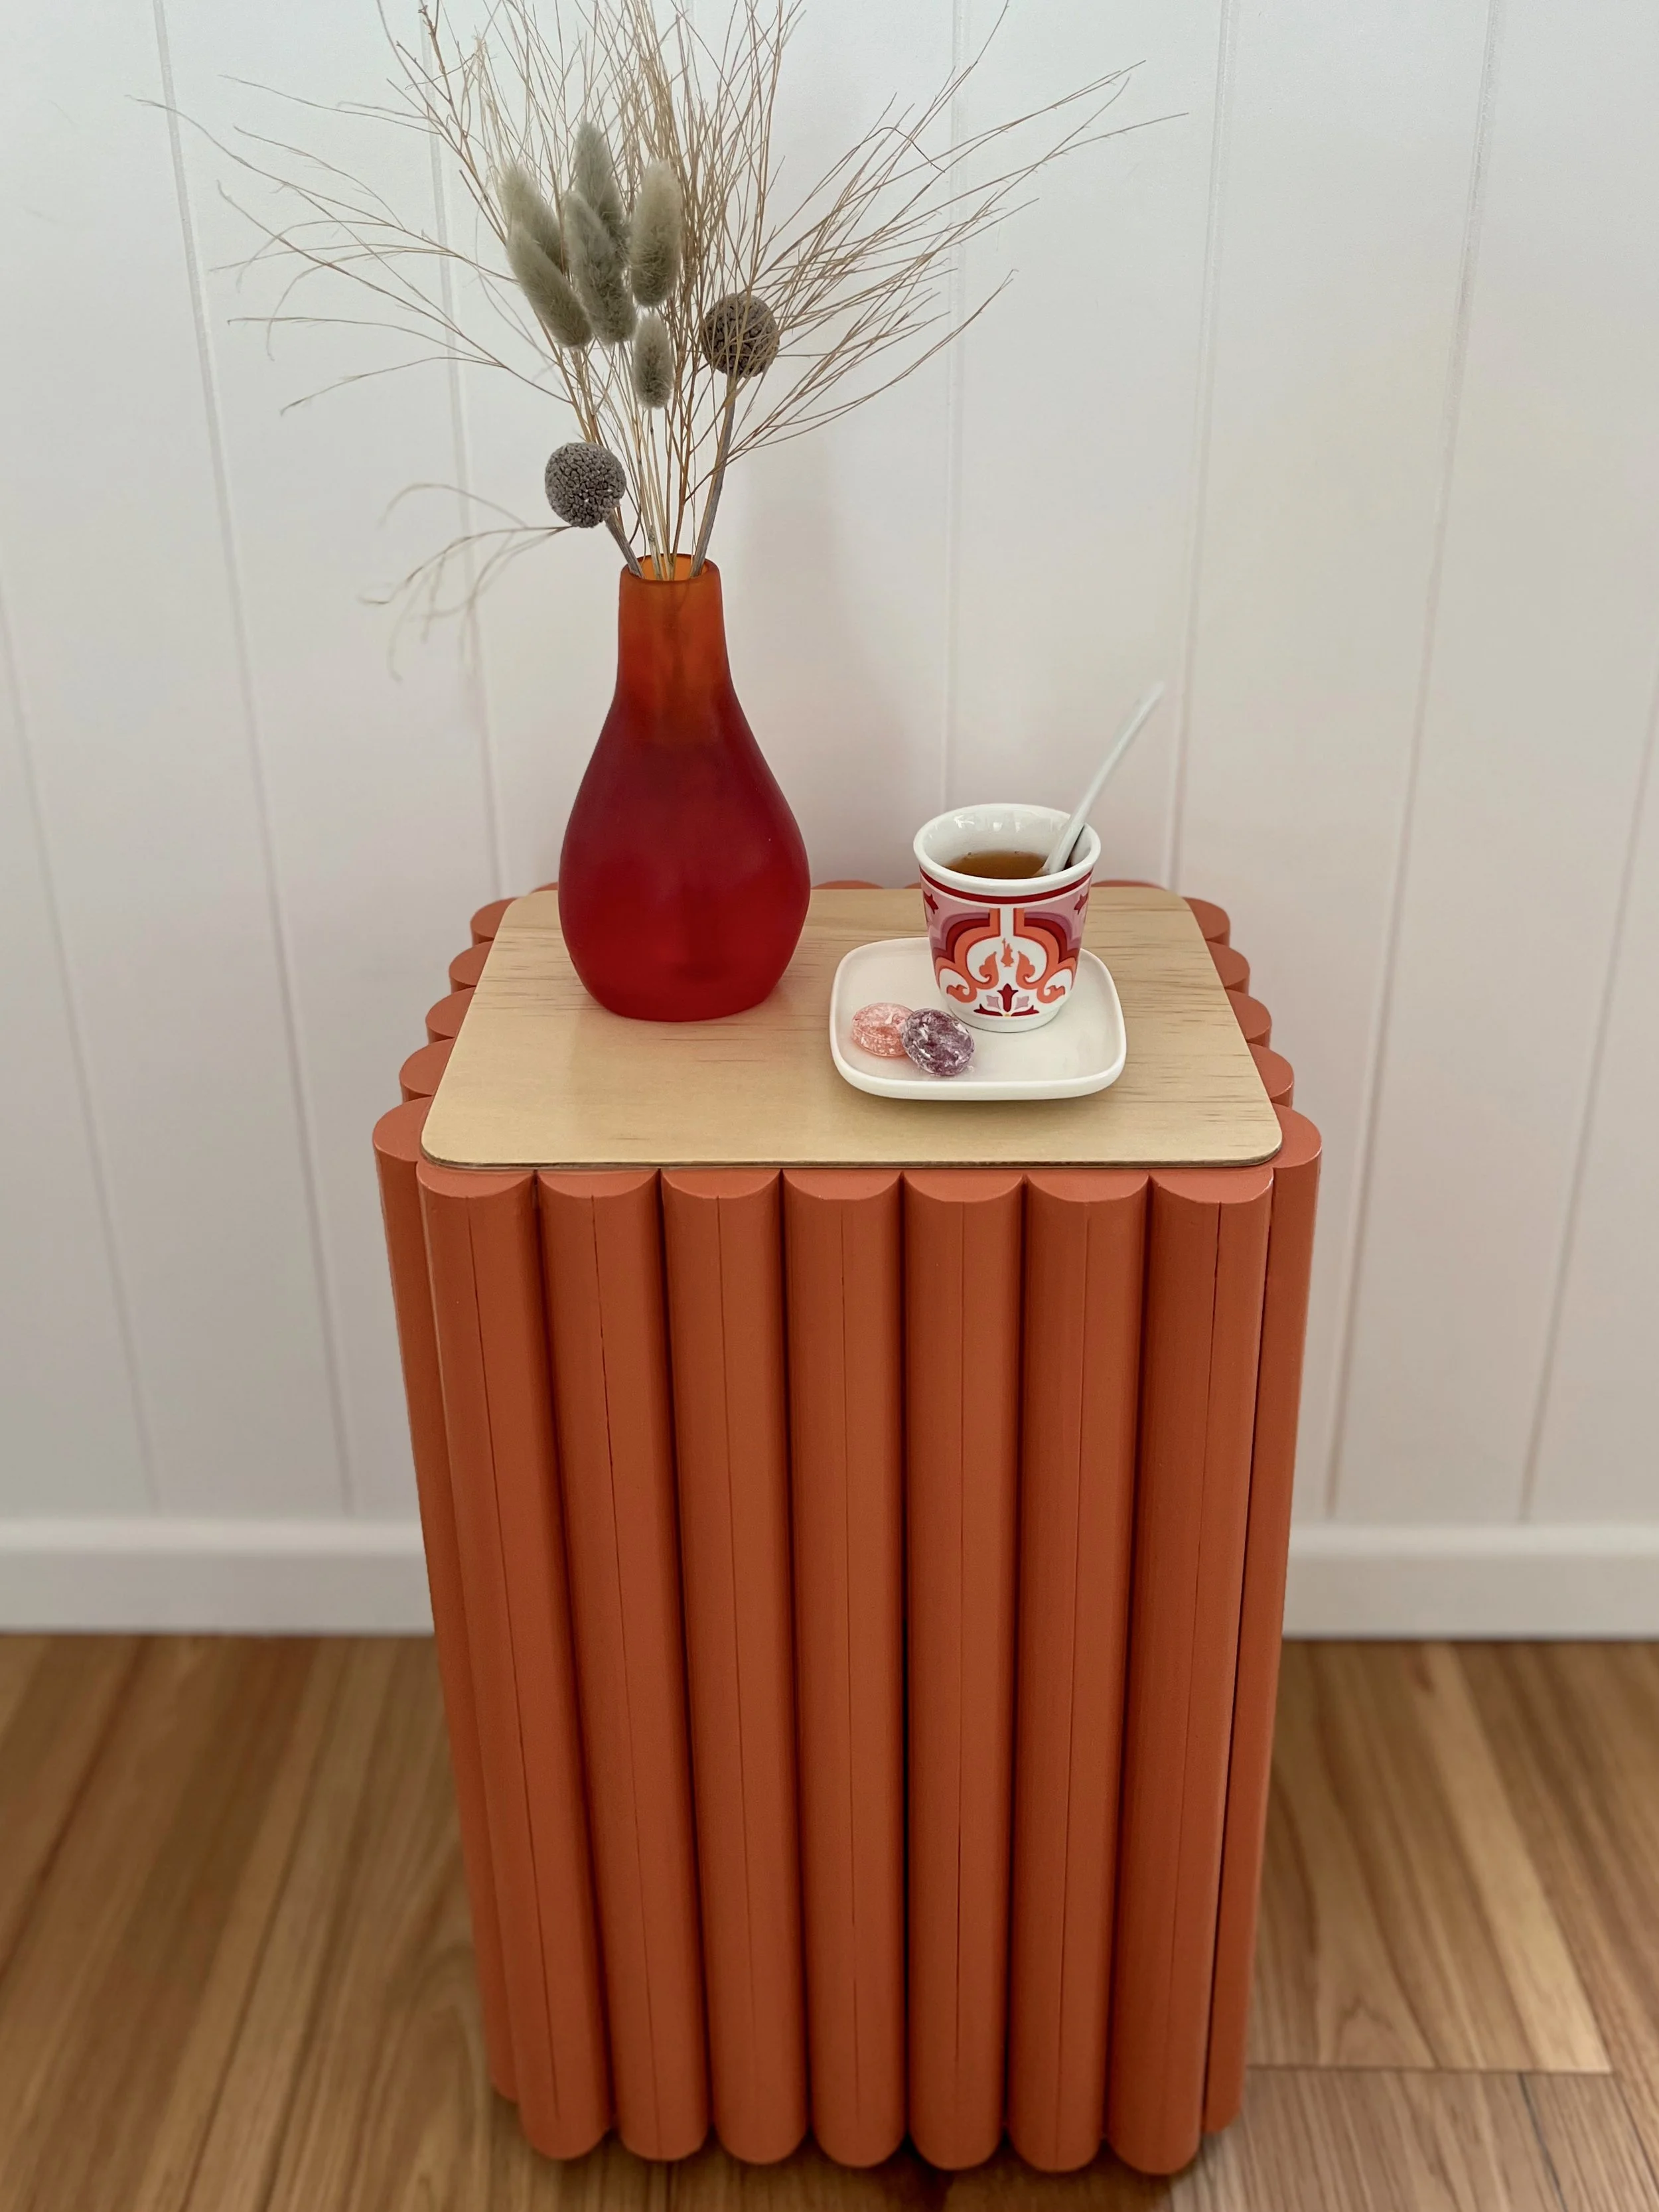
Adding a handcrafted element to an off-the-shelf product instantly makes it bespoke – so I decided to give this terrazzo planter legs for a mid-century feel.
I love this decorating style, which is based on clean lines, curved edges, texturising with different materials and a lightweight footprint, which is achieved by elevating furniture onto shaped-timber bases.

I wanted to design a base that can be adapted to suit any-shaped planter box (it would also work for a square one). The timber is sealed with my favourite Monocel Stain & Varnish in Clear Satin, which gives great protective coverage.
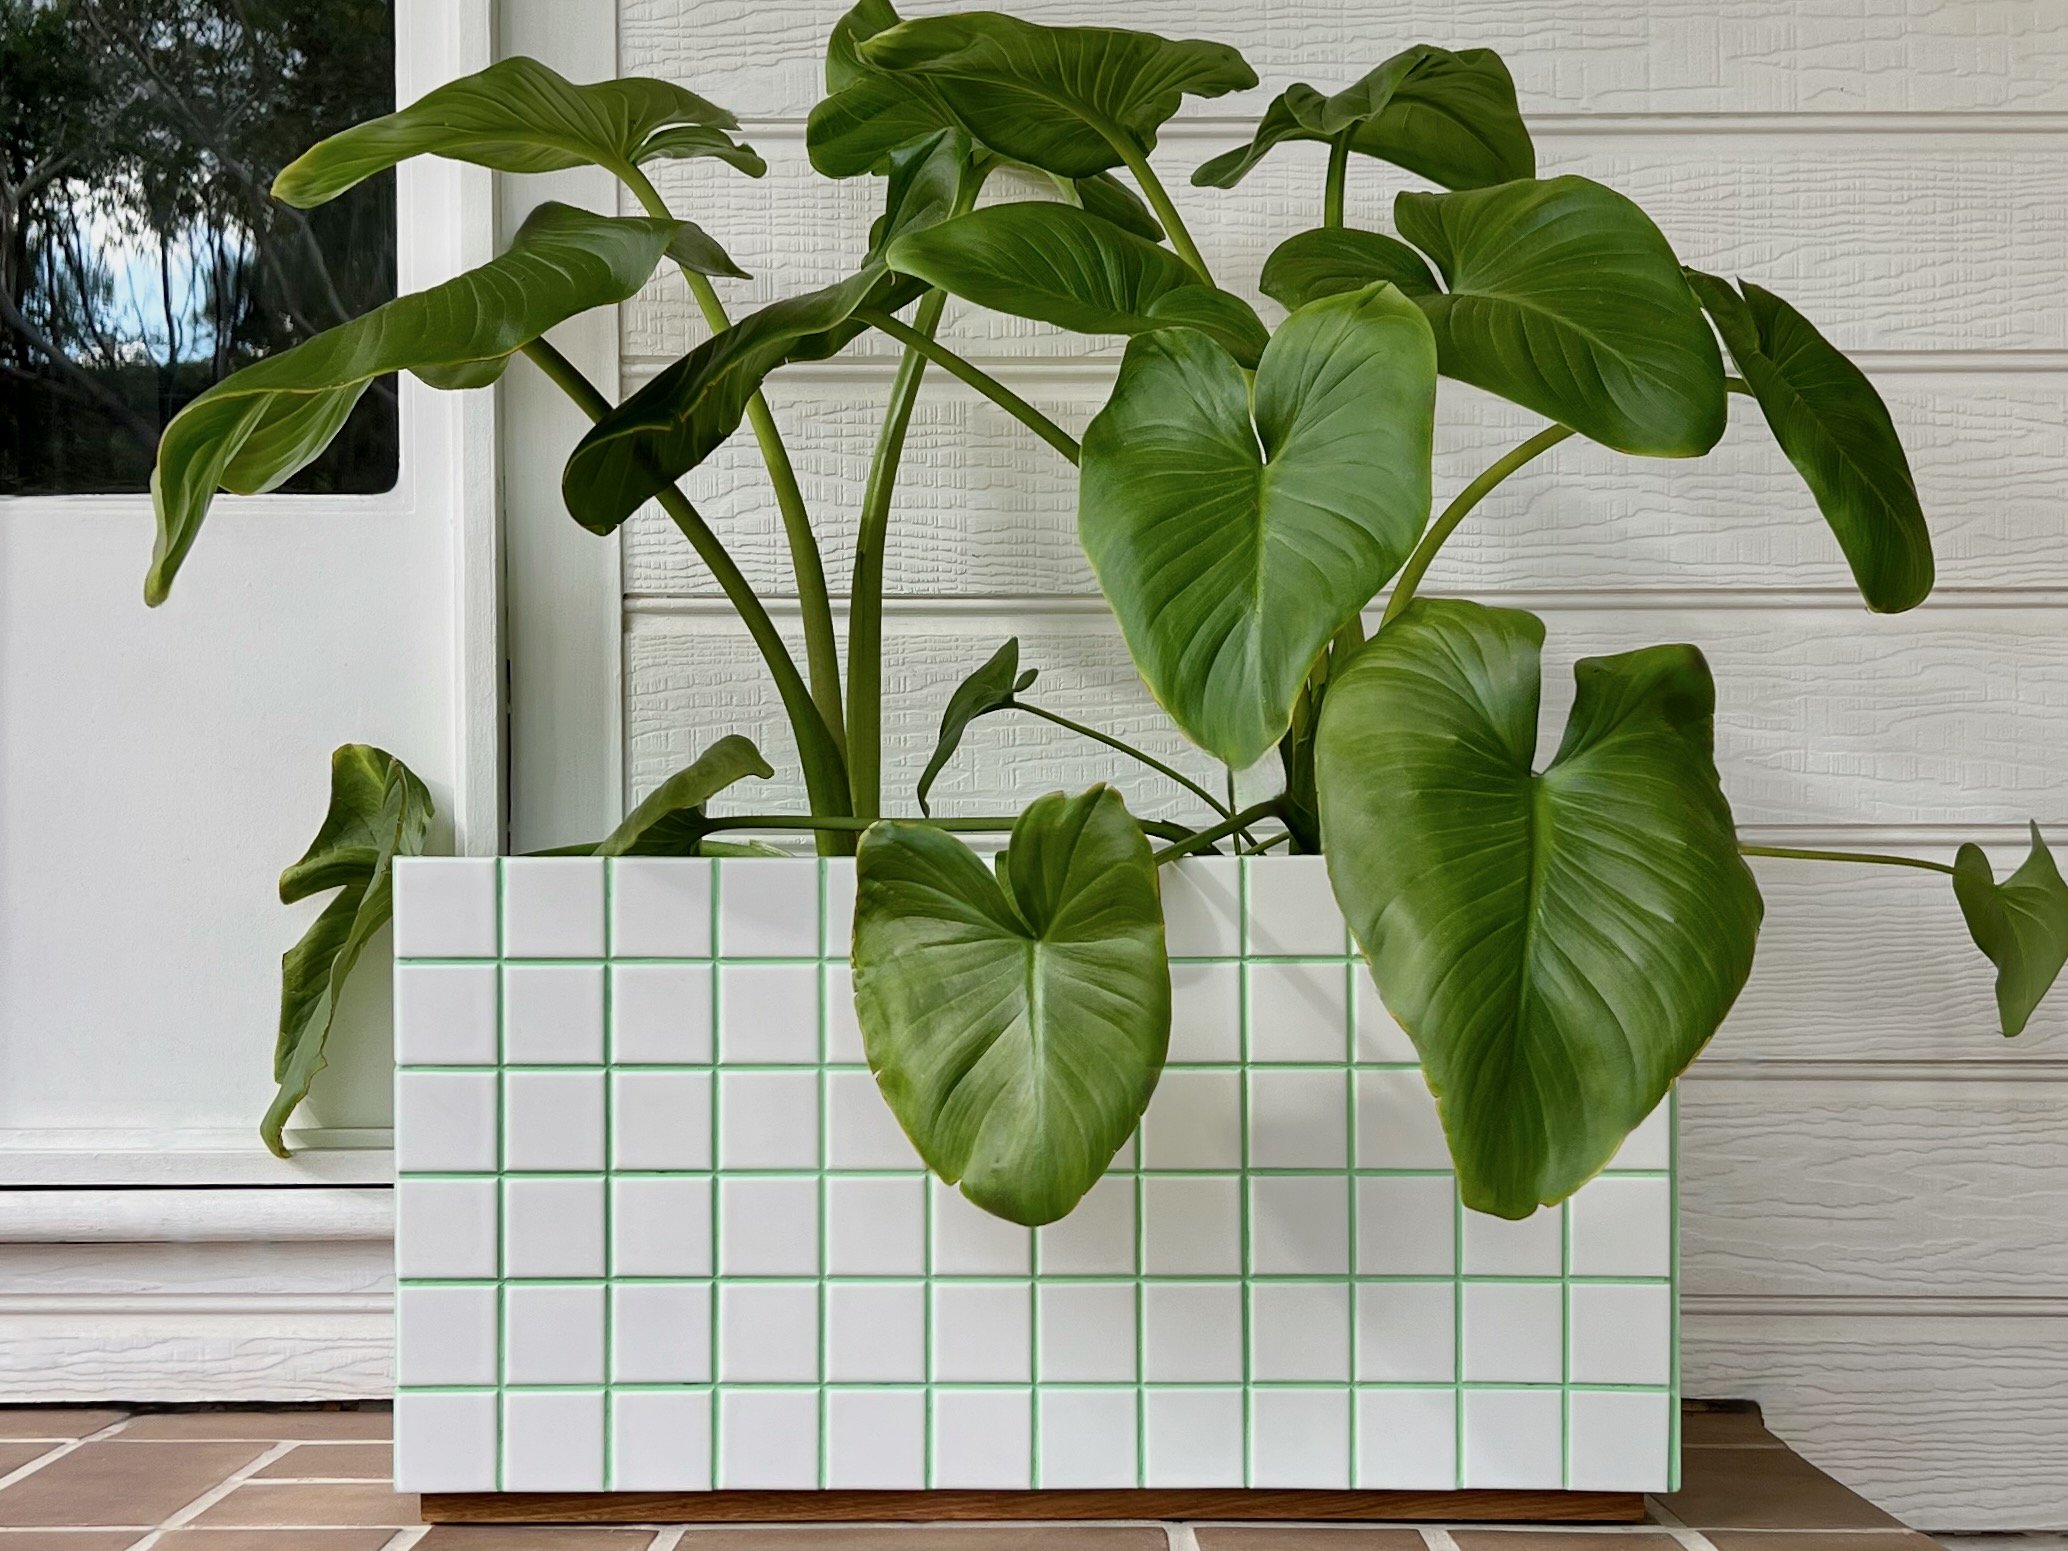
My planter is 600mm long, 240mm wide and 300mm high, but these instructions will suit a square or rectangular box up to 300mm wide and 1200mm long.
Just make sure it has a self-watering tray or is sealed and without drainage holes, otherwise water can pool underneath.

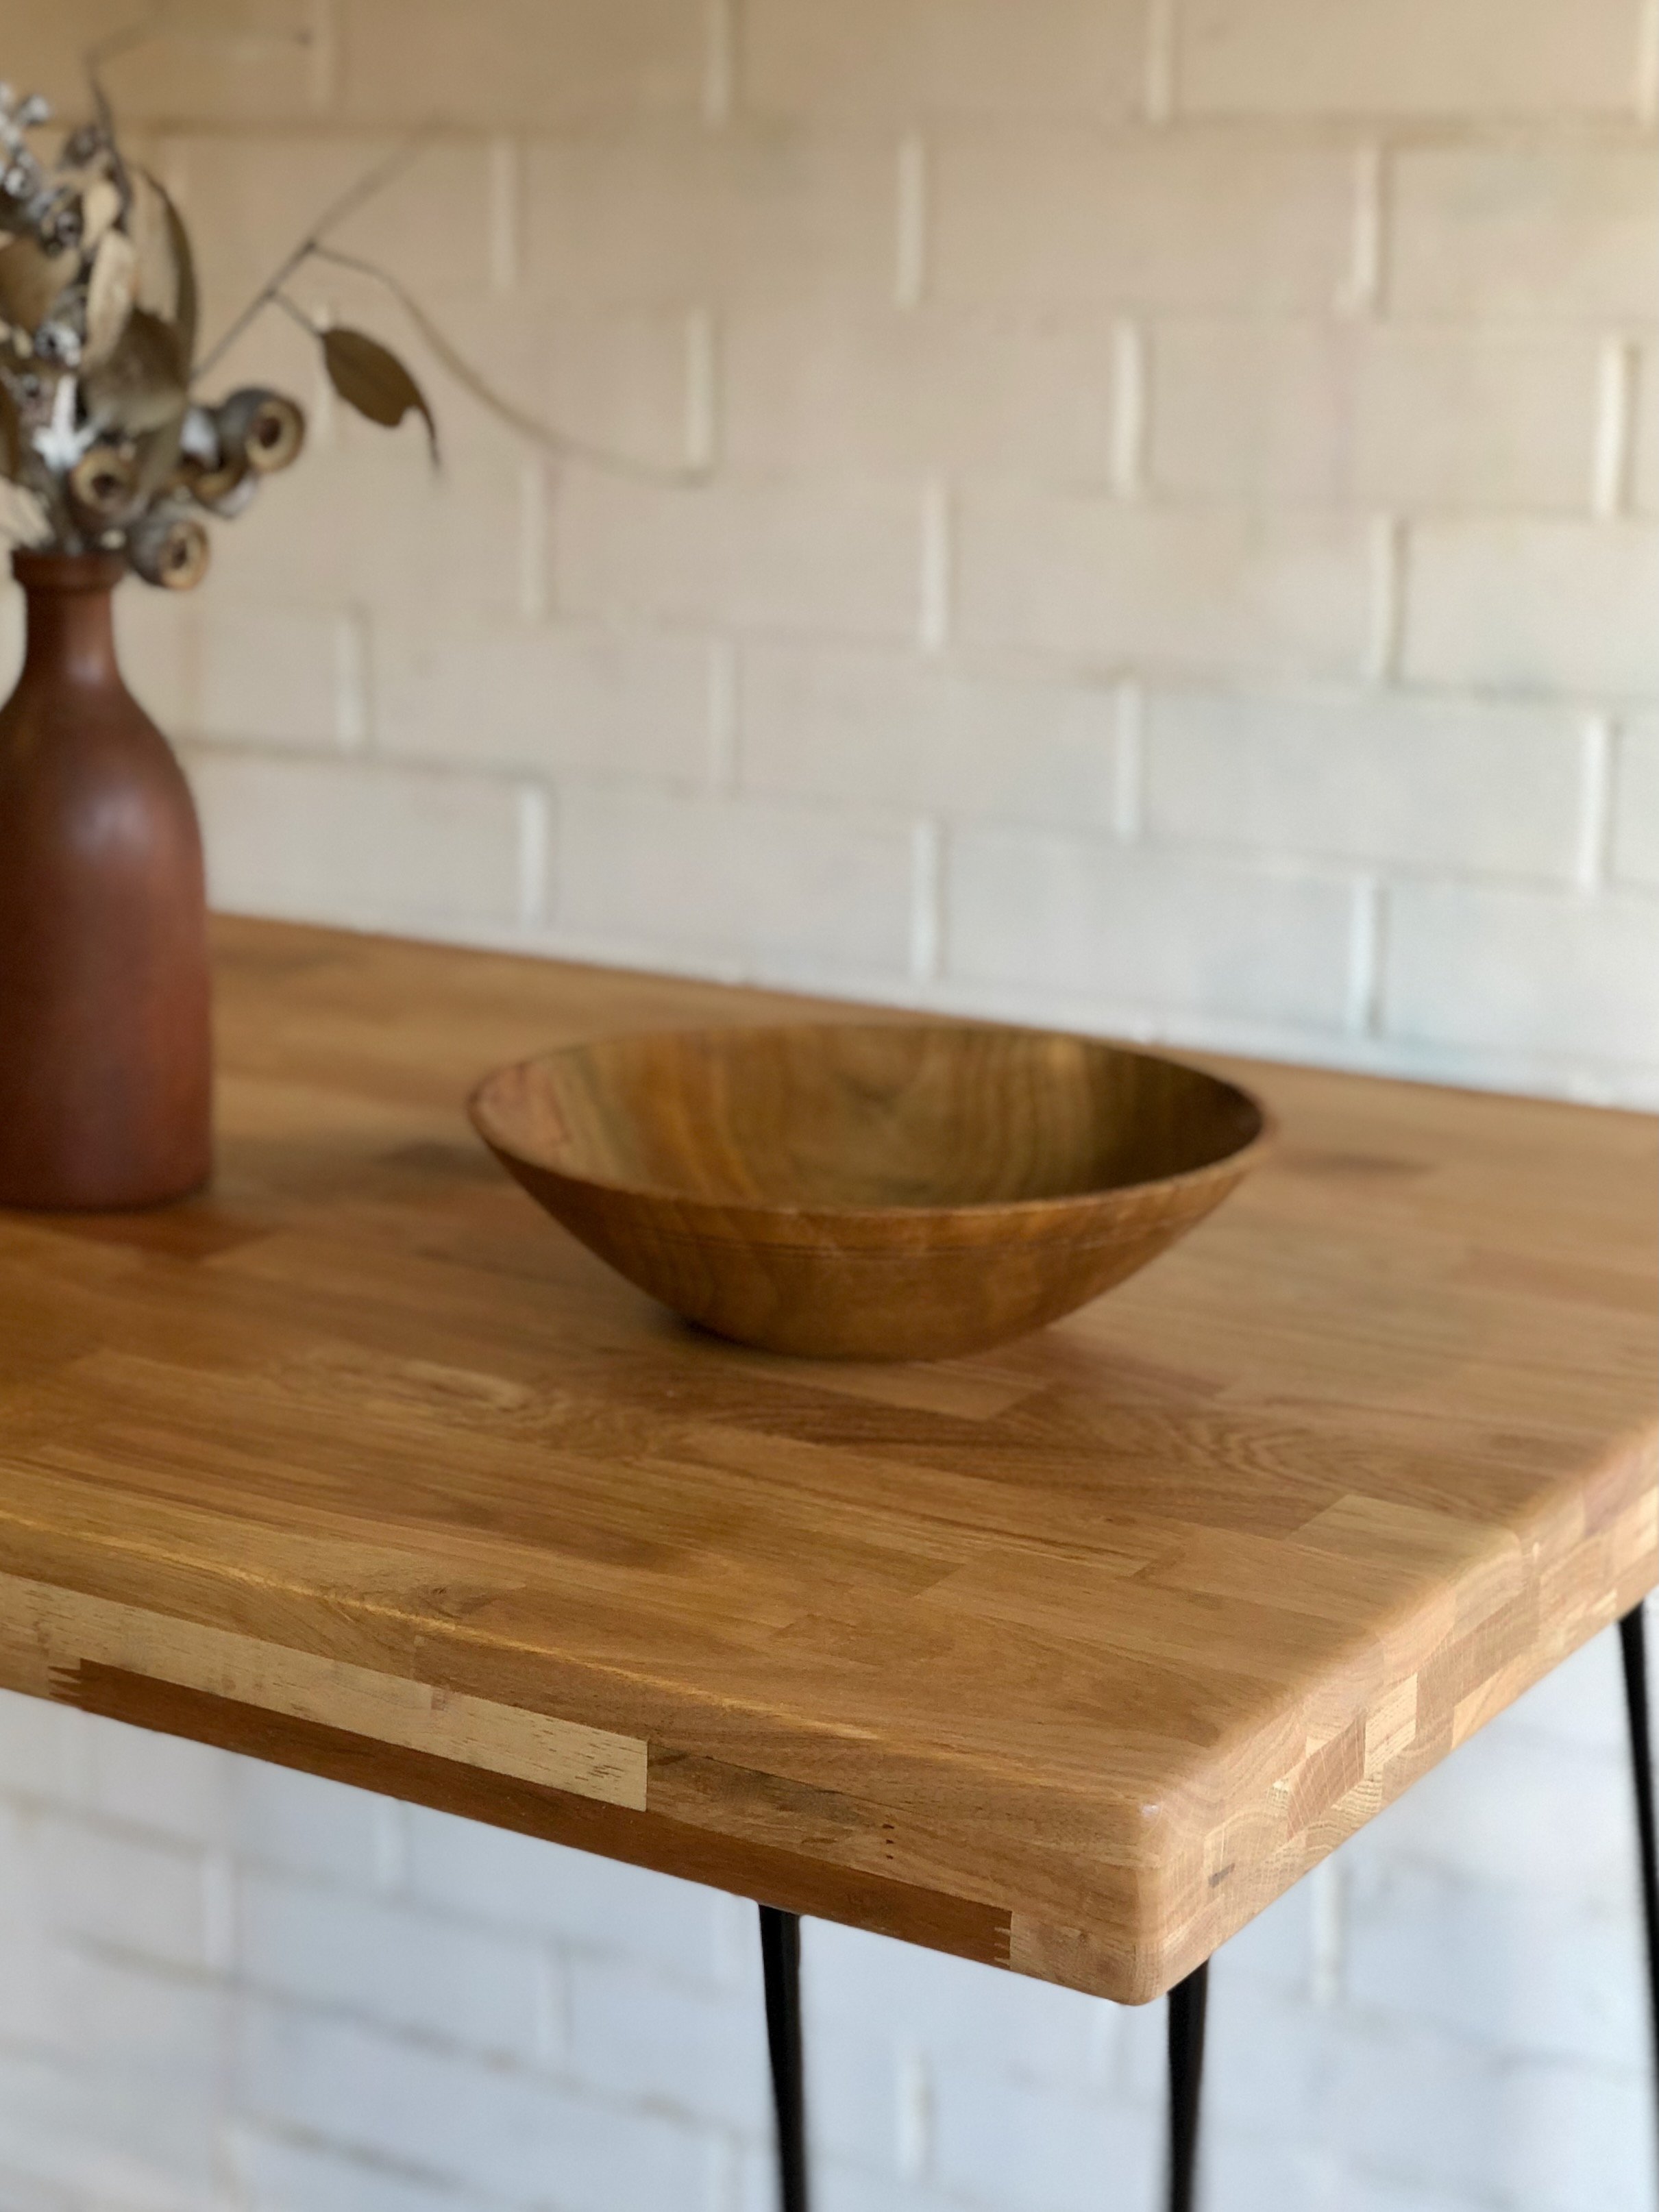
The base is cut from a hardwood timber panel, which is less likely to scratch and absorb moisture than a softwood like pine – if you’re not confident using a saw, have it cut to size at the hardware store.
When buying the legs and leg plates, check the lug screws on the legs fit the plates. I’ve also chosen angled plates so the legs are splayed, but the straight plates will look great too.
DIY TOOLS & MATERIALS
Planter box (mine is 600mm long x 240mm wide)
Hevea timber panel 1200mm x 300mm x 19mm
Combination square and pencil
Hand saw
Random orbital sander with 180-grit abrasive disc
Four tapered legs 230mm long with attached lug screws
Four angled leg plates with supplied screws
Drill with driver bit
3mm and 8mm drill bits
Four rubber glides with supplied screws
Potted plants to fit the planter
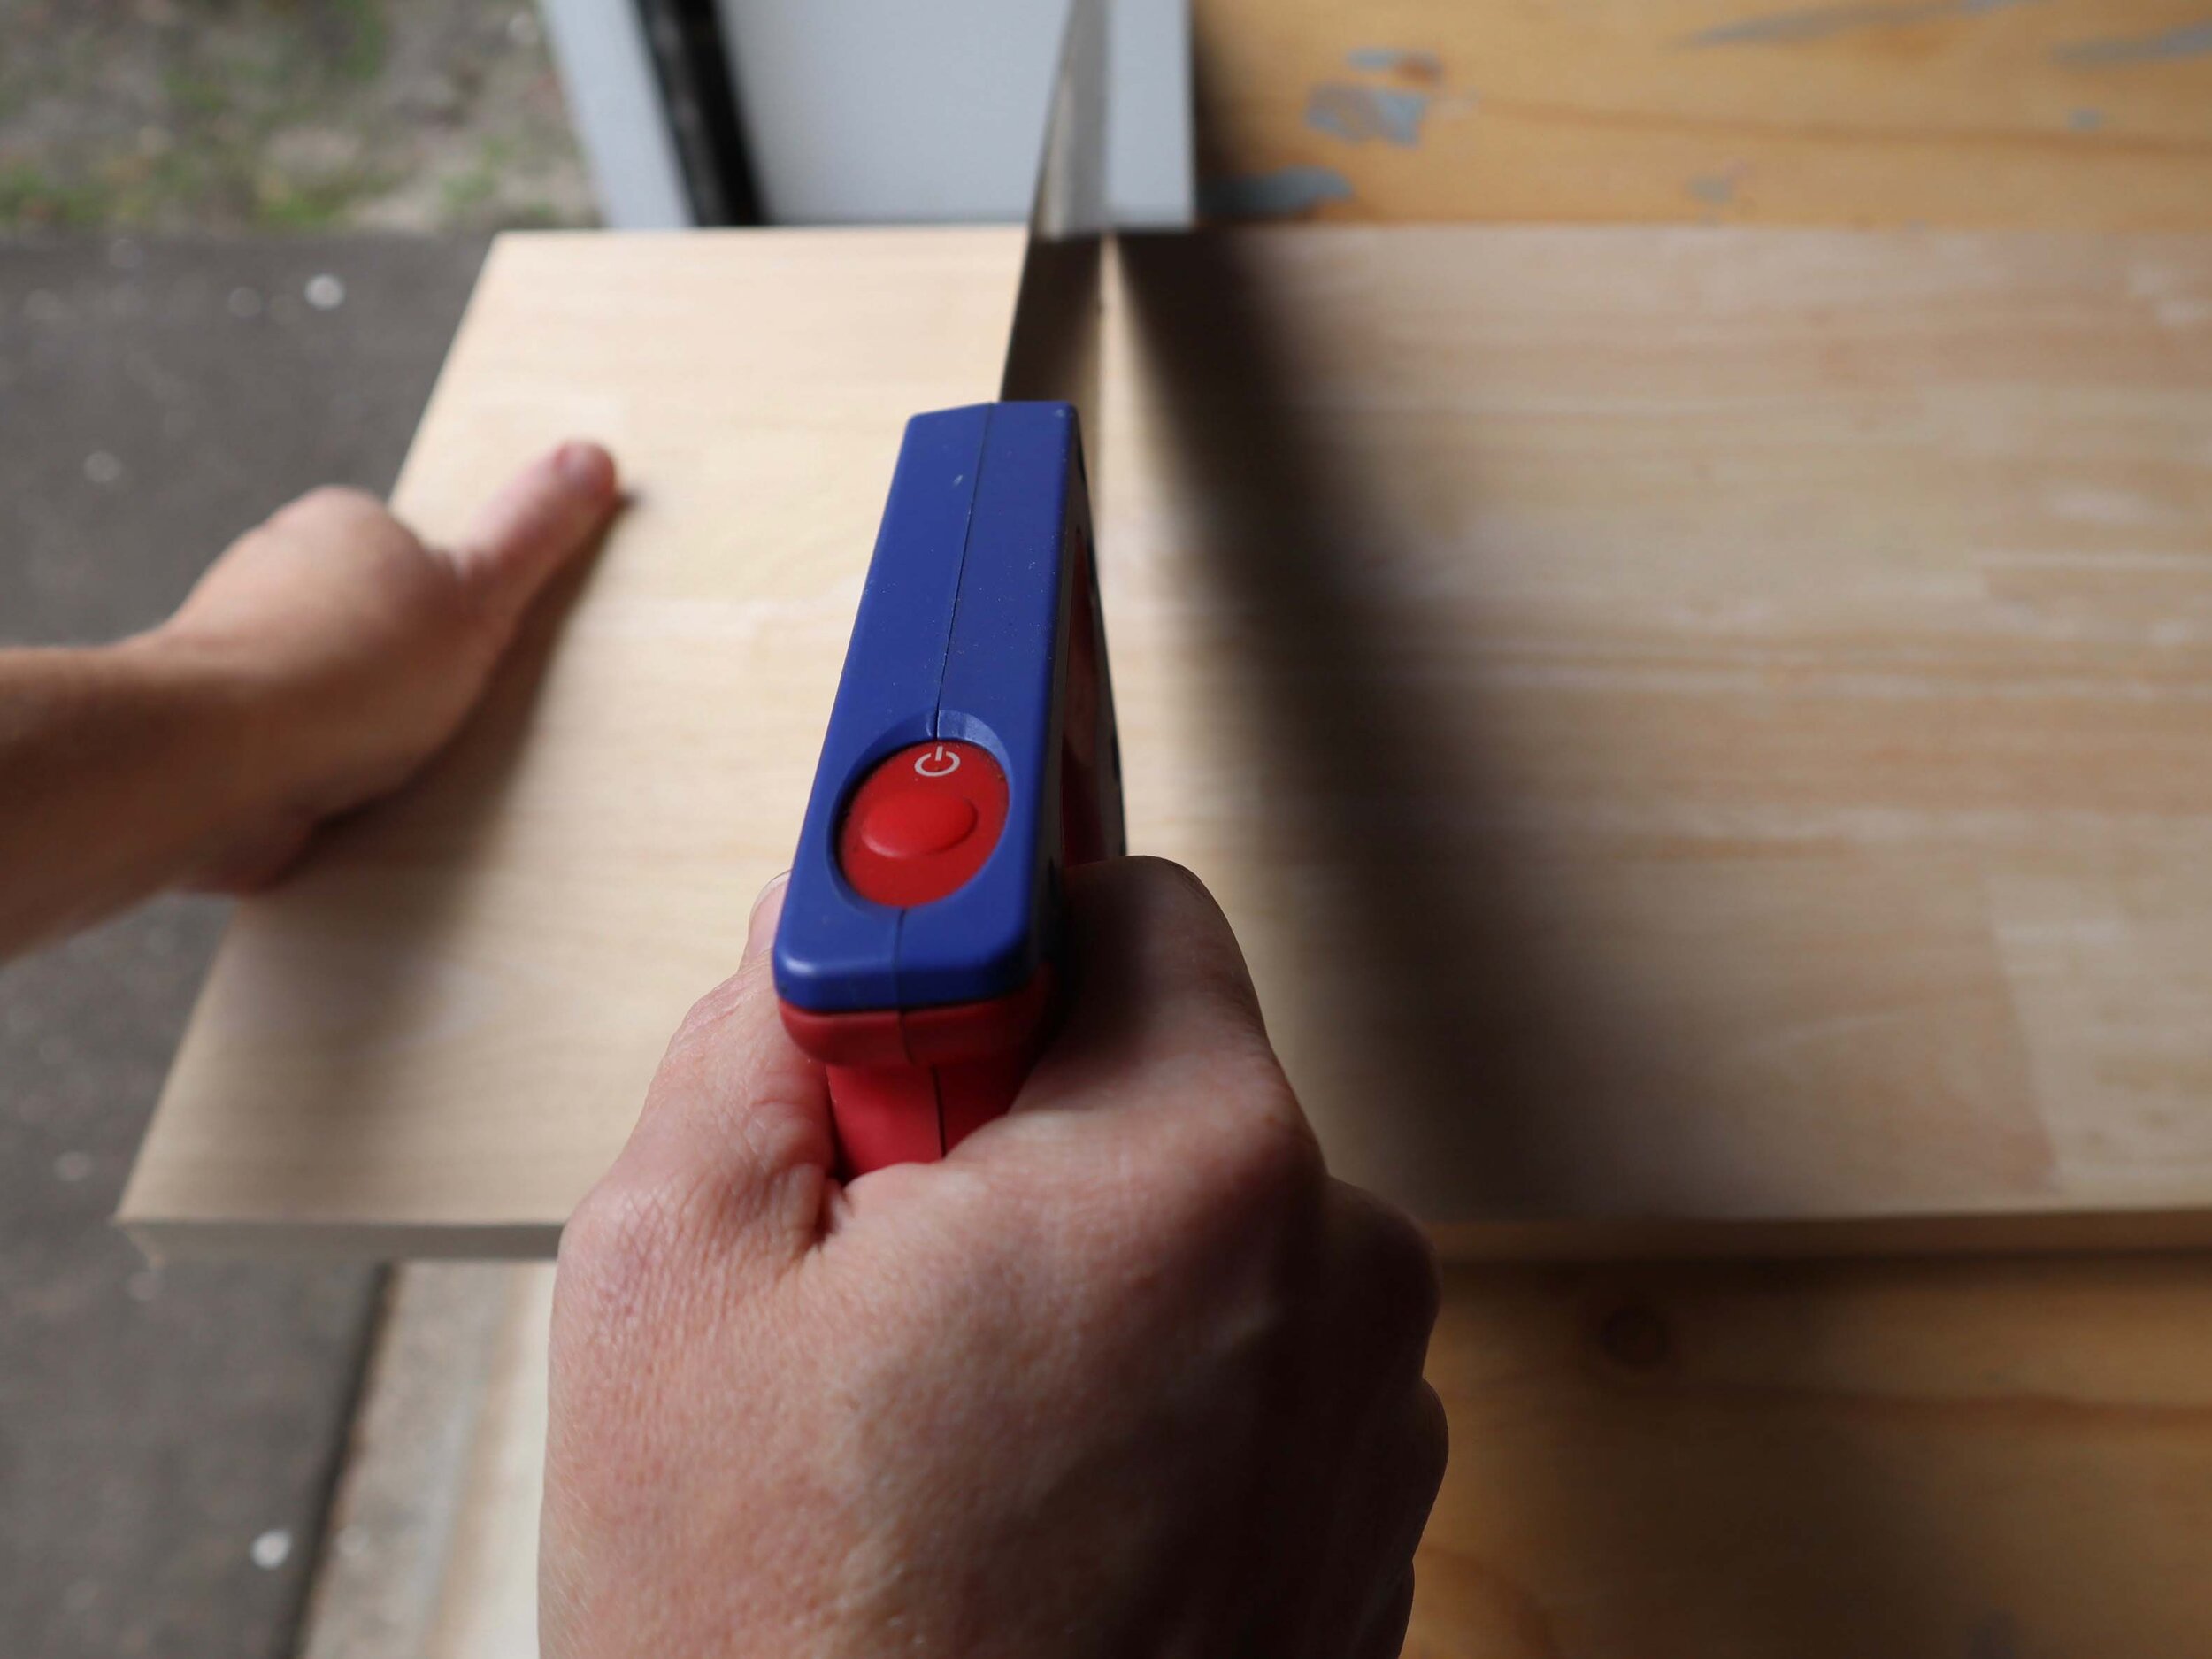
Step 1
Position the planter on the timber panel, flush with one end and one side so you only need to make two cuts. Mark around it with a pencil, straightening up the lines with a combination square, then cut the timber with a handsaw.
TIP Alternatively use a circular saw with a straightedge or have it cut at the hardware store.

Step 2
Sand all over the timber and legs, ensuring the cuts are smooth and slightly rounded over to match the factory edges.
TIP I used a random orbital sander but you could also use 180-grit abrasive paper with a sanding block. See how to use a sanding block.

Step 3
To position the leg plates in the corners, use a combination square set at 15mm to ensure the plates are evenly spaced from the edges.
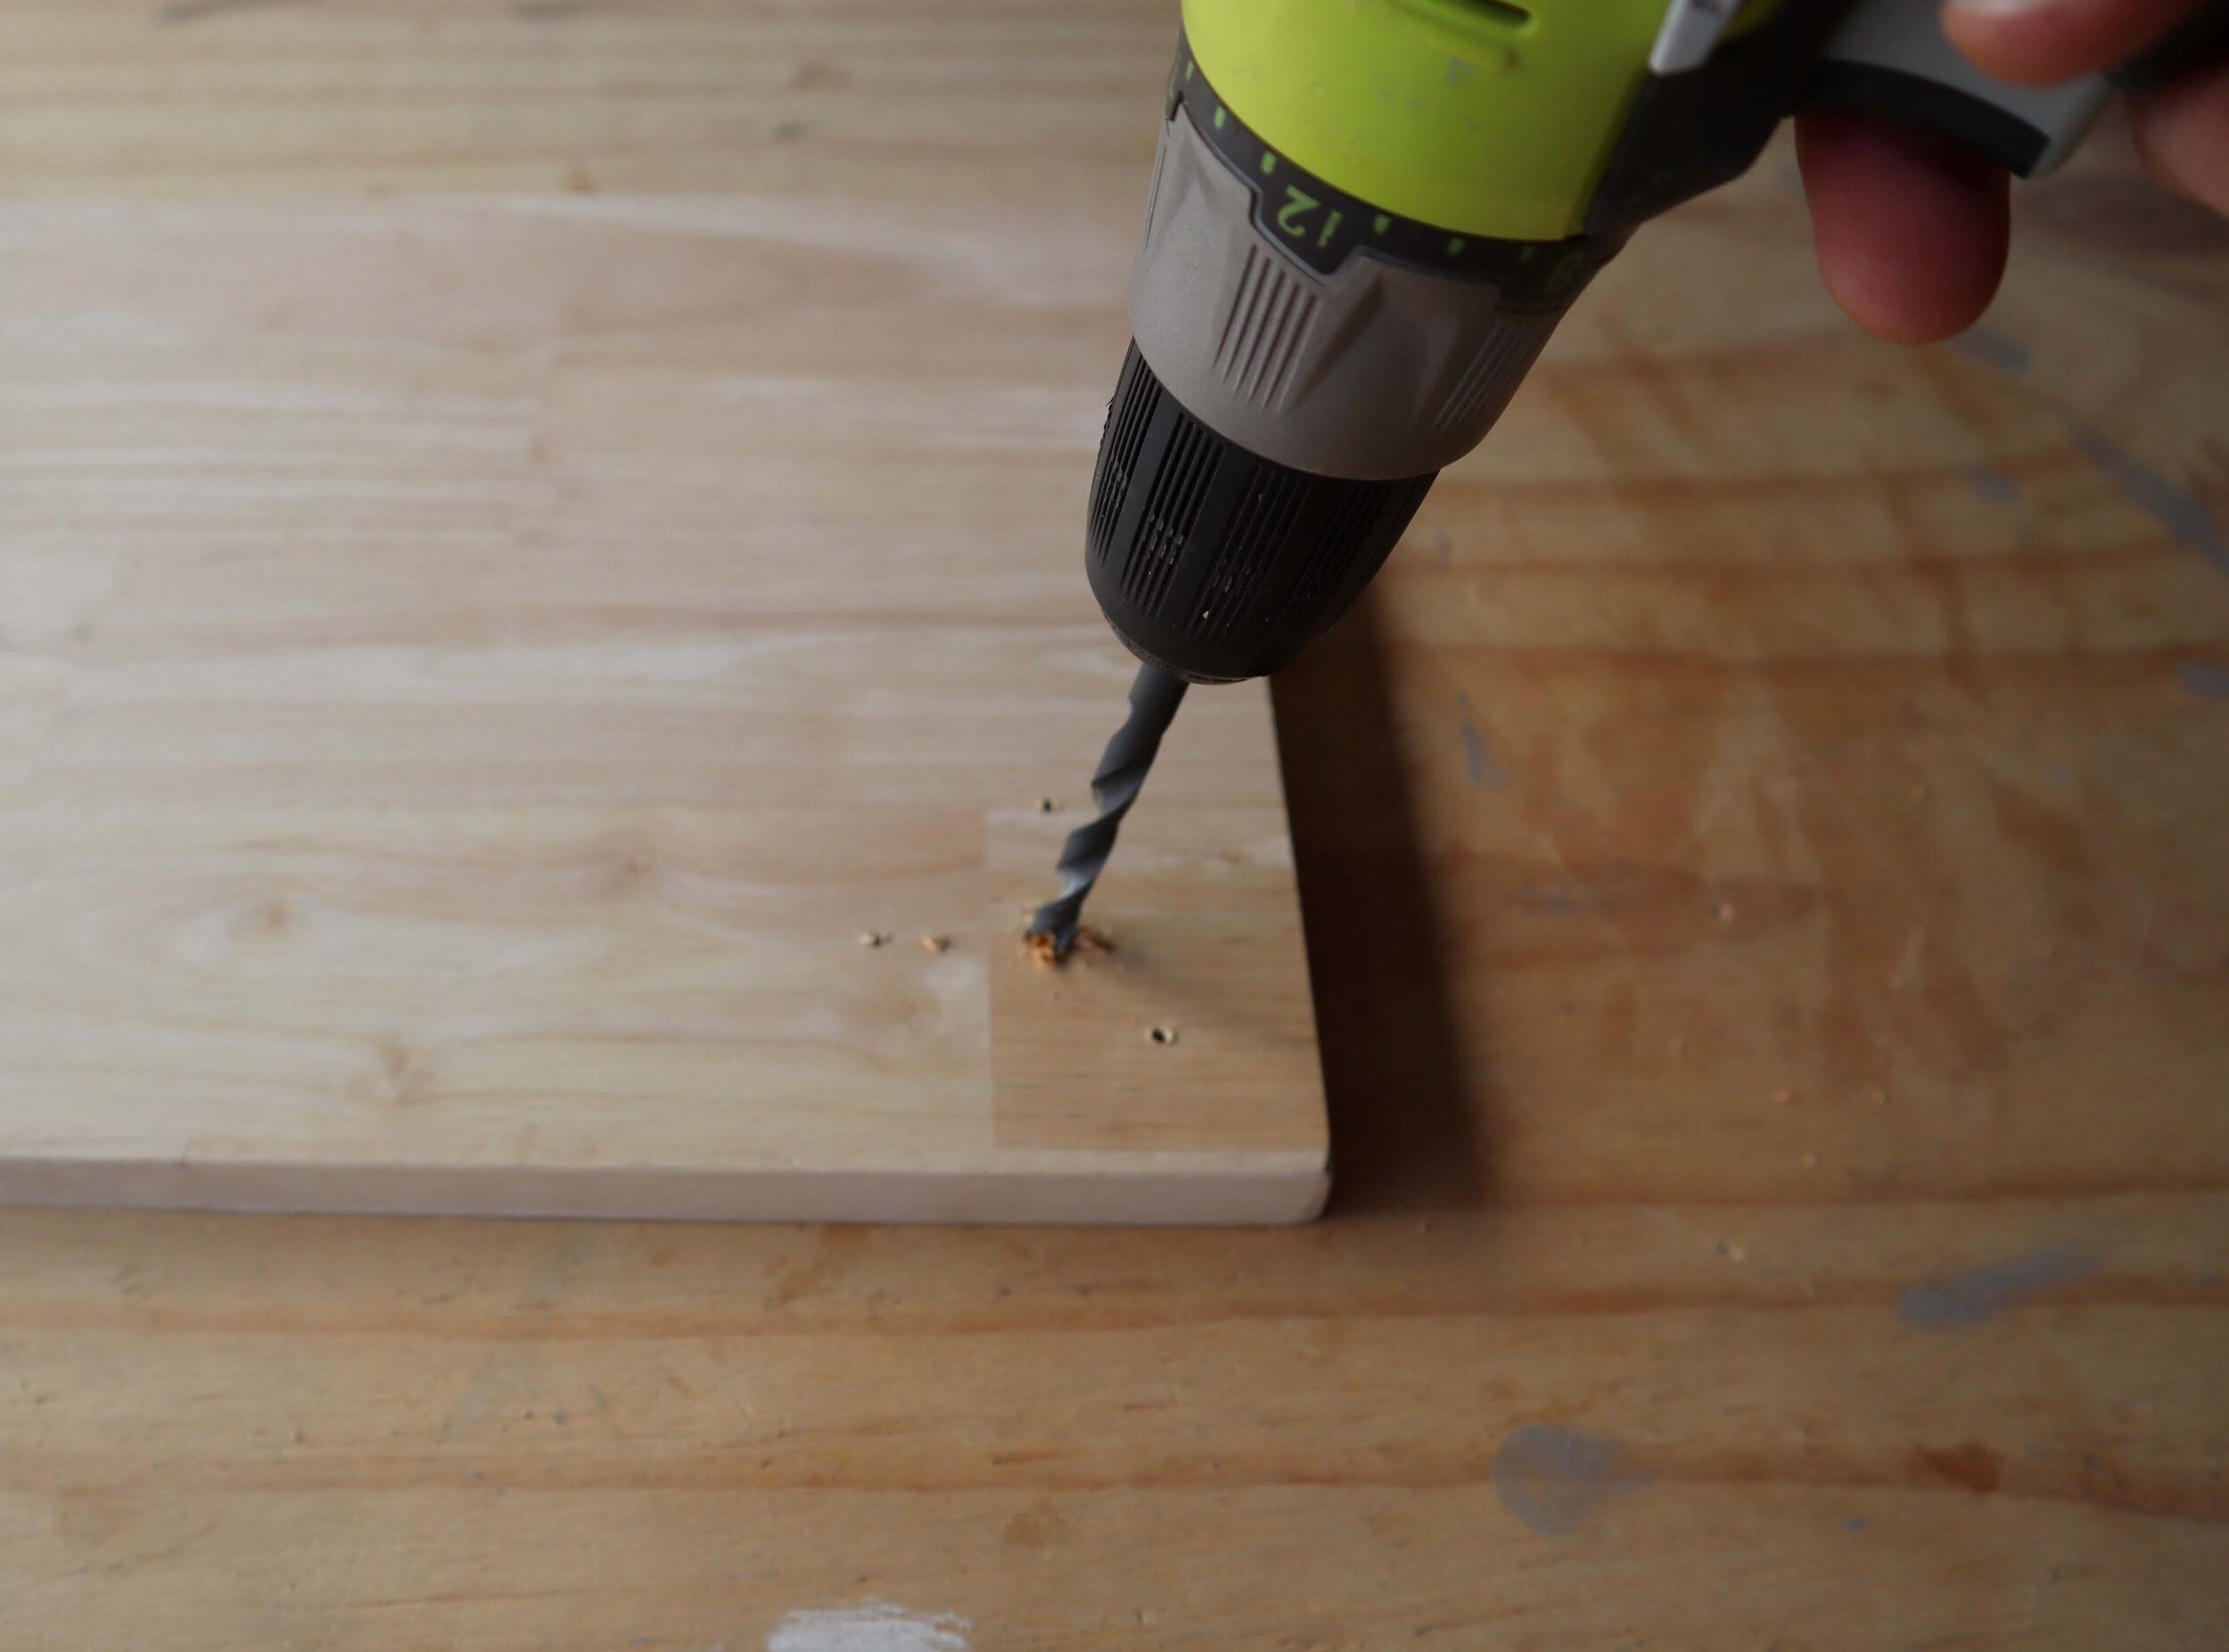
Step 4
Hold the plates to mark the holes, then remove them to drill the three screw holes with a 3mm bit. Change to an 8mm bit to drill the centre holes, checking the depth as you go.
TIP When drilling the centre holes, I angled the drill inwards to match the angle of the plates. You could also wrap tape around the drill bit 18mm from the end as a depth guide to avoid drilling right through.

Step 5
Attach the plates with the supplied screws and twist in the legs, ensuring the top of the legs are hard up against the plates.
TIP If a leg won’t twist in enough to sit against the plates, you may need to remove the screws to re-drill the centre hole to be deep enough for the lug screw.

Step 6
Before applying varnish, wipe away any dust clean with a damp cloth and leave to dry. Position the planter base upside down, pour varnish into a tray and load up a mini mohair roller to seal the legs and underneath first.
TIP I avoided sealing around the edges at this stage so it’s easier to pick up and flip over.

Step 7
Turn the planter base right-side up, reload the roller and apply varnish over the top and around the sides. Leave it to dry for two hours then repeat the application to apply two more coats, then leave it dry overnight.

Step 8
Turn the planter base upside down to add glides or feet tips using the supplied screws and a drill.
TIP The glides I used are self-adhesive but also come with screws – I recommend attaching with screws as the finished piece can be quite heavy.

Step 9
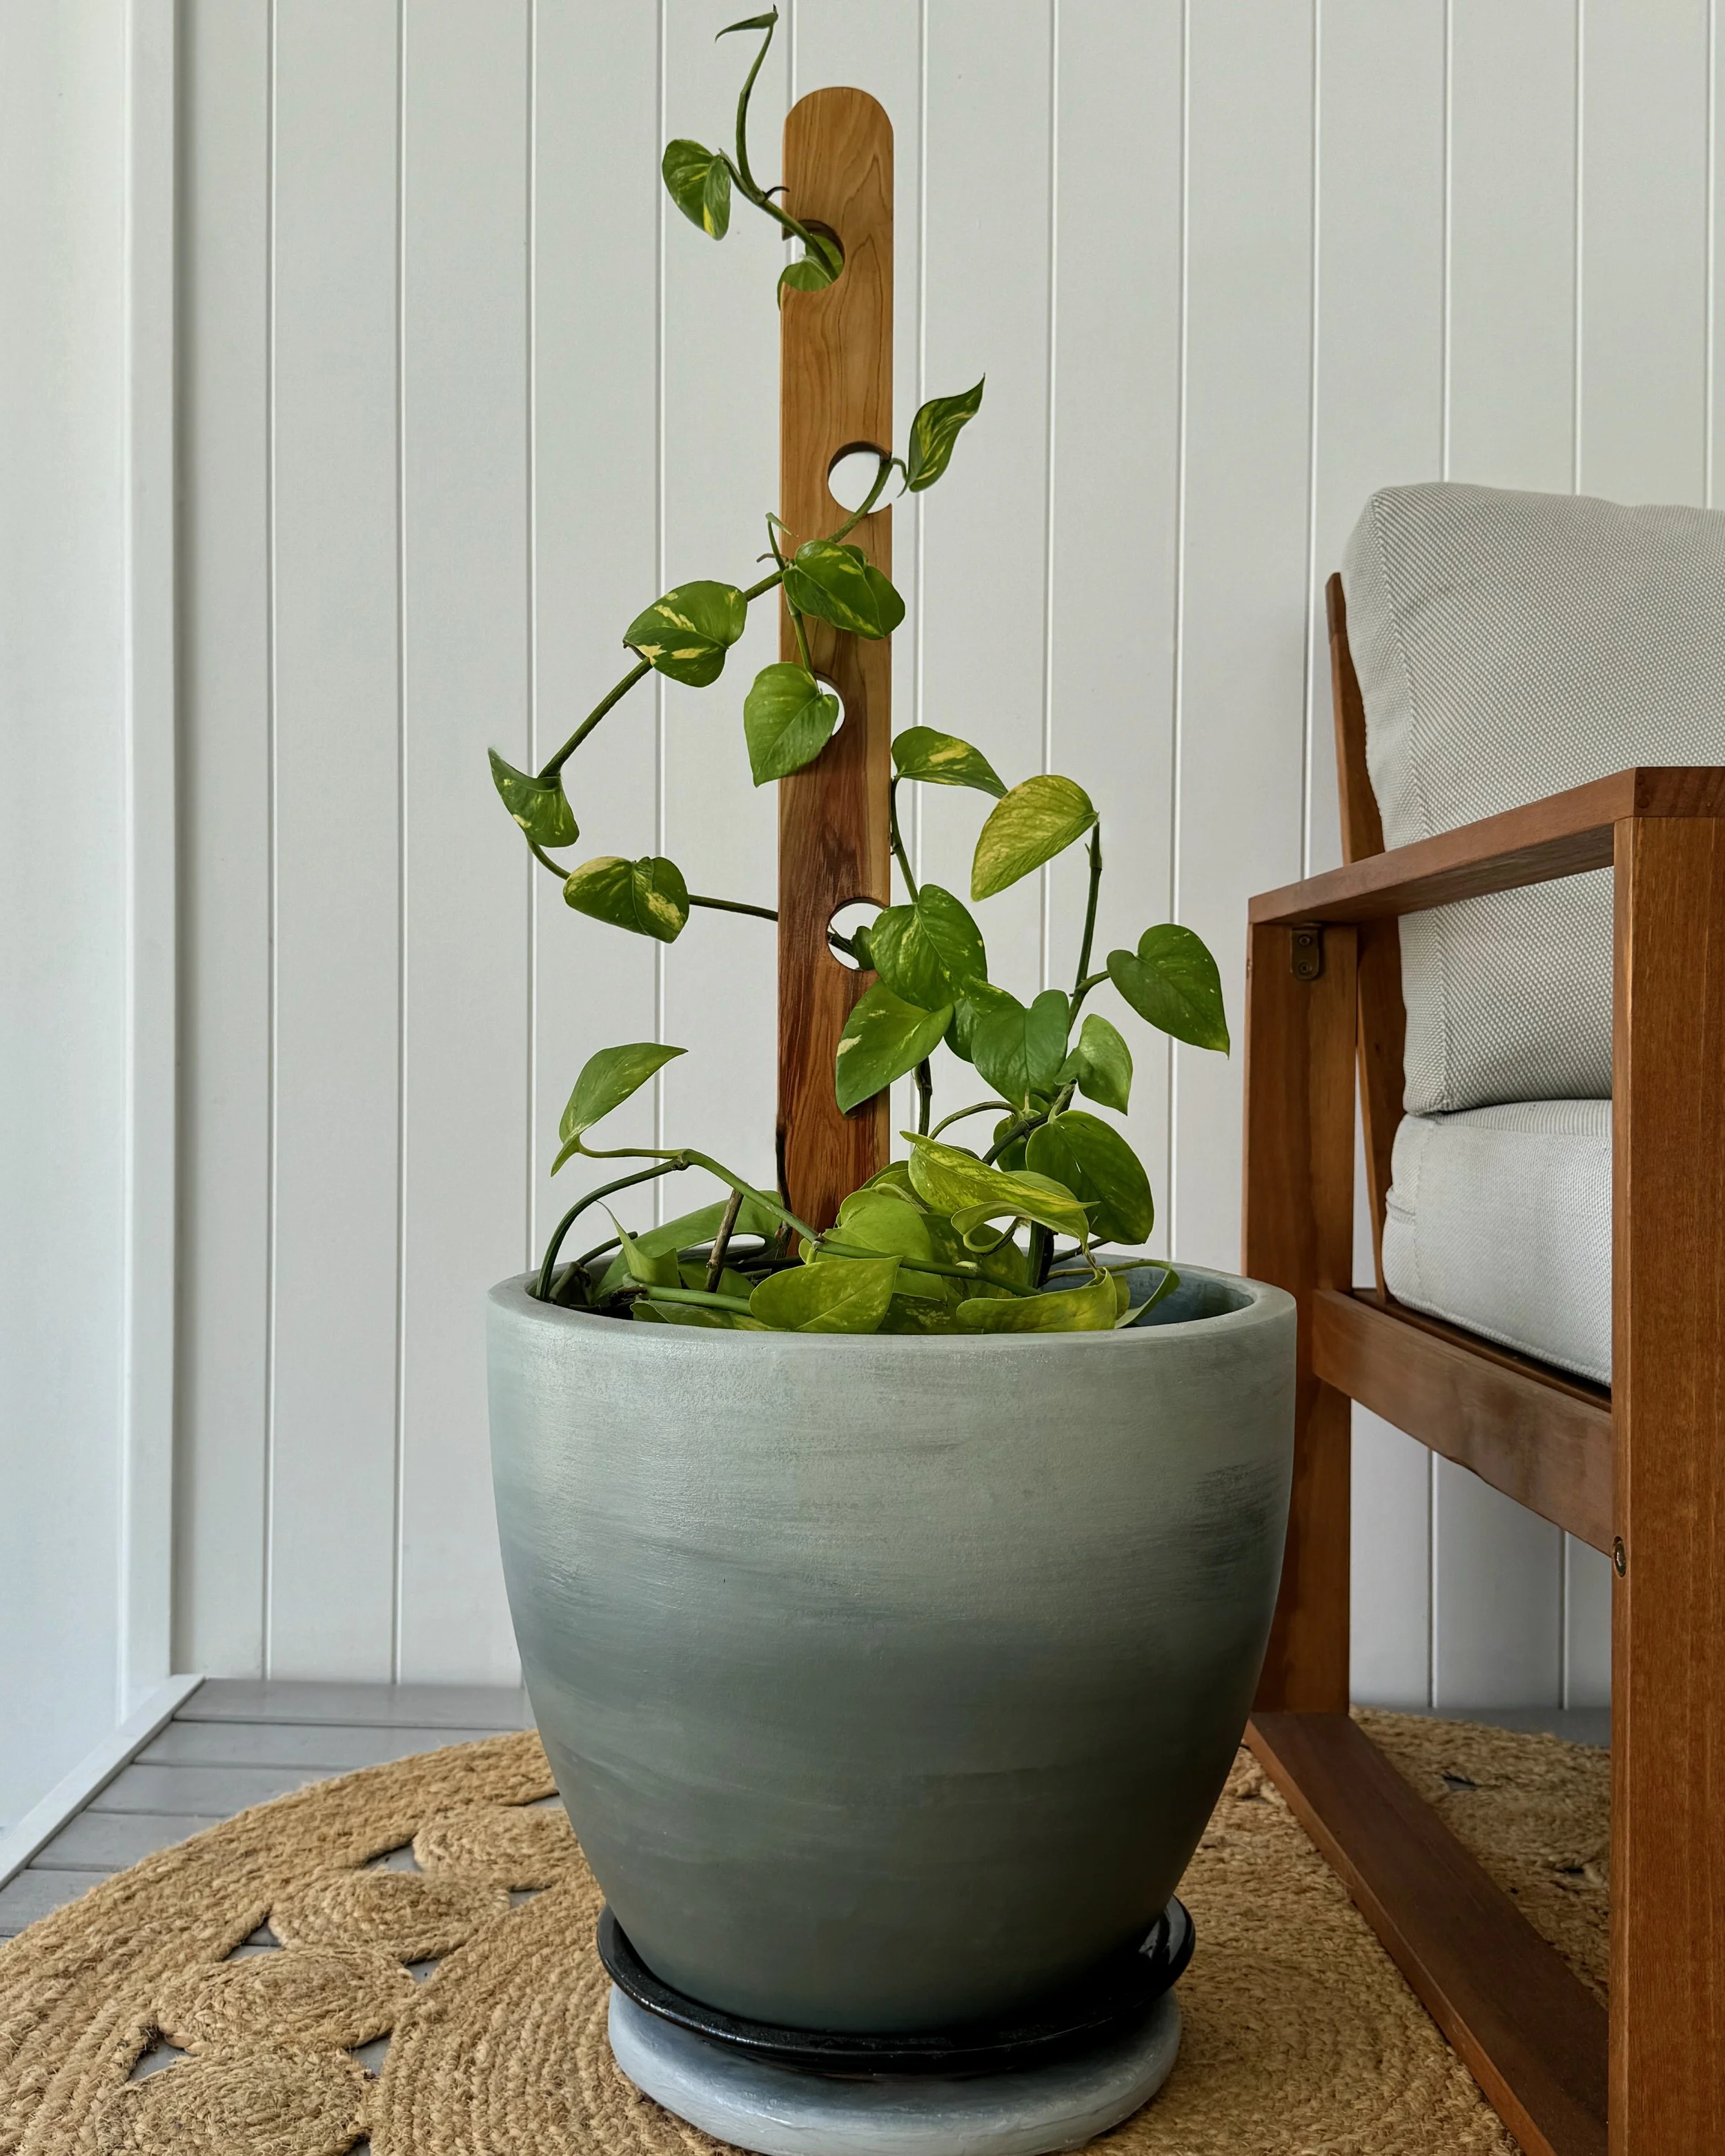
Position the base in a sunny spot, add the planter box and potted plants.
TIP I used mother-in-law’s tongue plants in slim 200mm-wide pots to finish off the mid-century look.
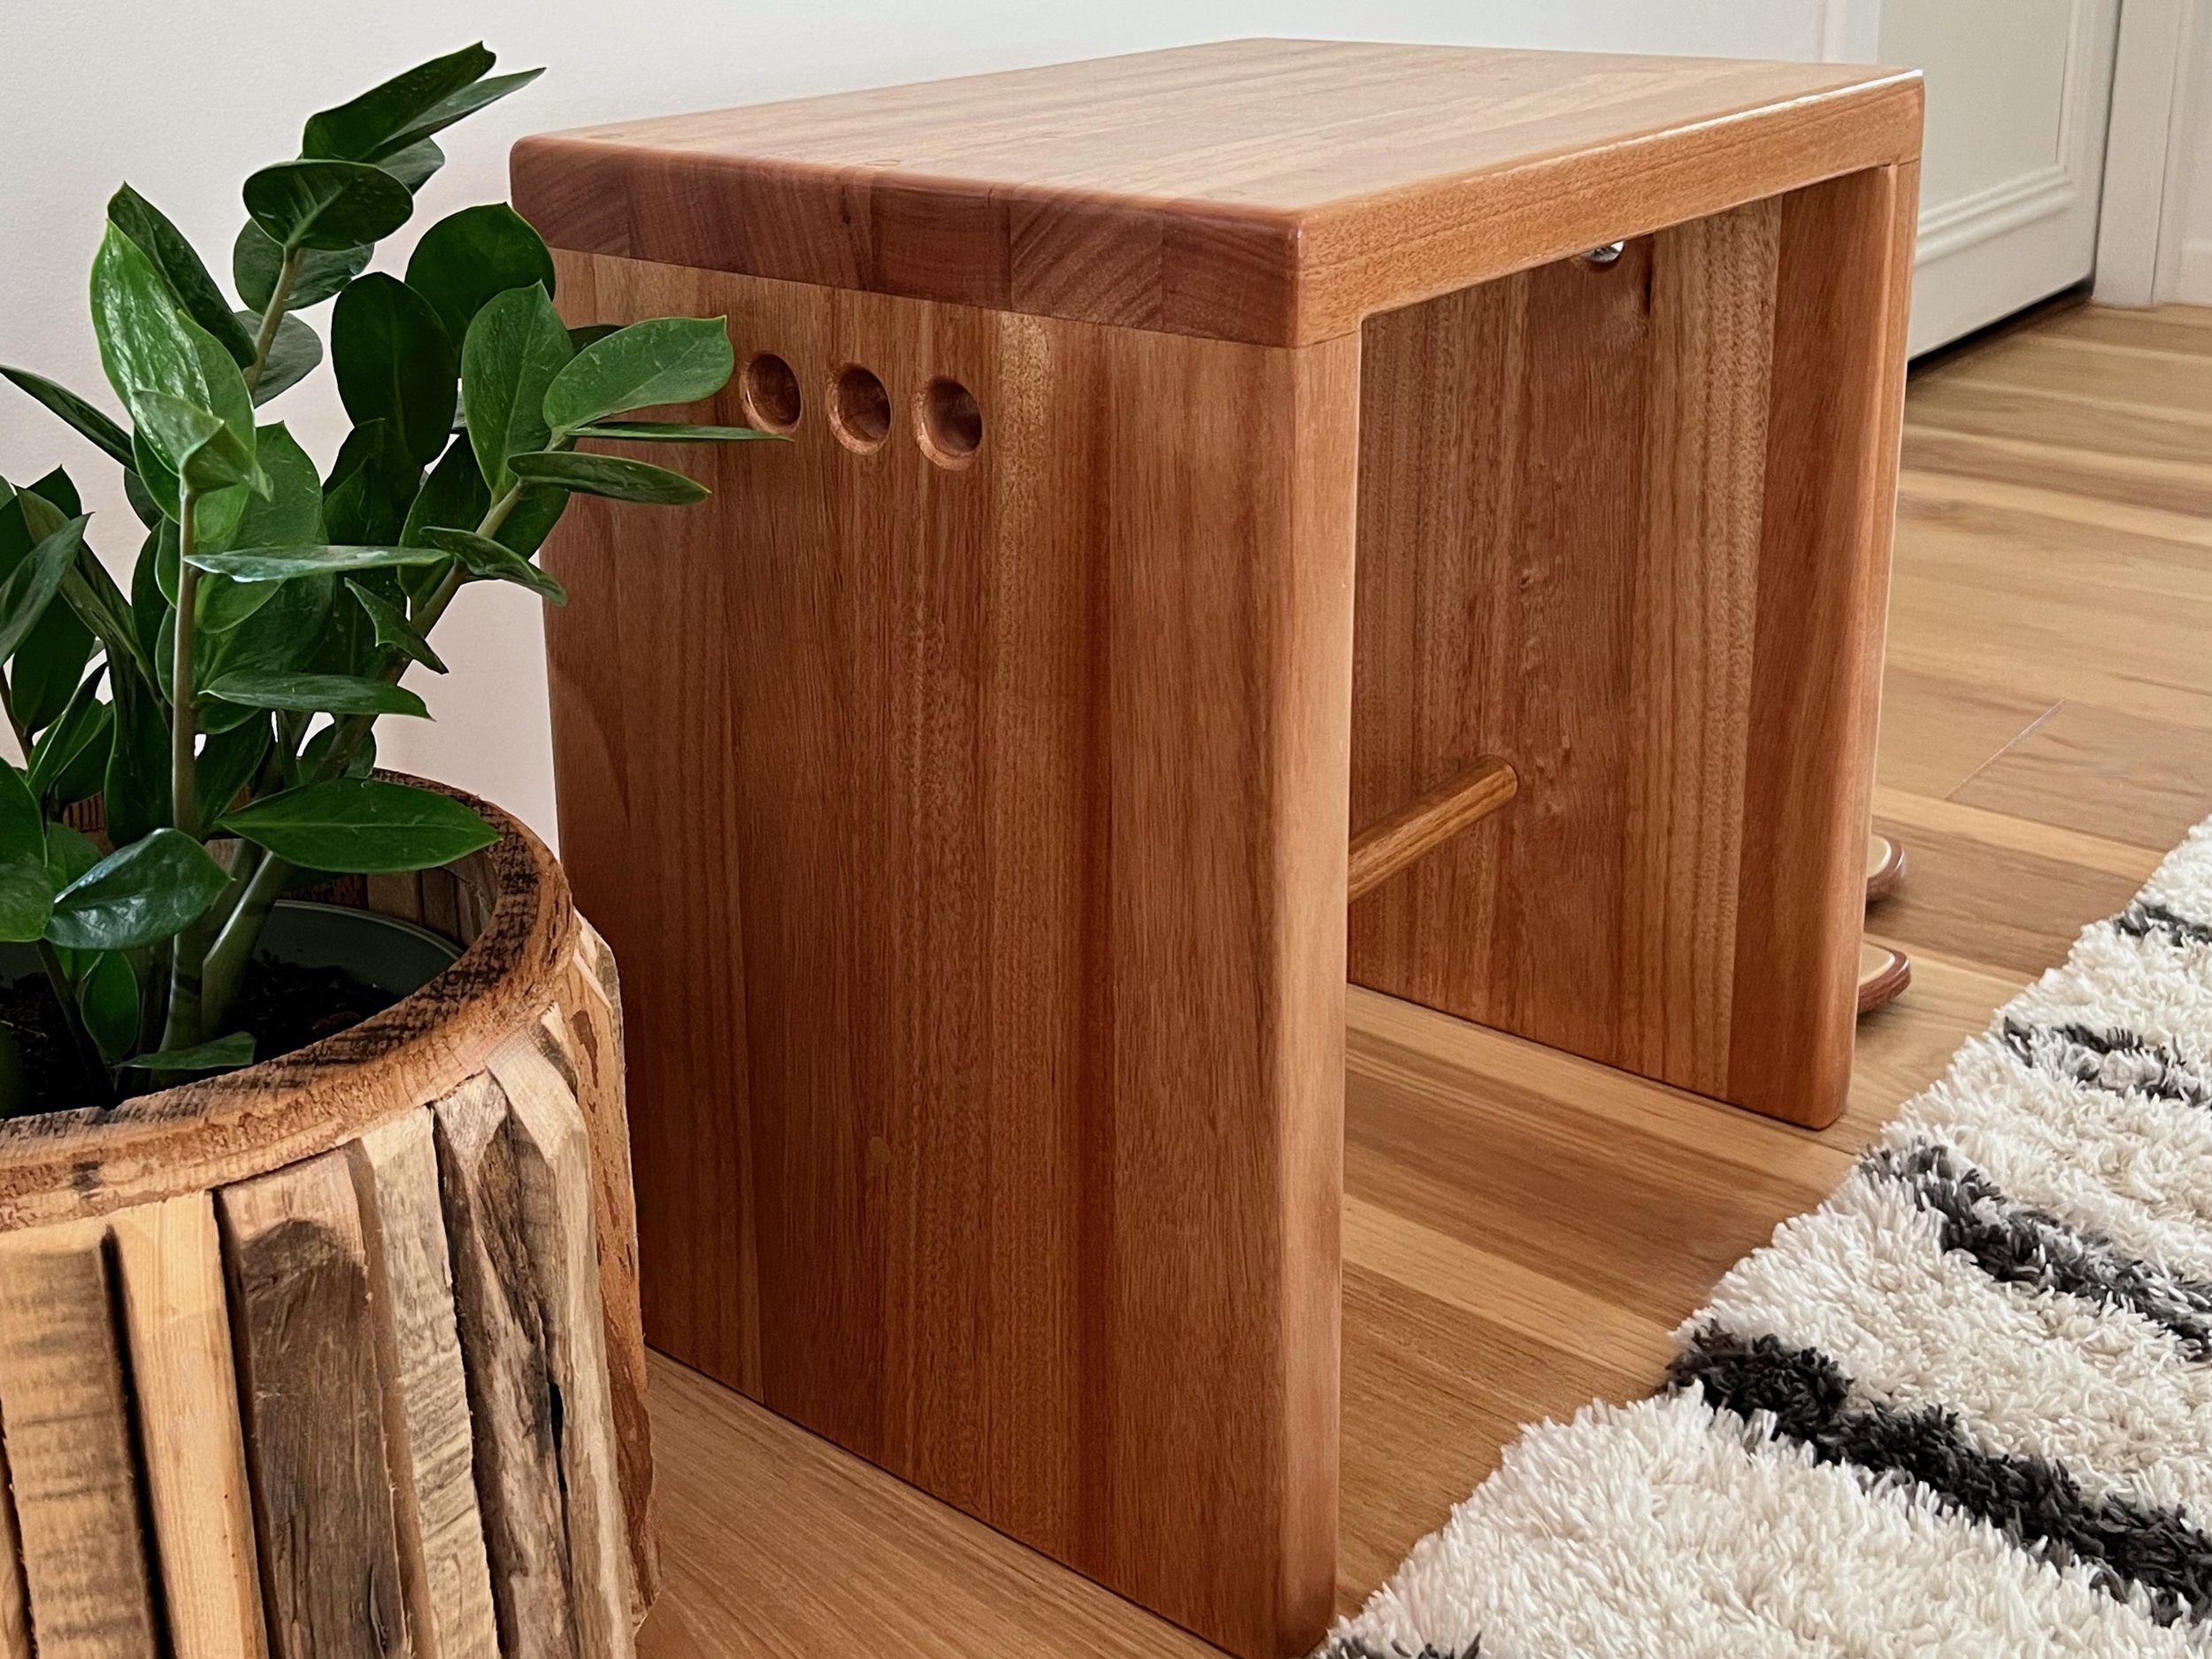
For another bespoke indoor plant display, have a go at making my Mid-century Planter using Tasmanian oak dowel.