MOBILE KITCHEN BENCH
Alun Machin

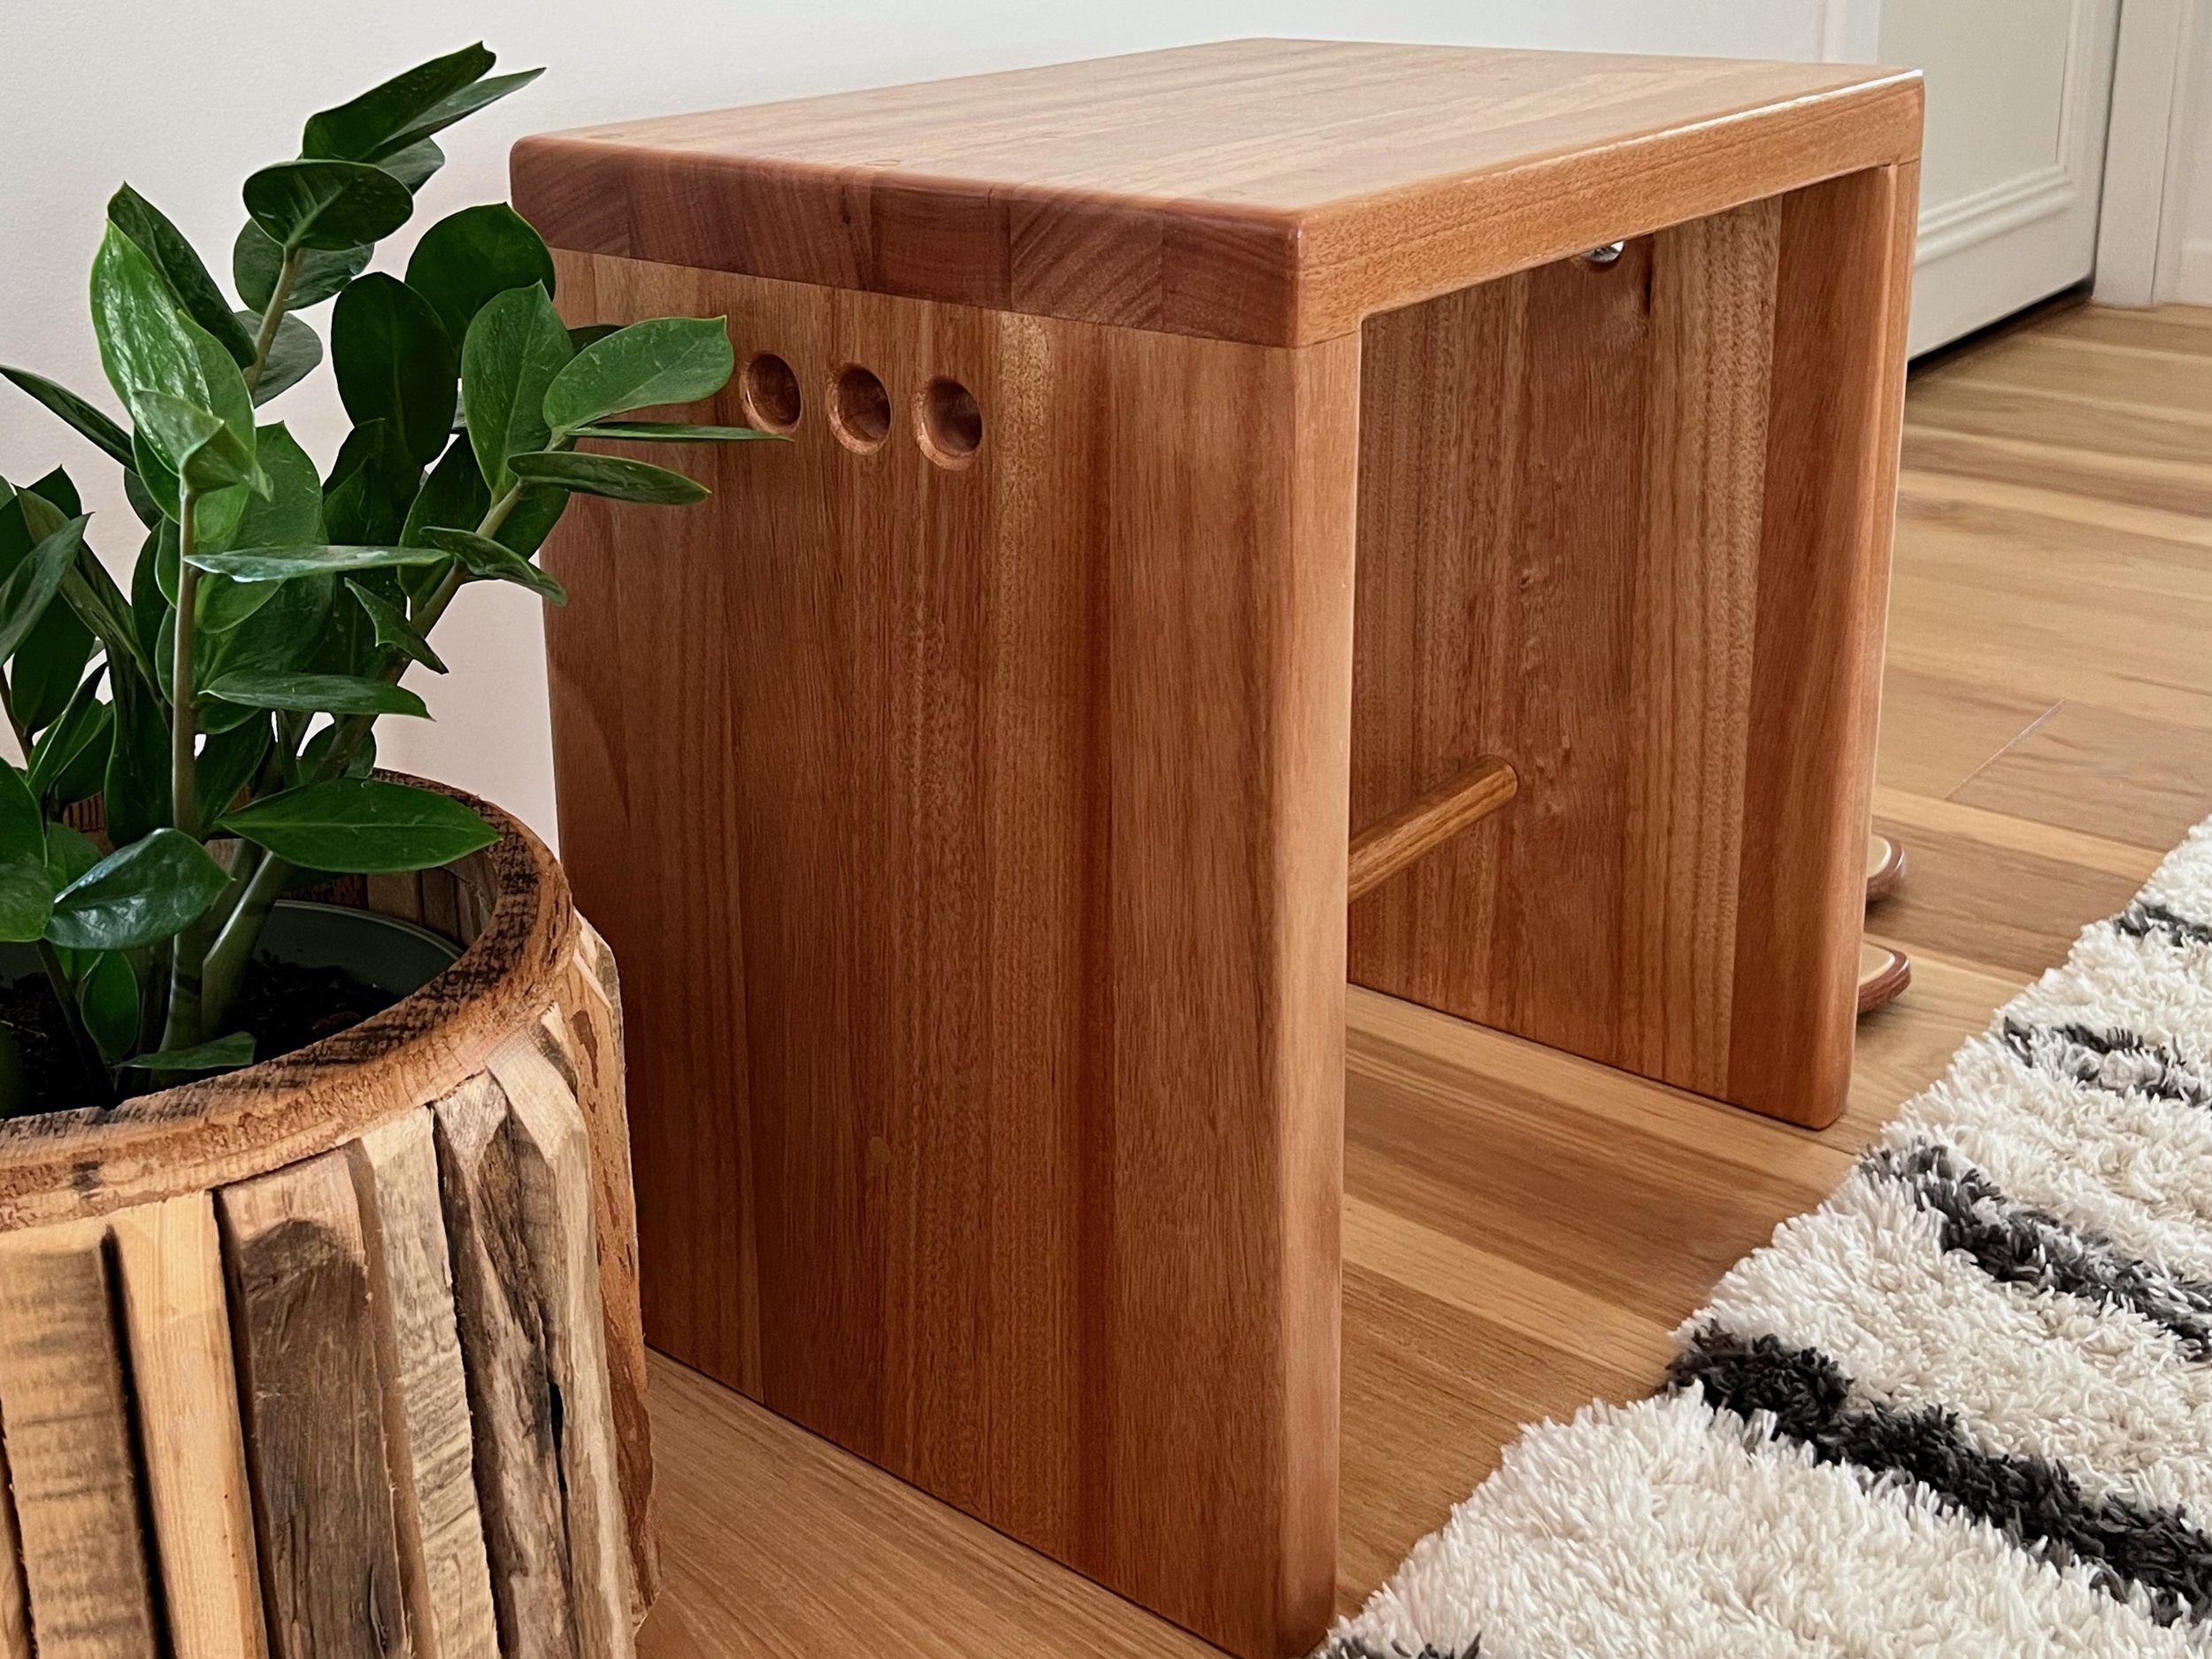
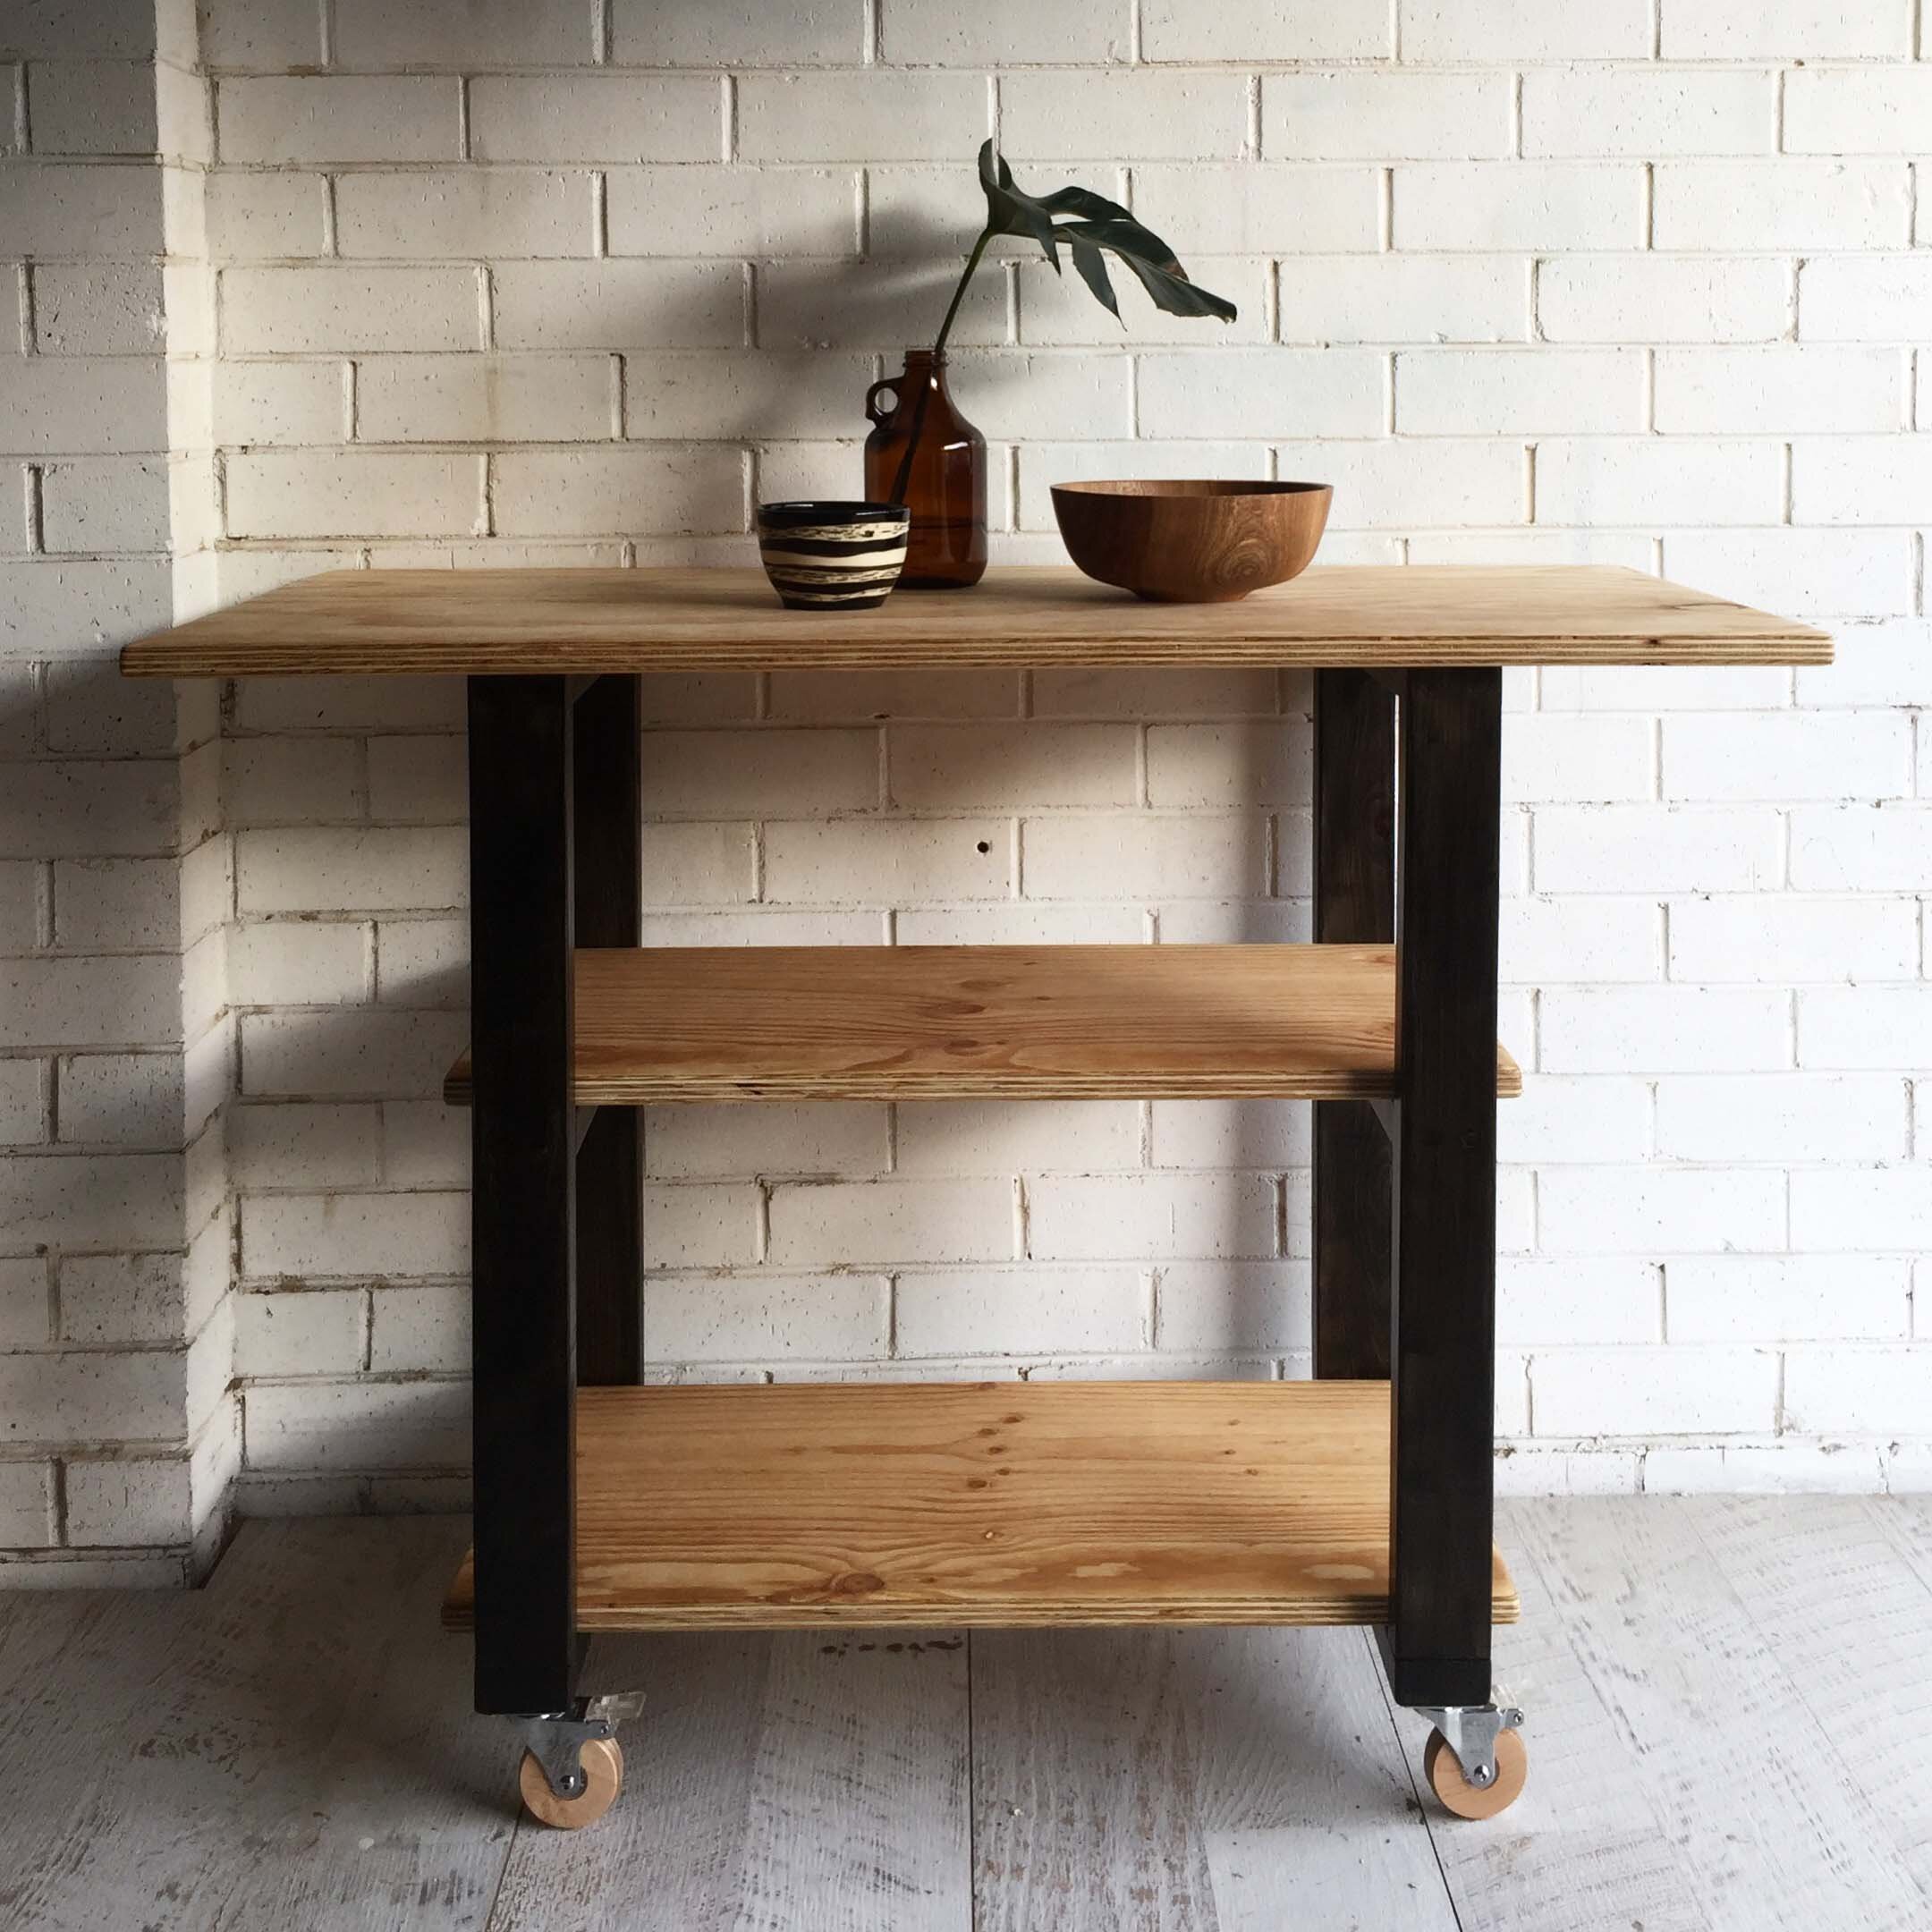
I love building multi-purpose furniture and this kitchen island does the trick, by providing bench space, storage and seating by tucking a stool under either end.
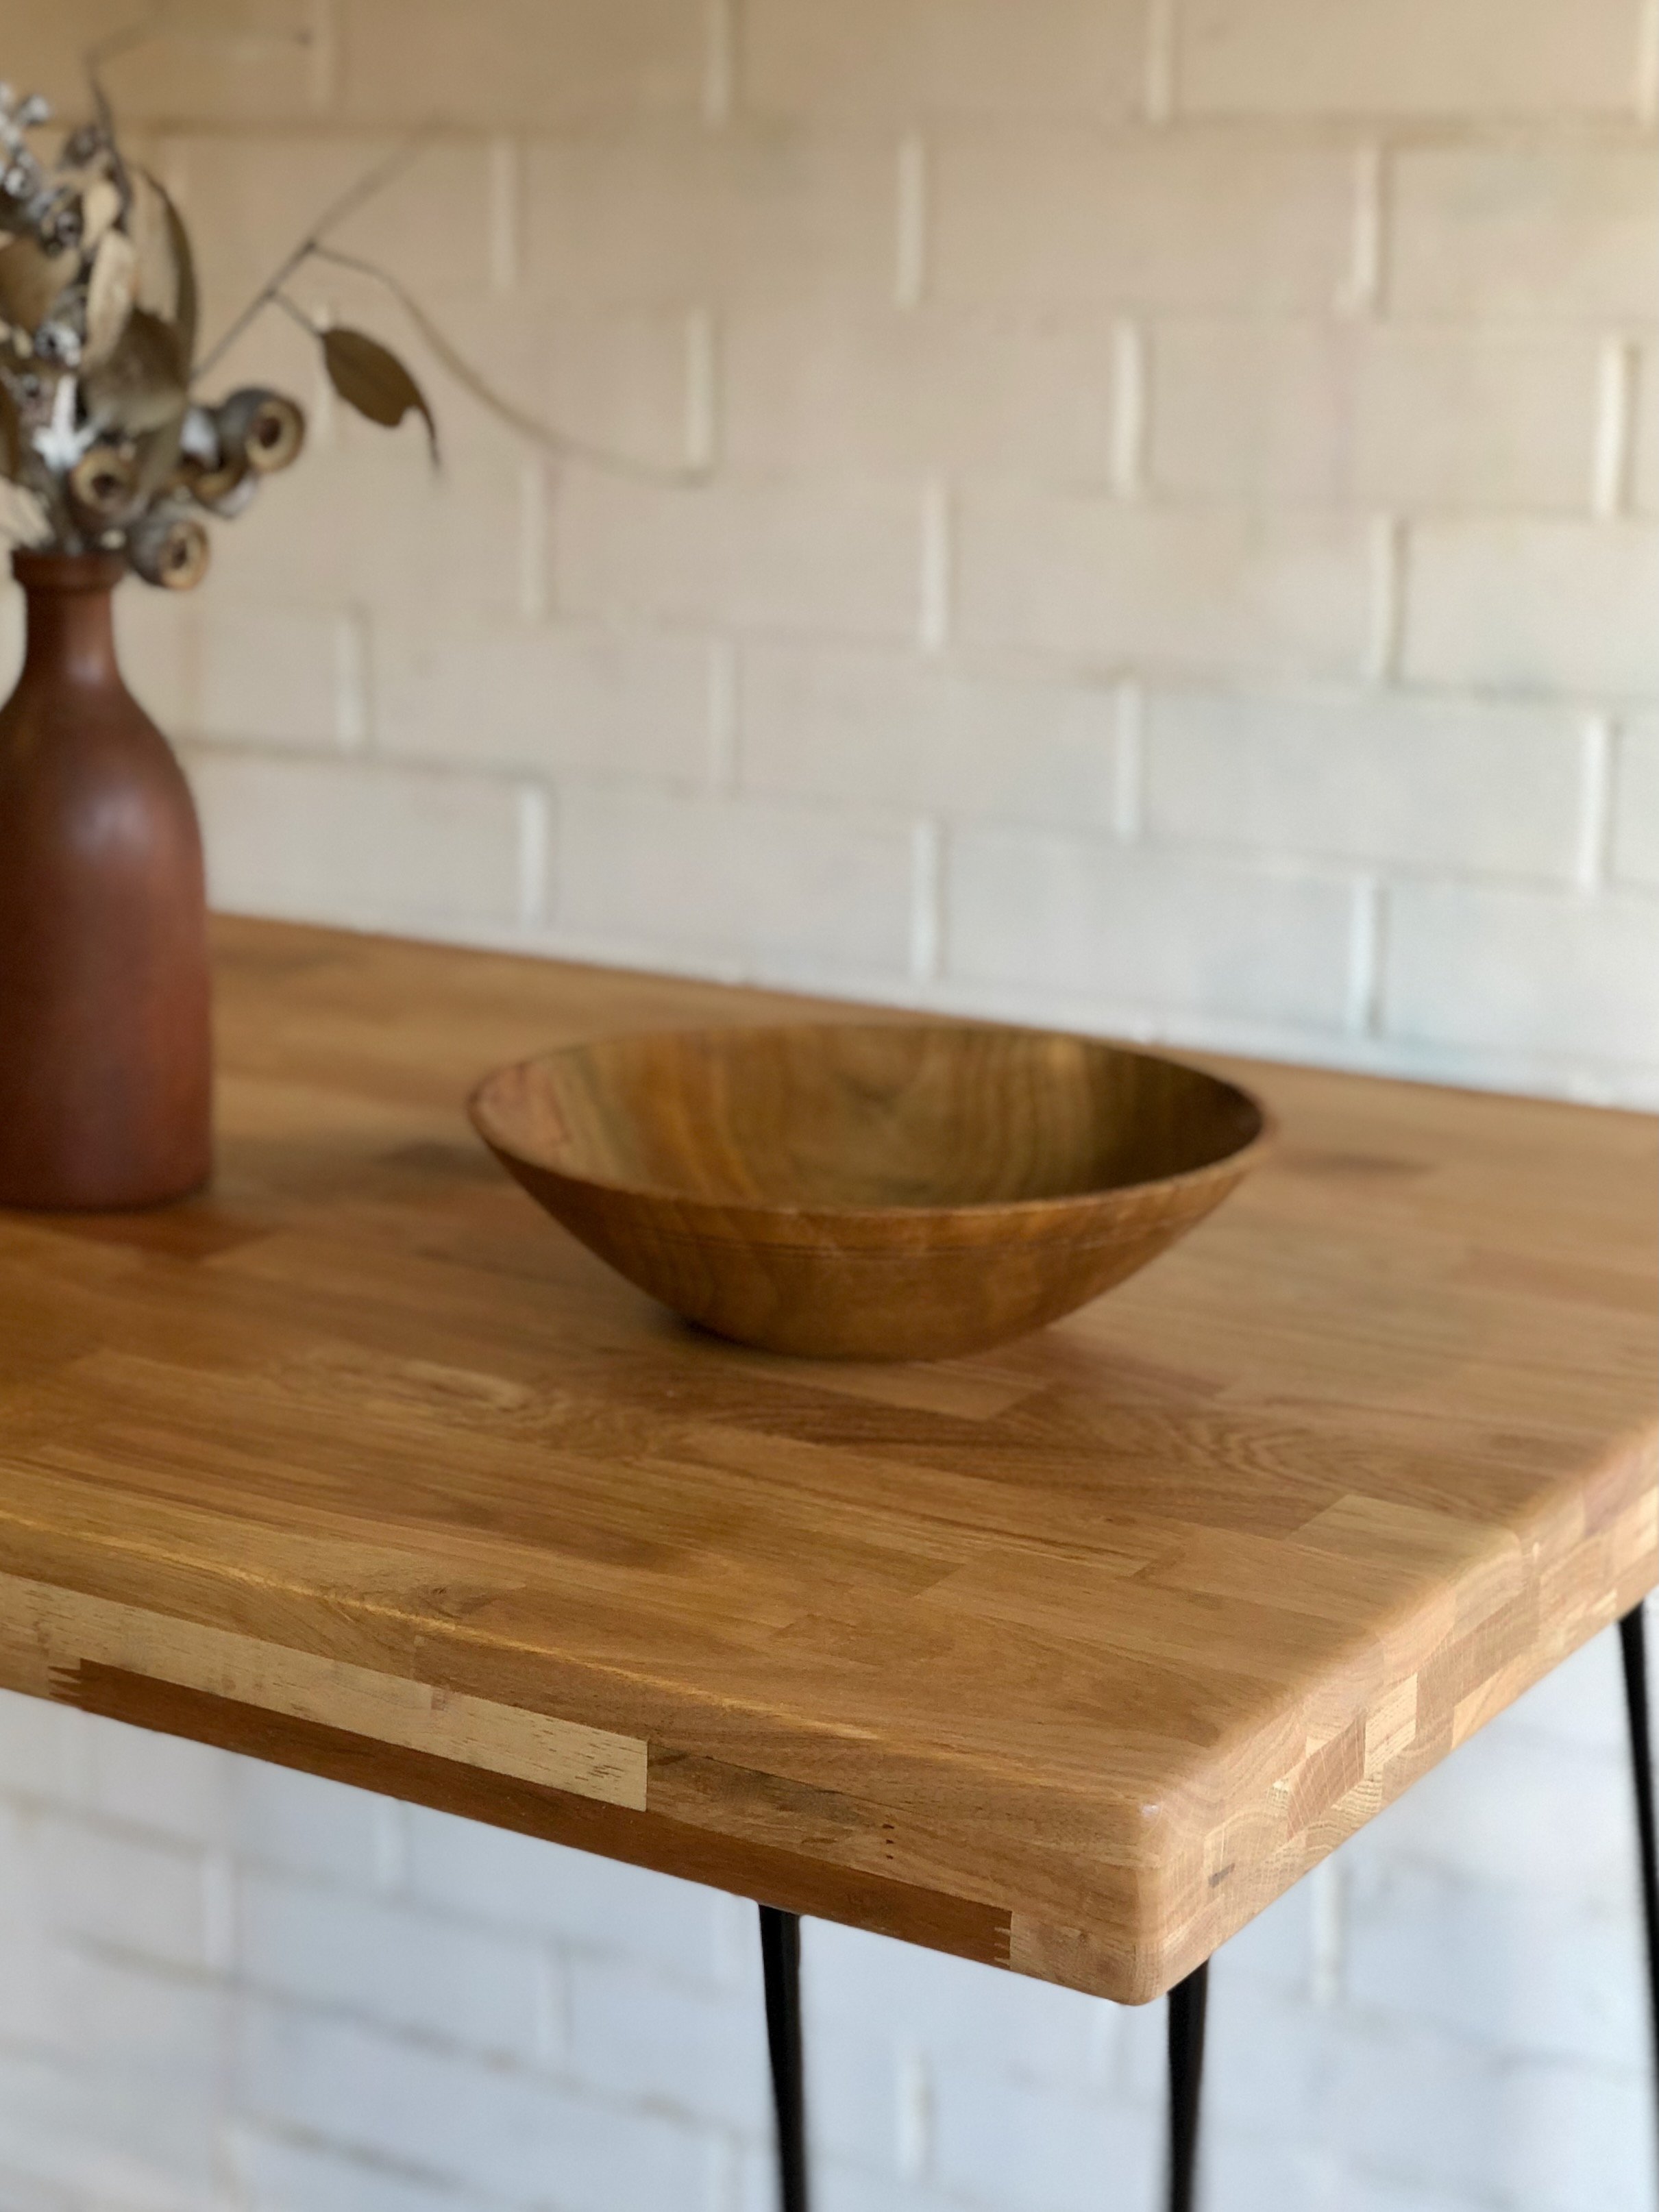
To keep the cost right down, I used plywood for the top and shelves with pine for the base.
The top is 1200mm long by 550mm wide and the island stands at a standard kitchen bench height of 900mm, including the castors.
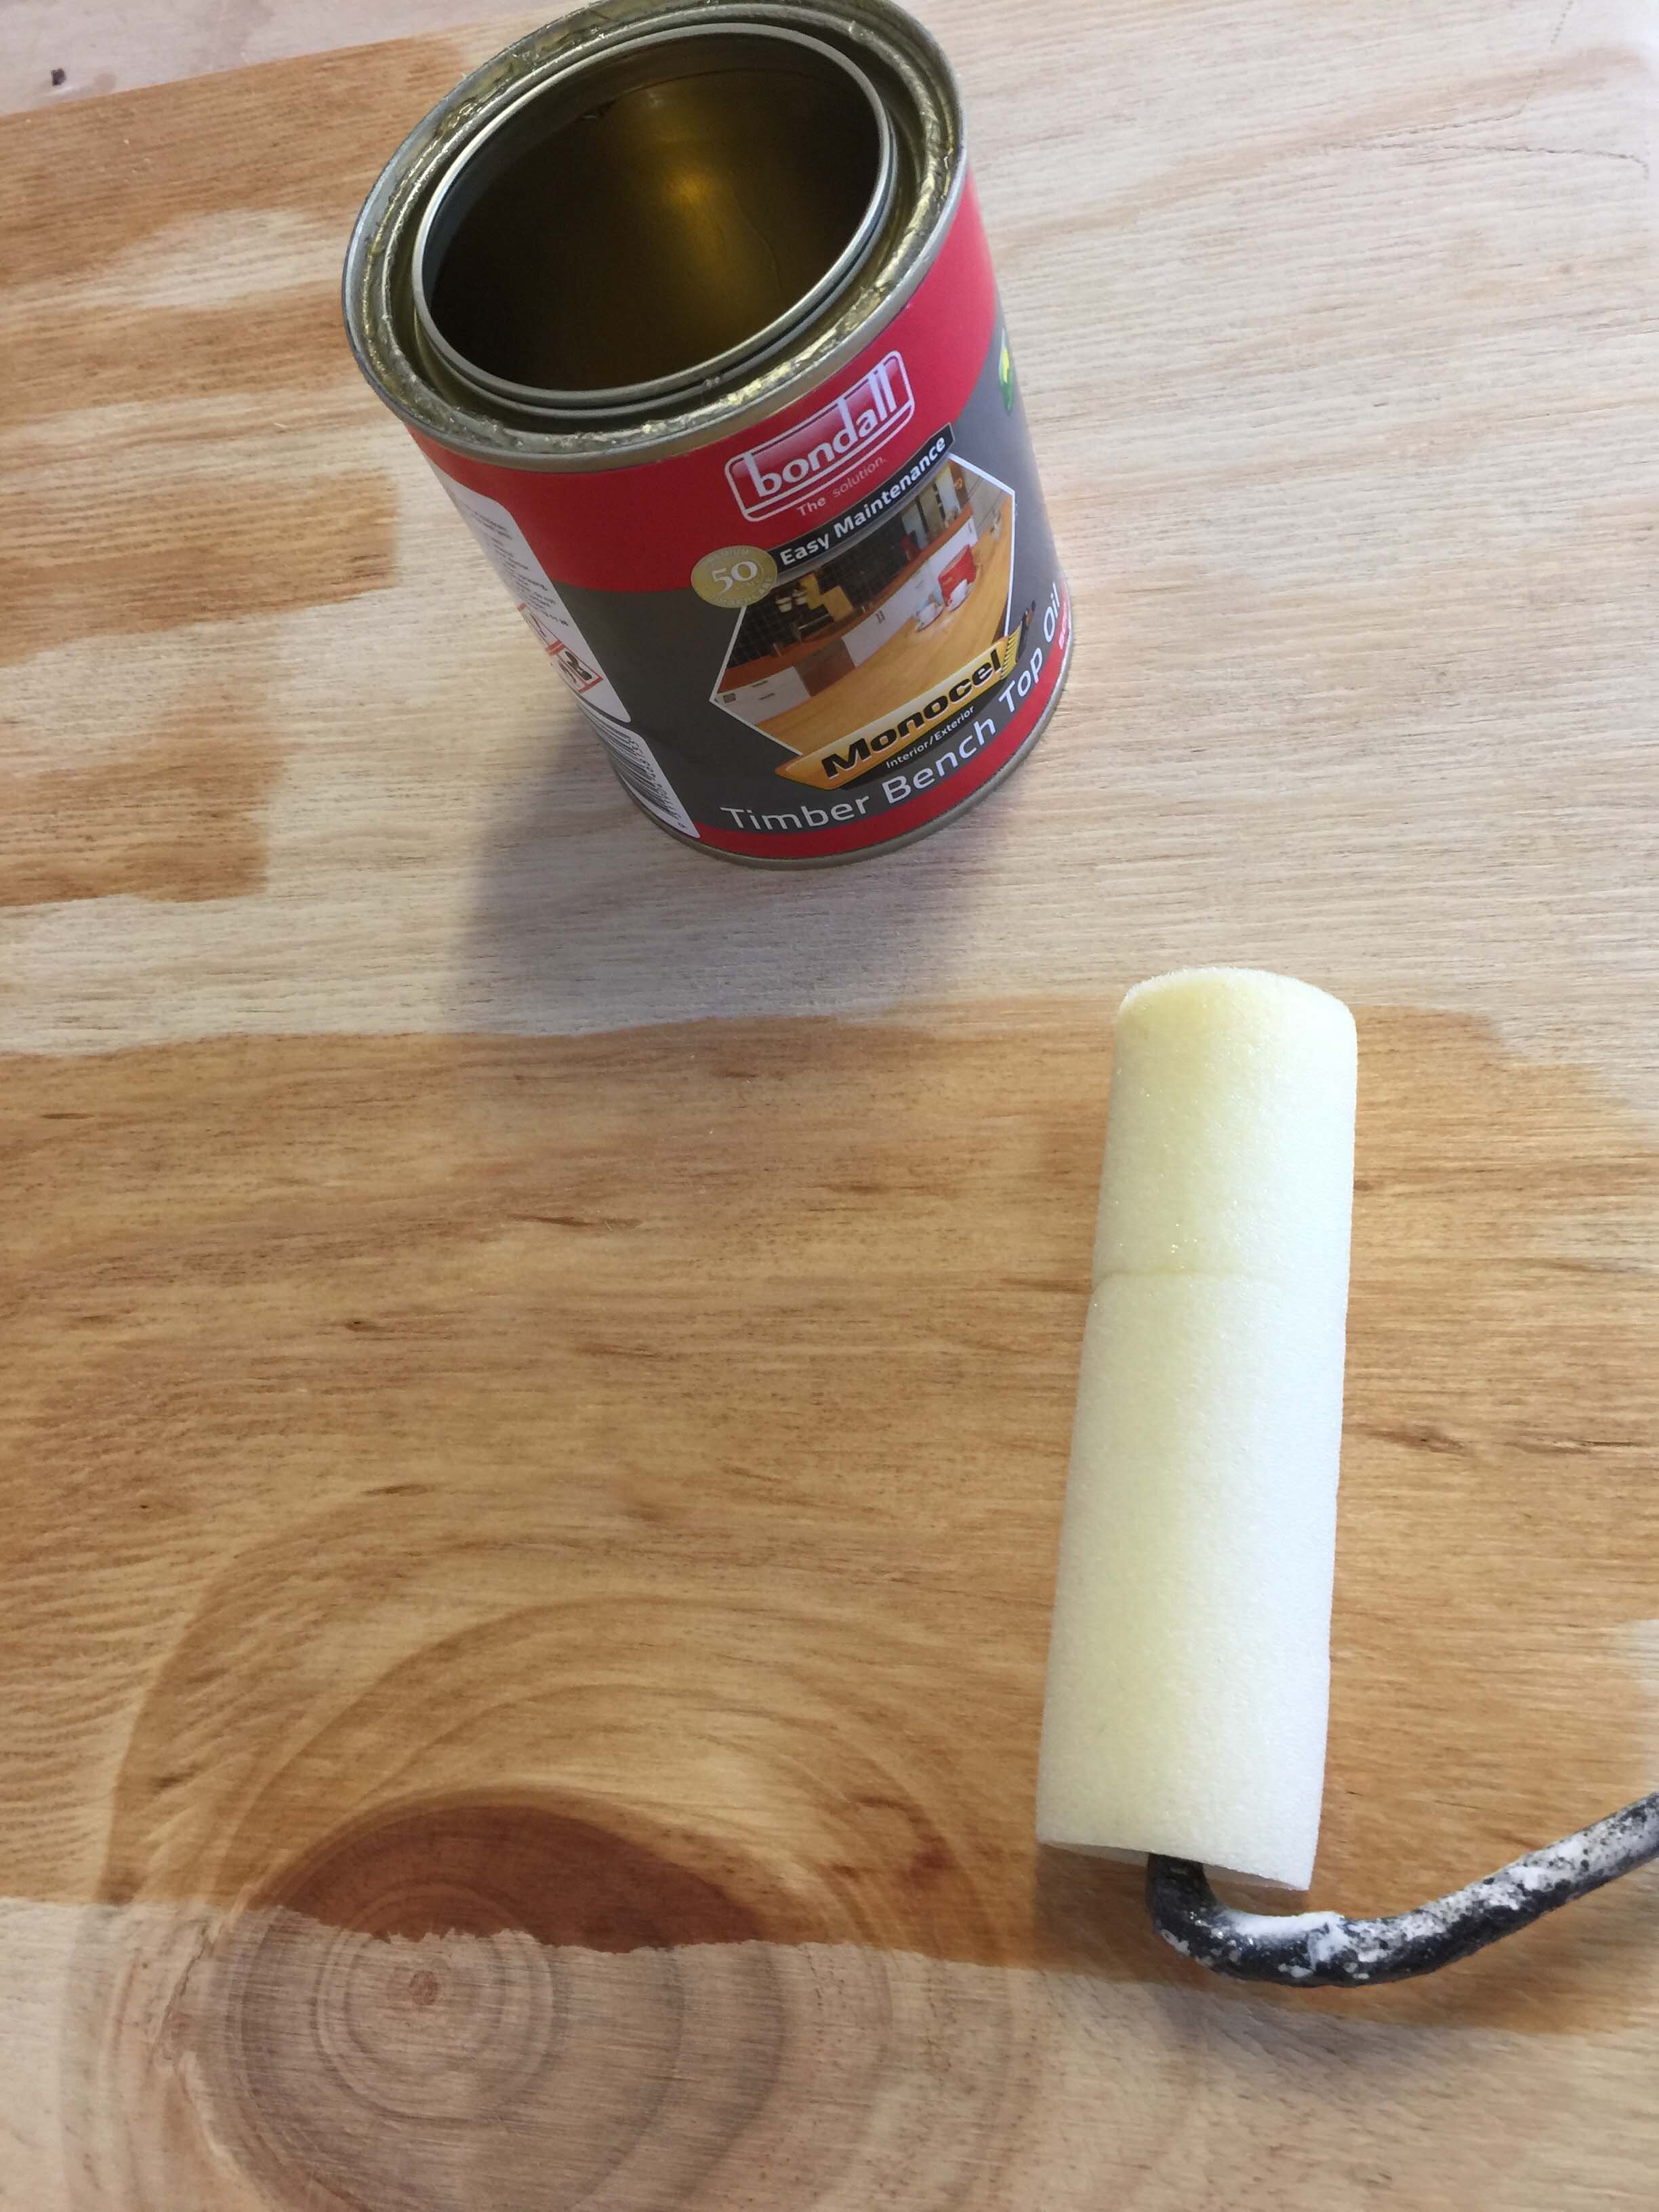
I used Monocel Bench Top Oil to seal the top and shelves to help protect from moisture damage while keeping them food-safe.

You could choose any tint to seal the base, but my favourite is Monocel Stain & Varnish in Black as it seals with a light sheen while allowing the woodgrain to show through.

DIY TOOLS
mitre saw and circular saw, optional, to cut timber
drill with drill bits, including a countersinking bit for the batten screws
tape measure
80, 180 and 240-grit abrasive paper, with hand-sanding block or sander
DIY MATERIALS
4 x 75mm-high lockable castors and screws
12 x 70mm batten screws
6 x 50mm batten screws
8 x 27 x 27mm angle brackets
Monocel Bench Top Oil
Monocel Stain & Varnish in Black
quality paintbrush
mini foam roller and tray

The Cut List
If you’re not confident cutting timber, or don’t have the tools, ask the supplier to cut the plywood and pine for you. Ask for dressed all round (DAR) pine that’s smooth and easy to manage.
Cut 25mm plywood:
1200 x 550mm for top
two 850 x 400mm for shelves
Cut 70 x 35mm DAR pine:
four 430mm lengths for shelf and top rails
two 500mm lengths for base
four 765mm lengths for legs

STEP 1 Set out the frames
Position the legs over the base, with the shelf and top rails between them. Measure 300mm from the top to position the middle shelf, creating slightly more space above the bottom shelf to store bigger items.

STEP 2 Make the frames
At each join, measure 15mm from the edges to countersink and drill pilot holes for two 70mm batten screws, then secure the screws.
TIP Use a hex drill bit for the batten screws, and if you have an impact driver, it’s easier and more fun to use than a regular drill.

STEP 3 Sand and seal the frames
Smooth over the frames using 180-grit abrasive paper with a hand-sanding block or sander, then apply Monocel Stain & Varnish in Black with a brush.
TIP Keep the brush ready for the next coat by dipping it in the varnish and sealing with plastic wrap.

STEP 4 Apply the second coat
Apply a second coat of Monocel Stain & Varnish in Black, wiping away any drips for a smooth finish. Paint one side then flip the frame over onto spacers positioned only under the top and base rails, where any drying marks are less visible.

STEP 5 Sand and round-over the plywood
Use 80-grit abrasive paper with a hand-sanding block or sander to smooth over the tops and sides of the plywood, rounding over the edges and the corners. Go over the edges and corners again with 180-grit, then finish all over with 240-grit.
TIP Rounding the corners makes the kitchen island feel more bespoke, while removing the risk of sharp corners.
STEP 6 Seal the plywood
Use a mini foam roller to apply three coats of Monocel Bench Top Oil, leaving it to dry between coats and smoothing the surface with 240-grit abrasive paper before each application. Apply the first coat by rolling with the grain and the second coat across the grain to ensure full coverage.

STEP 7 Add the castors
Position the castors on the outside edges, attaching them using screws up to 32mm long.
TIP Don’t scrimp on the castors. Choose a generous 75mm high and ensure they’re lockable to keep the island from moving when it doesn’t need it to.

STEP 8 Assemble the kitchen island
Working on the underside of the benchtop, position the frames 250mm from the ends, drilling three pilot holes into each top rail and securing 50mm batten screws.
TIP Add extra stability by securing four angle brackets either side using screws no longer than 25mm.
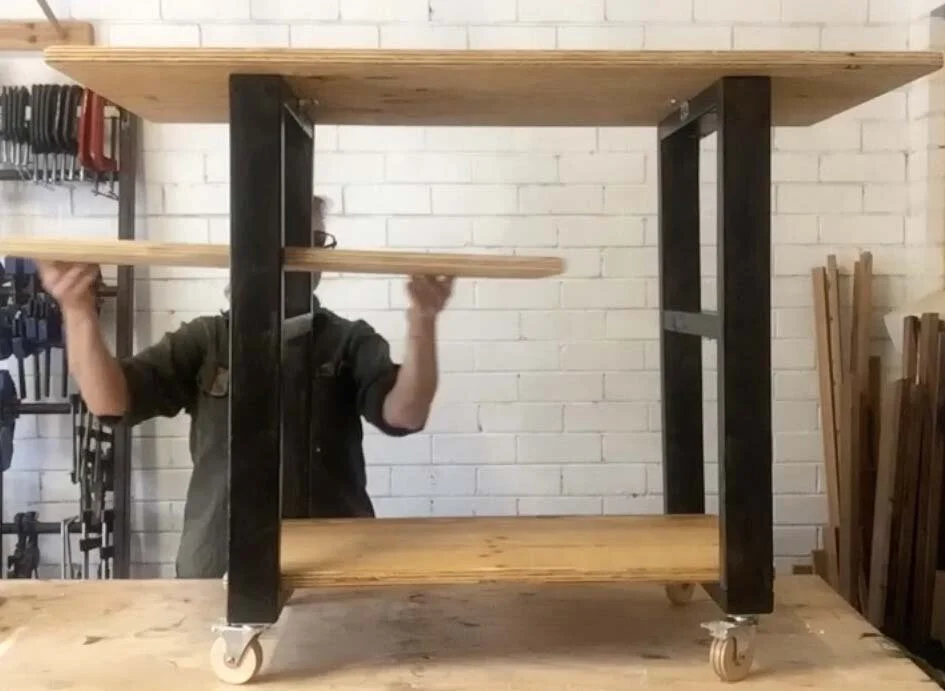
STEP 9 Add the shelves
Slide in the shelves, check the overhang is the same on the ends then secure to the middle and base shelves with angle brackets and screws no longer tham 25mm.

WANT IT MADE FOR YOU?
Need this kitchen island but not keen on making it yourself?
I can build it for you! Check out the details and get in touch. It’ll be delivered in just a few weeks!