Soap Holder Made with Dowel
Natasha Dickins
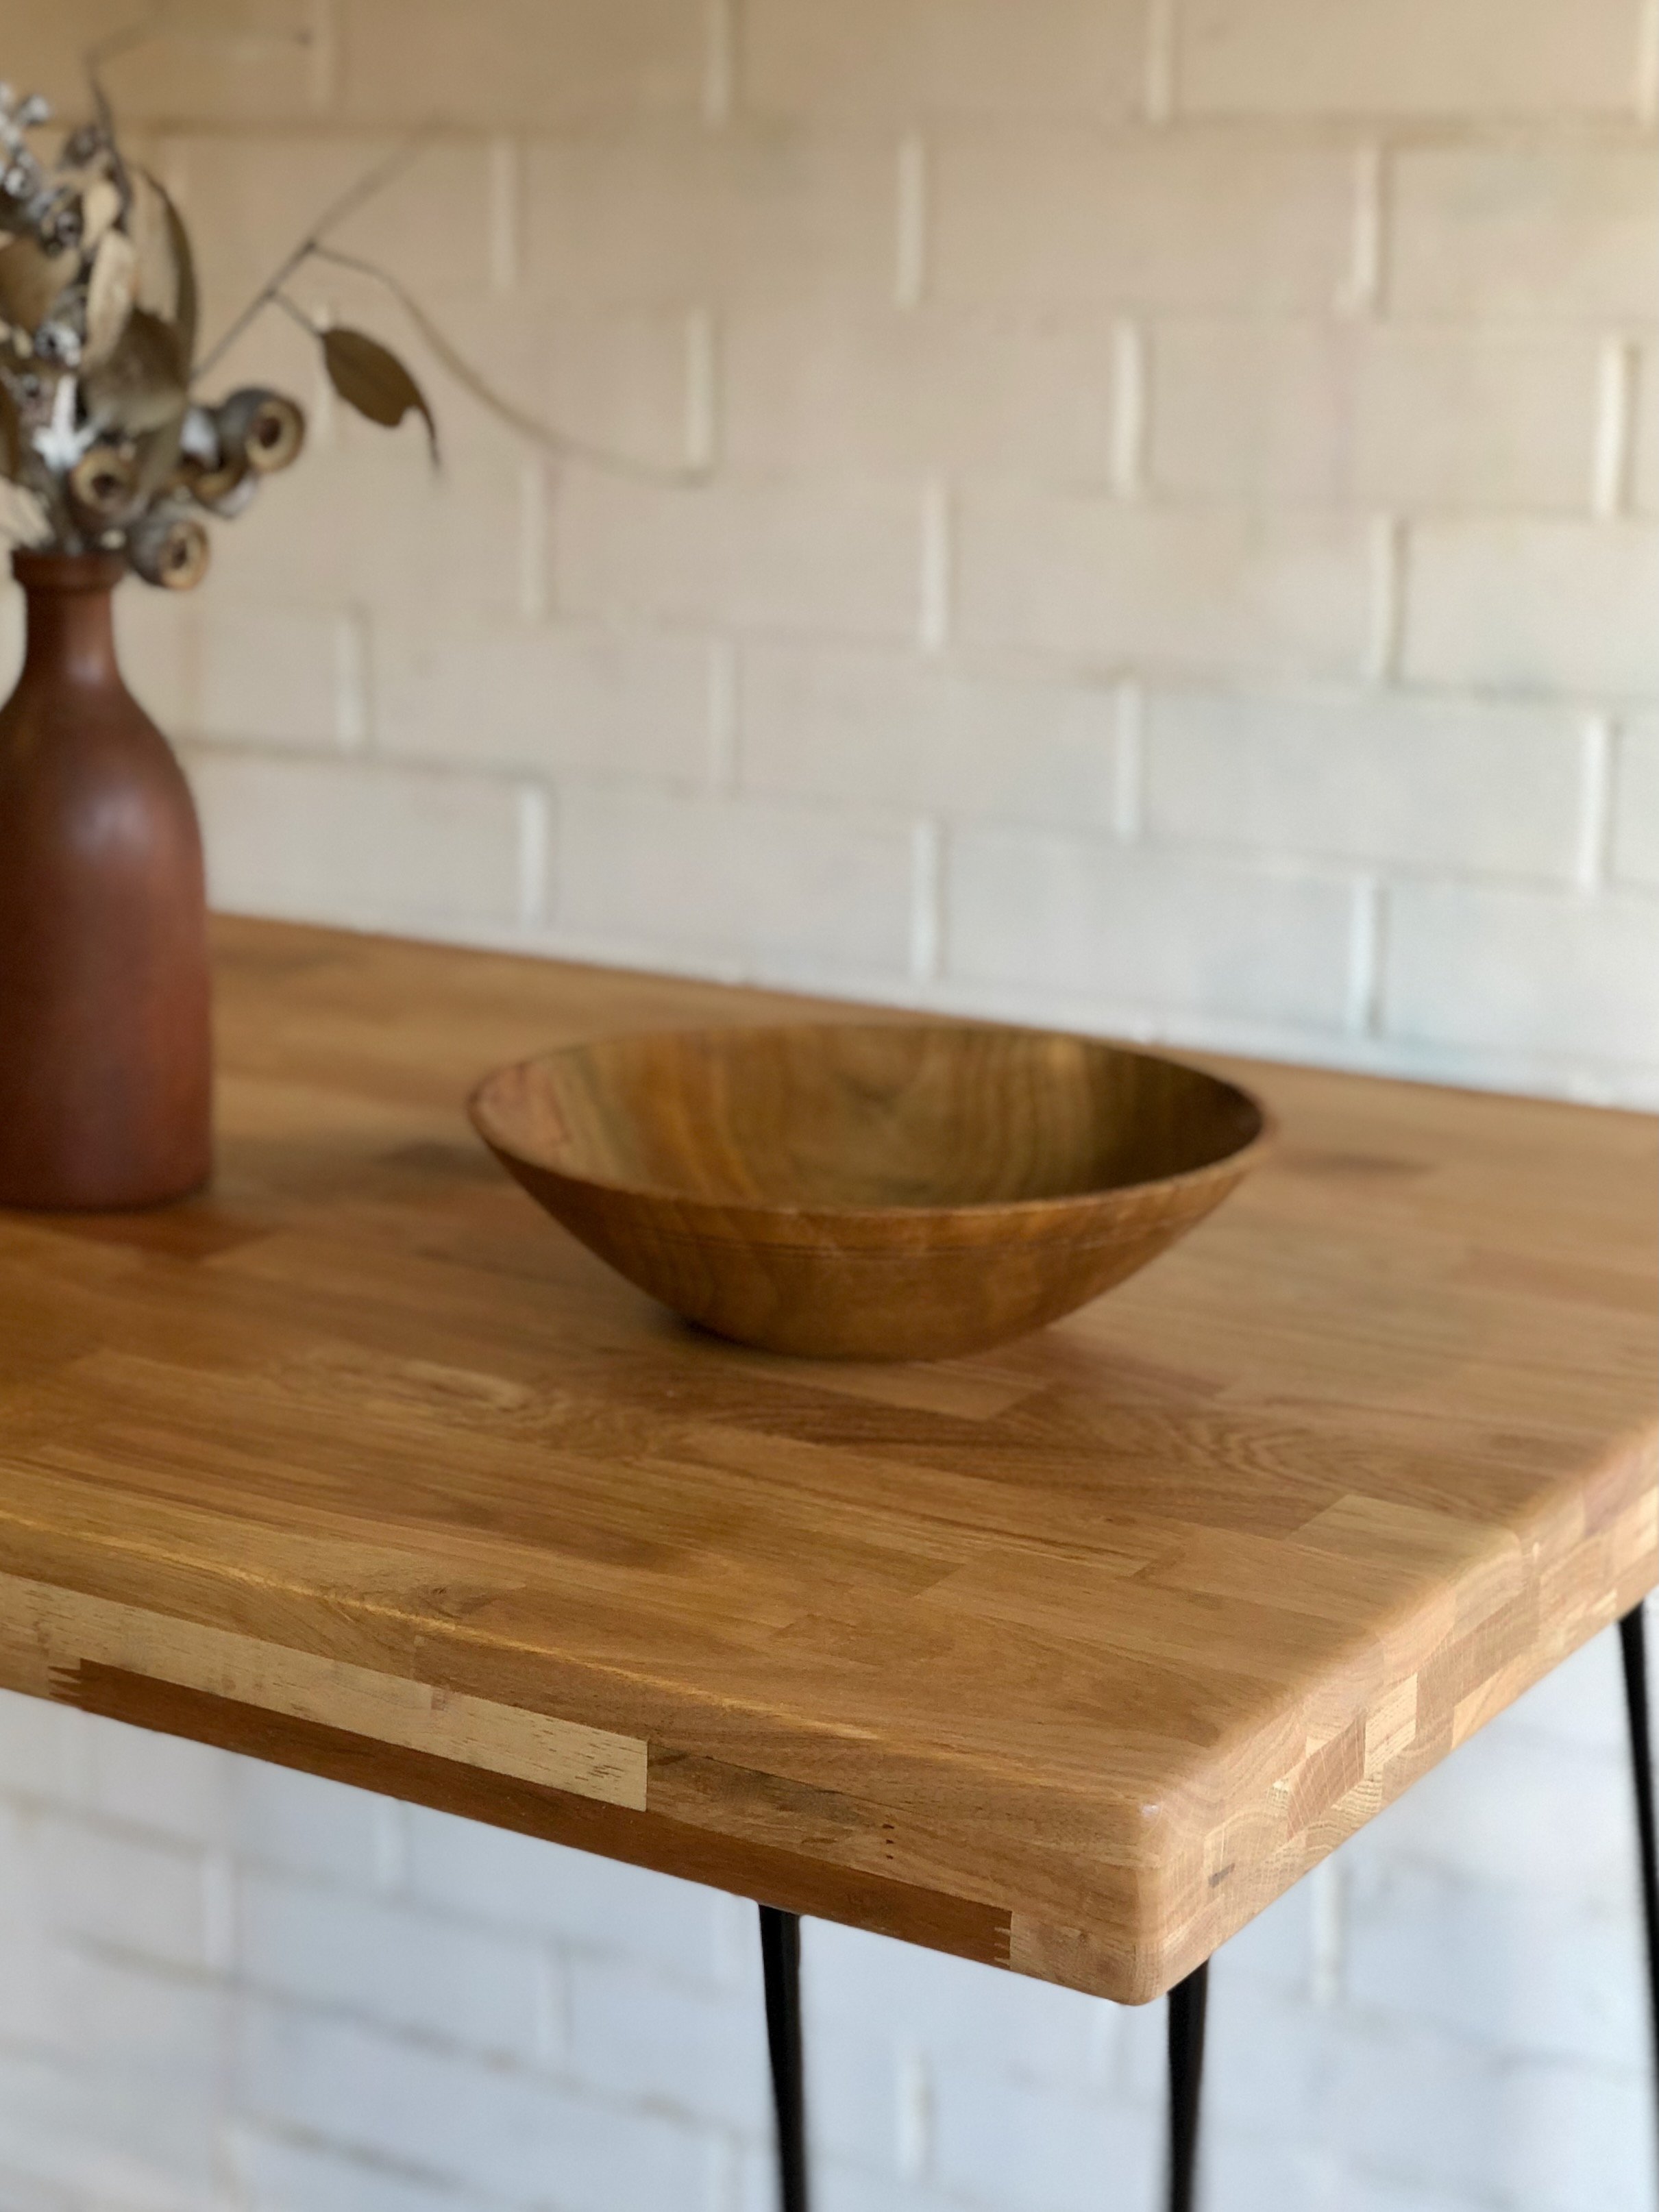
I made this cute little soap holder to reuse some Tasmanian oak dowel from another project. It’s designed to go with my DIY outdoor shower and compliment the timber caddy, but it could also be also be for a bathroom, laundry or kitchen.
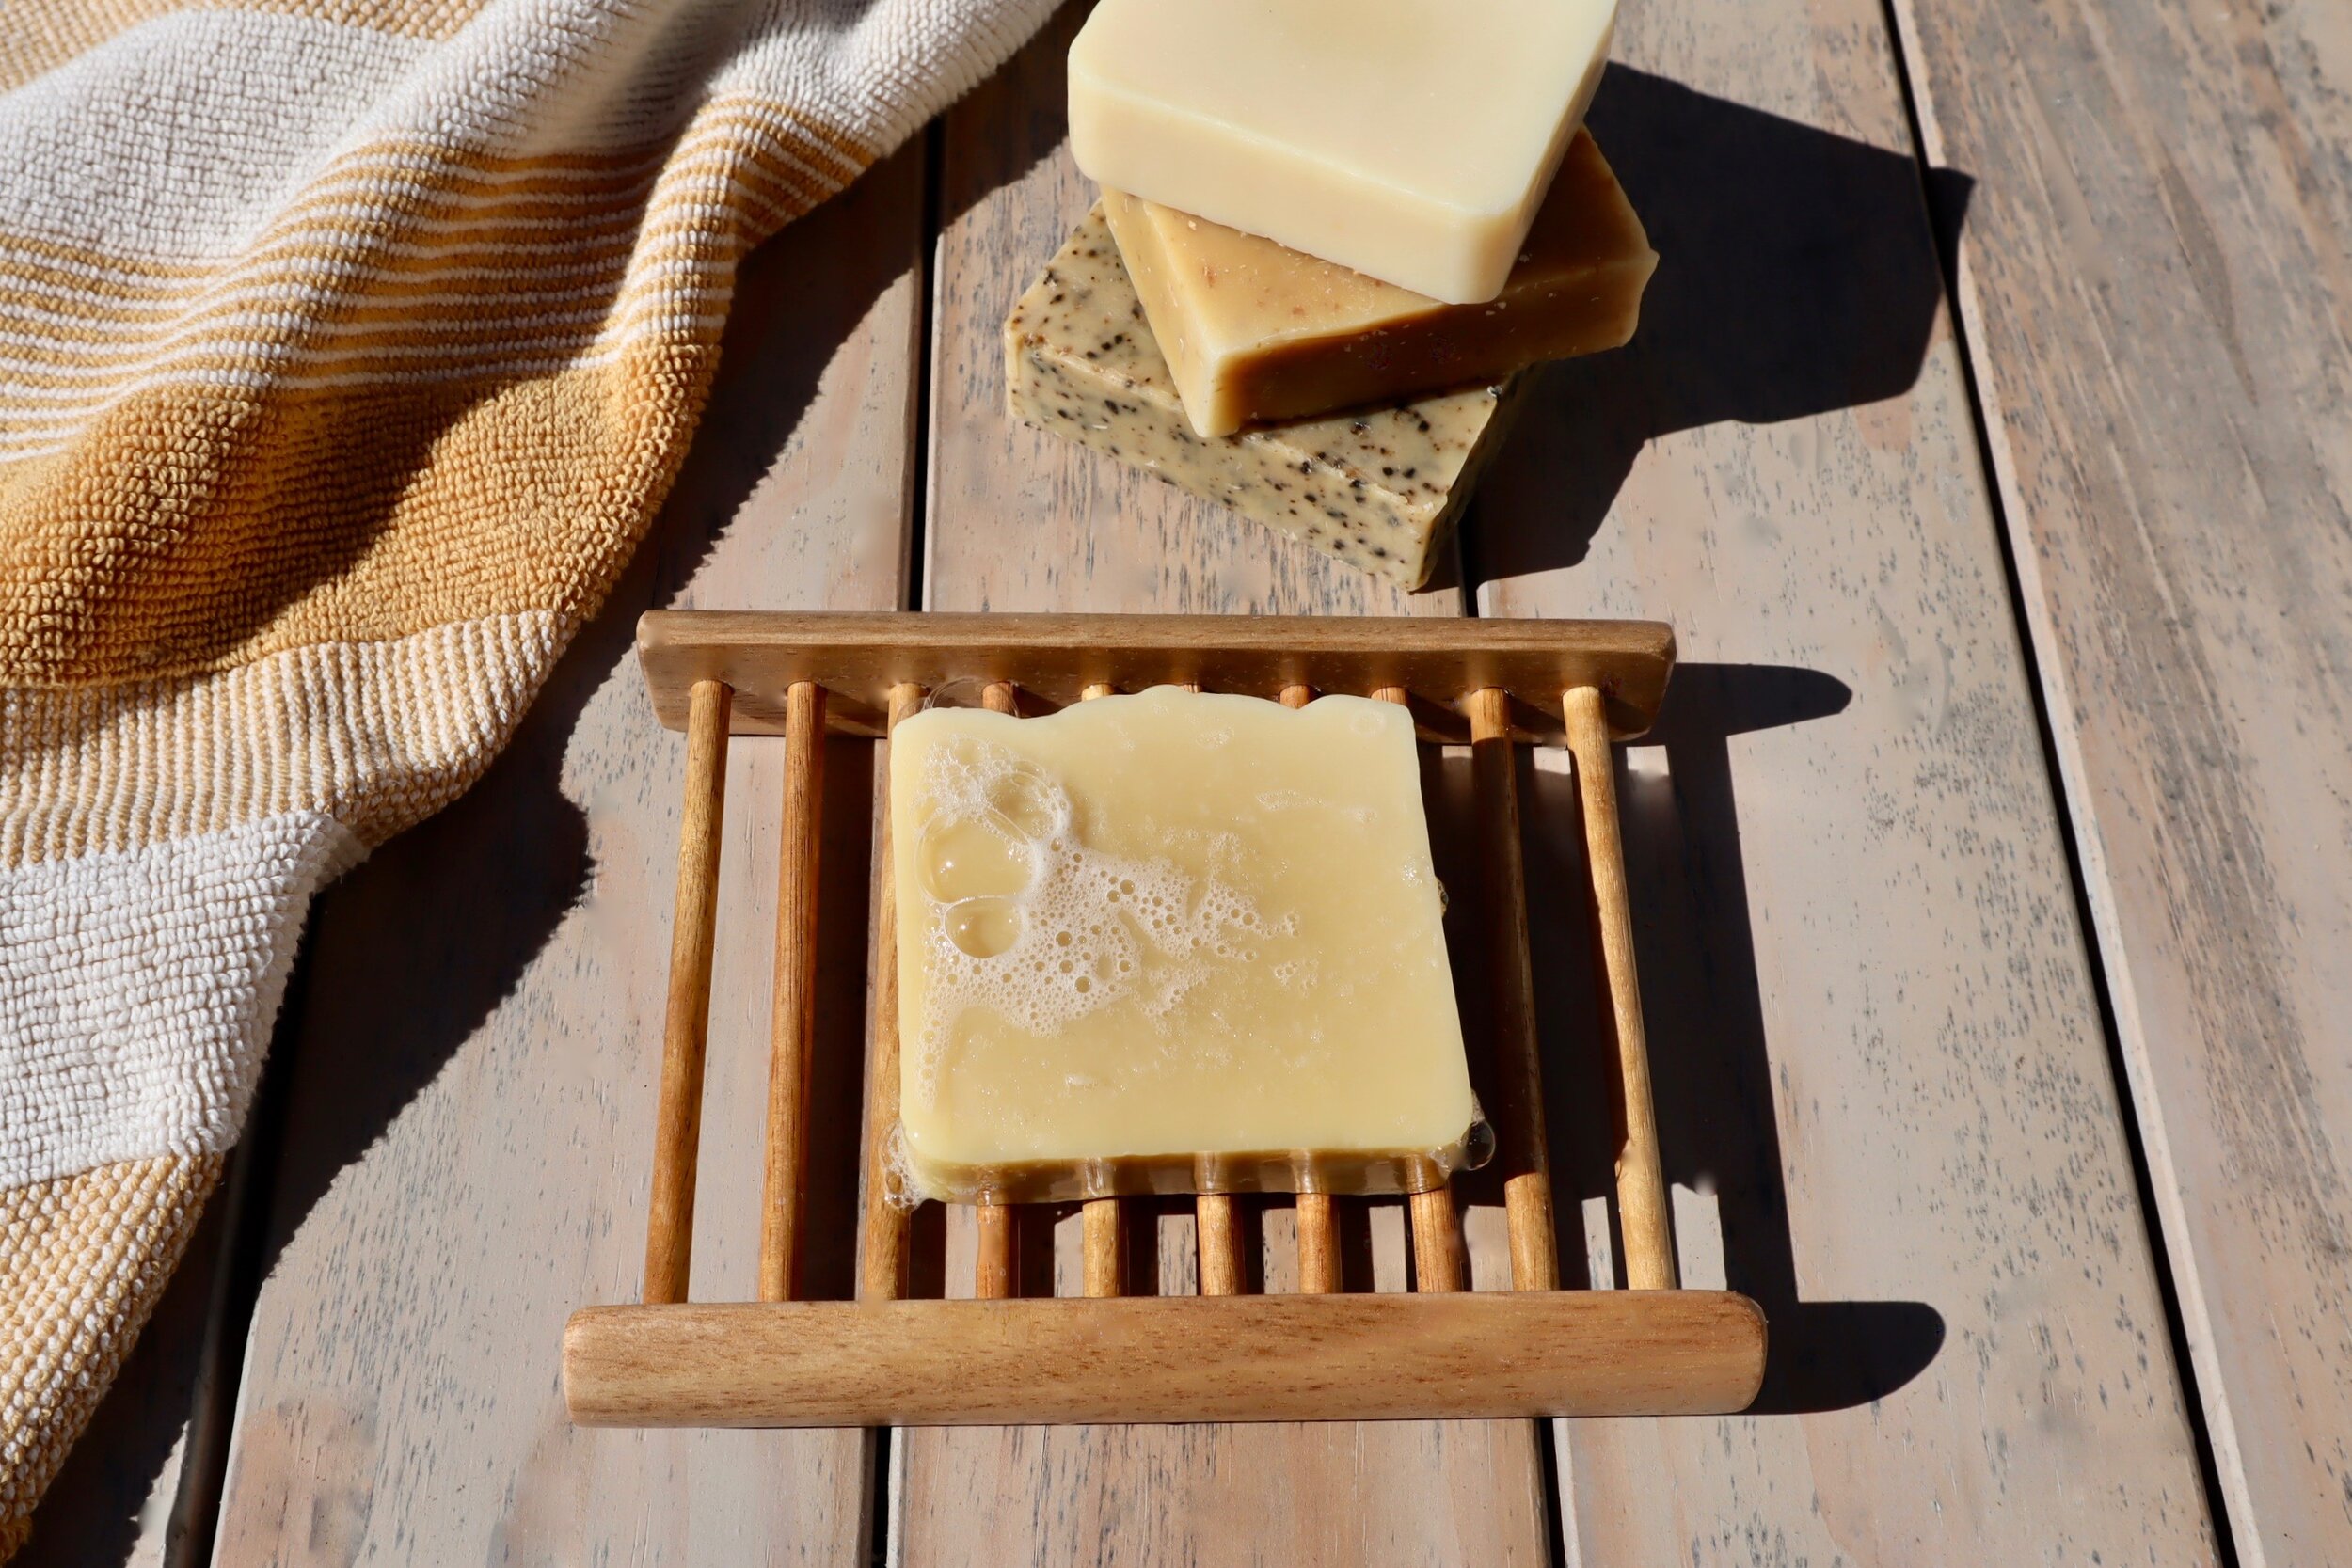
TIP The soaps from Rivervewe Sheep Dairy featured here are perfect for this because they don’t leave a residue. Scroll to the end for more on why you should try them!
“The finished soap holder is 160mm long by 100mm wide, but you can adapt the size to suit the type of soap. I also made one 120mm long by 80mm wide.”
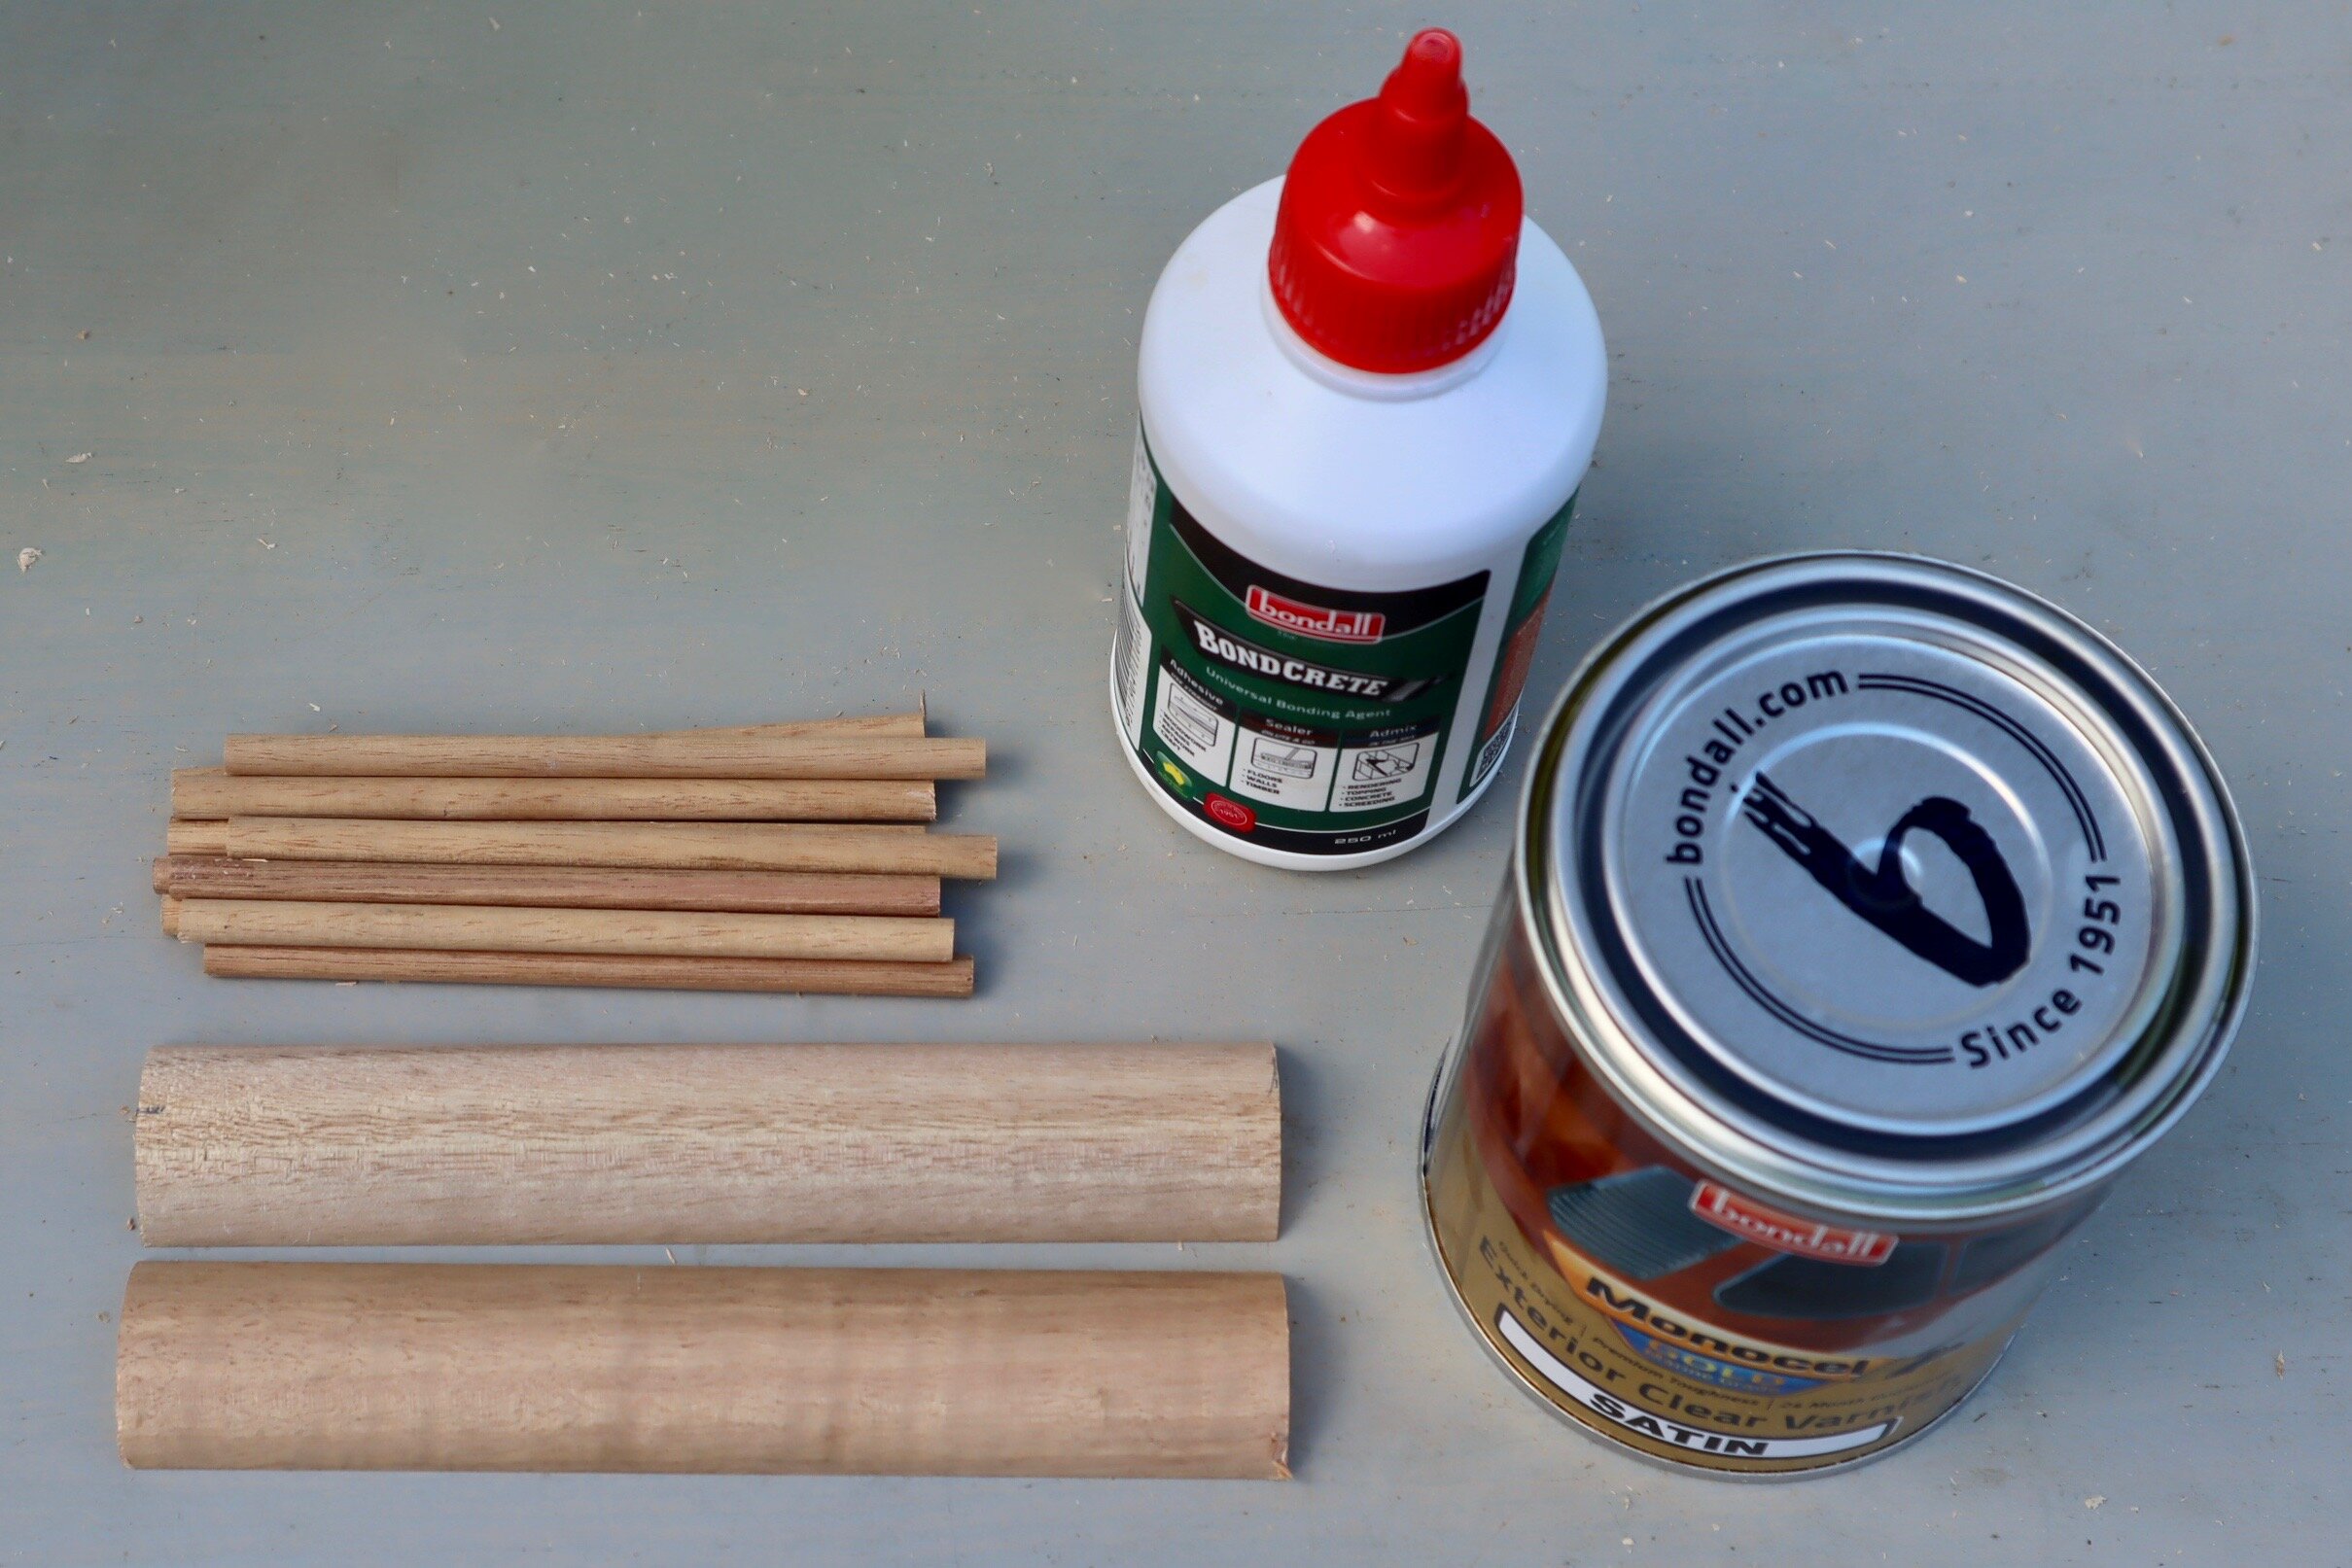
This project doesn’t require many materials. I’ve used 30mm-wide half-round dowel offcuts for the sides and 6mm dowel for the rails, assembled with Bondcrete adhesive and sealed in marine-grade Monocel Gold for protection against steam and moisture.
TIP While you could make the holes with a drill, a drill press is more accurate and you can set the depth so each hole is straight and exactly the same.
DIY TOOLS & MATERIALS
320mm length 30mm Tasmanian oak half-round dowel
Just under a metre of 6mm Tasmanian oak dowel
Mitre saw or handsaw with mitre box
Combination square and pencil
Drill press with 6mm bit
80-, 180- and 240-grit abrasive paper
Bondall Bondcrete adhesive 250ml
Rubber mallet
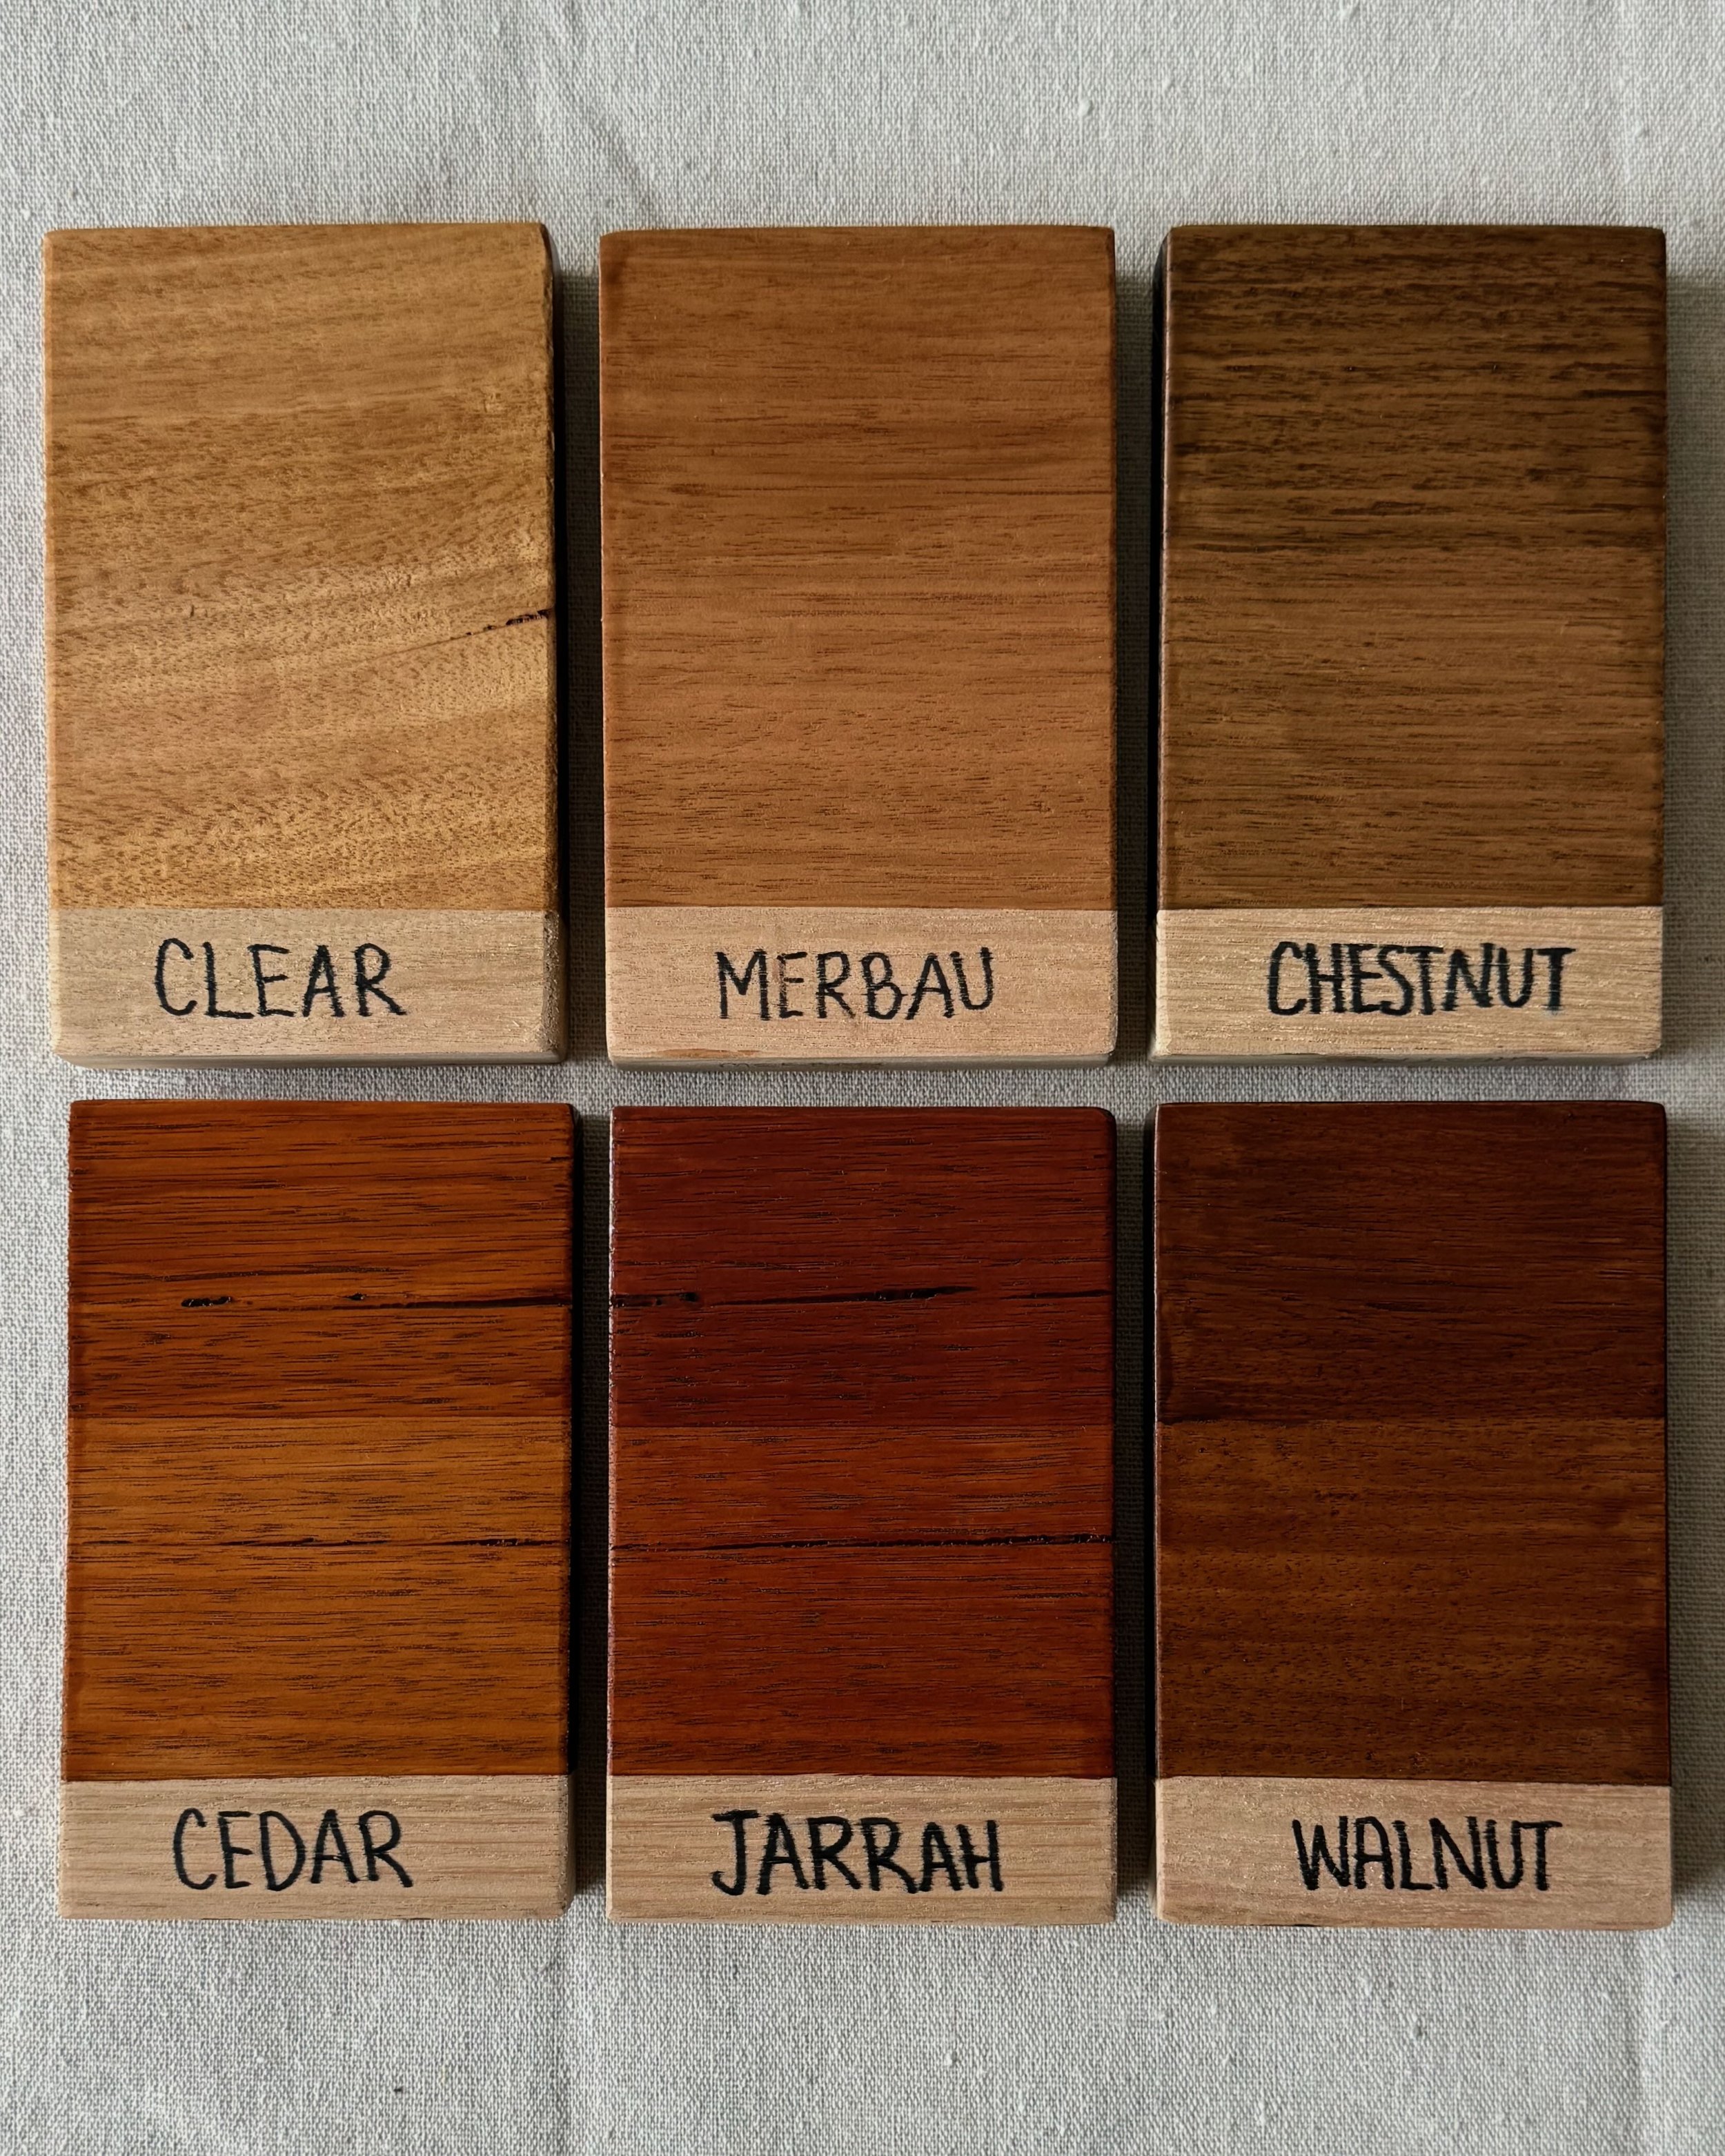
Bondall Monocel Gold in Clear 500ml
Cloth
Gloves

I made a pencil mark on the base plate of the mitre saw as a guide to cut nine 110mm lengths from 6mm dowel to be the rails. From the 30mm-wide half-round dowel, I then cut two 160mm side pieces.
TIP Make sure the sides and rails are exactly the same lengths and trim if needed. For cutting, you could use a handsaw with a mitre box instead of a drop saw.
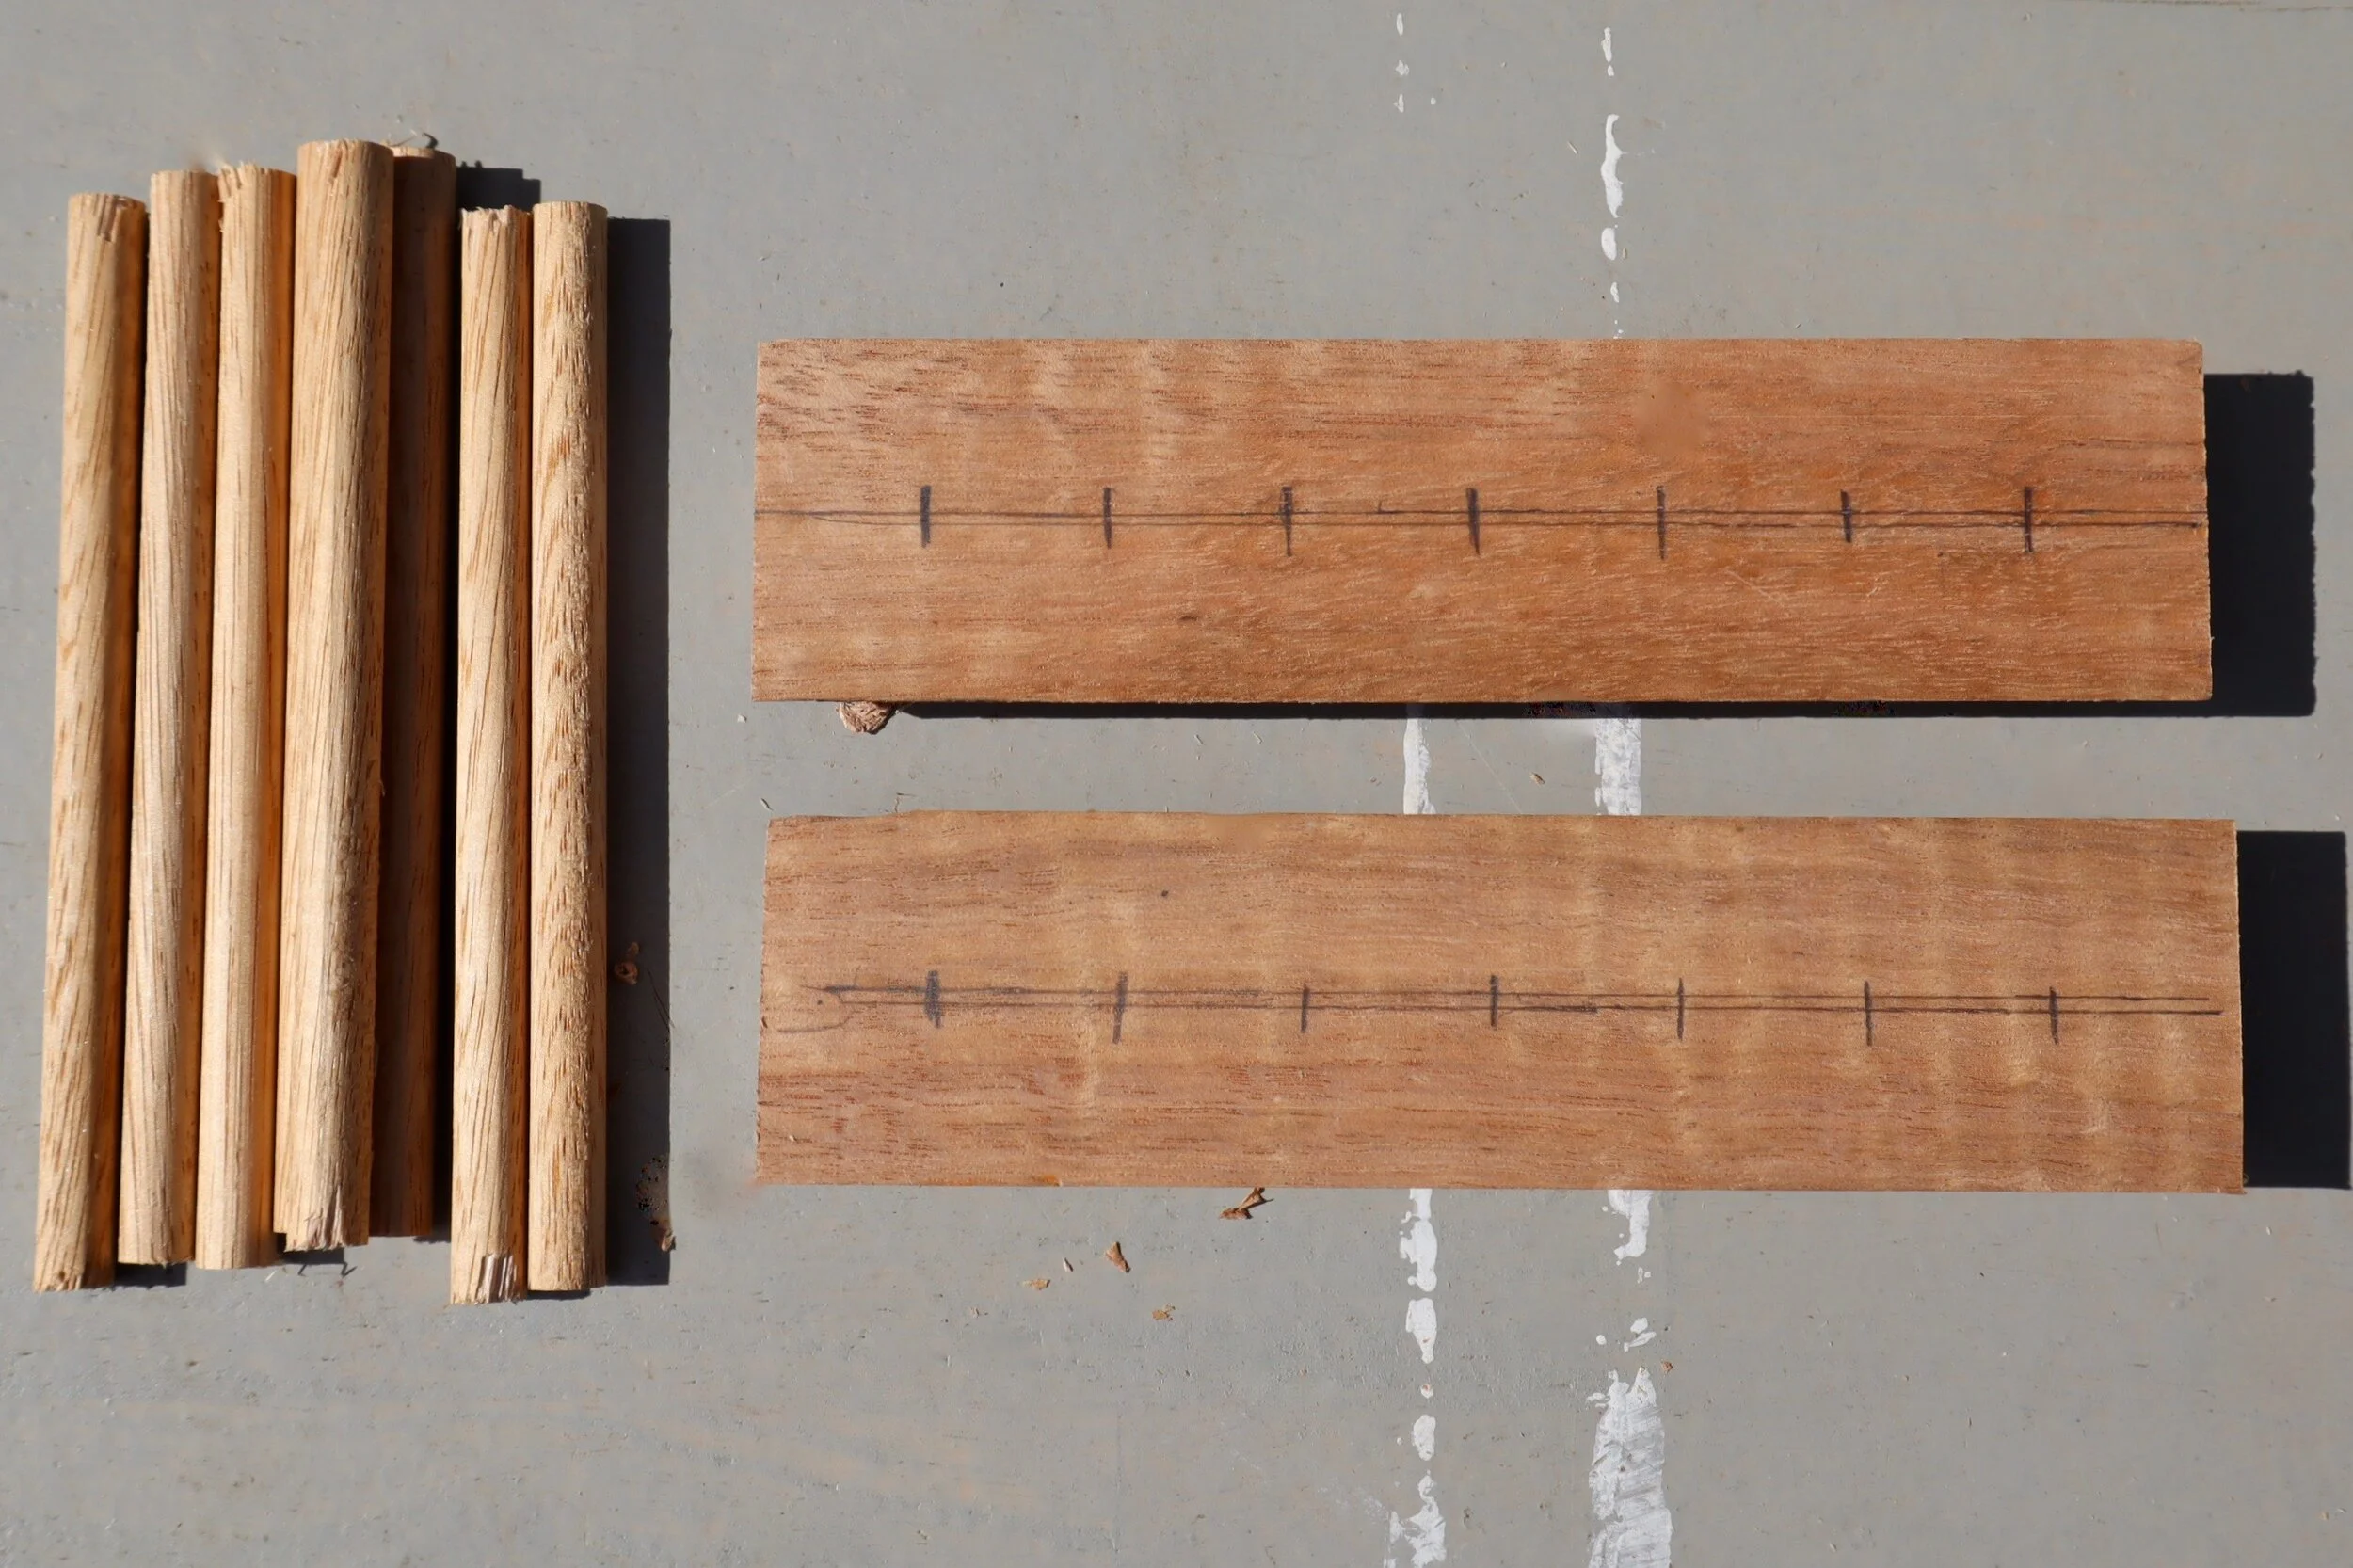
To mark up for the holes on the side pieces, on the flat face, I used a combination square with a sharp pencil to centre a line lengthways. Then I marked the centre of this and 15mm intervals either side for nine holes.
TIP If you’ve adapted the size, whether you have more or less than the rails I’ve used here, don’t space them further than 15mm apart as the soap will fall through.

To work out the depth of the holes, I used an offcut of half-round dowel and set up the press with a 6mm bit to drill halfway, about 5mm. Then I drilled the holes, holding the dowel with one hand and operating the press with the other.
TIP If you’re not confident holding the pieces, take the time to move and clamp them before each hole.
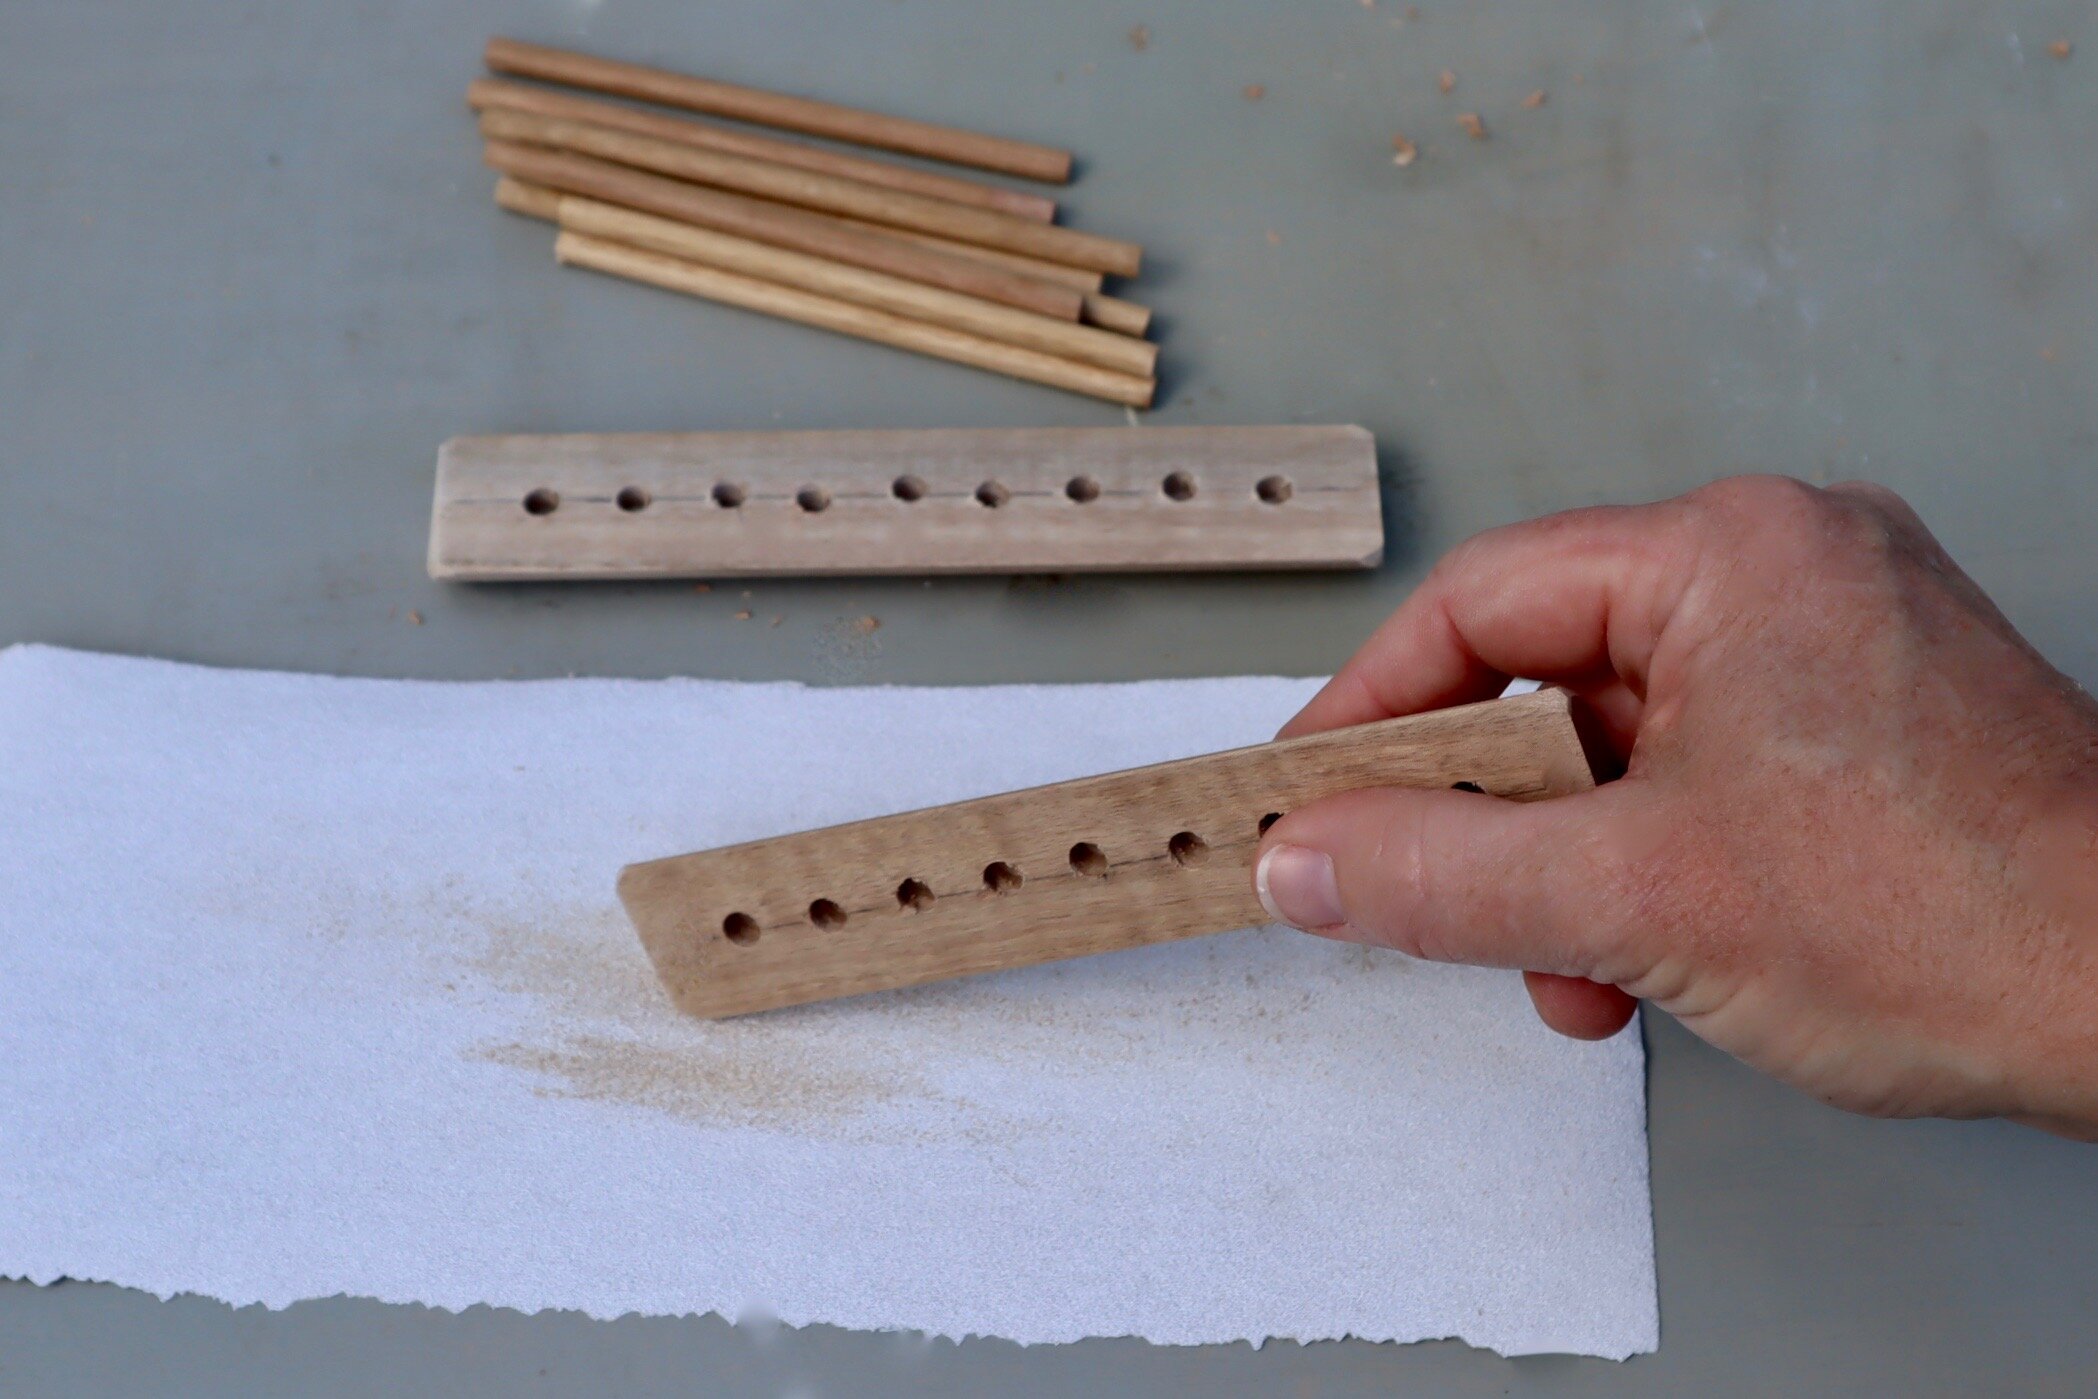
I positioned 80-grit abrasive paper flat on the bench to sand the sides, rounding-over the corners, smoothing along the edges and removing pencil marks. Then I sanded over all the pieces with 180-grit for a smooth finish.
TIP Wear a mask when sanding, even on a small job like this, to protect your lungs from inhaling the fine dust.

After dabbing adhesive into the holes, I added the rails into one side, making sure they were straight and even. I positioned the other side and tapped the assembly together with a rubber mallet, leaving for an hour for the adhesive to cure.
TIP When working with adhesives, have a damp cloth on hand to wipe away excess as soon as it appears to avoid marking the timber and having to sand it later.
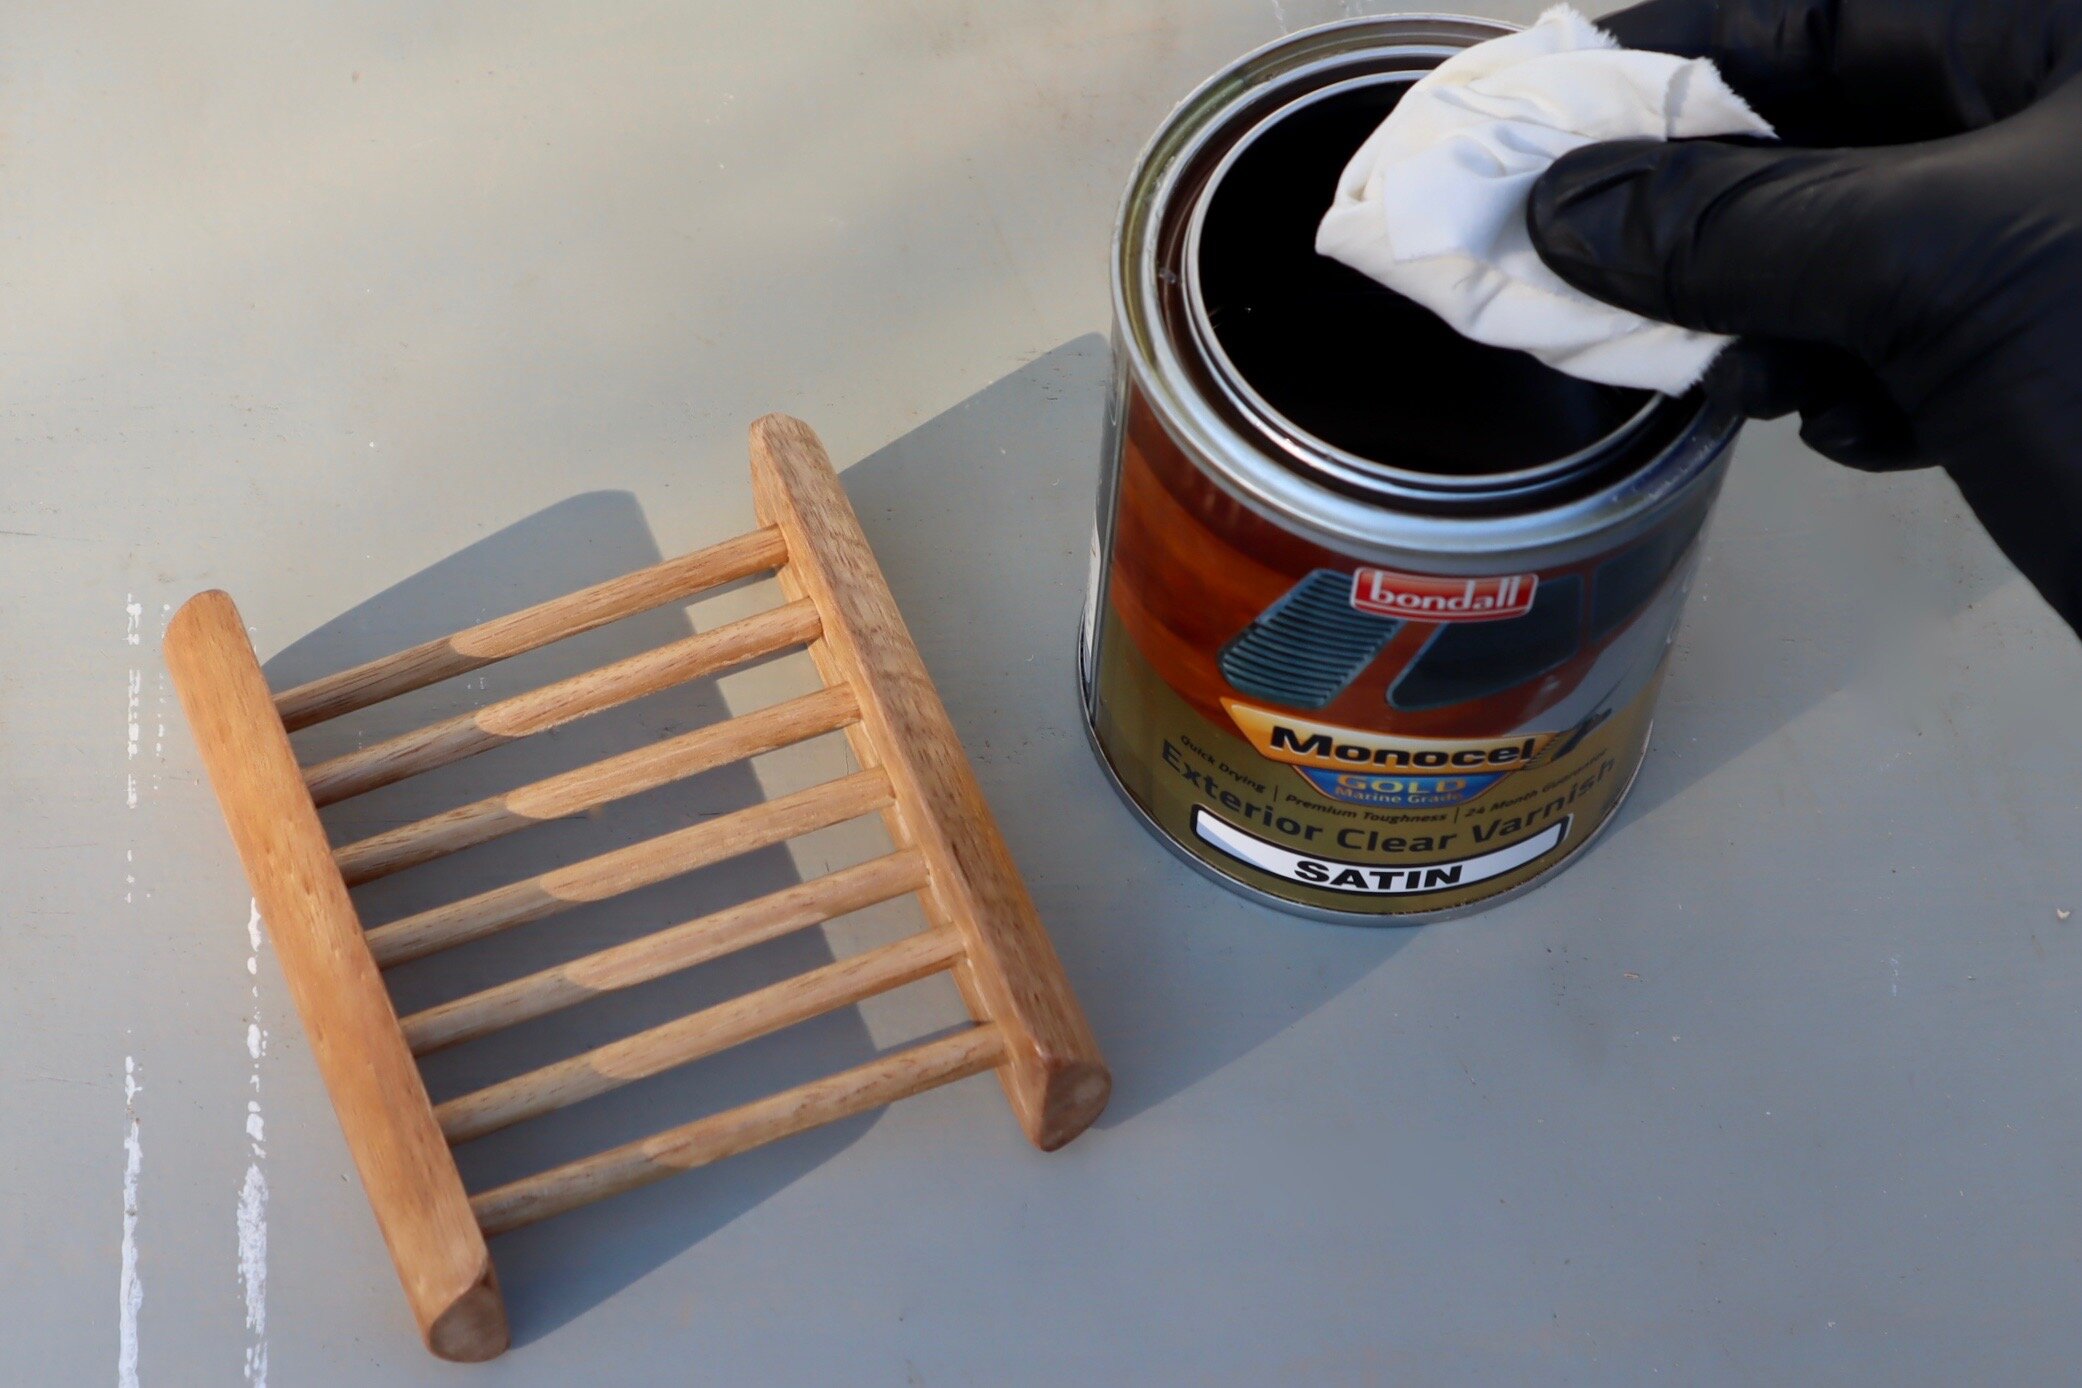
To seal the holder, I used Monocel Gold marine-grade varnish, applying it by dabbing with a small piece of cloth and leaving it to dry for a couple of hours on some small dowel offcuts.
TIP Wear gloves when working with varnish as it can get sticky and be difficult to wash off skin.

I lightly sanded all over the soap holder with 240-grit abrasive paper to smooth down the grain and remove any drips, then wiped away dust with a damp cloth and applied another coat of varnish and left it to dry overnight.
TIP Make sure the end-grain of the sides is well coated, and use the cloth to dab into the spaces between the rails to ensure full coverage.

Handmade Rivervewe sheep milk soaps (from the top): Dry Skin, Sheep Milk, Honey & Oats, Milk Coffee, Lemon Myrtle.
These divine artisan soaps are made locally at the nearby Rivervewe Sheep Dairy using milk from sheep that graze along the banks of the Taylors Arm river on the Mid-North Coast of NSW.
They’re crafted without added perfumes, essential oils or colours, and I can’t describe how silky smooth they leave skin feeling. I also love how ‘clean’ they are and don’t leave residue or soapy scum that is difficult to remove.
In fact, they’re so lovely that next morning, after being left overnight on the soap holder near the outdoor shower, the cake had disappeared.
I suspect it was stolen by a possum!

Have you made timber bathroom accessories?
Tag me on your project and follow more of my DIY journey on Instagram for tool tips, home improvement and simple building projects.