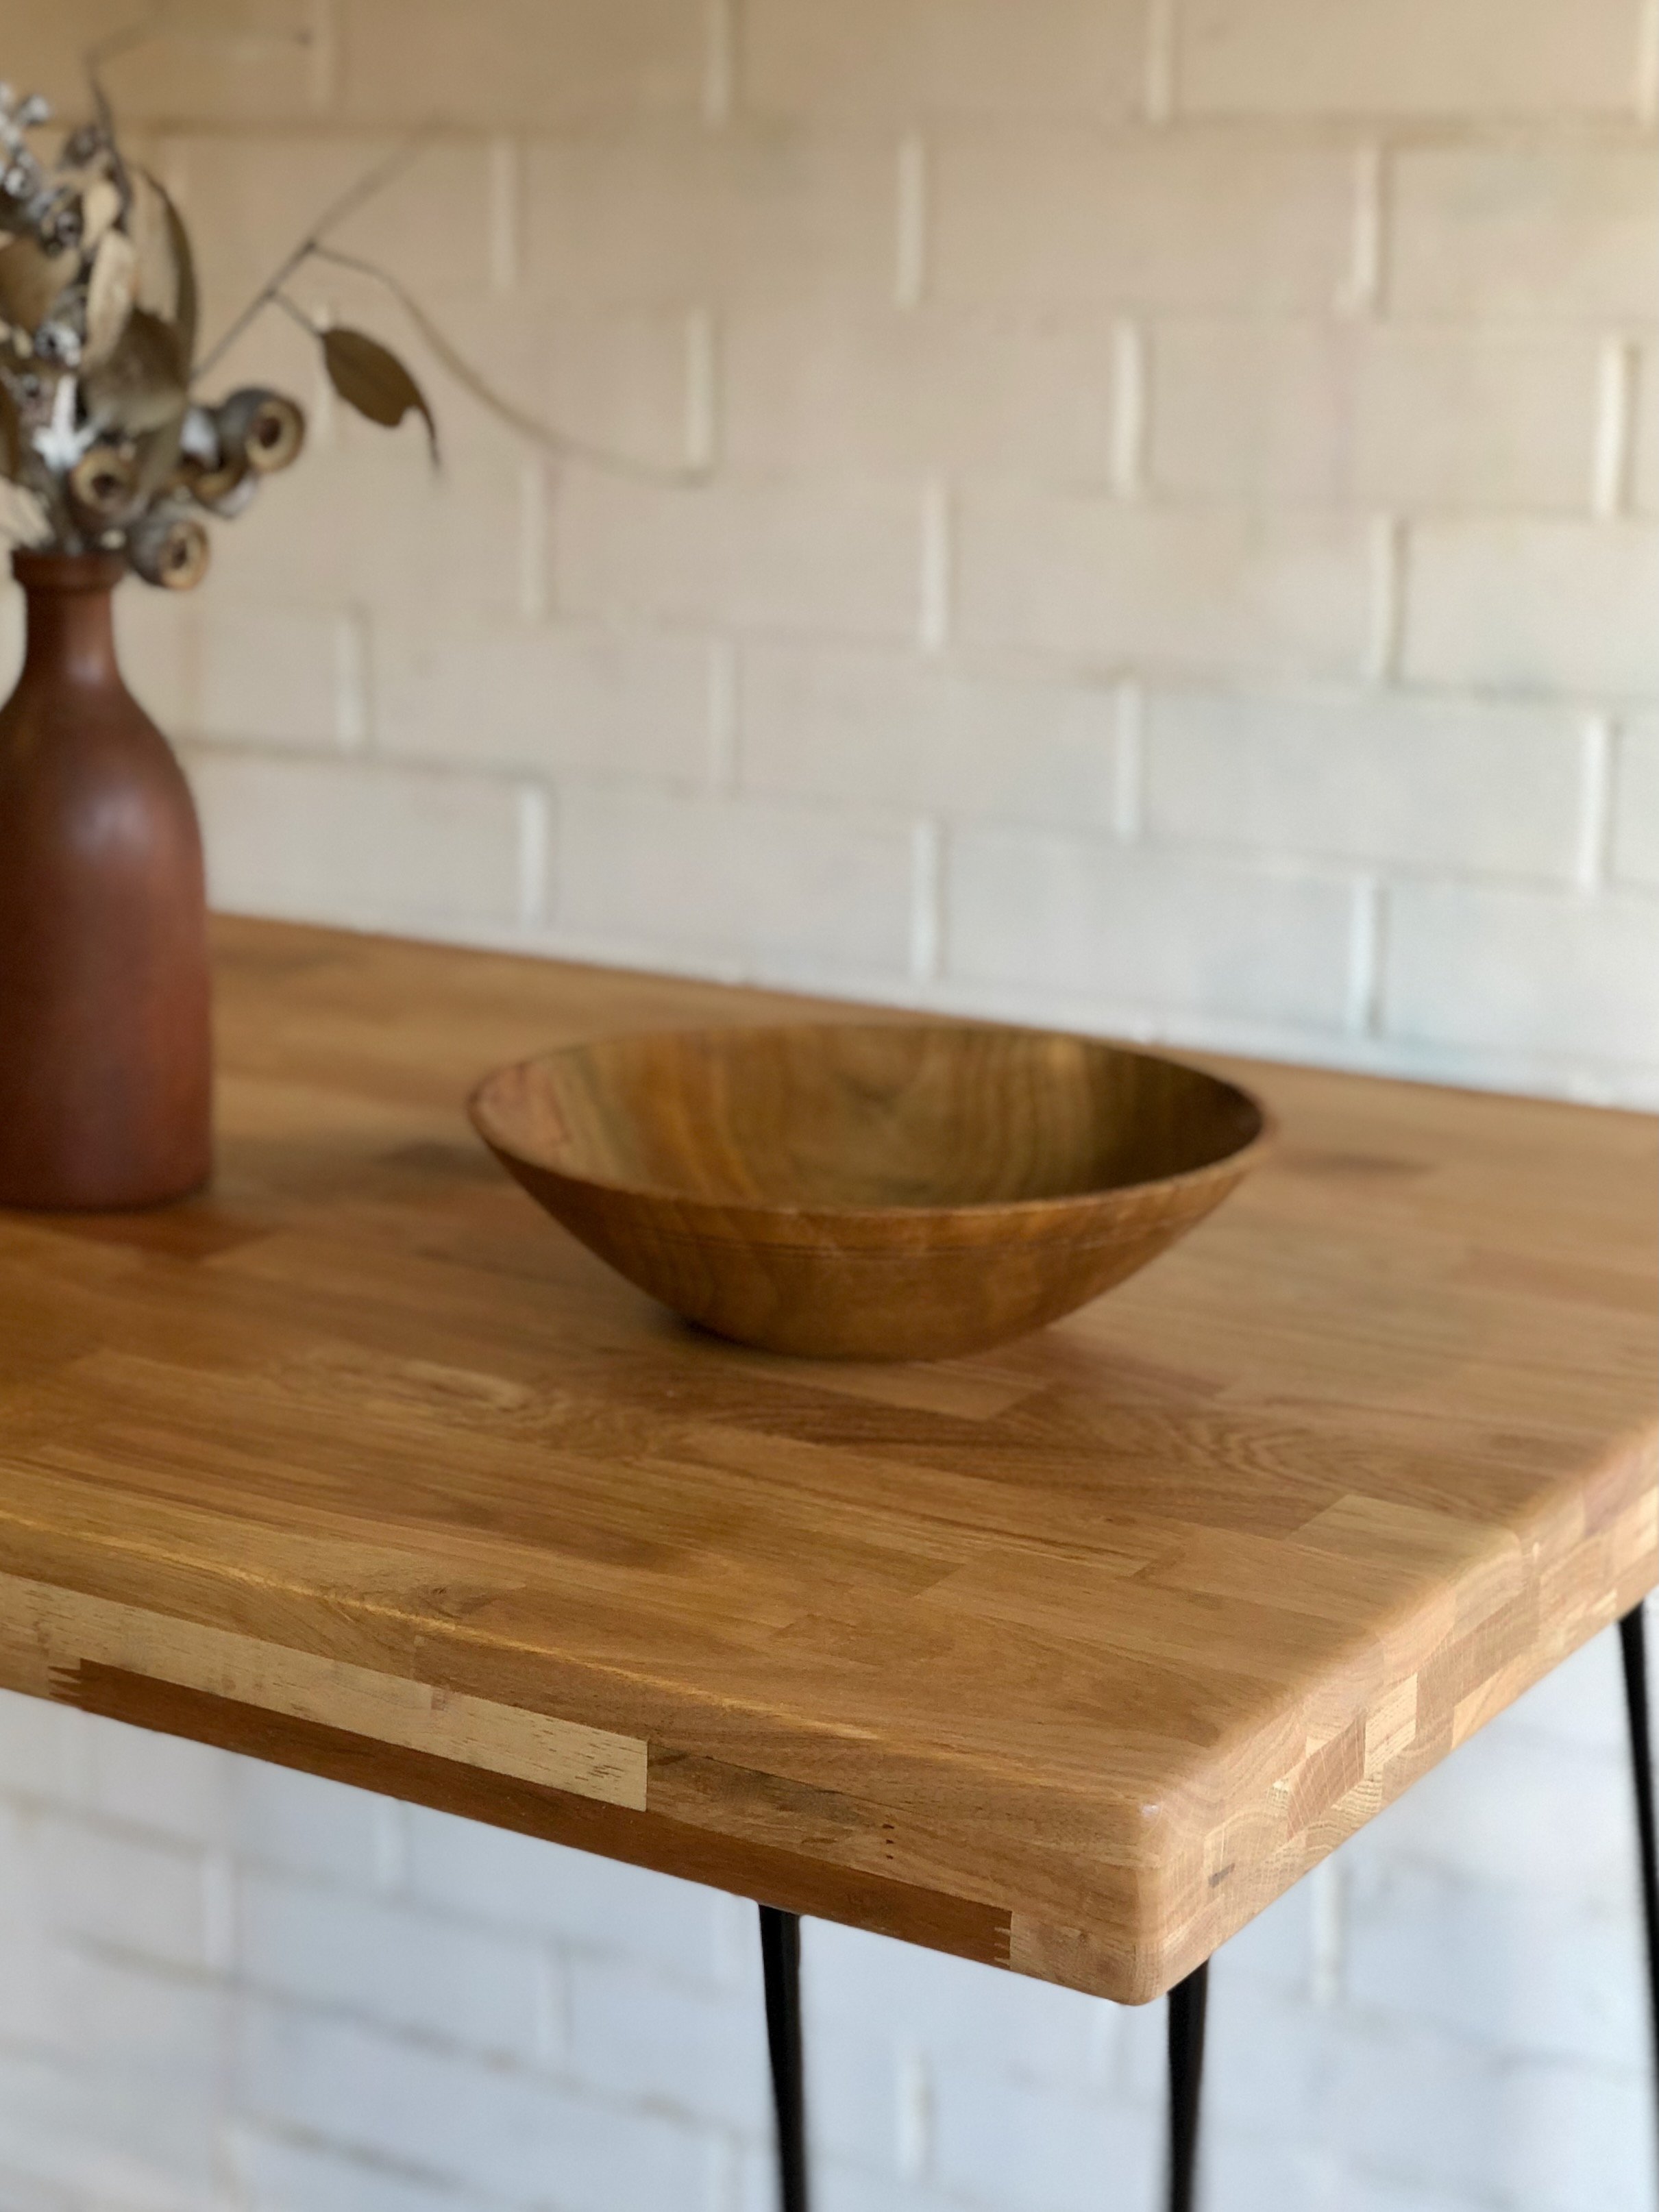
Timber BATHROOM Caddy
Alun Machin

I designed this DIY caddy to be built from hardwood, using galvanised screws and sealed for long-term moisture protection so it can be used in wet areas – essentially to hold shampoo and body wash for my DIY outdoor shower.
The base has a gap through the middle to prevent water from pooling. It’s 300mm long, 220mm wide and 90mm deep, with a 300mm-high handle.
The moisture resistance is completed by sealing it all over in Bondall Monocel Gold, which was designed for using on boats, so you know it will seal and protect any timber used near water.

My caddy featured in the February 2021 Bunnings Magazine, in a story about how I installed my outdoor shower. The timber is so well sealed, it can handle being left outside as the perfect carry-all.
“The caddy is such a versatile size, it could also be used for cooking oils in the kitchen, sauces for the barbecue, tools in a workshop, or to stack craft room equipment.”

DIY MATERIALS
DIY TOOLS
Measuring tape and pen
Drill with driver bit
Random orbital sander with 80-grit and 180-grit abrasive disc
Timber filler with spatula

STEP 1
From the 90mm-wide hardwood, I cut four pieces to 250mm long for the base and sides, and two ends to be 215mm long. From the 42mm-wide hardwood, I cut two 300mm lengths for the handles, and 300mm from the dowel for the rail.
TIP You could use a handsaw with a mitre box, but I prefer an electric mitre saw, also called a drop saw, for faster, more accurate cuts.

STEP 2
On the sides pieces, I measured 40mm from the ends and 6mm up from the edge to countersink with a drill.
TIP Countersinking the screws ensures they sit below the surface and the heads can be filled to minimise water pooling.
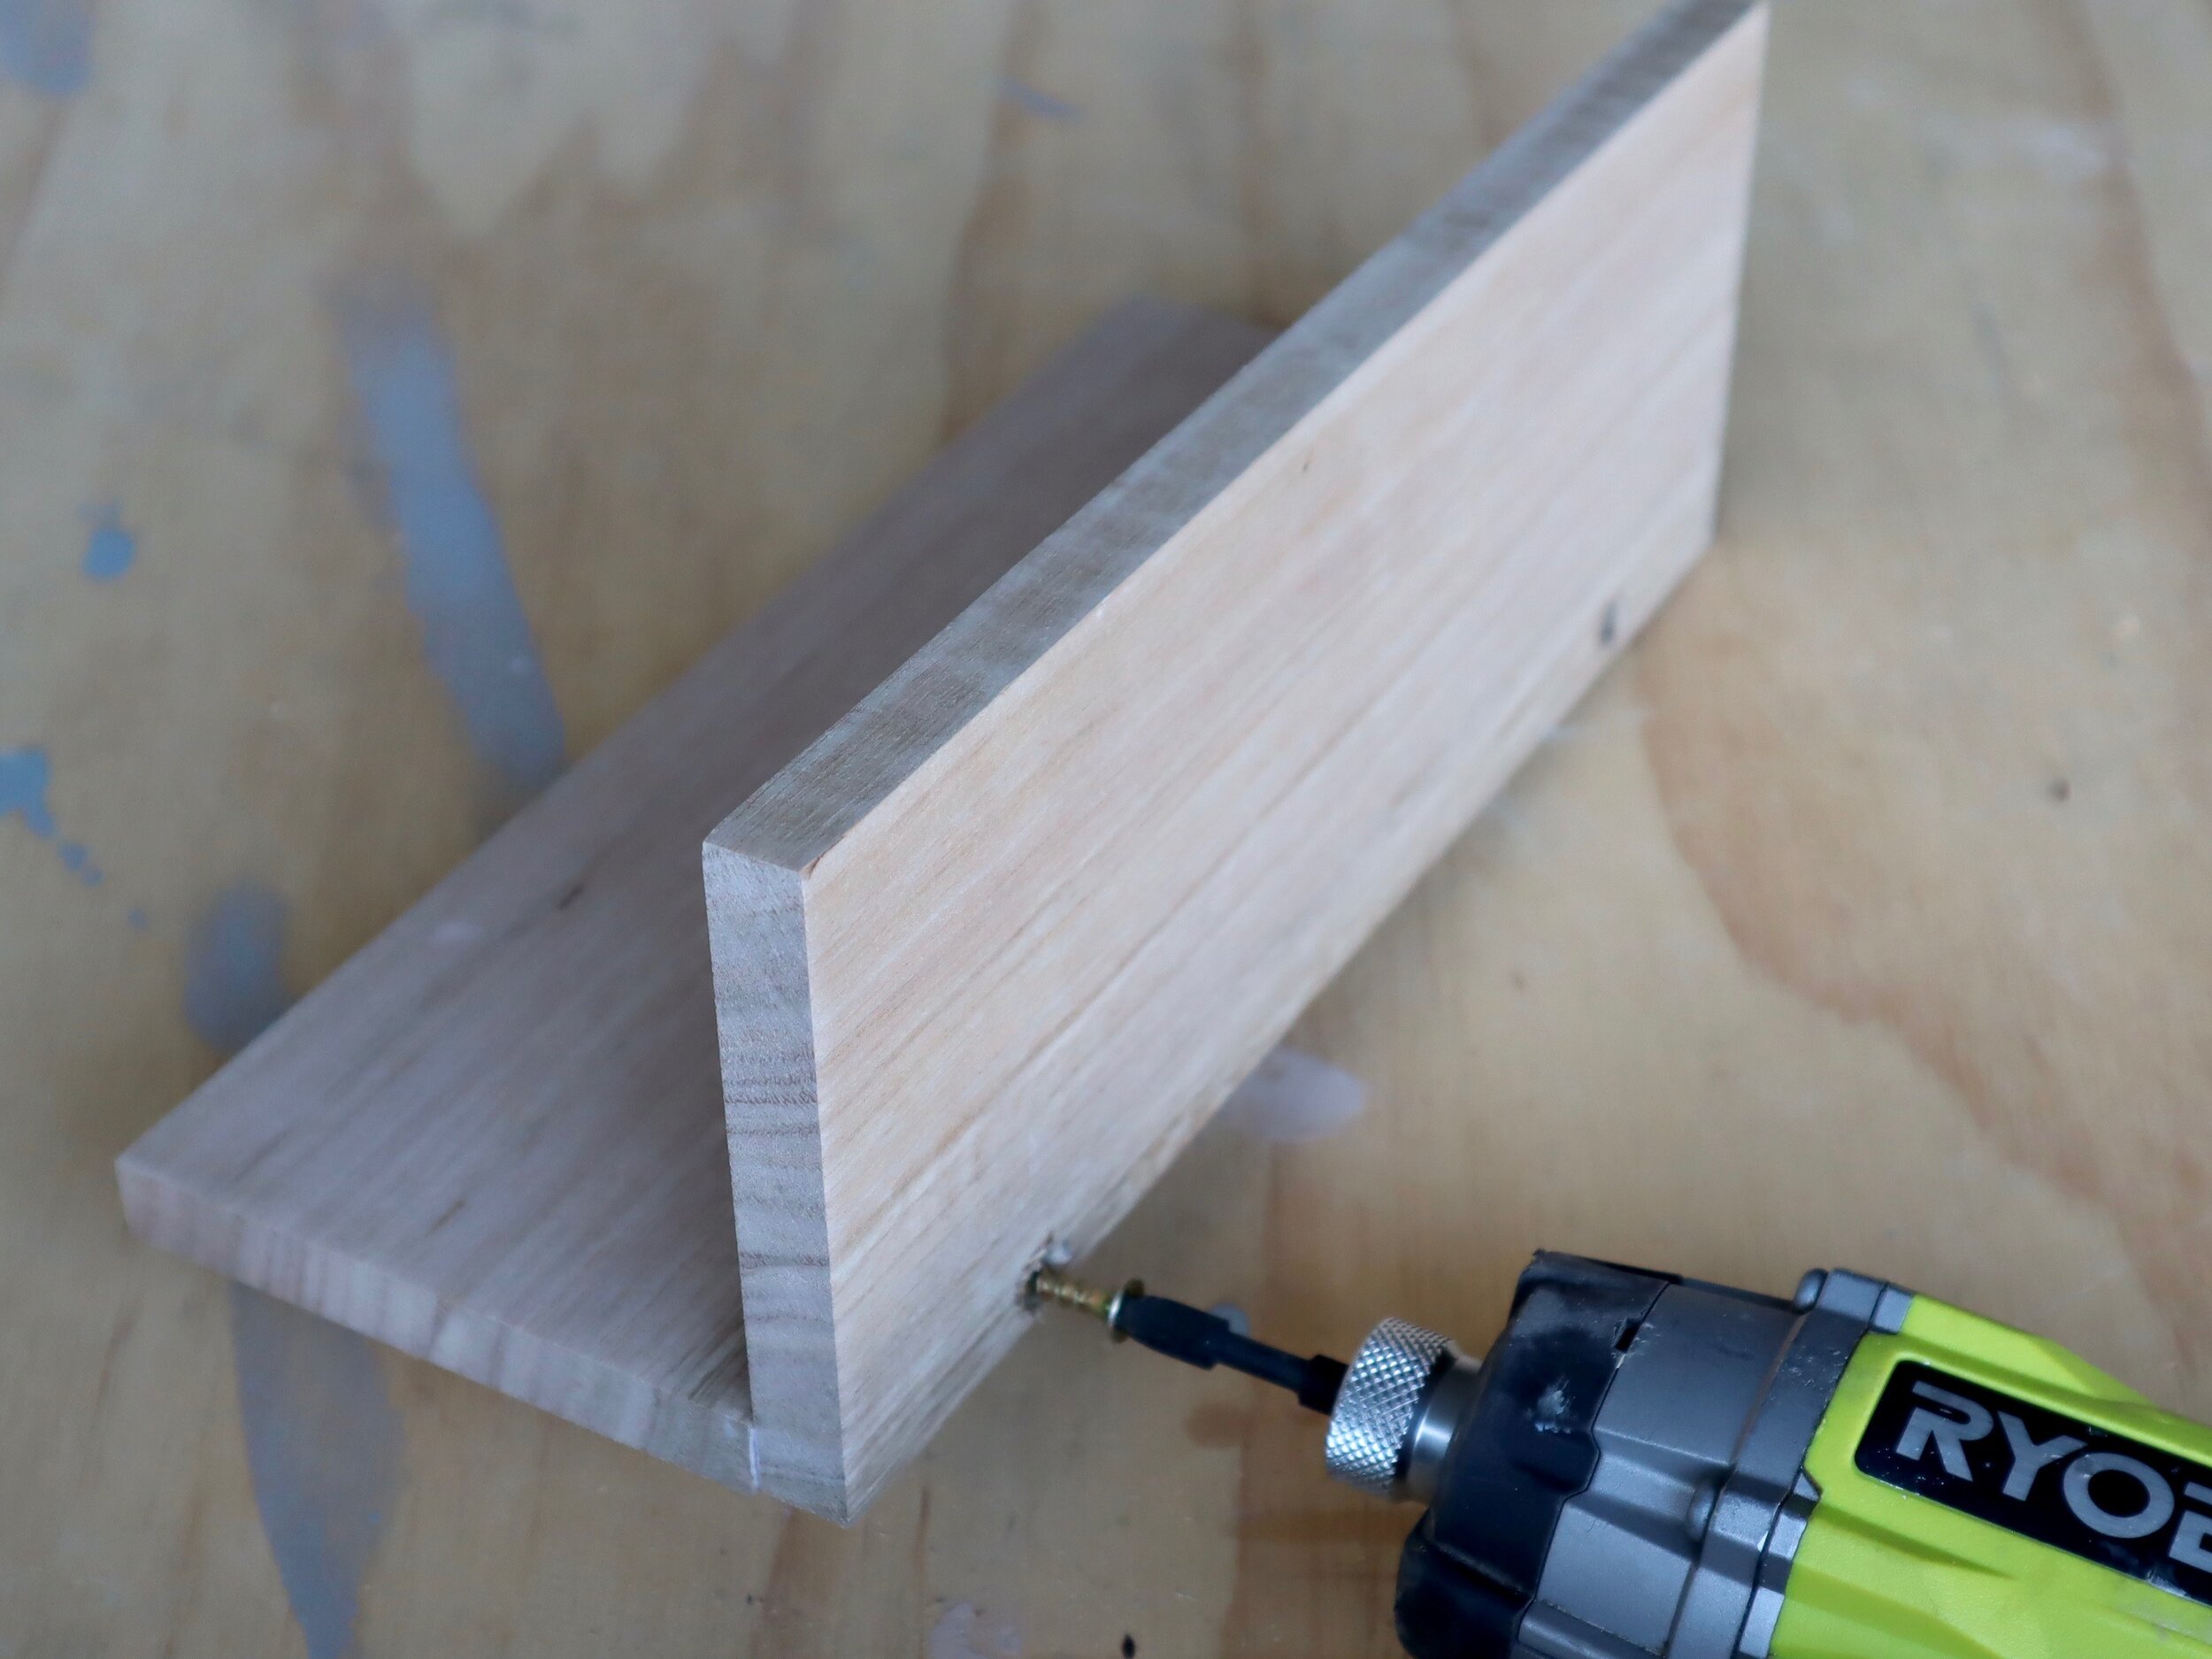
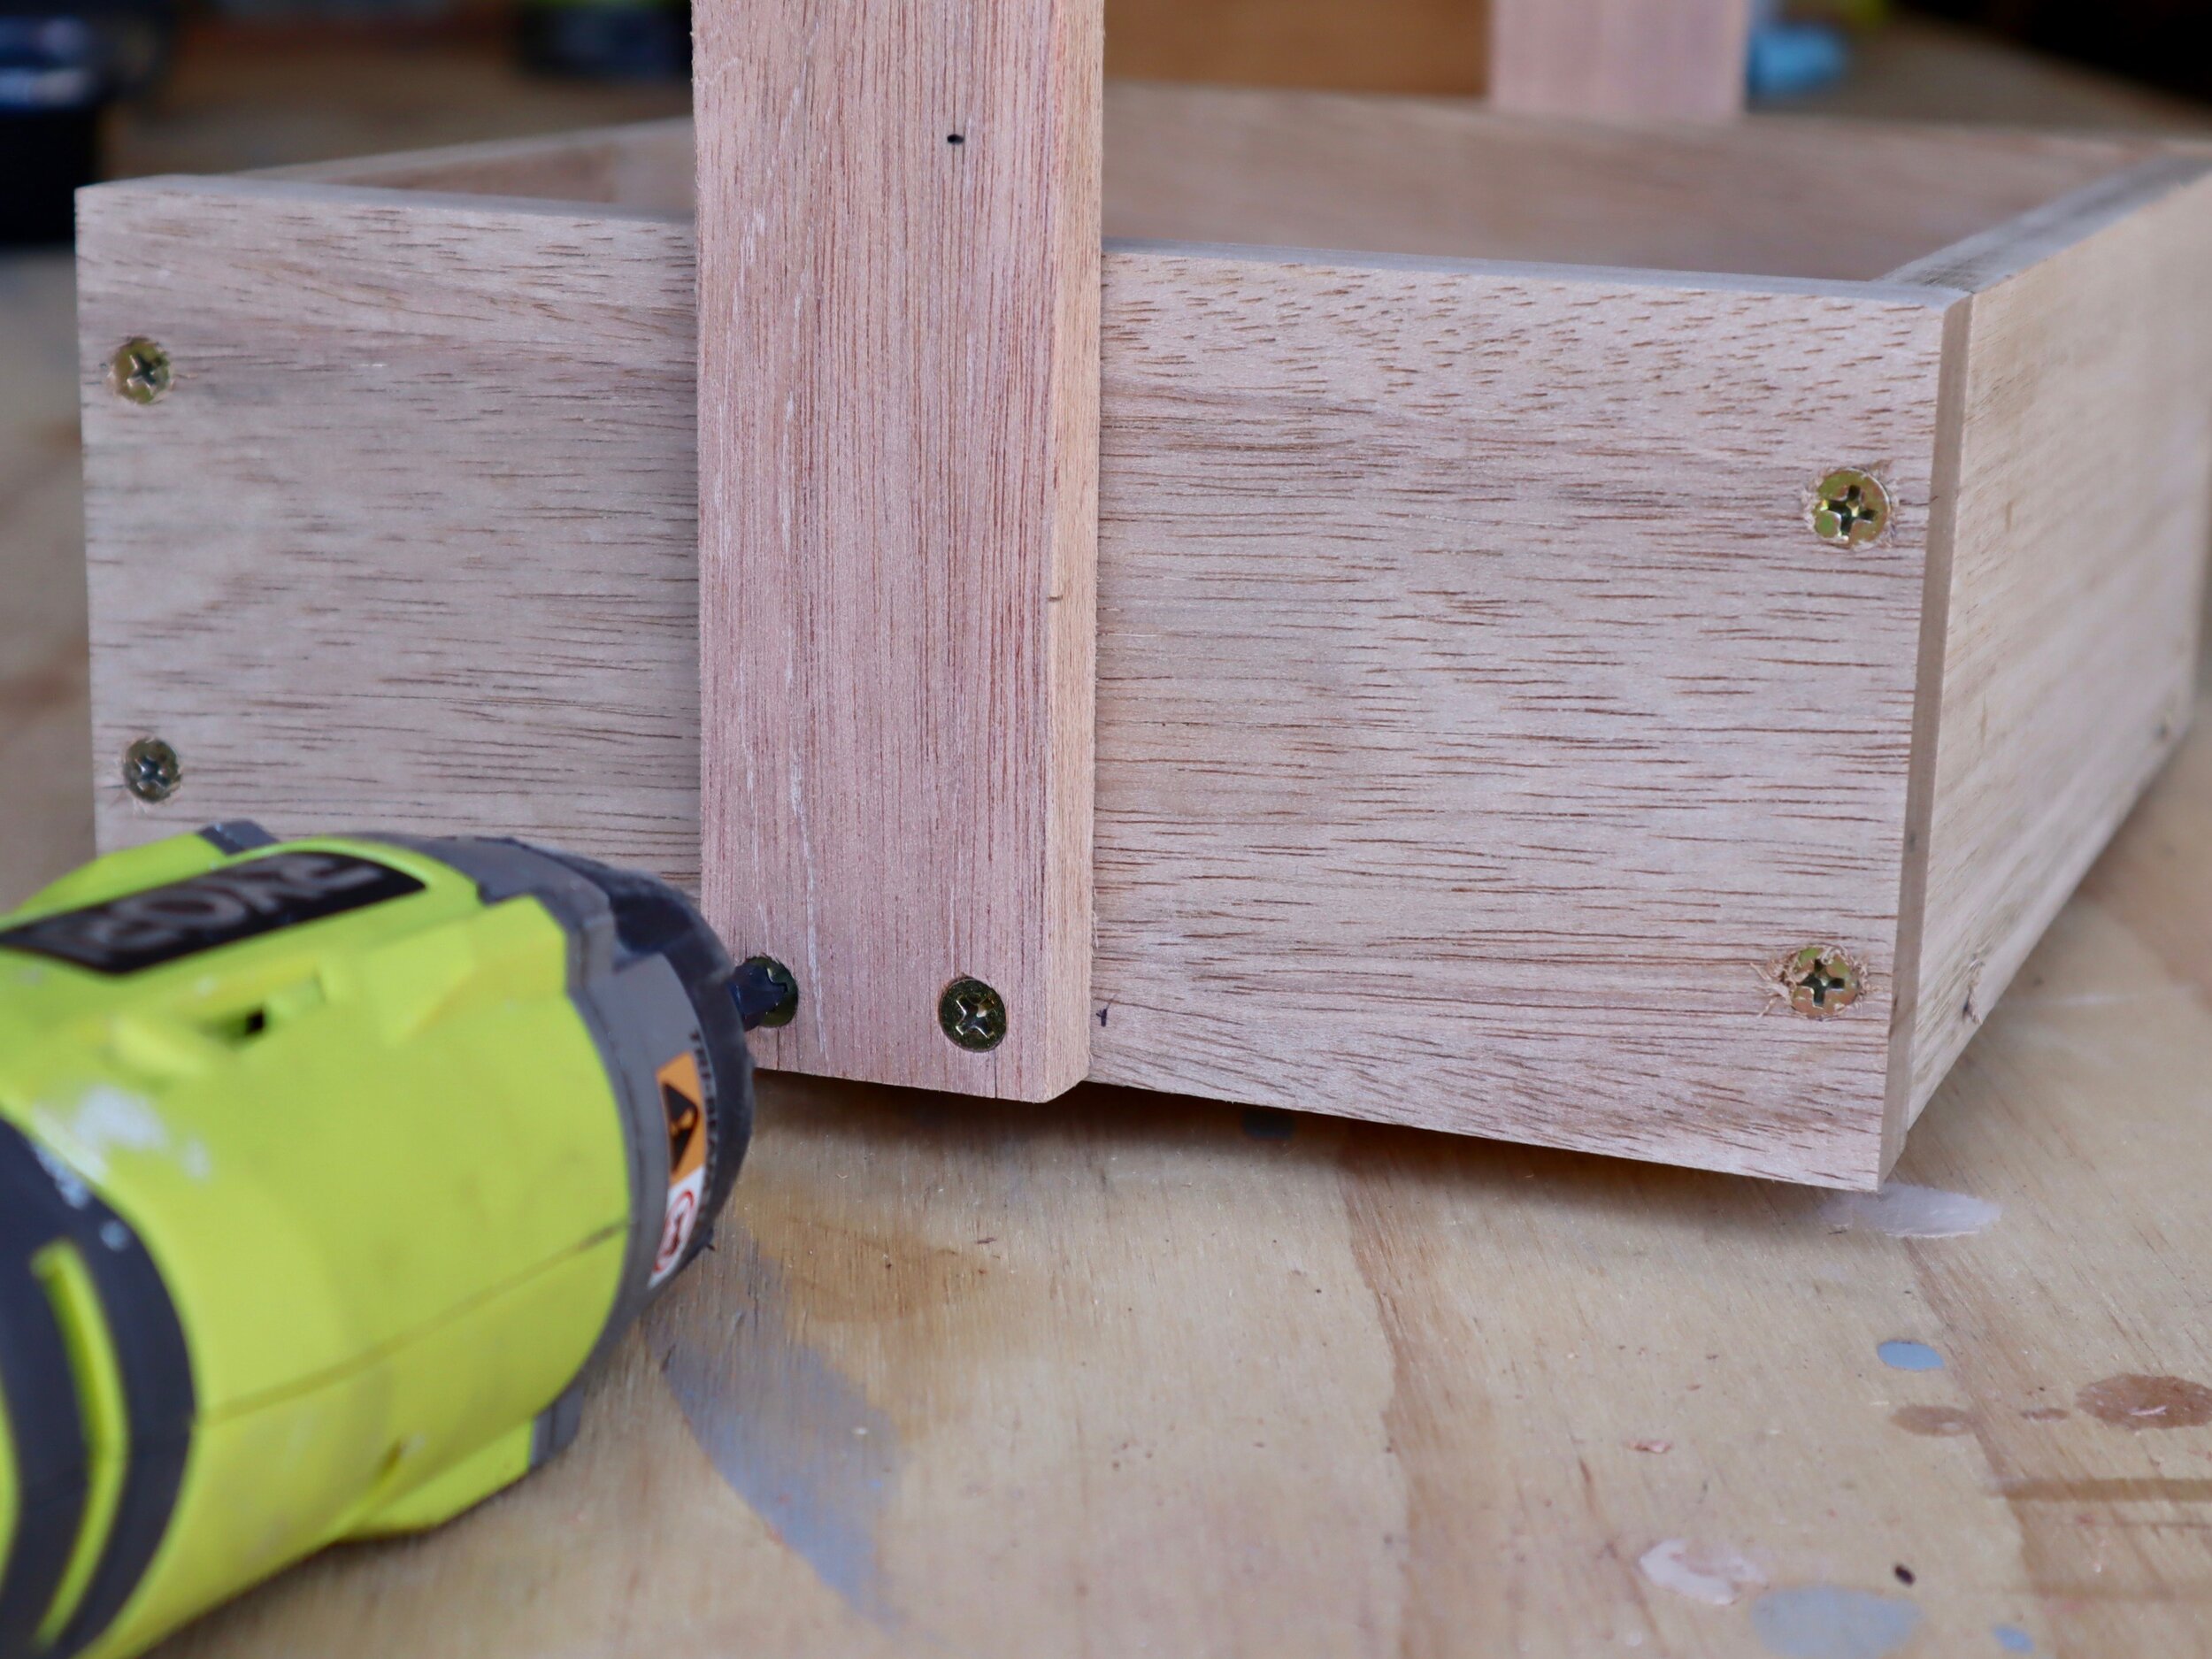
STEP 3
I applied glue along the edge of a base and butted it against a side piece, securing with 30mm screws, then repeating with the other base and side pieces.
TIP Have a damp cloth on hand to mop up any adhesive spills and avoid sanding them later.
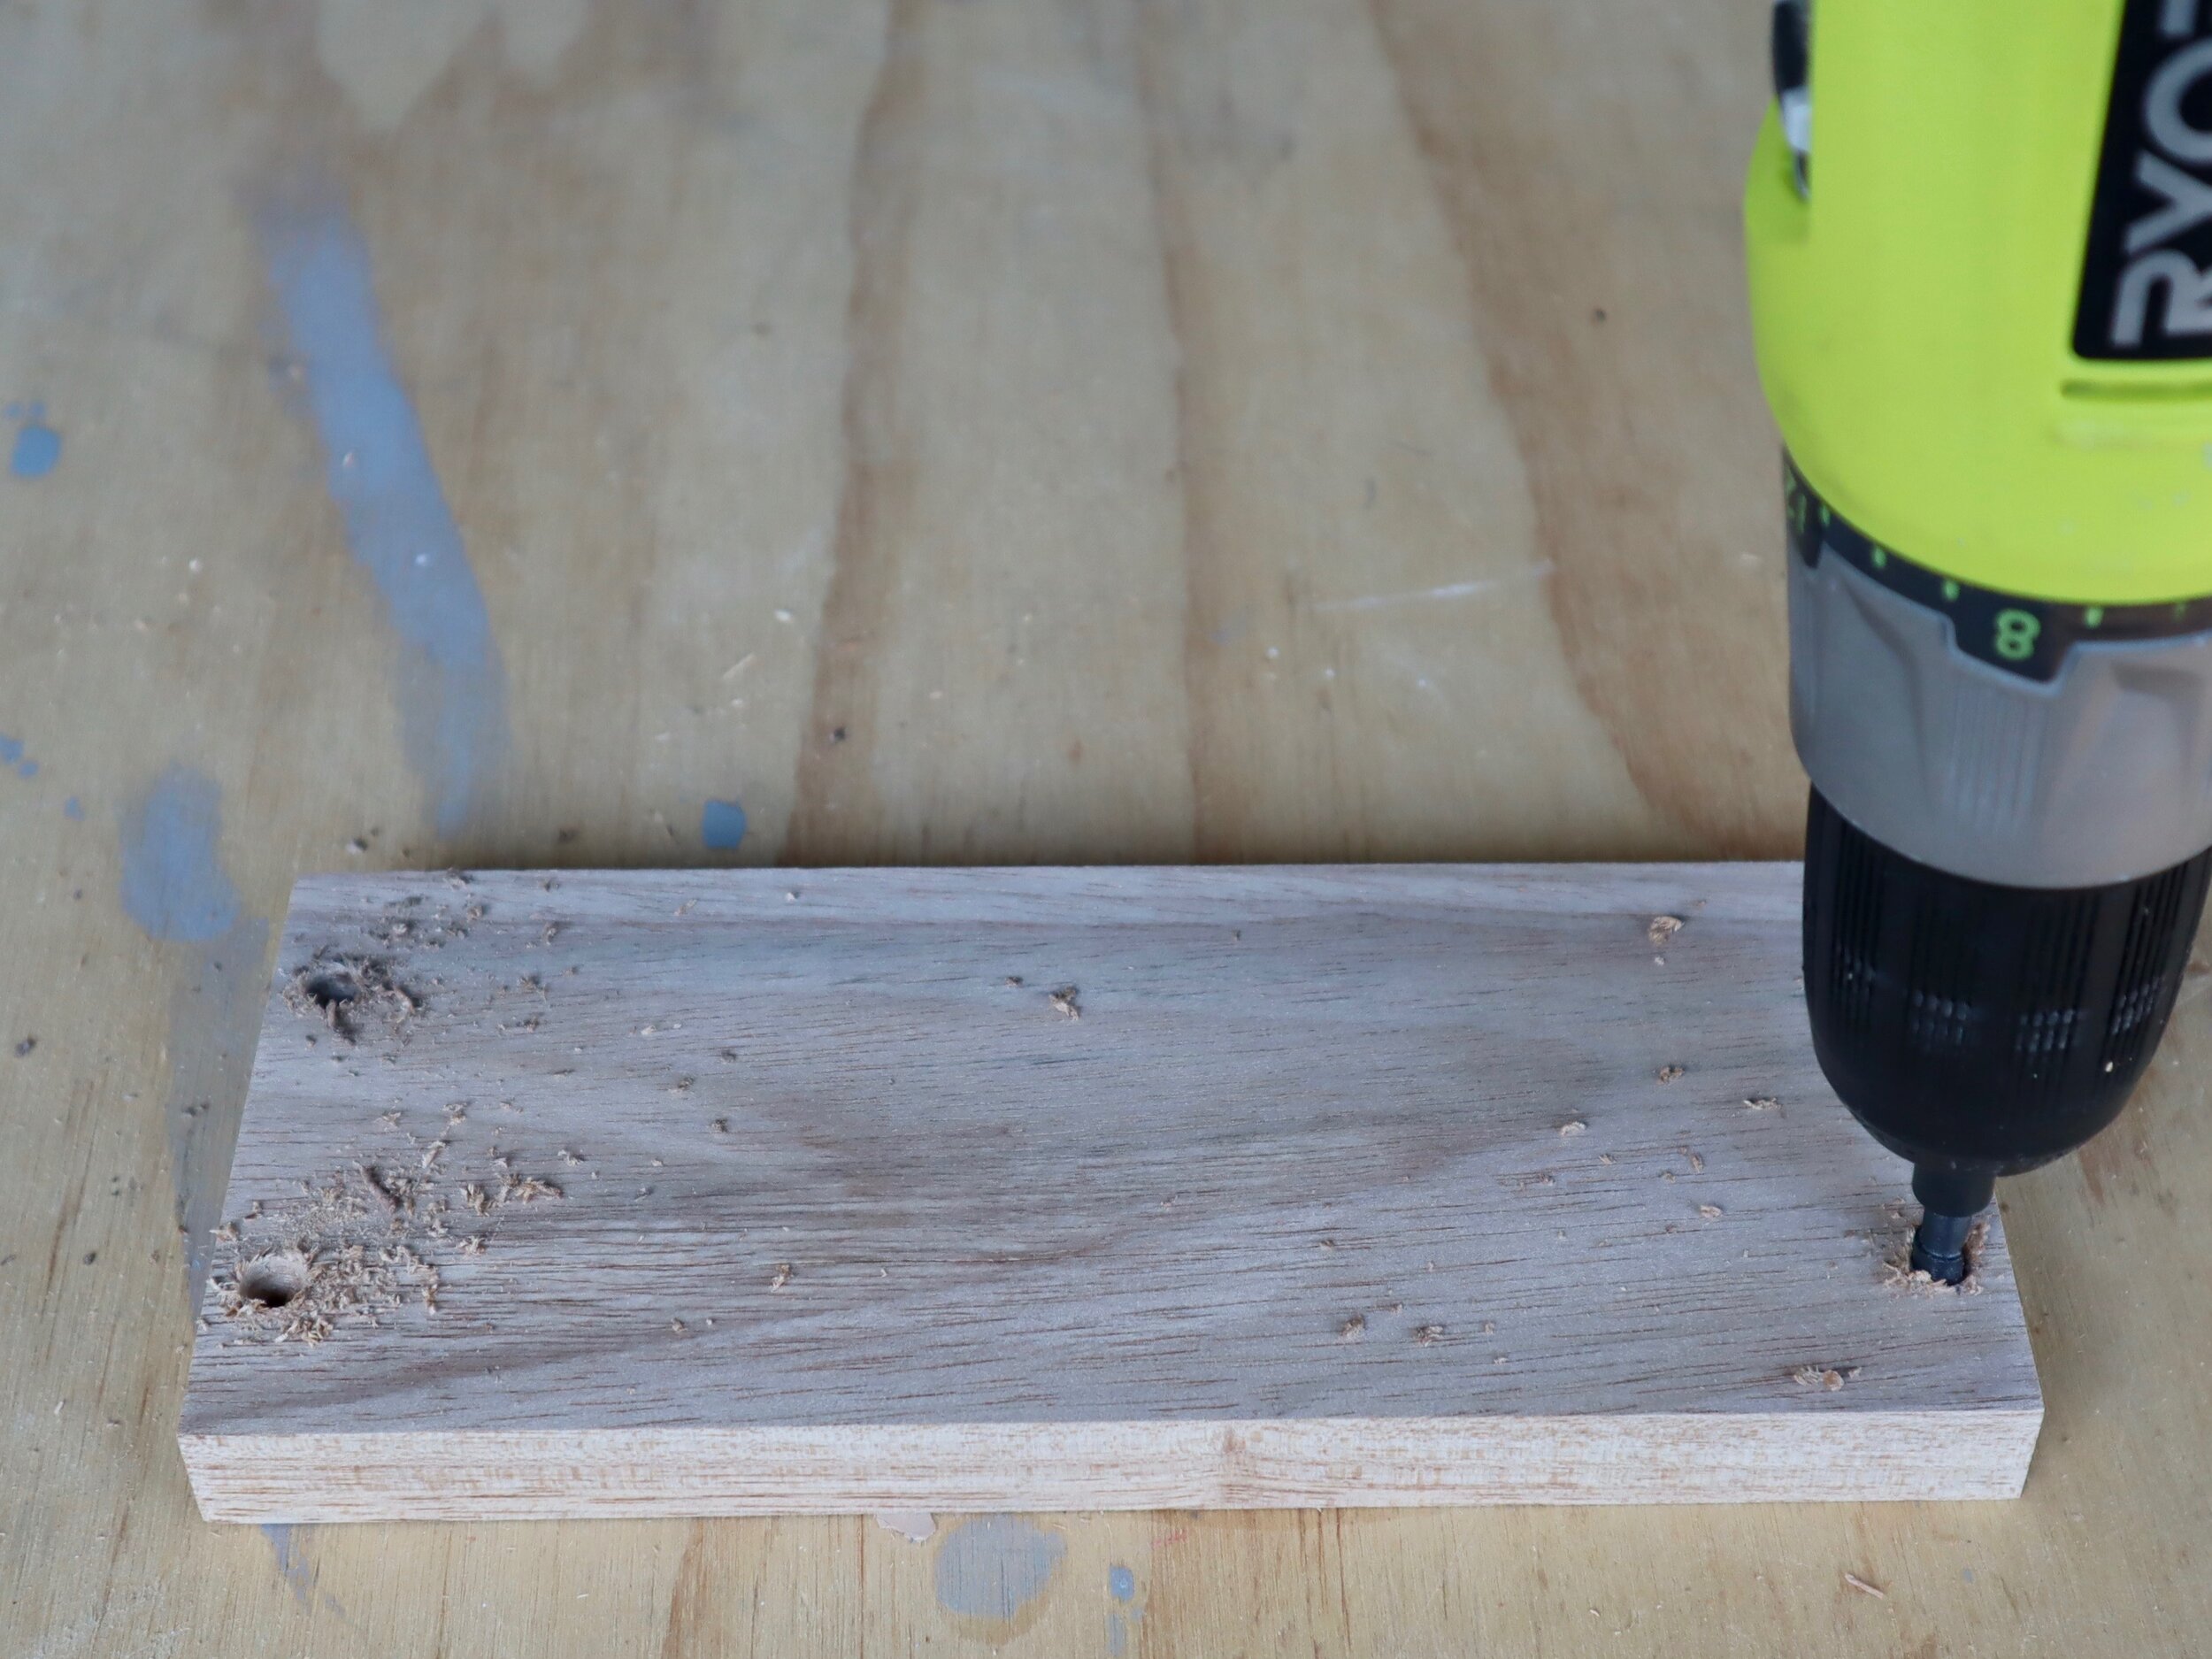
STEP 4
On the ends, I marked 20mm from the edges and 6mm from the ends to countersink the holes.
TIP Be sure to hold the drill vertically at exactly 90 degrees for even holes so the screws go in straight.

STEP 5
I applied adhesive to the side assembly, butted it against an end with the edges were flush, then secured with screws. I applied adhesive around the remaining assembly, positioned against the end and secured, then repeated for the remaining end piece.
TIP Note there’s a gap down the middle to allow for water runoff.
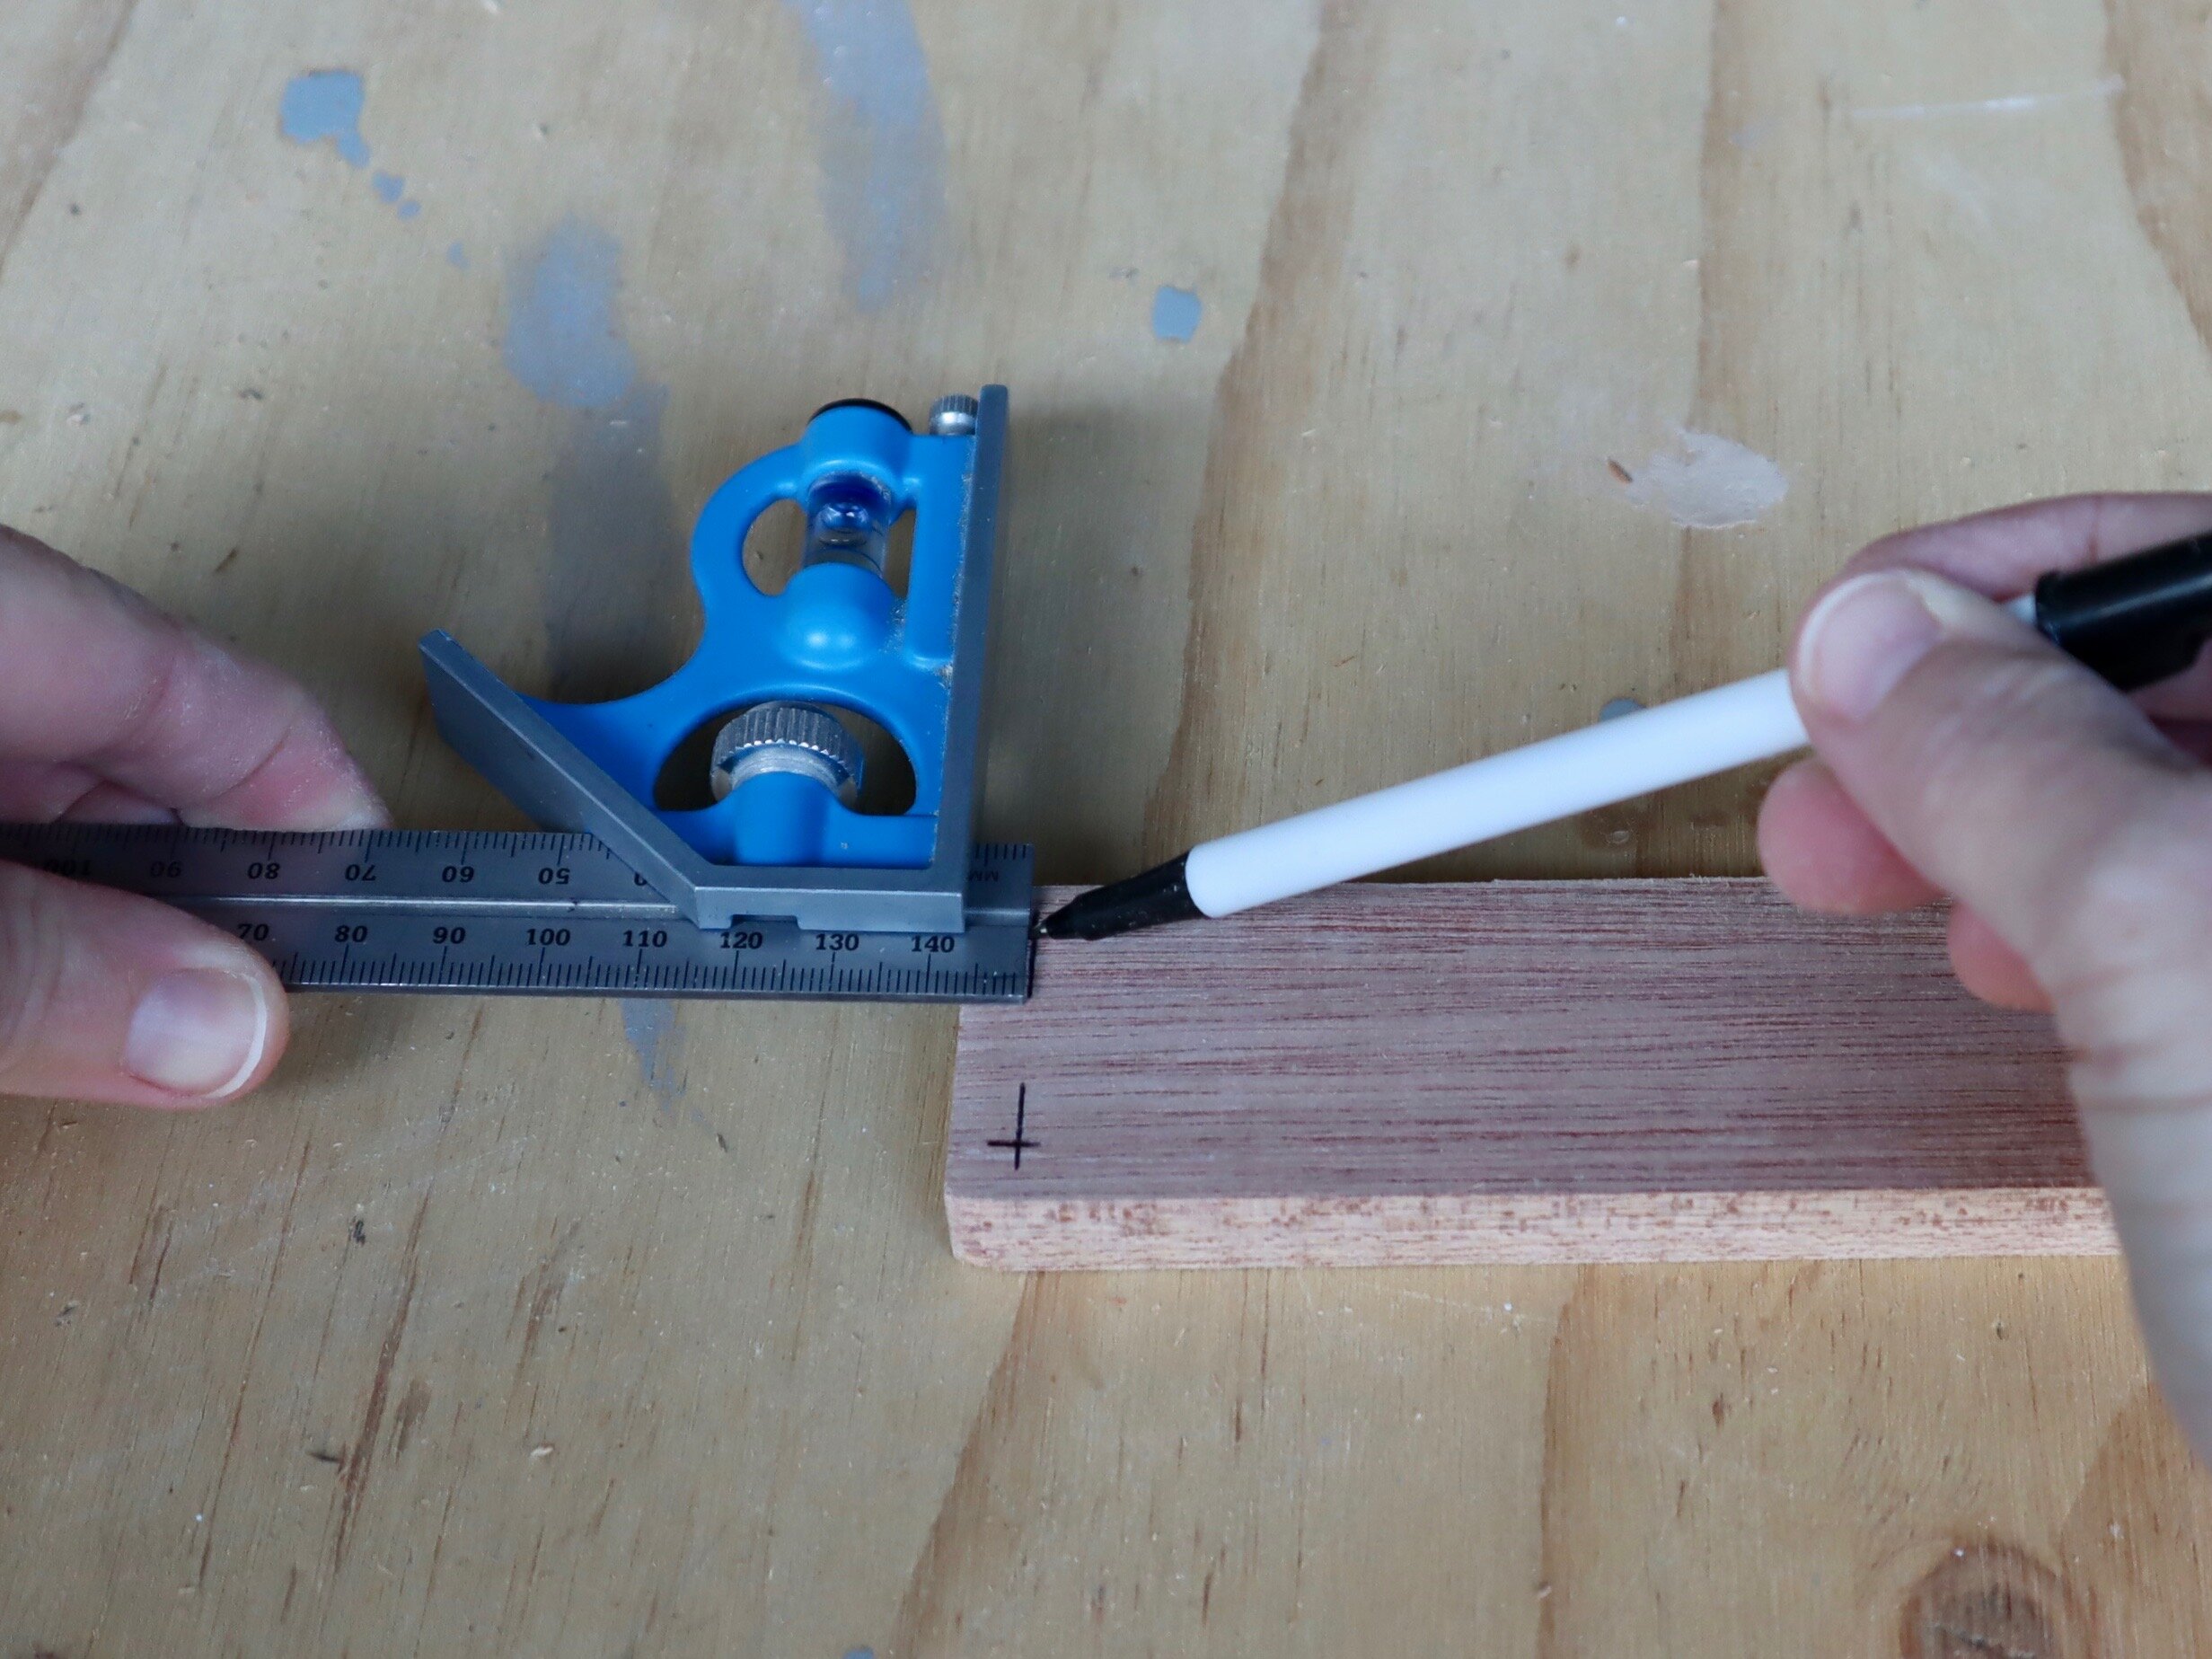
STEP 6
On the base of the 42mm handles, I measured 6mm up and 6mm in from the sides to countersink the holes.
TIP I love using this small combination square for accurate, repetitive measurements.

STEP 7
On the top of the handle pieces, I measured 21mm from the sides (to find the centre) and 20mm from the top. I centred the arbour of the hole saw to drill halfway through, then turned the timber to complete the hole from the other side.
TIP Position an off-cut underneath to avoid drilling through the workbench.

STEP 8
Using a 20-cent piece, I marked over the corners and rounded them over using a random orbital sander with an 80-grit abrasive disc.
TIP Hold the sander upside-down and move the handle over the disc to remove the excess timber.

STEP 9
After sanding inside the holes with a discarded abrasive disc, I checked the rail fitted firmly, dabbed adhesive around the inside of the holes, then pushed the handles onto either end and left it to dry for an hour.
TIP Lay the assembly flat, ensure the ends are flush and use the combination square to check the handles are even.
STEP 10
I pushed the handles over the box, checked they are centred, then secured with screws. Sanding all over with a 180-grit abrasive disc removes breakout from the screws before I covered the holes with filler, then sanded again once they were dry.
TIP For a professional finish, round over the corners of the box by moving the sander over the edges.
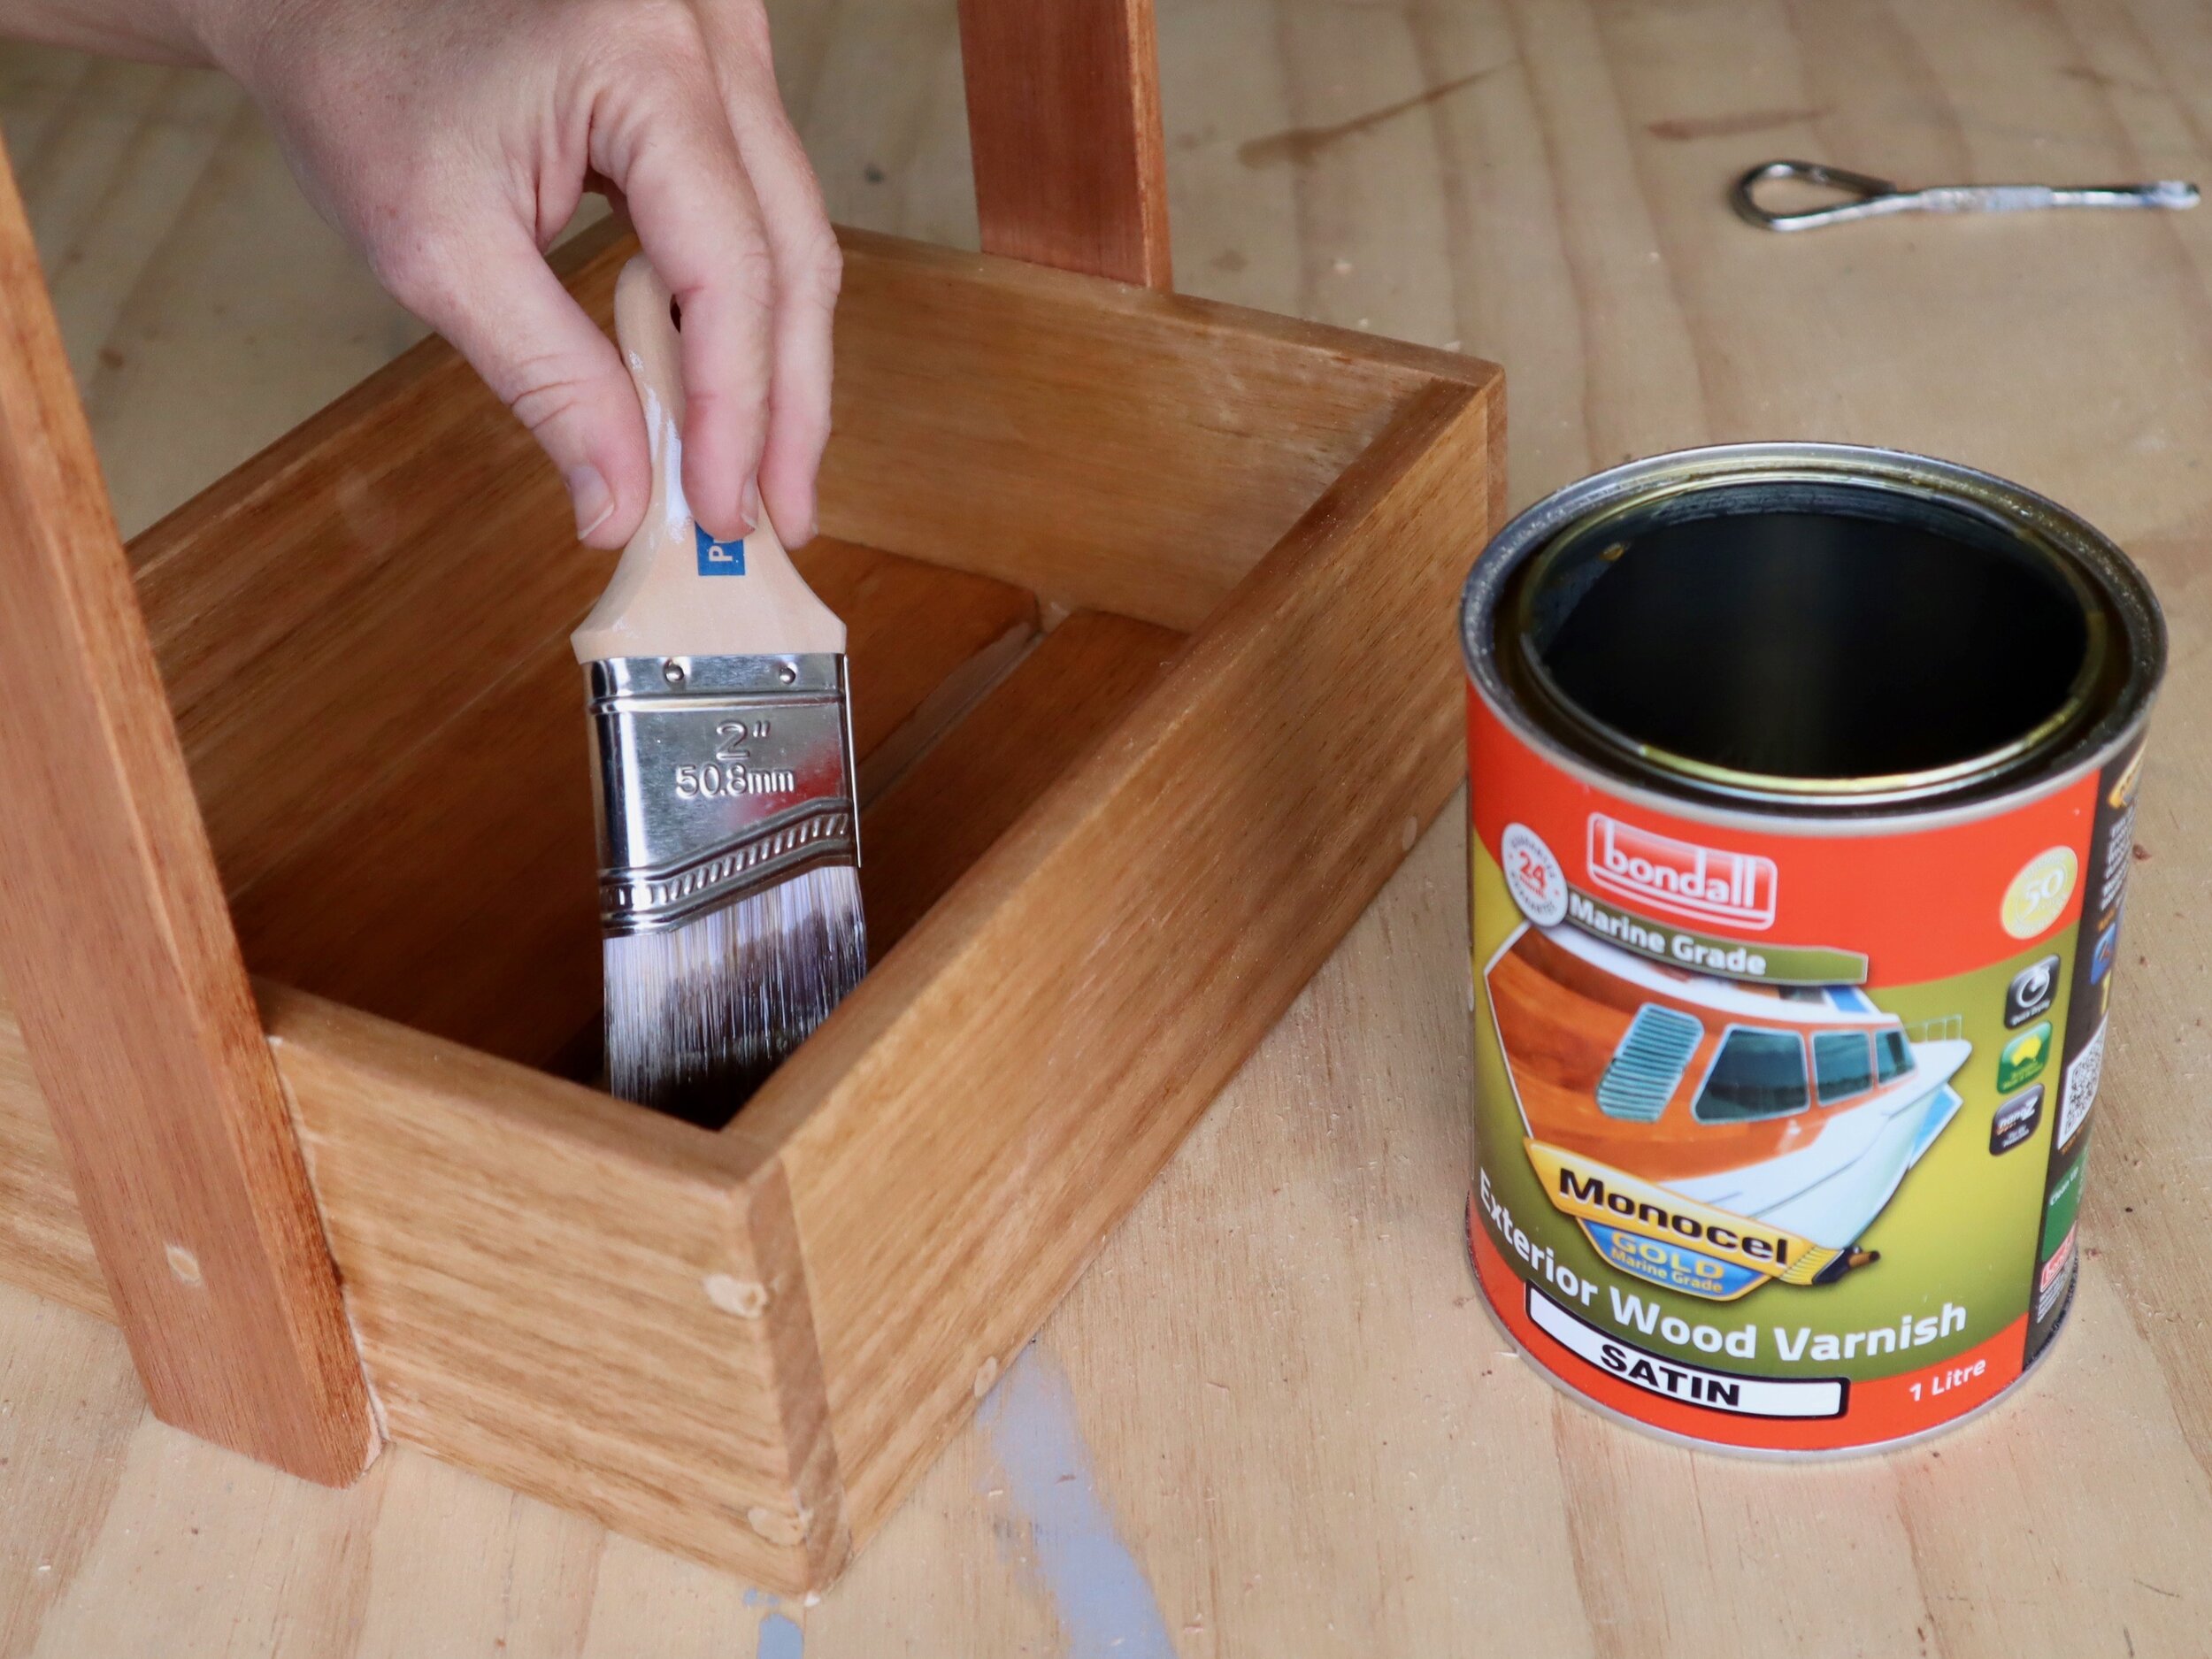
STEP 11
I used a brush to seal under the base and left it to dry for about two hours, then stood the caddy upright to apply vanish all over, left it to dry, then repeated for two more coats, leaving to dry throughly after each.
TIP Lightly sanding after the first coat smooths over the woodgrain that is raised with the moisture of the sealer. It’s not necessary after the second and third coats unless you need to remove drips.

VARNISH TIP
Between coats, saturate the brush in varnish then seal with plastic wrap to keep it from drying out. Always stir the varnish before using for each coat.

Follow my daily DIY journey on Instagram for more renovating and home improvement, tool tips and simple building projects.