Designer Bathroom Cabinet
Natasha Dickins

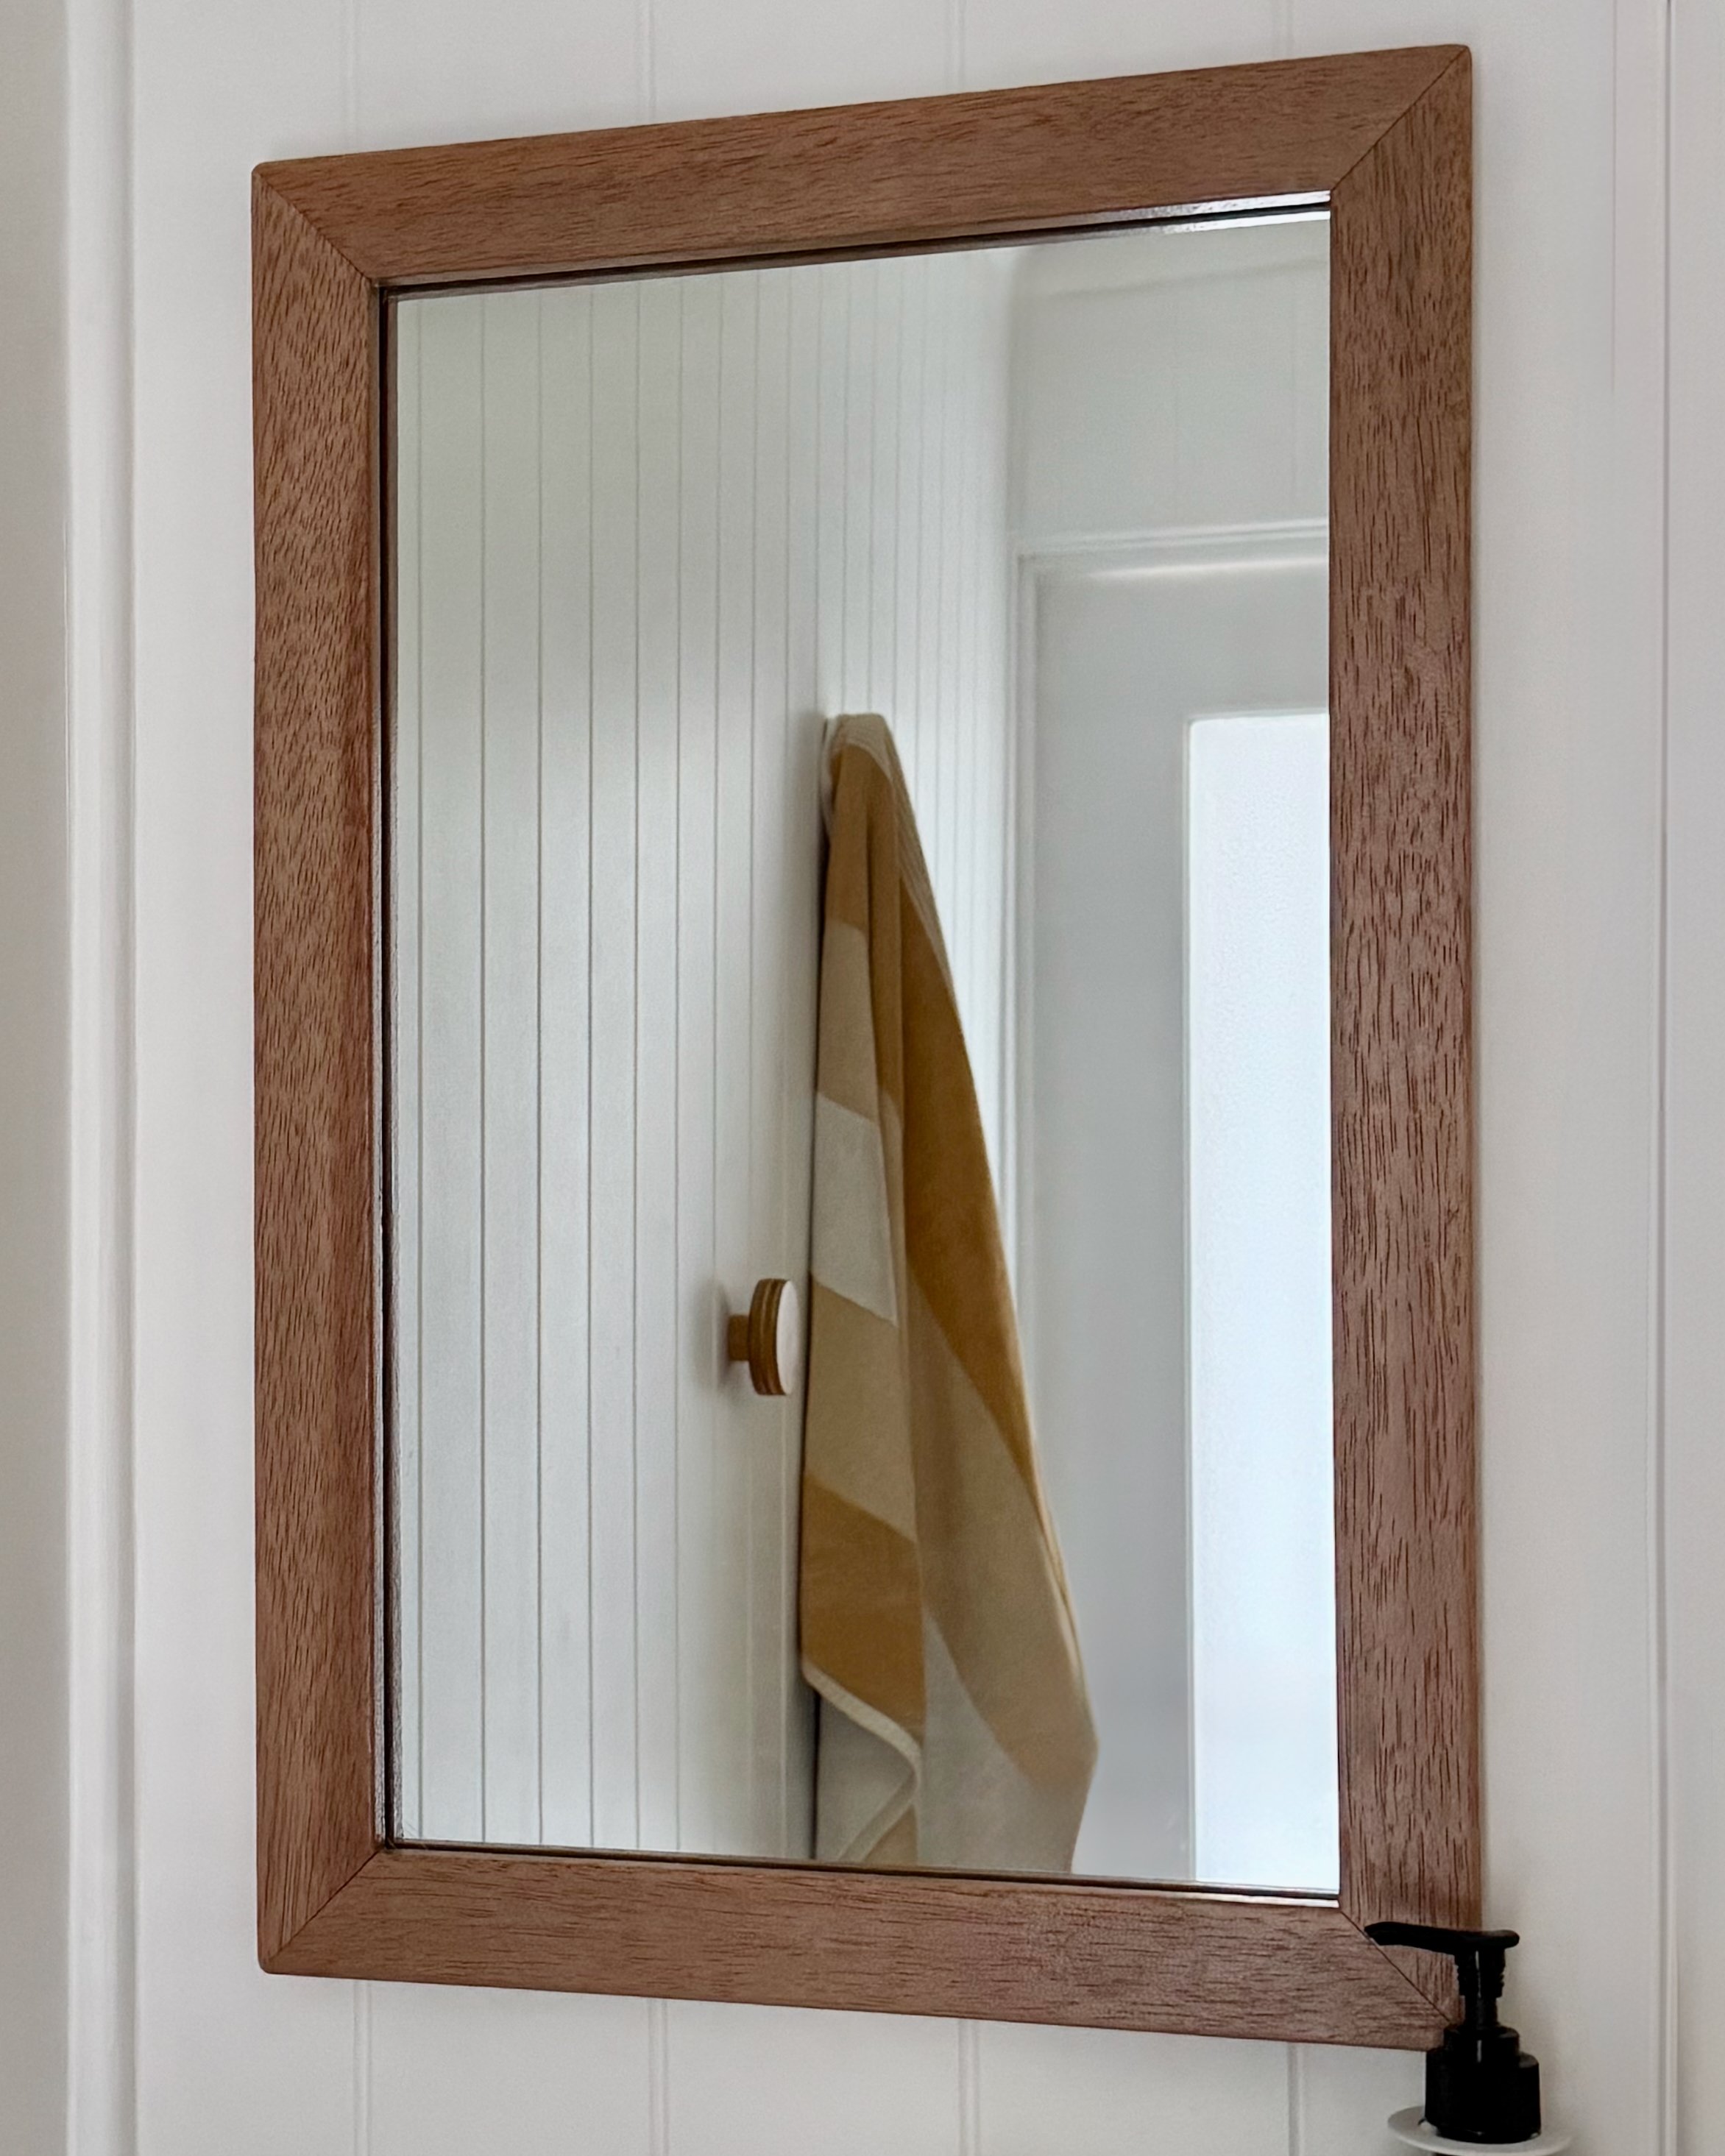
I took a regular shaving cabinet from standard to stunning by framing it in solid timber. It adds a practical yet handcrafted element to a bathroom, especially when installed on a tiled wall.

The two-door mirrored cabinet was less than $140 from Bunnings. The woodwork added up to about $100. A similar design made with solid timber costs at least $1200.
“Costing less than $250, this is one DIY project that can genuinely help you stay on budget while injecting a little luxury into a bathroom renovation.”
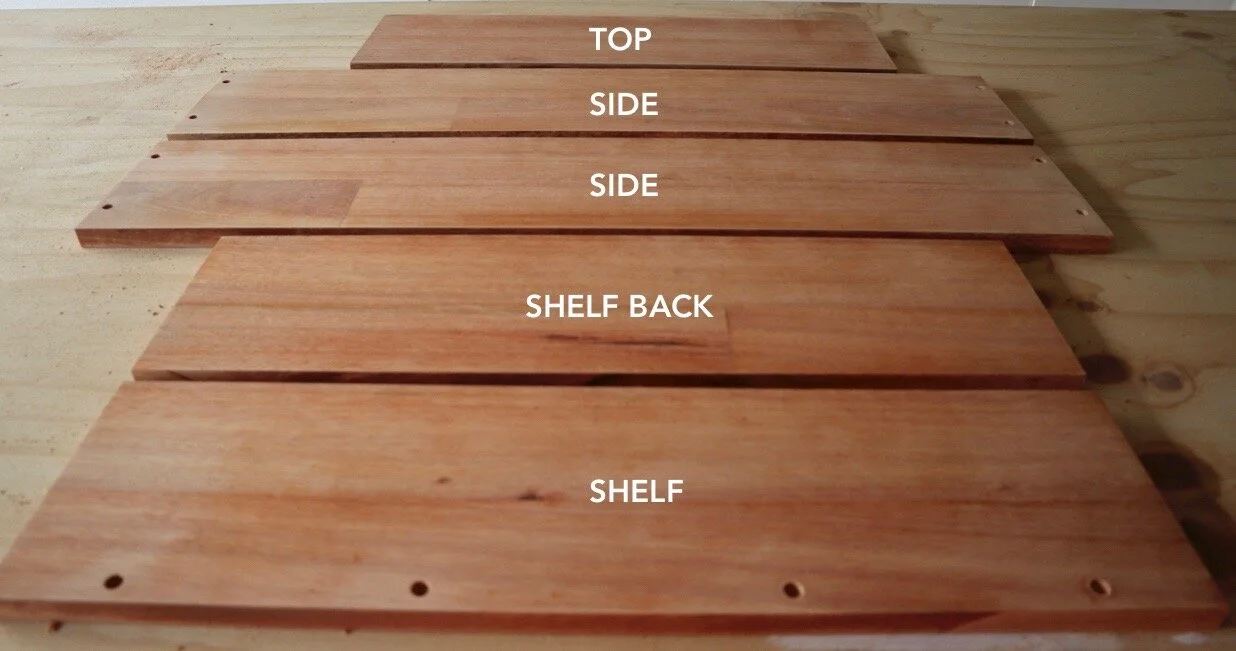
The framing is cut from one 1800-long and a 1200mm-long 405 x 18mm hardwood panel. I cut them into lengths with a track saw, each with a factory edge, the same width as the depth of the cabinet. Then I cut the lengths to fit around the cabinet, allowing 3-4mm extra for wiggle room when assembled.

After removing the screw caps on the cabinet so the frame sits flat, I dry-fit the timber with the sides butted against the top and shelf pieces, factory edges facing forward. Then I removed the cabinet, applied adhesive to the joints and assembled with 40mm timber screws.
TIP Use a combination countersinking bit to pre-drill the holes so the screws can be smoothed over with filler later.
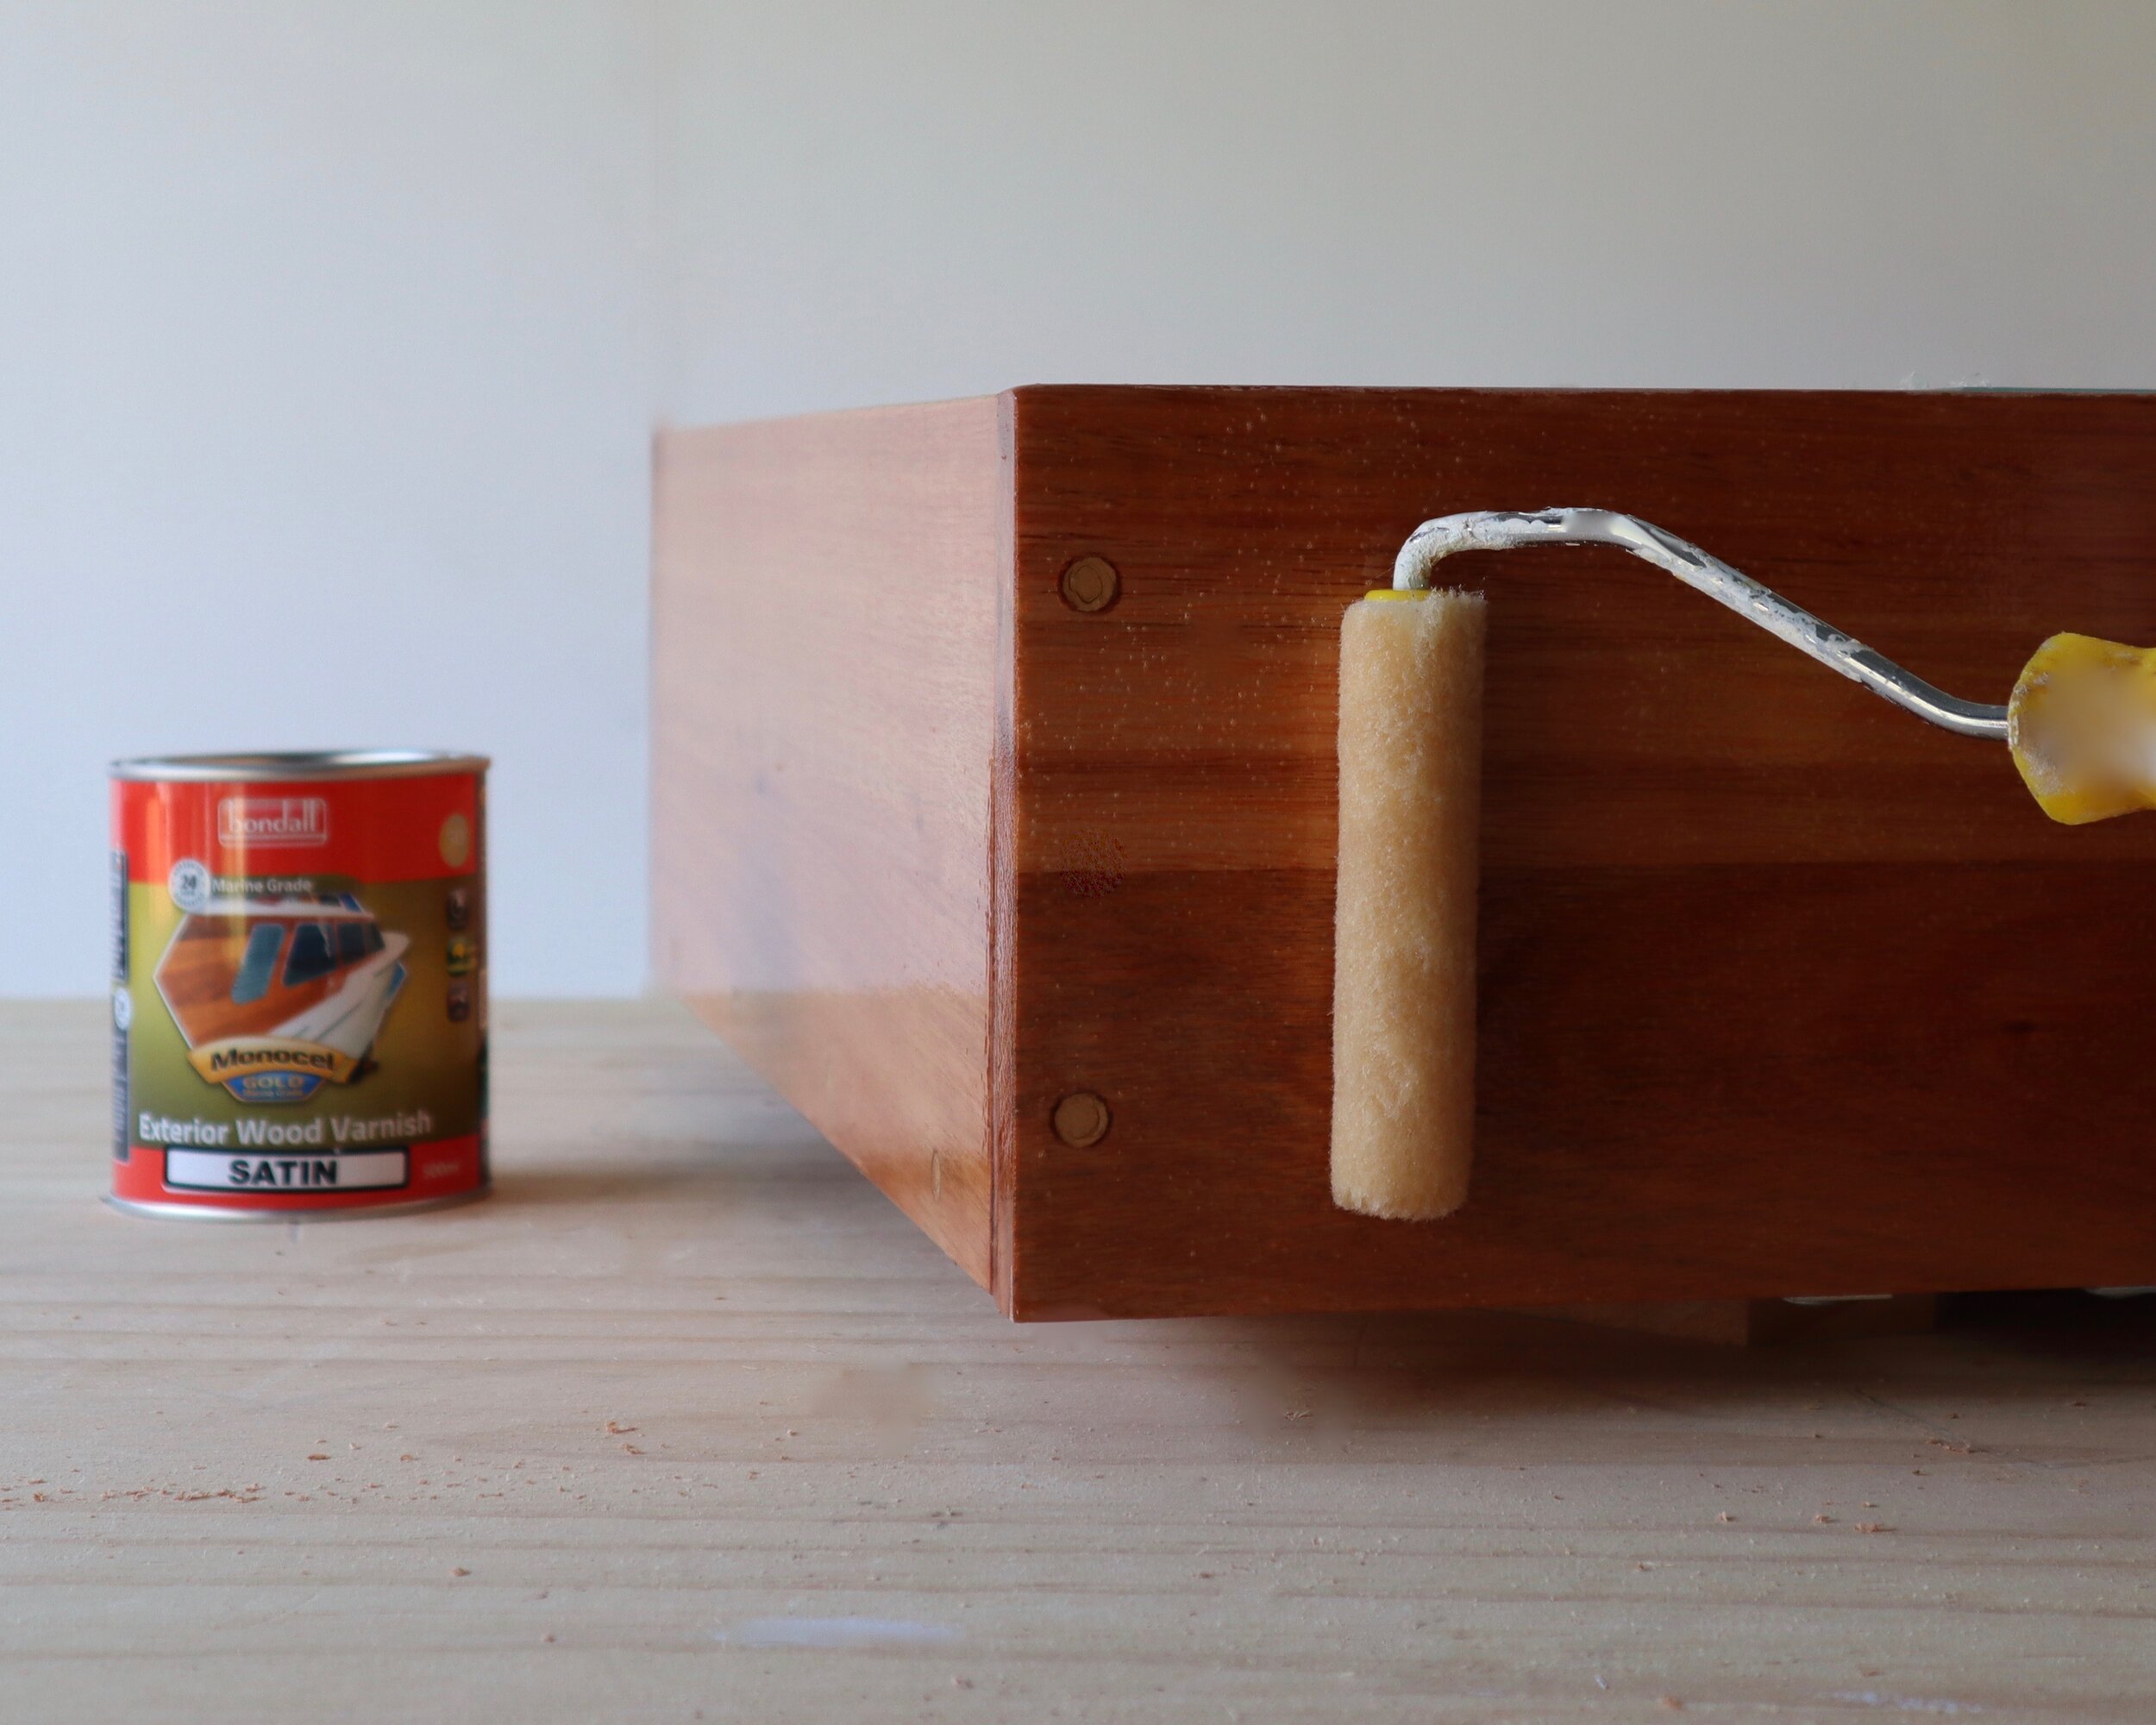
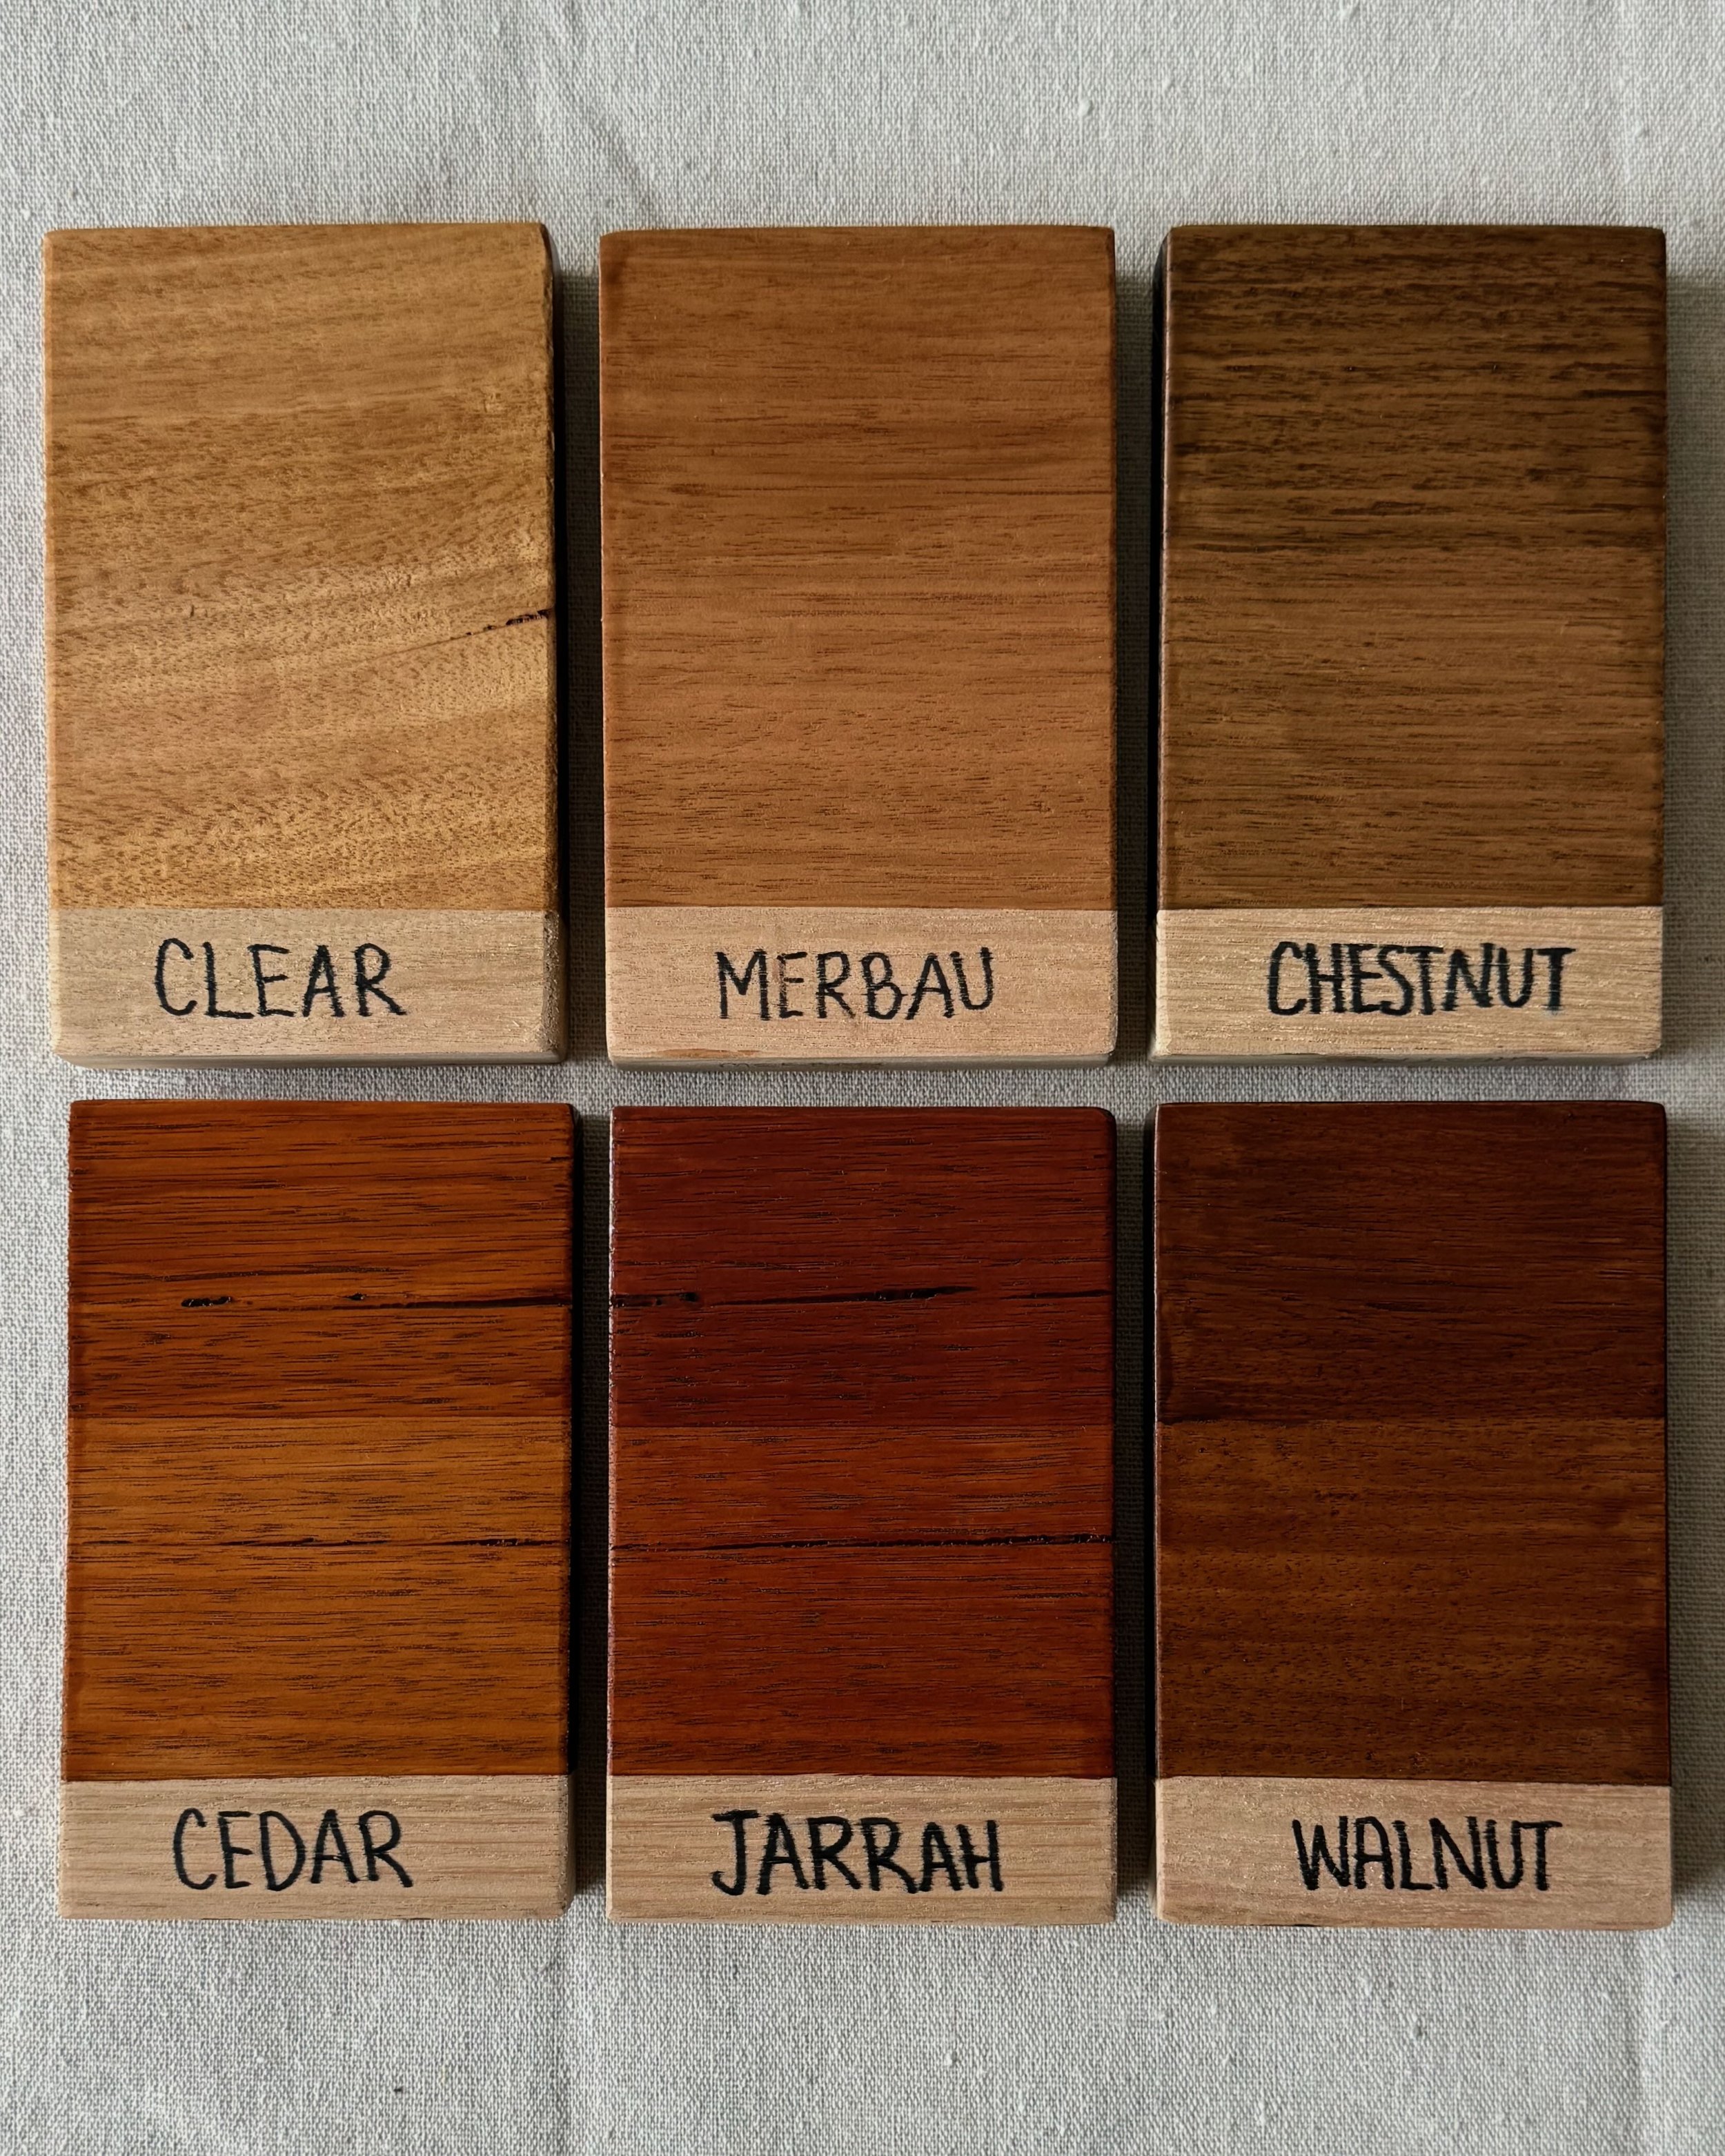
I sanded over the frame with 180-grit abrasive paper to round over the edges and corners to match the factory edge, then wiped away dust with a damp cloth. The frame is sealed all over with three coats of Monocel Gold Clear marine-grade varnish to protect from steam and moisture.

With the cabinet face down, I lifted the frame over it, joining them together with 75mm mending plates at the corners and over the shelf backing, securing with 15mm stitching screws.

For the tools and materials list, and more details on making the frame, click through to the full project in the May/June 2021 issue of Bunnings Magazine. They loved it so much, the cabinet even features on the cover!

Are you planning to install handcrafted timber features in a bathroom?
Tag me on your project and follow more of my DIY journey on Instagram for tool tips, home improvement and simple building projects.