REINVENT Vintage Furniture
Natasha Dickins

It’s rewarding to work with something that’s already stood the test of time, but there is a trick to updating pre-loved furniture to make it useful and current again.
I have a three-step process that works for most makeovers…
① REMOVE ONE PART taking away the most dated or broken thing.
② ADD A MODERN TWIST with a new element to improve function.
③ UPLIFT THE EXPERIENCE by making it more sensory.

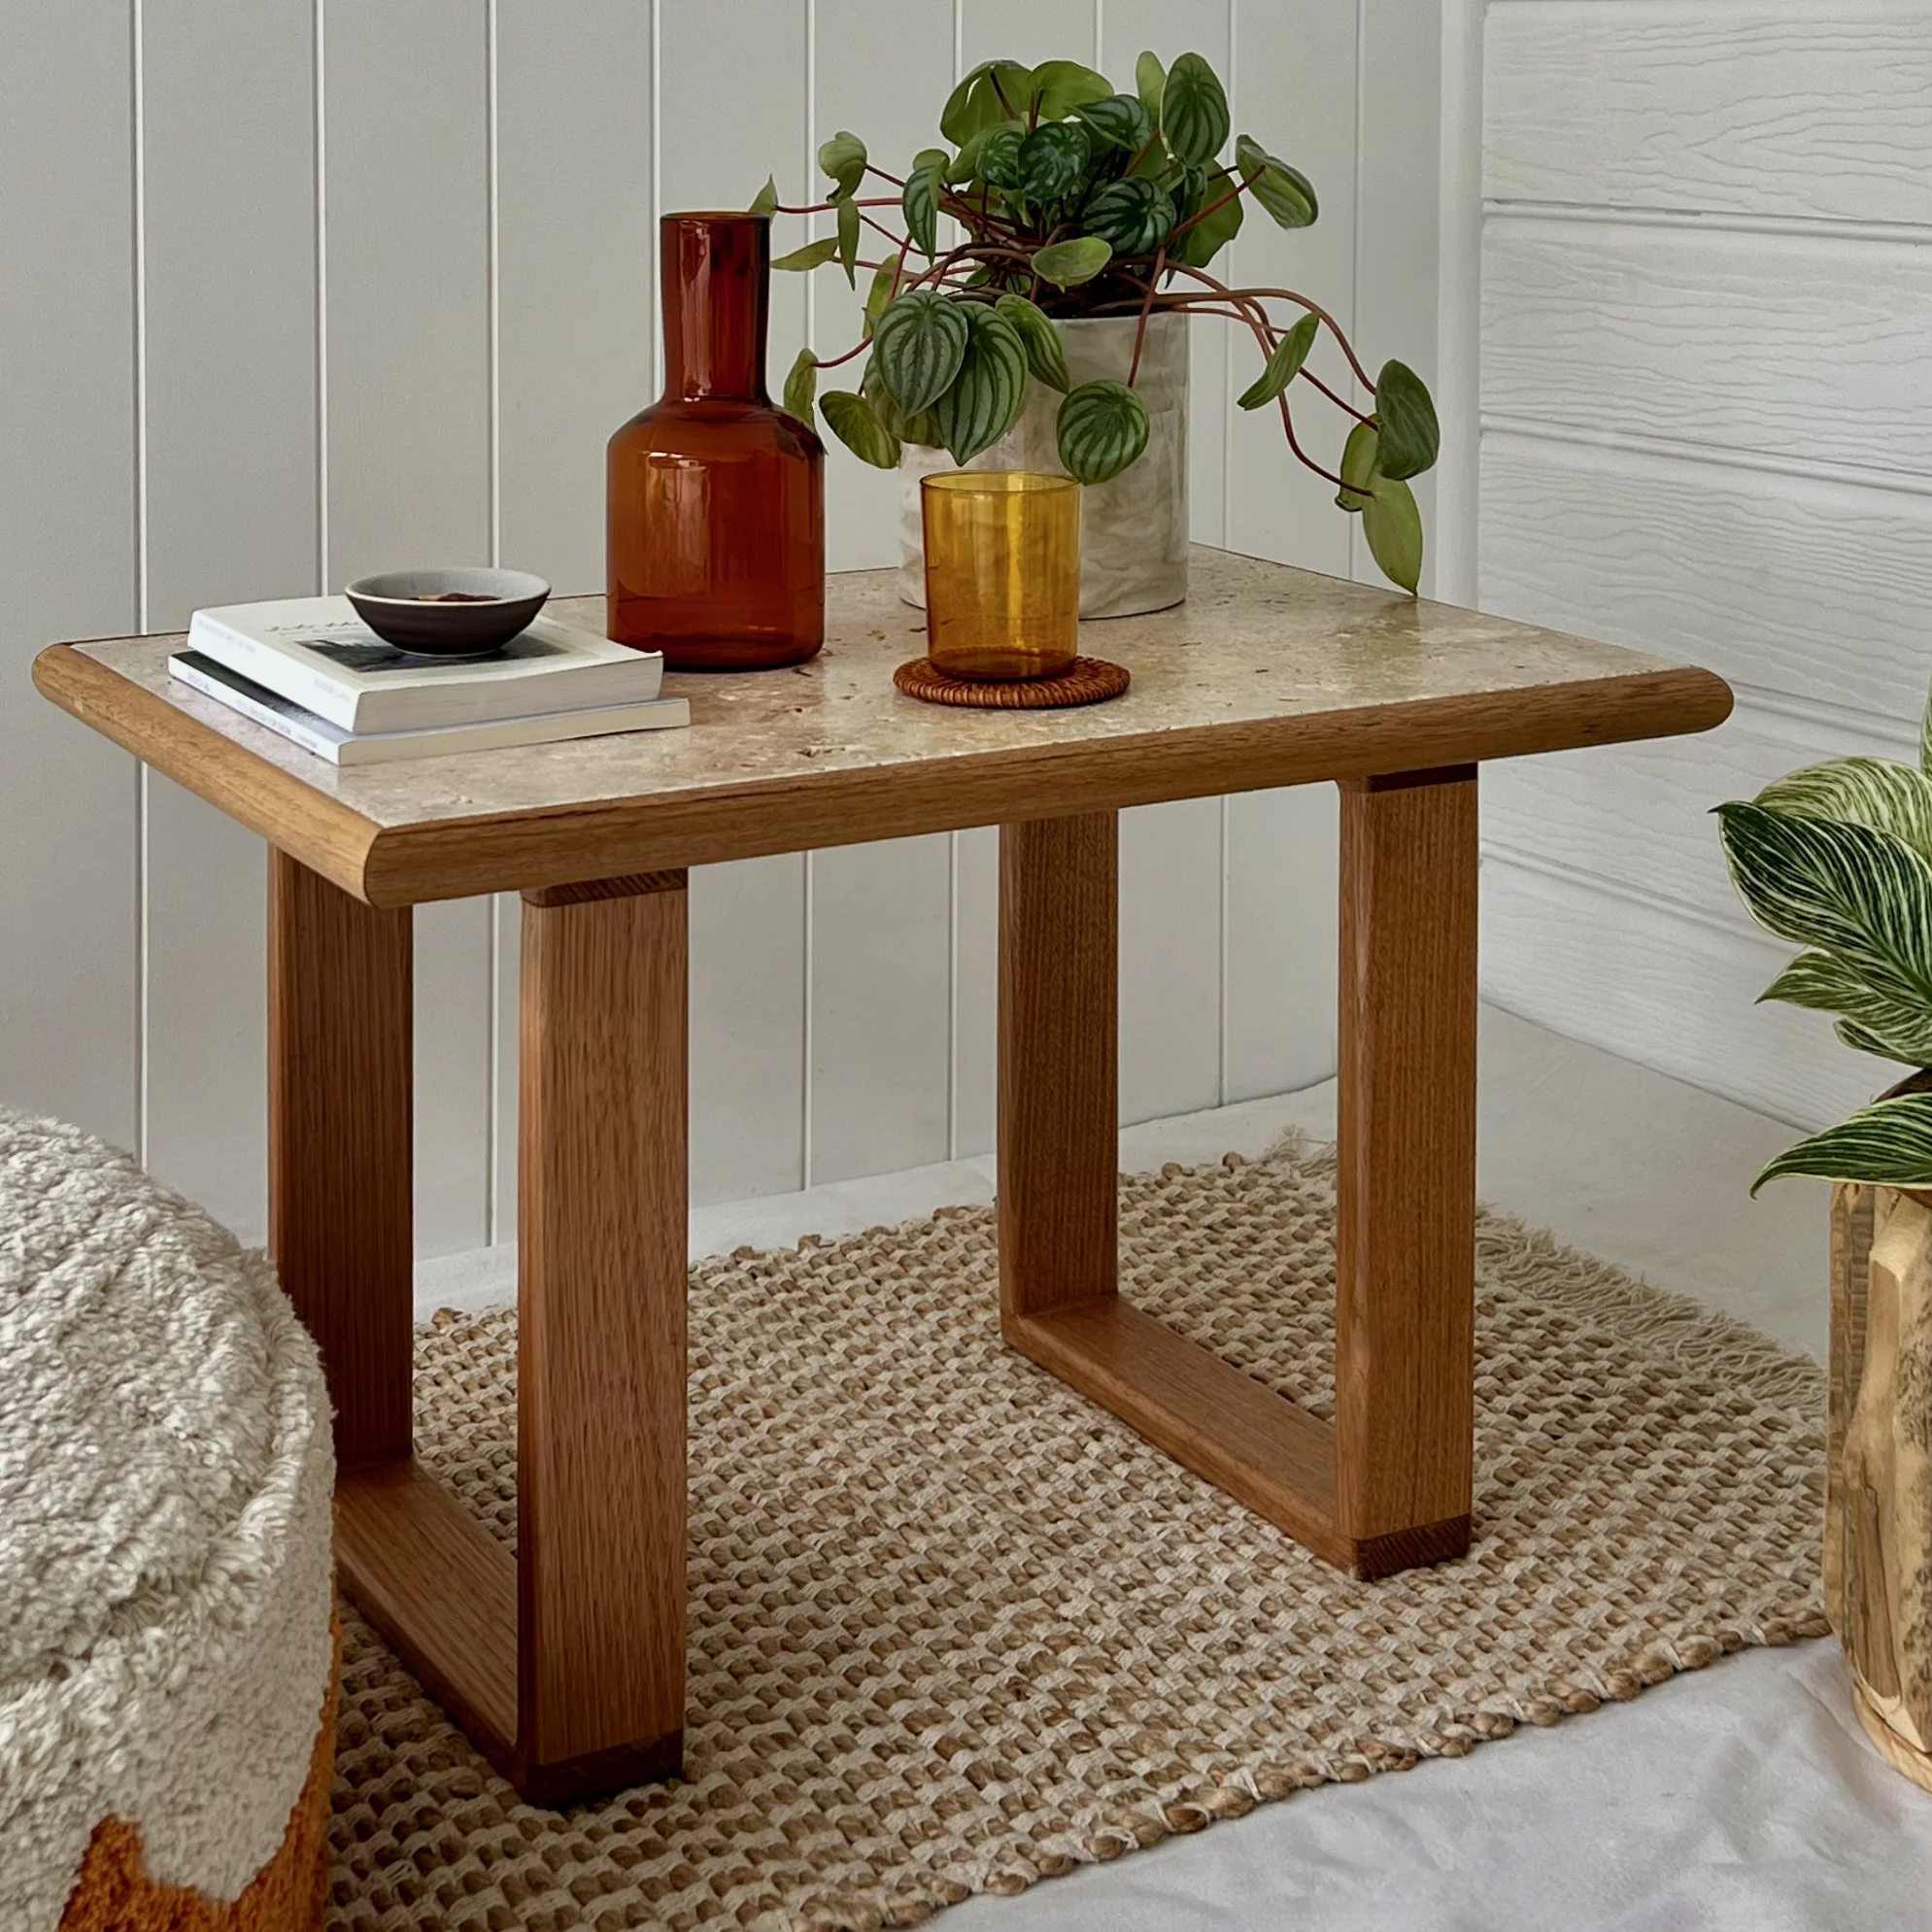
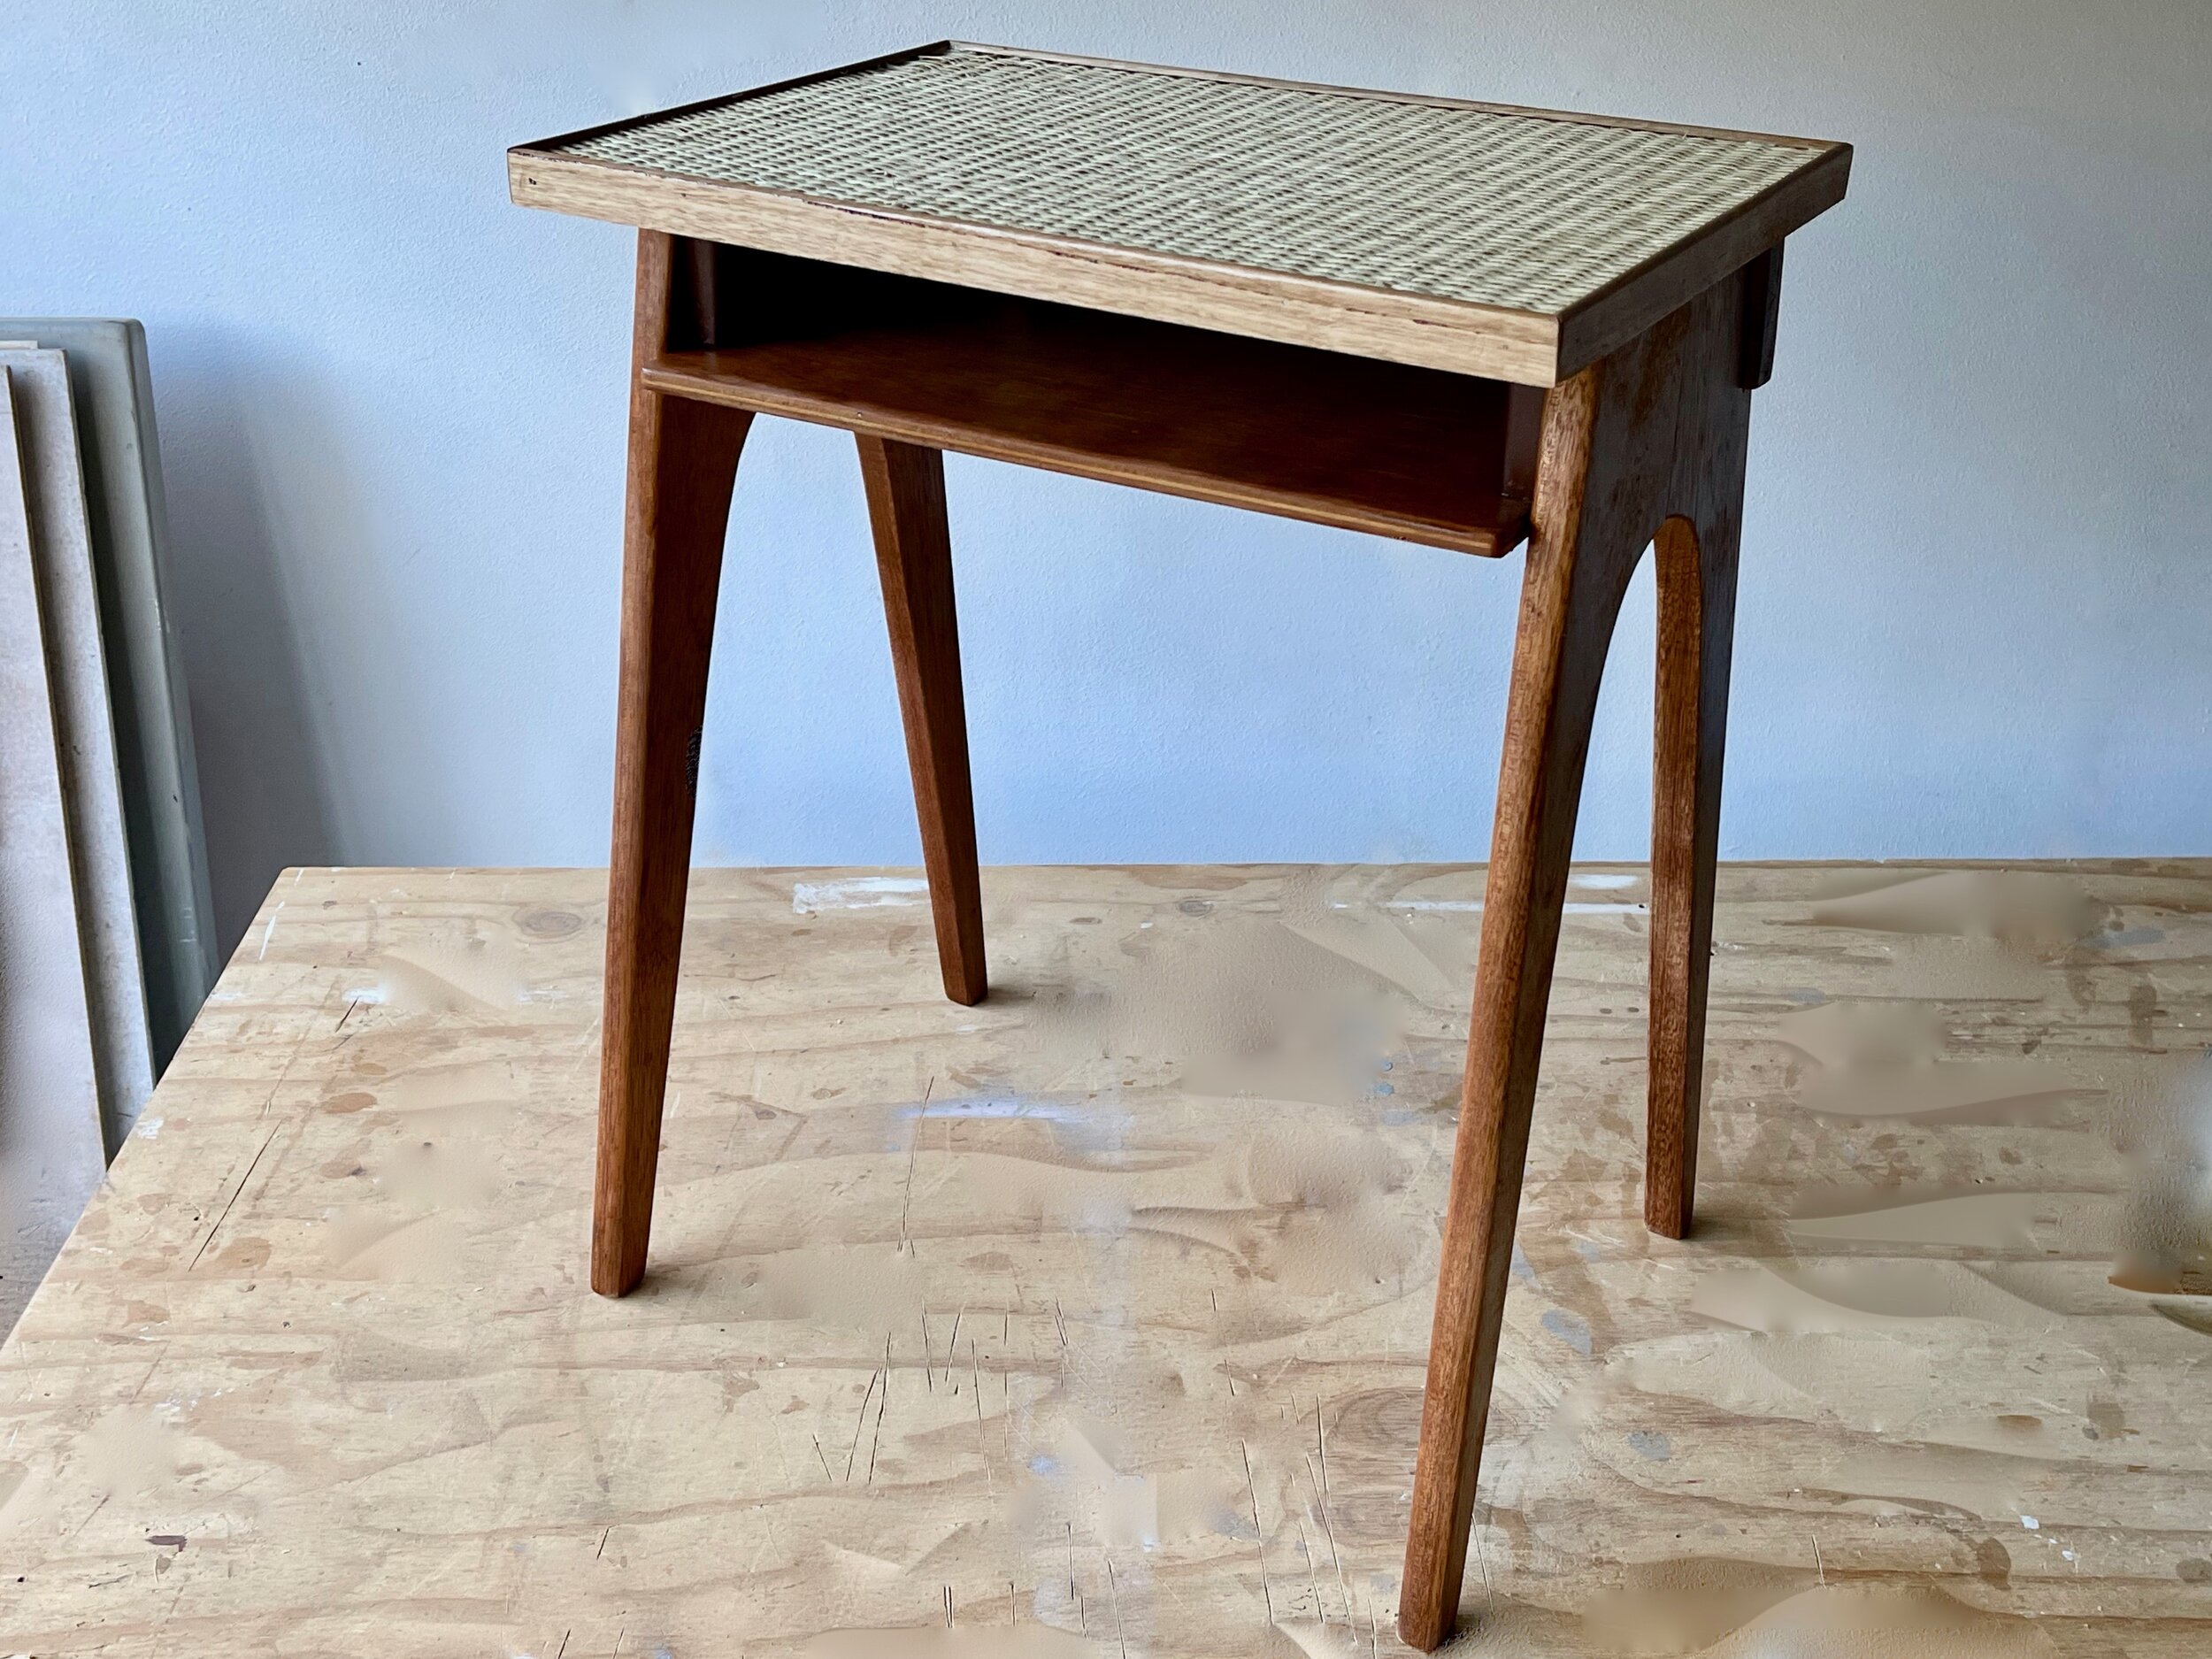
BEFORE This midcentury side table was originally designed to have a phone on top, an address book underneath and maybe a notepad on the little shelf.
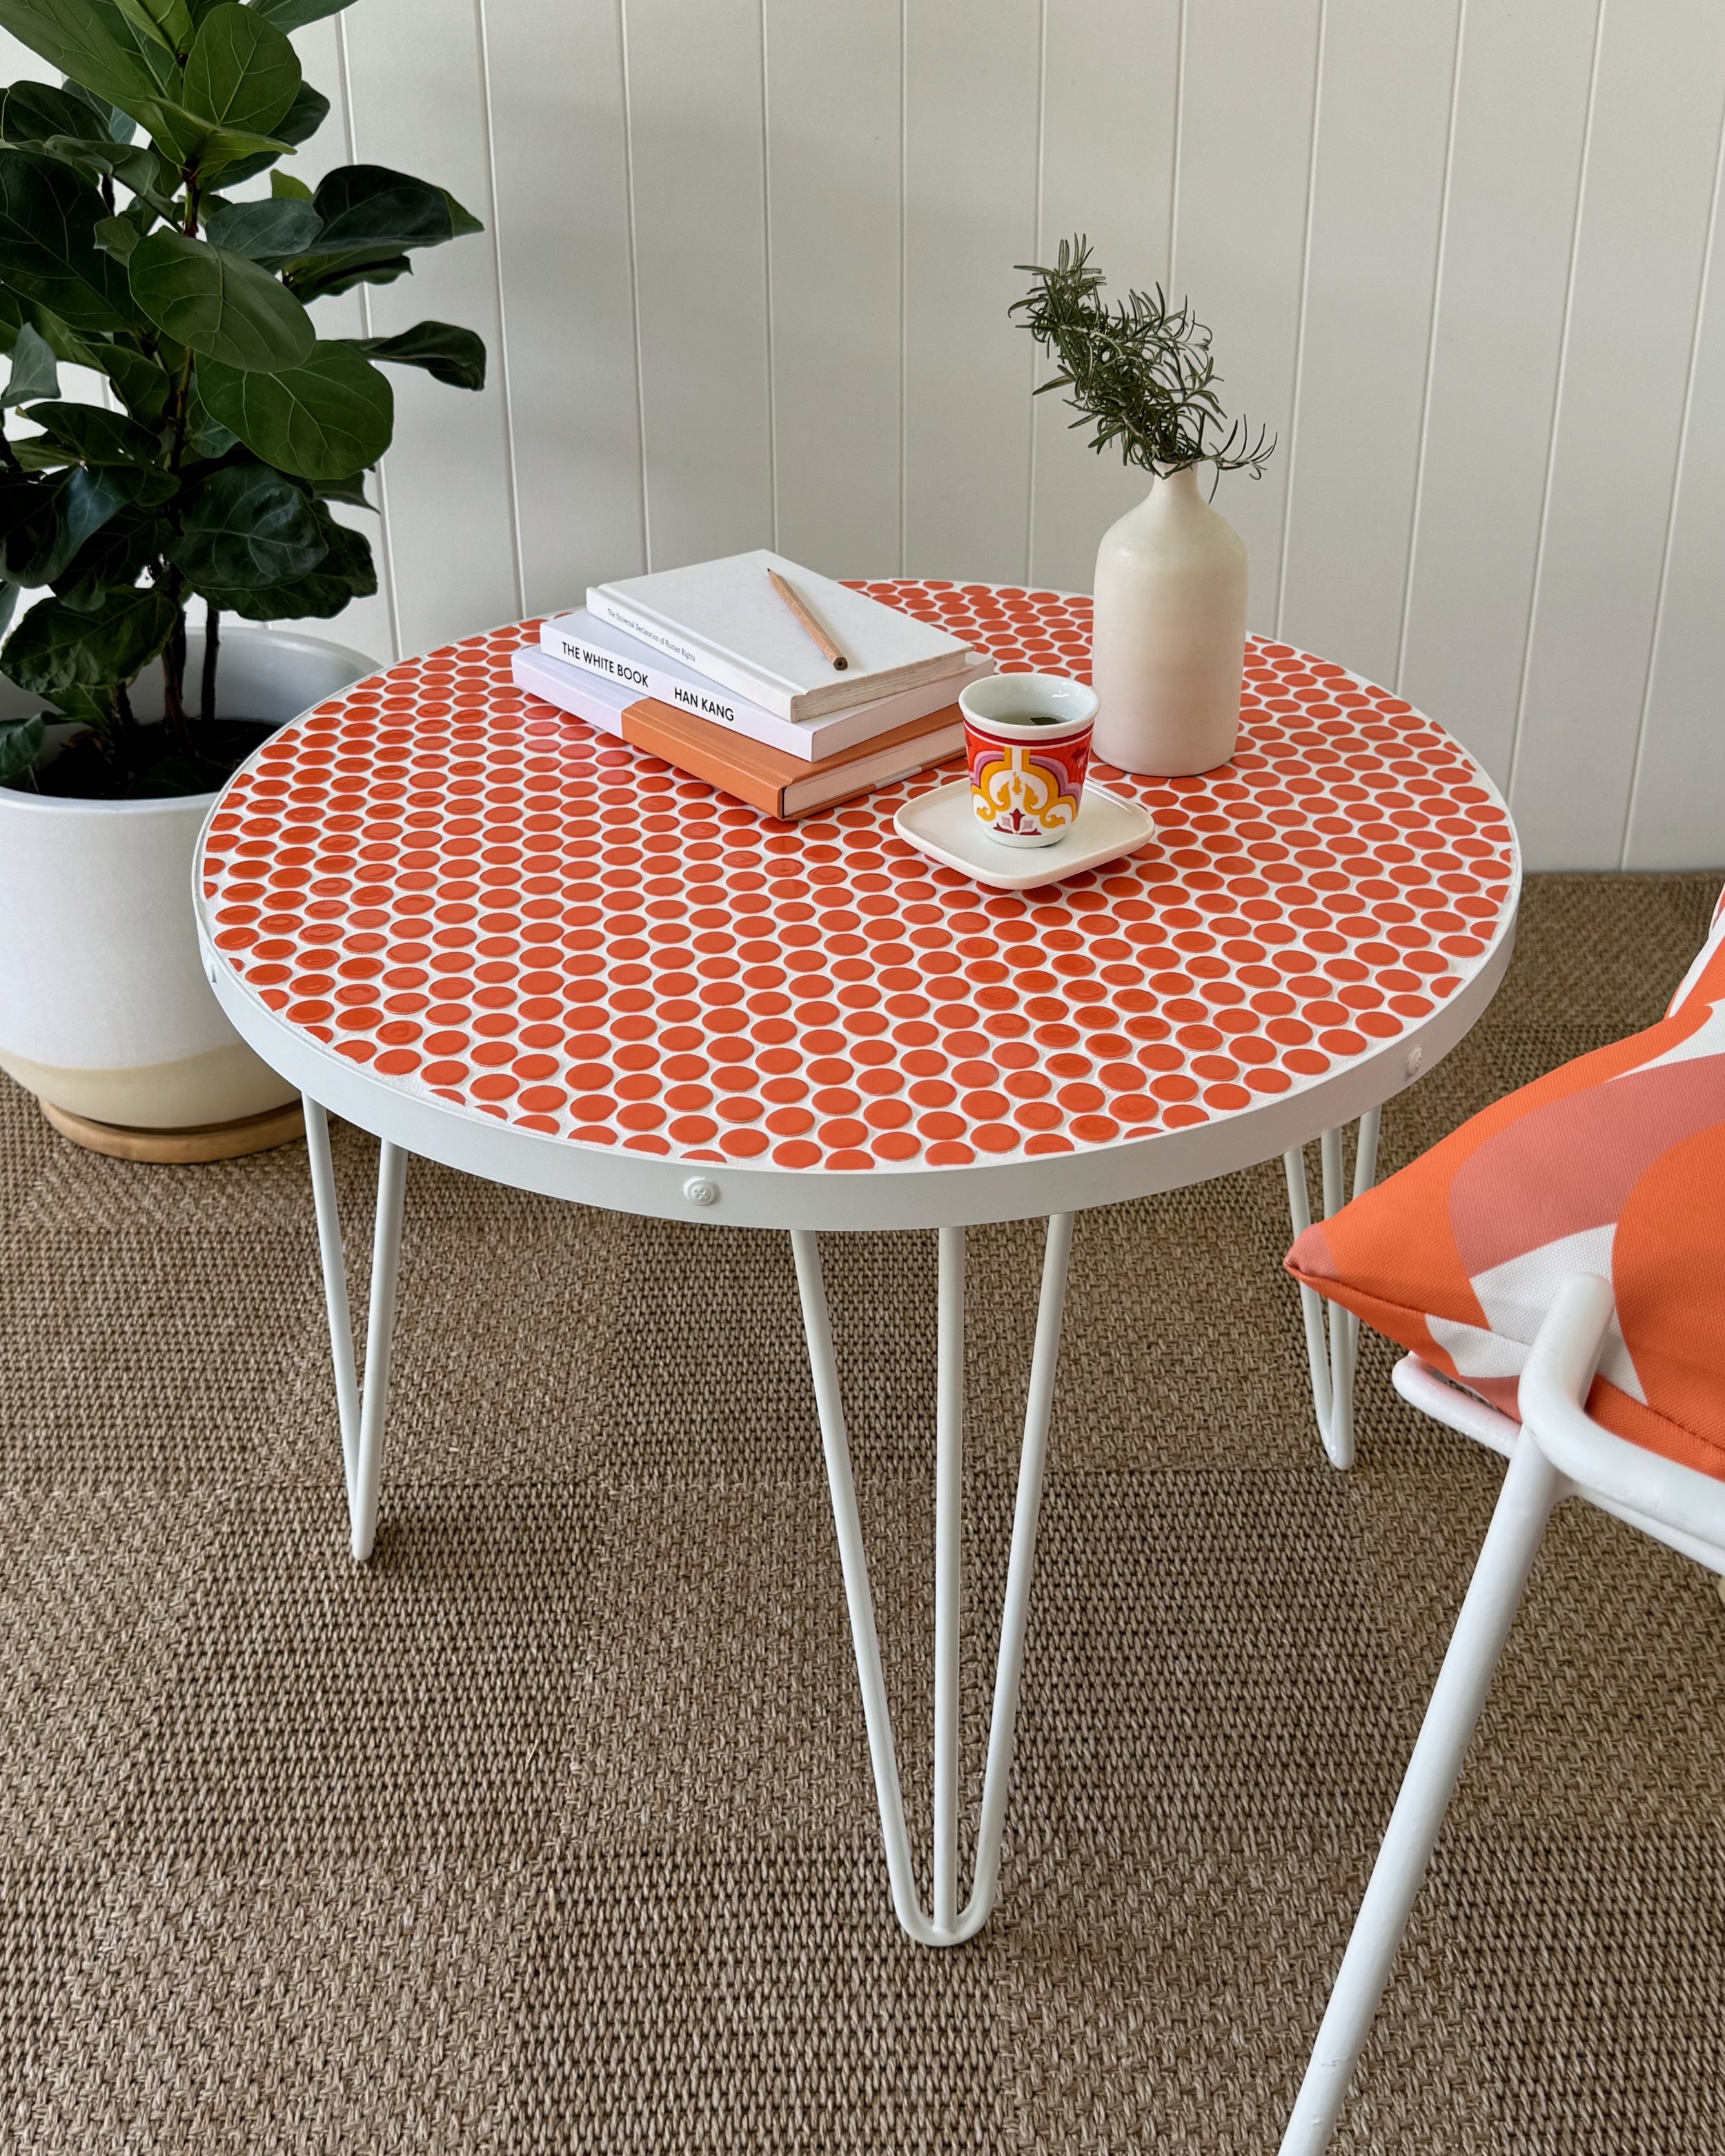
“My three-step process helped transform this vintage table into a modern device-charging station with hidden access for electricals.”

① REMOVE ONE PART
While the base was in good nick, the boxy top was made out of plywood clad in laminate and no amount of sanding was going to make the chipped surface look better. This was the part to go.

DIY TIP Fasteners in old furniture often develop surface rust. If they’re still functional, pop them into a jar of Bondall’s Ranex Rustbuster to soak for an hour. They clean up nicely, ready for reassembly.

② ADD A MODERN TWIST
A new top was cut from a 300mm-wide pine panel to the same length as the original box. I clad it in a piece of close-weave bamboo rattan for a retro feel that compliments the original style of the table.
I adhered the rattan with Bondall’s Bondcrete, taping it to dry. Then I added a mitred frame cut from Porta shelf lipping in Tasmanian oak to hold the rattan, securing with tiny 15mm bullethead nails.

DIY TIP Add a hidden access point in the back of a shelf or cabinet for charging devices using a 25mm hole saw, positioning it at least 25mm from the edges and drilling from both sides if possible. Fold sandpaper to smooth inside and round-over the edges slightly.

③ UPLIFT THE EXPERIENCE
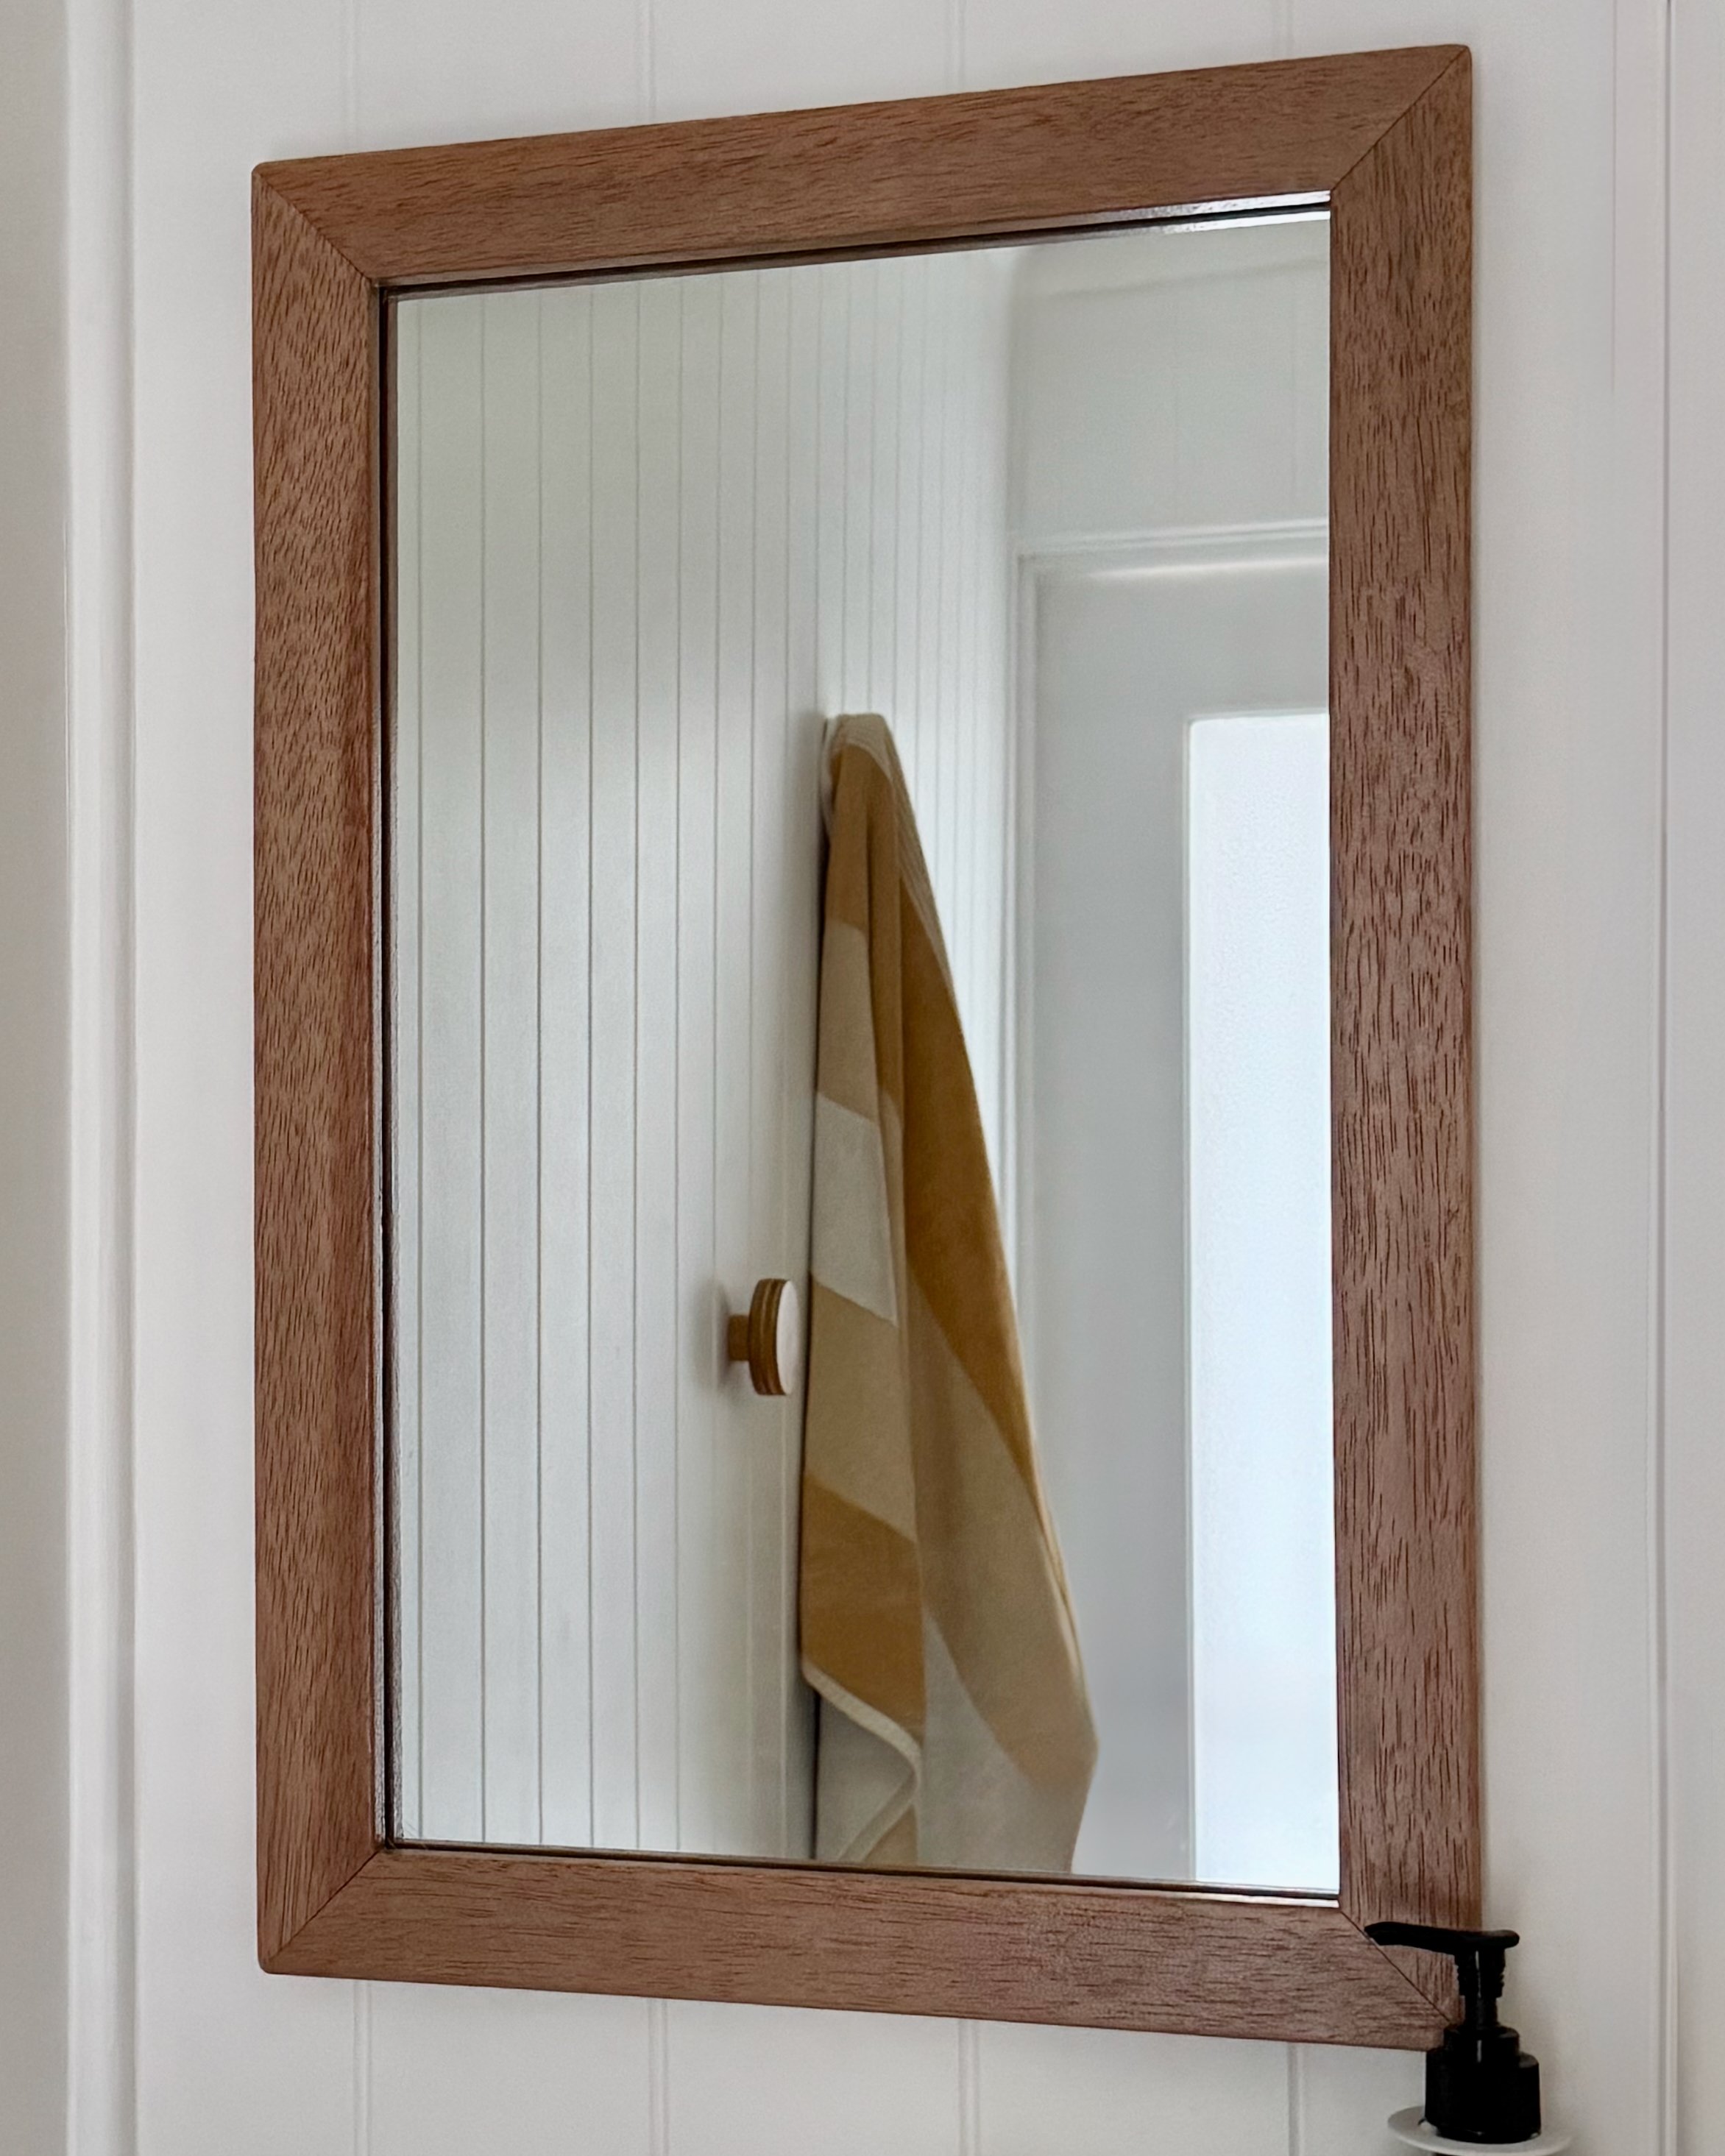
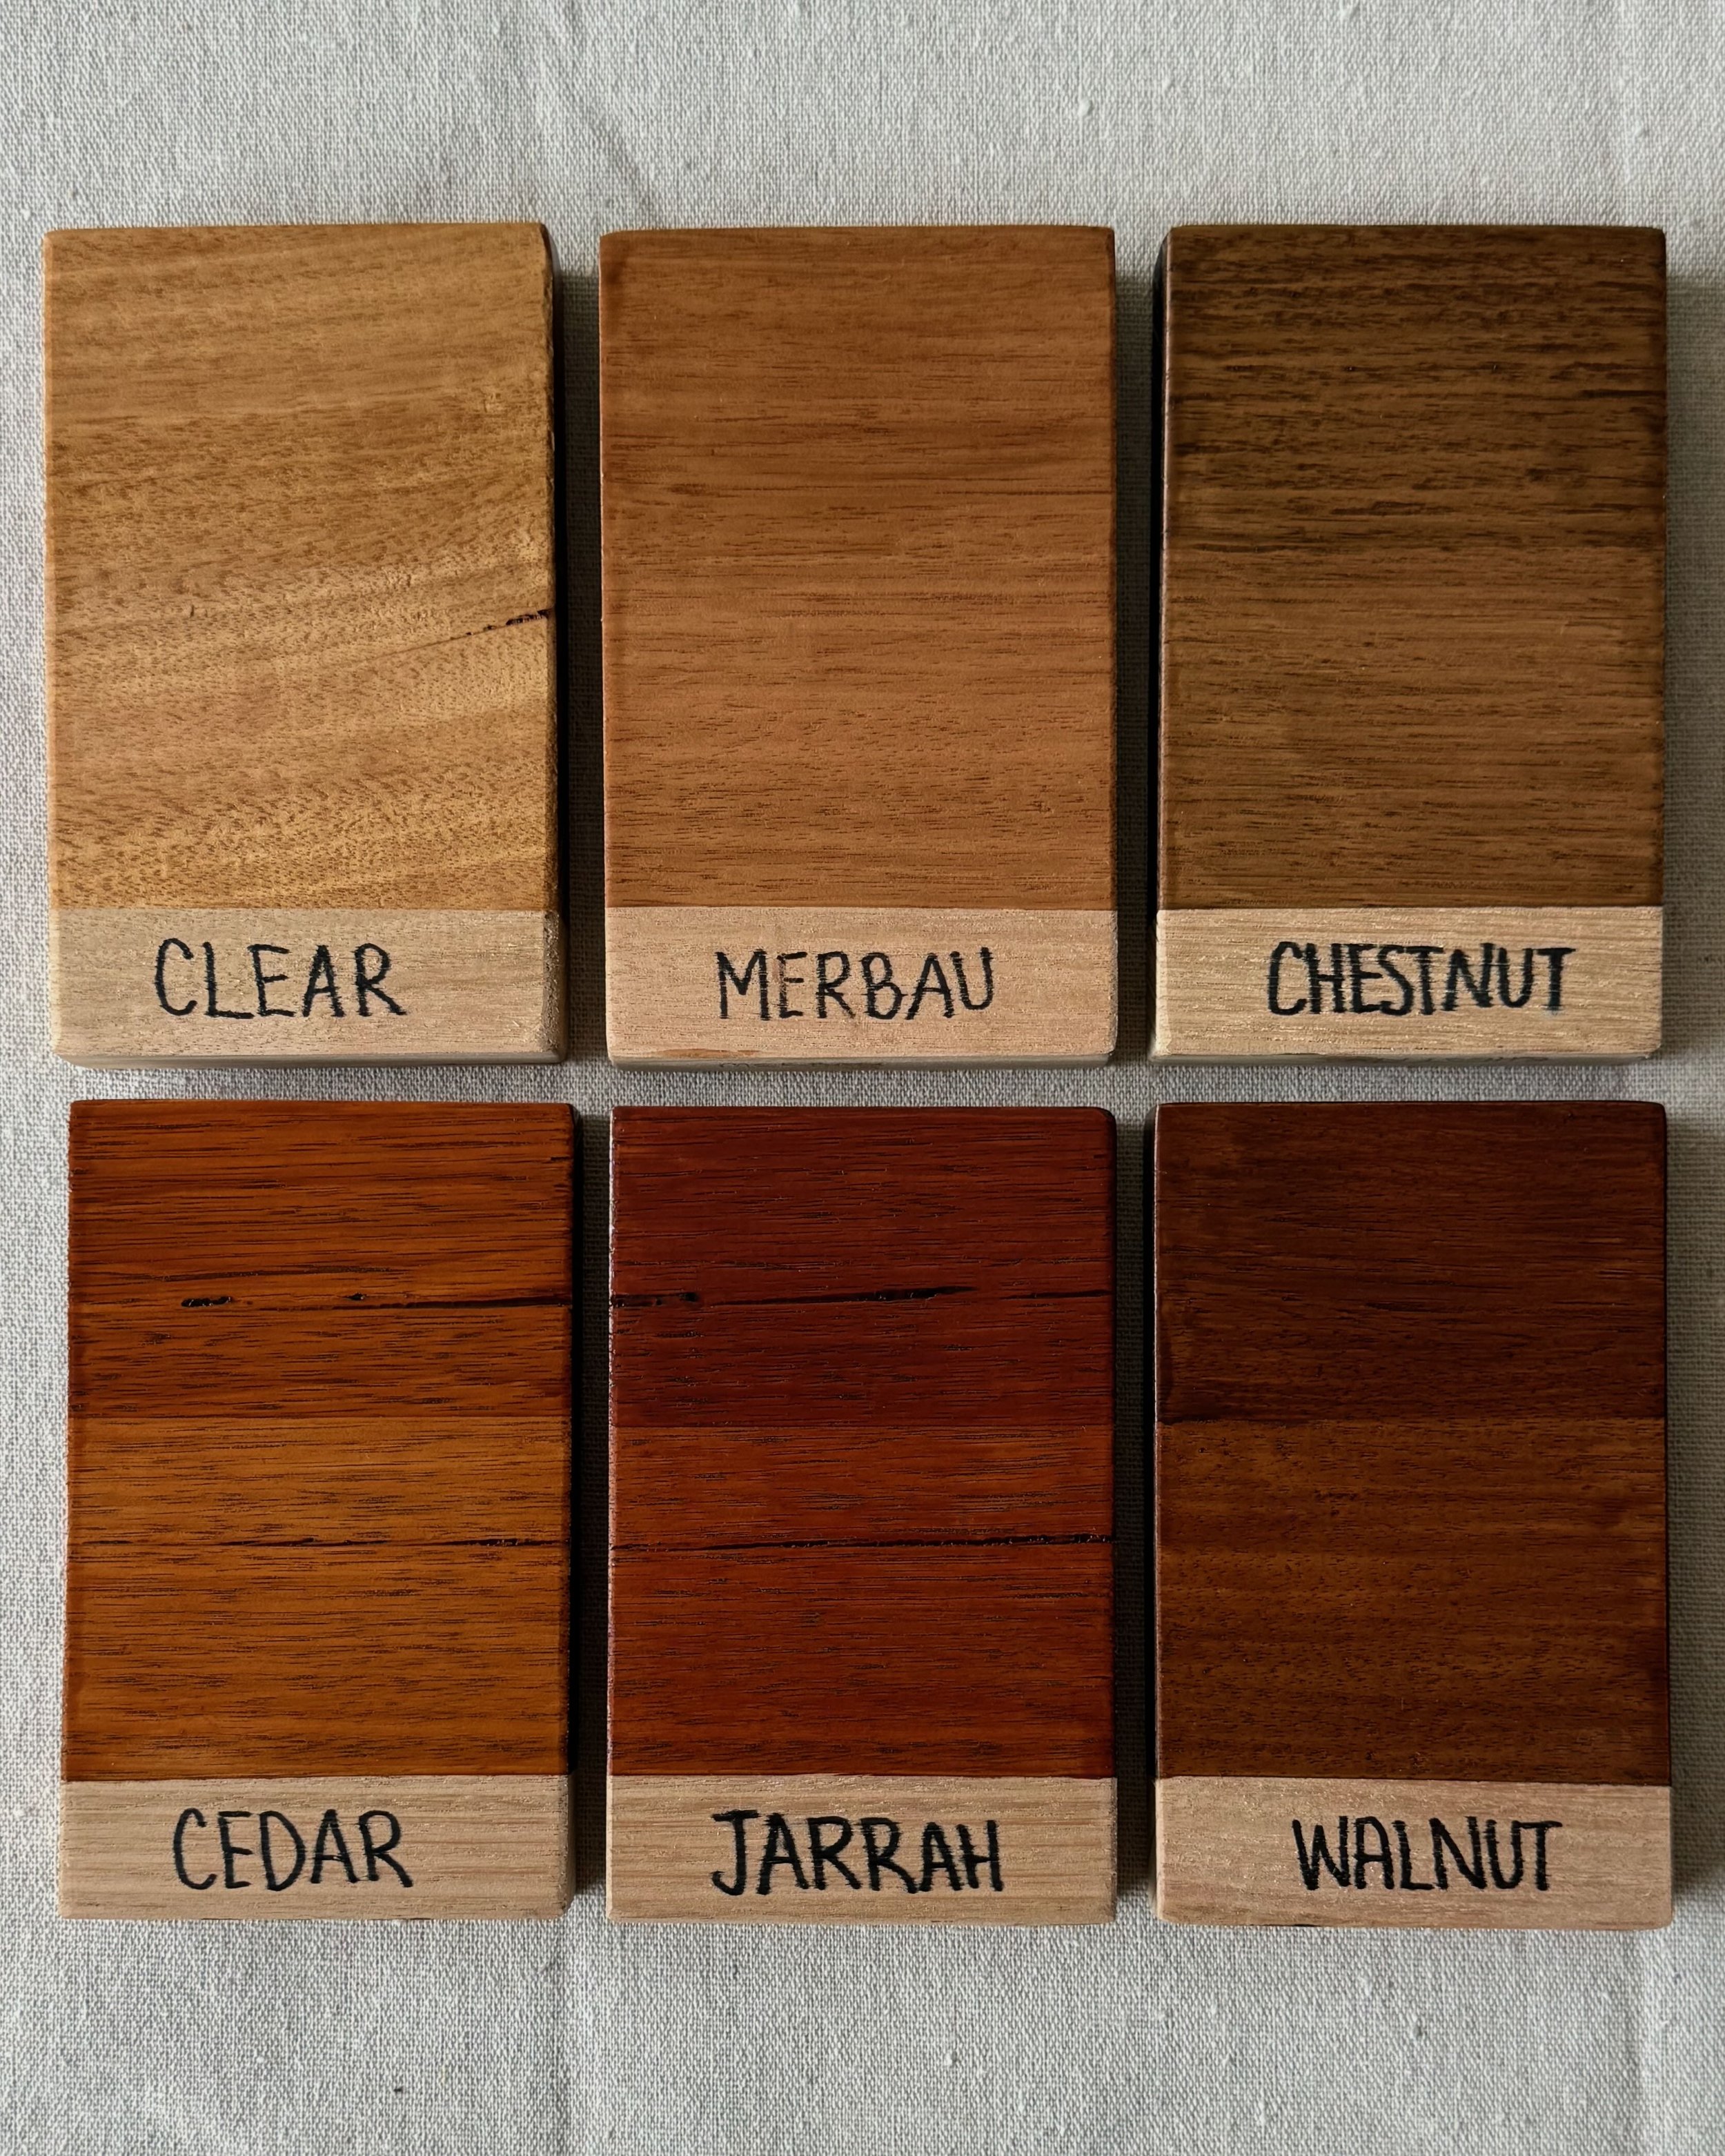
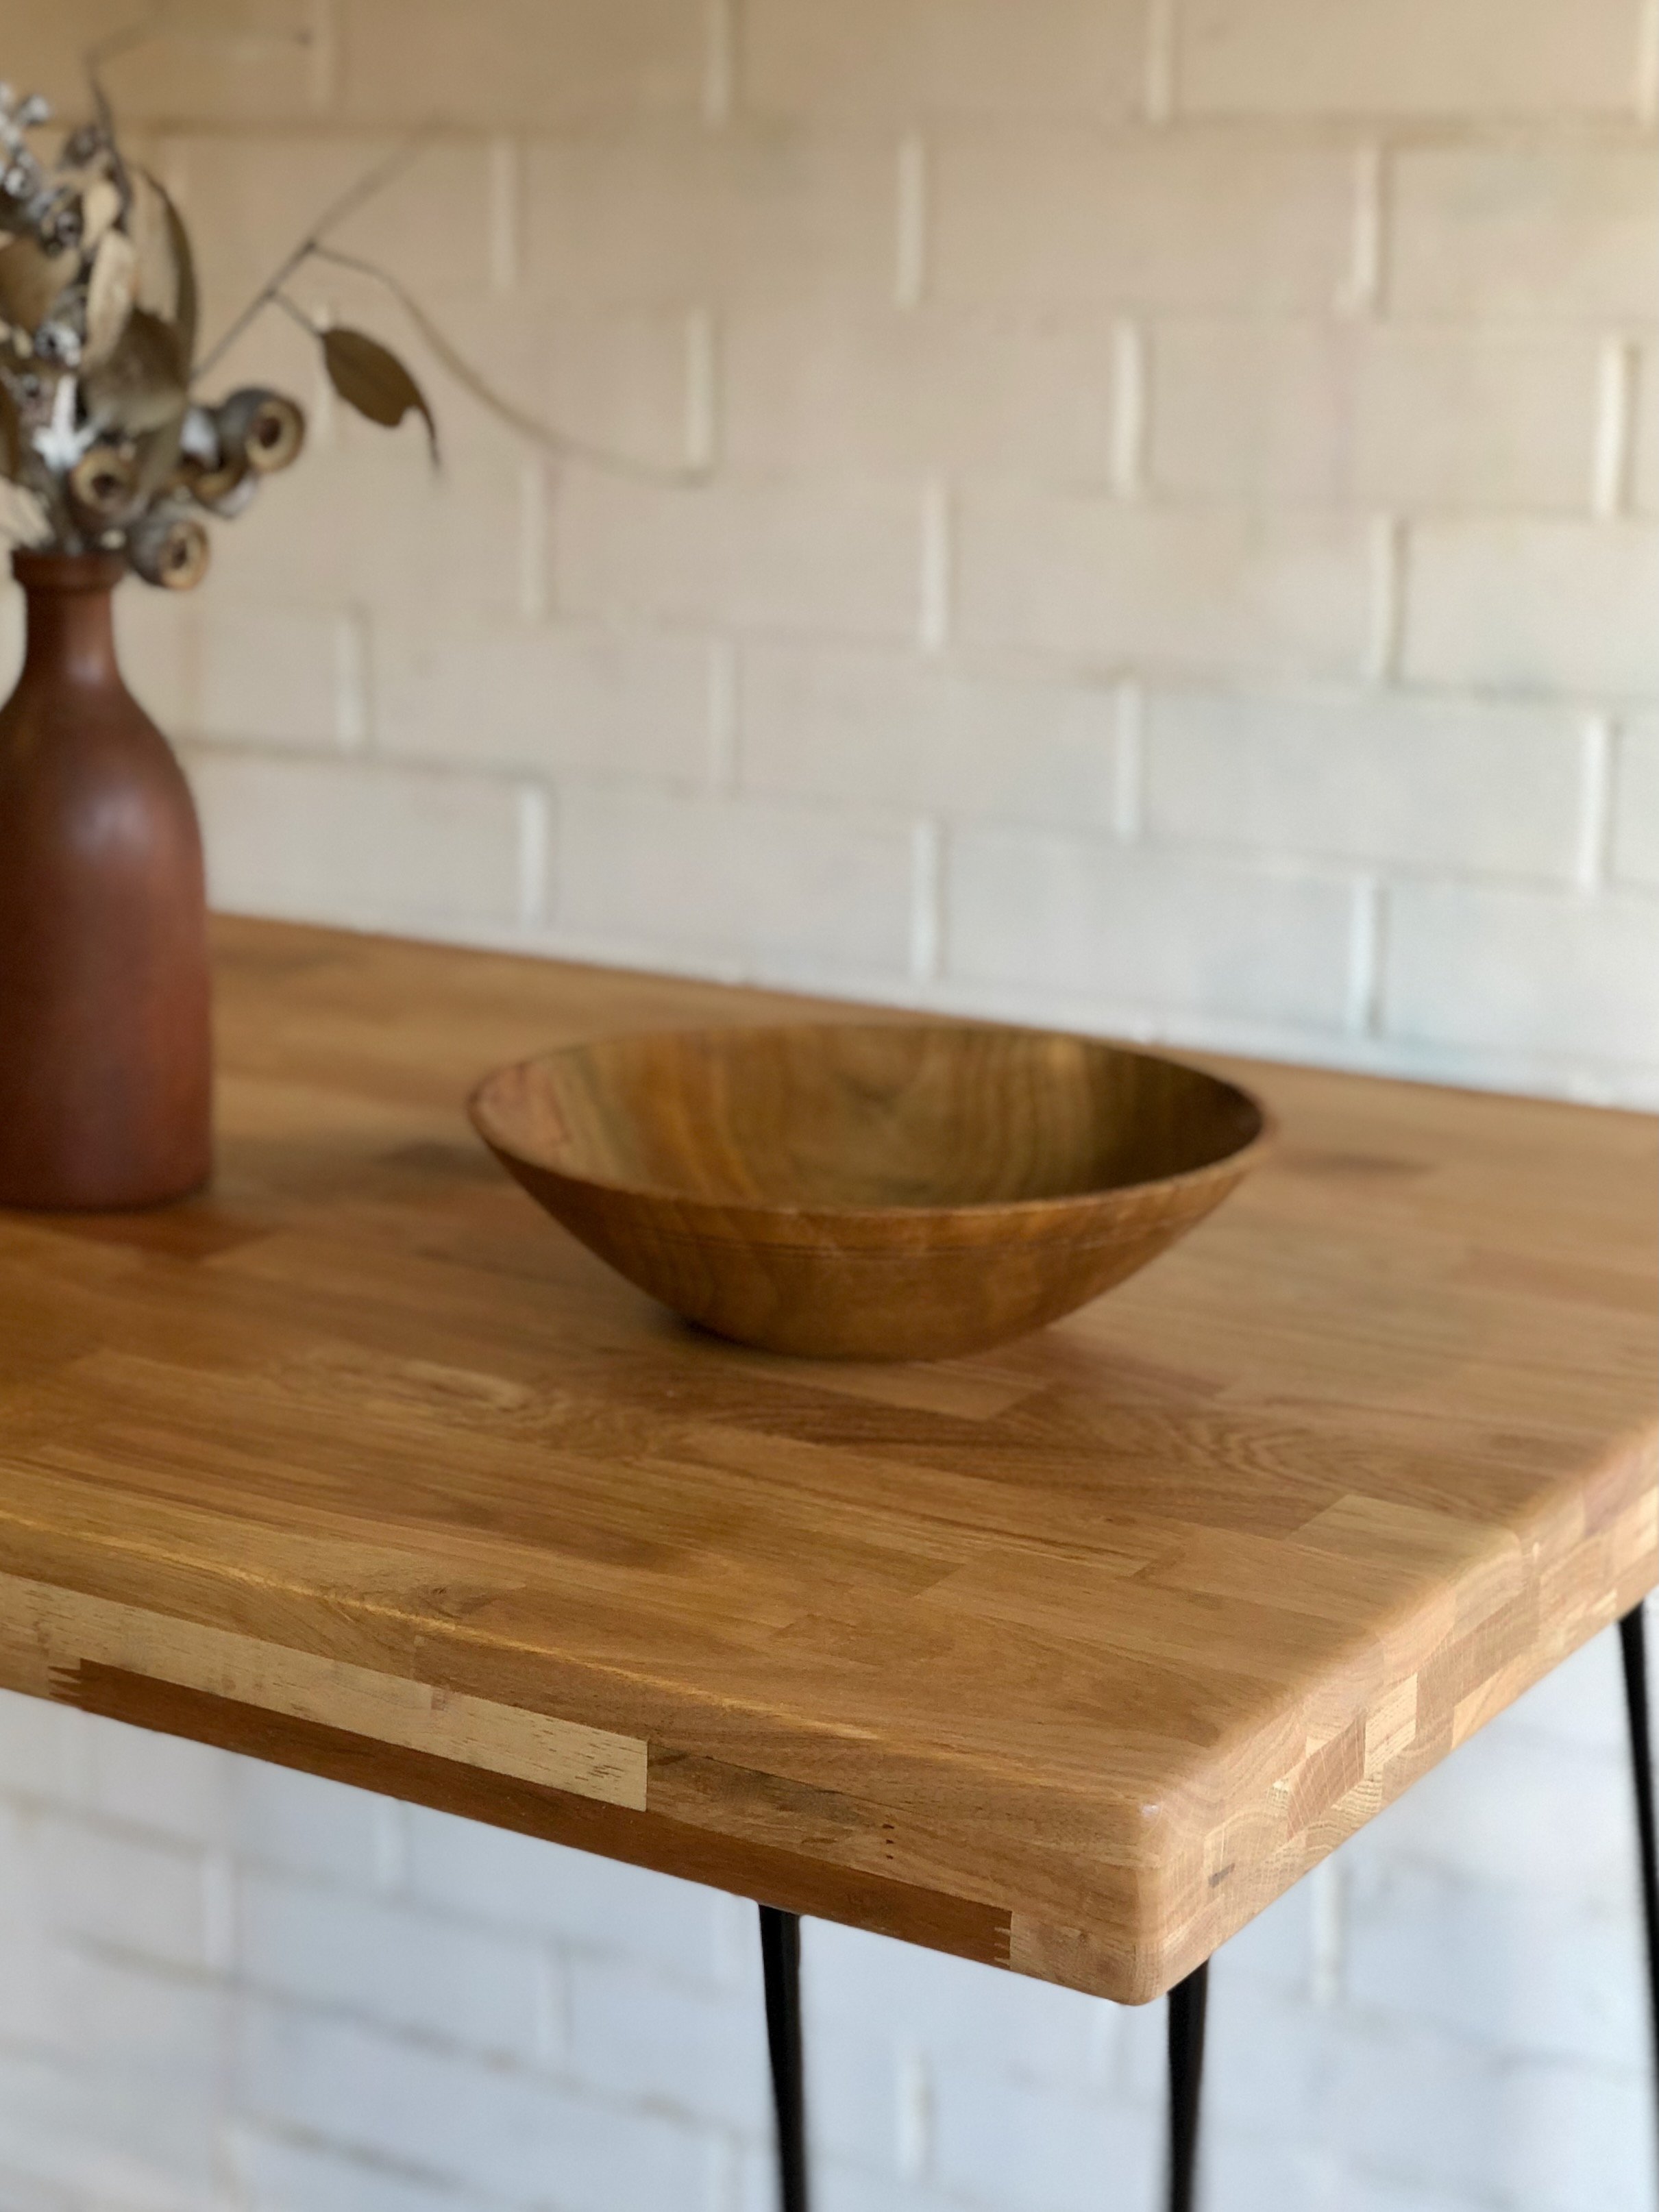
For this piece, the sensory upgrade is in the surfaces. Using Monocel Clear Timber Varnish with an aerosol application seals the table from top to base, soaking into the rattan to protect against moisture while bringing out the lovely rich grain of the solid timber legs.
DIY TIP A good finish begins with sanding. The lower the grit, the courser the abrasive paper.
• Use 120-grit with a sander on flat surfaces to remove most of the varnish, using a sanding block on curves and corners.
• Follow with 180-grit to smooth all over, removing the last of the varnish and rounding over the edges.
• Smooth all over with 240-grit for a silky finish, and wipe with a damp cloth to remove dust before varnishing.

Do you have a vintage piece that’s ready for reinventing? Try my three-step process to add a modern twist while improving the design and function.
Tag me on your project and follow more of my DIY journey on Instagram for tool tips, home improvement and simple building projects.