Limewashed Concrete
Alun Machin

While the floor of my laundry is hard-wearing and cool underfoot, I wanted to freshen up the room by limewashing the concrete to give it a painterly texture and make it look brighter.

BEFORE The unsealed, porous surface always feel gritty, and there’s an accumulation of stains and paint spills.
“Unlike paint, which dries on the surface, this wash soaks into the concrete and won’t peel or flake. The key is to finish with a sealer to prevent the chalky lime from brushing off.”

The texture is achieved by mixing hydrated lime with water and a bonding agent. I’ve used Bondcrete that has a resin additive.
It’s usually my go-to woodworking adhesive, but I’m trying it as a new application with an old-school technique.

To make the wash in a 10L bucket, you’ll need…
6L water
2L Bondcrete bonding agent
3kg hydrated lime, sieved
100ml mineral turpentine
500ml water
12g oxide pigment

To make enough for applying three coats over my small laundry floor, I reduced the quantities listed above to combine 1.5L water with 500ml bonding agent in a bucket.
I used flyscreen mesh to sift in 0.75kg of hydrated lime, mixed it up, poured in 250ml of mineral turps, then added another 125ml of water and mixed again.
I scooped some mixture into a cup and stirred in a sprinkle of white oxide pigment, then combined it in the bucket and left the mix to stand overnight.
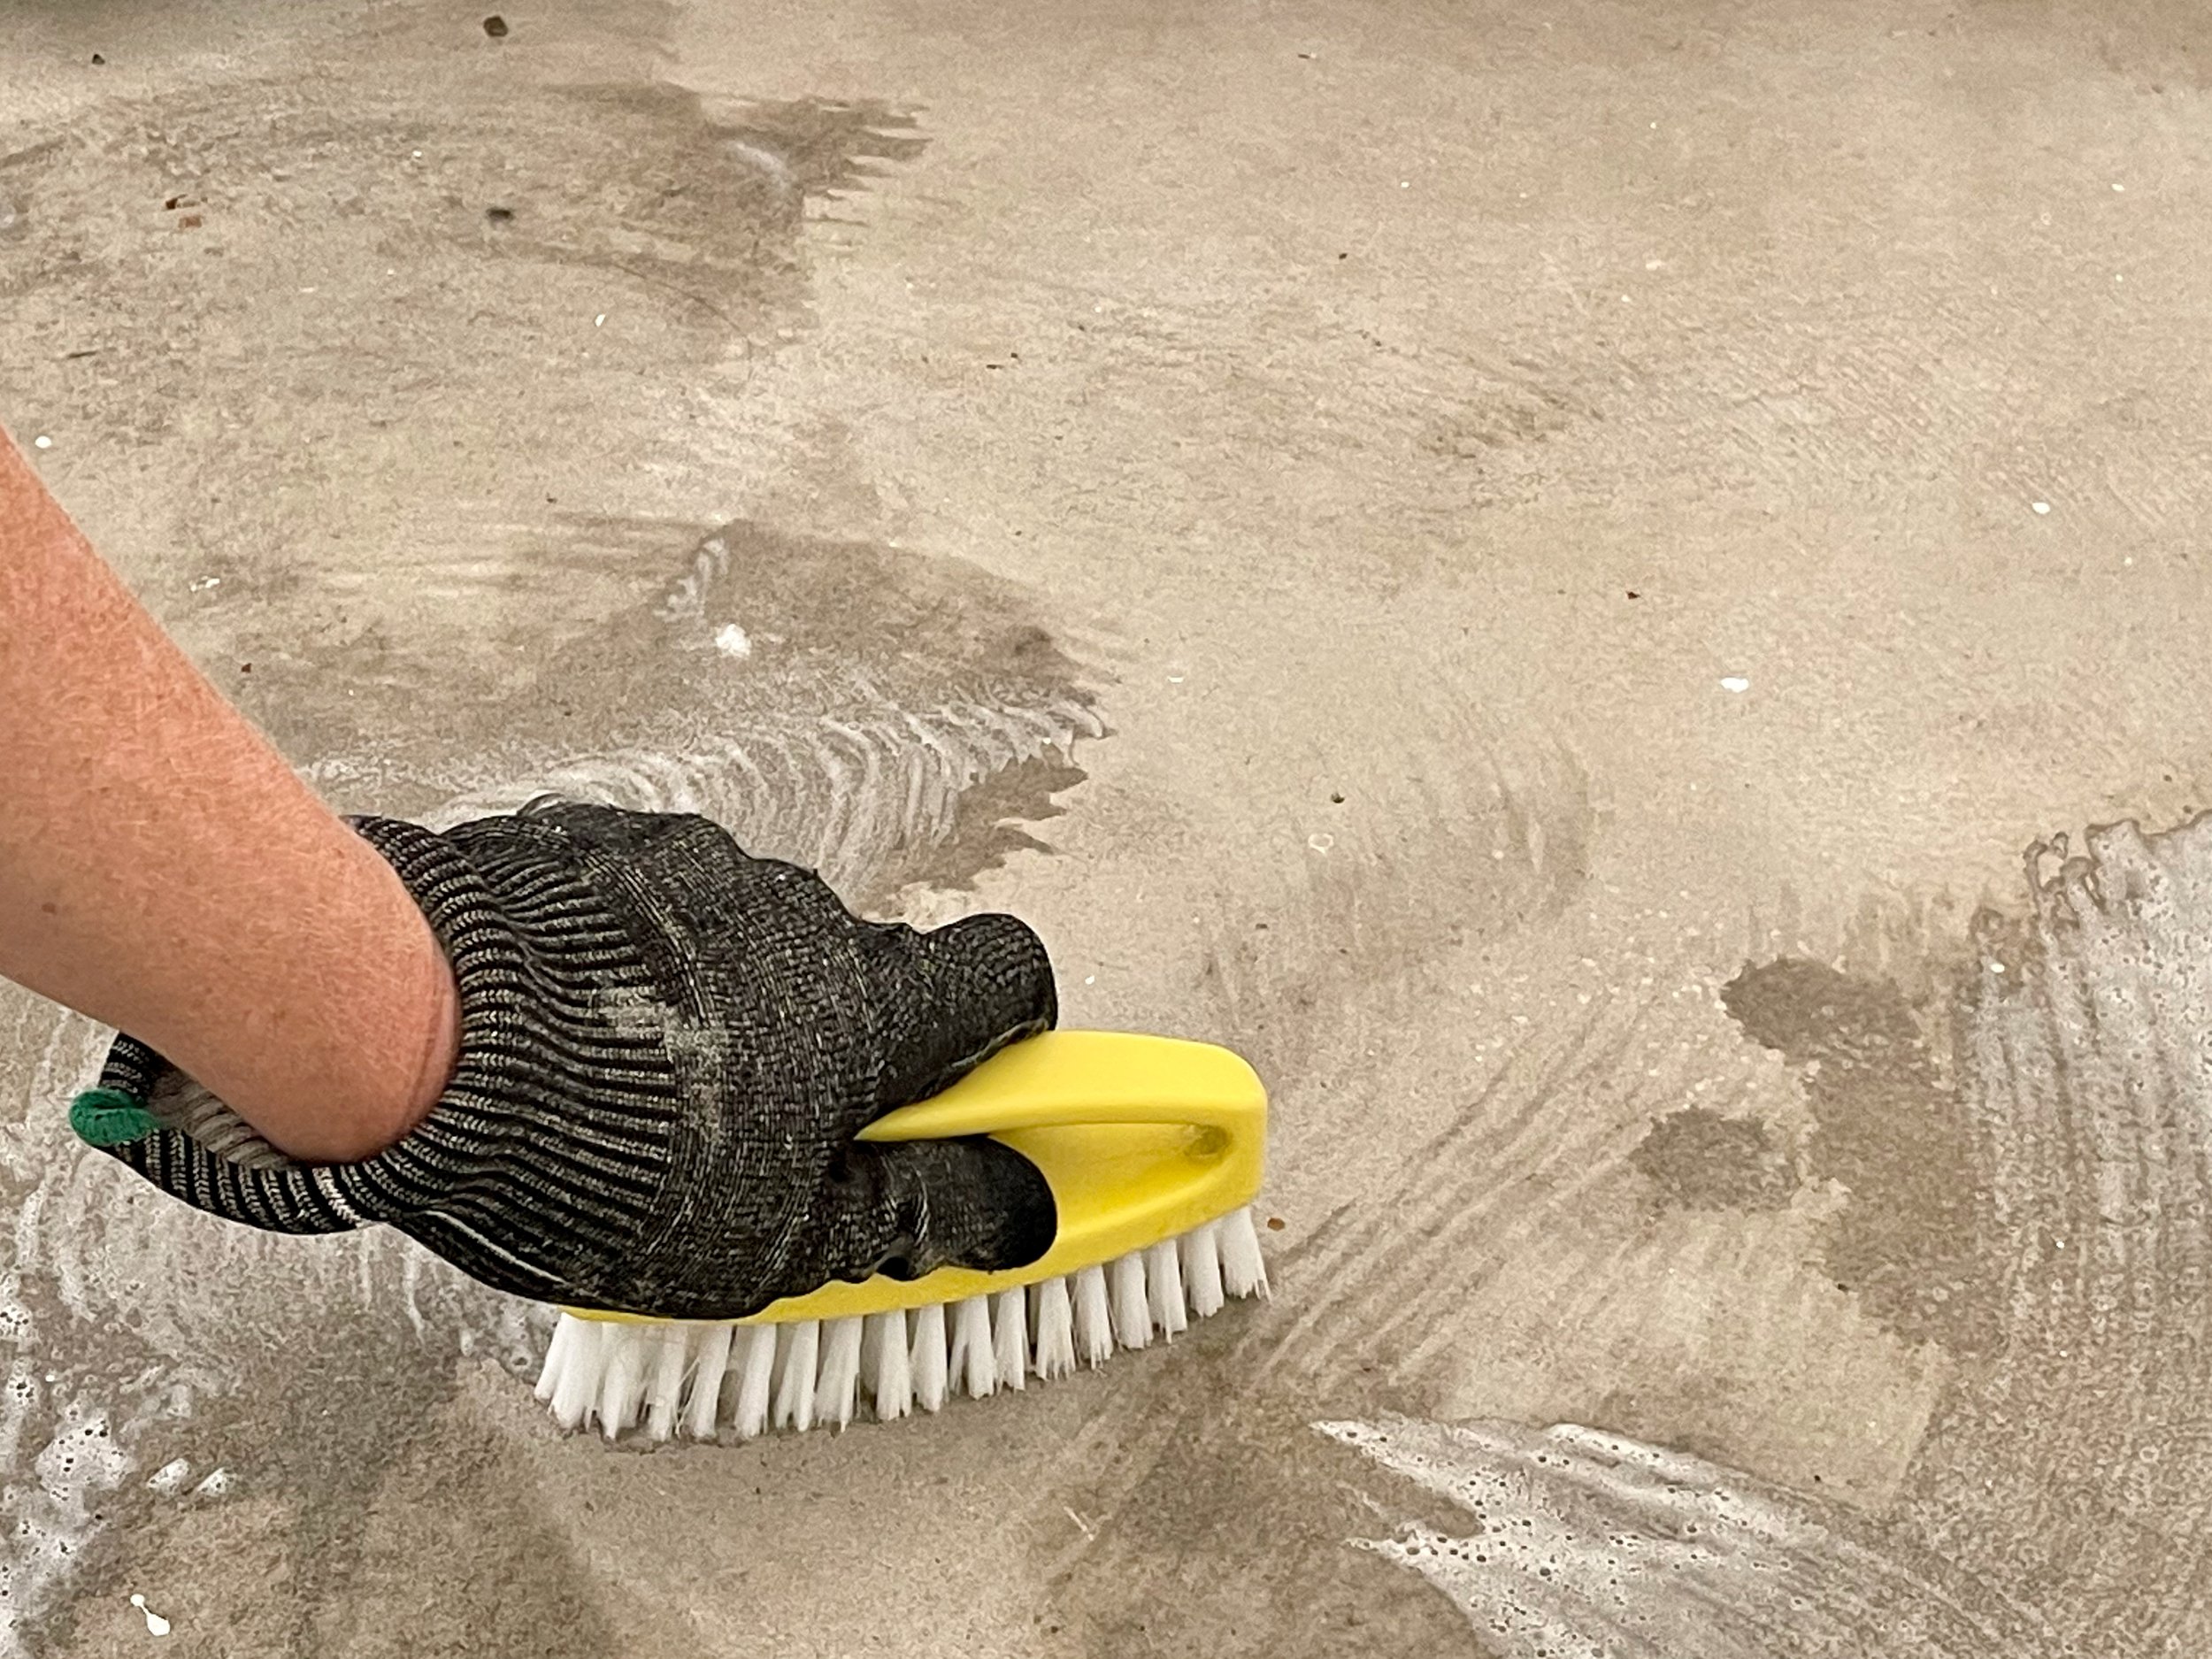
After sweeping away debris, I removed spots and stains with kitchen detergent and warm water, leaving it to sit for half an hour before giving a quick scrub and wiping with a cloth.
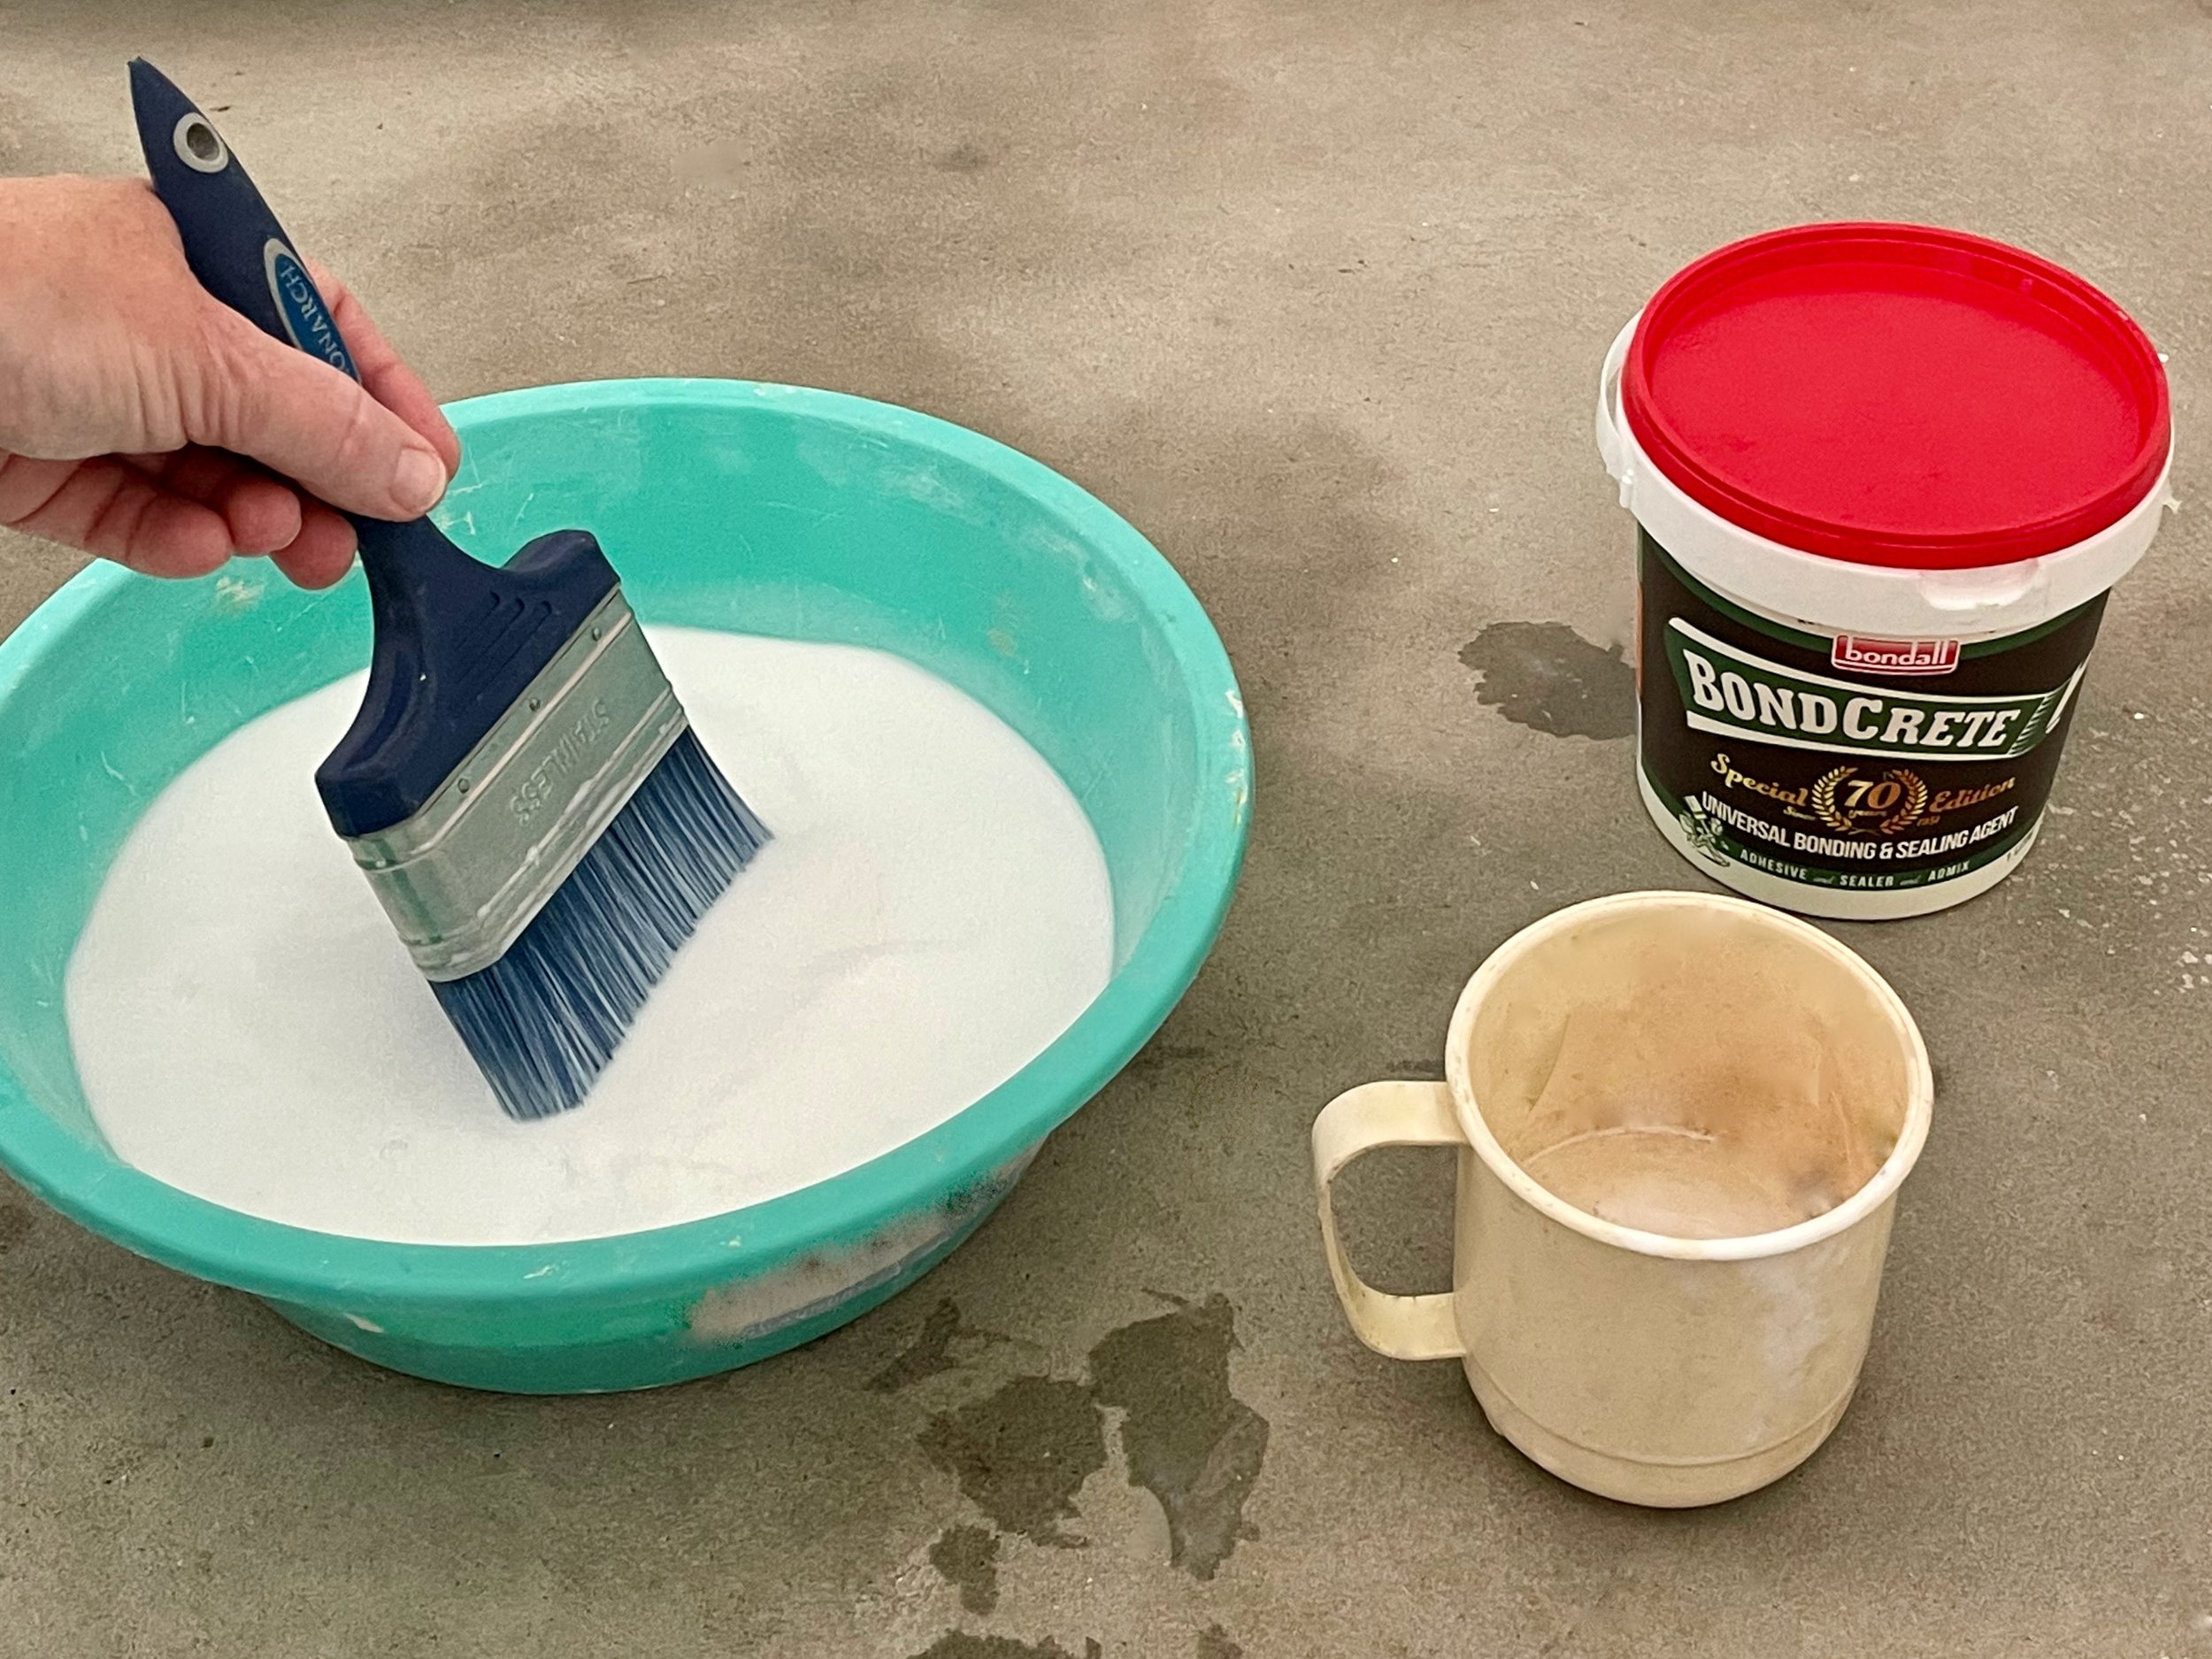
To prepare and seal the surface, I diluted half a cup of bonding agent with two cups of water in a bucket then brushed it over the floor and left it to dry.
TIP My floor is 1700mm x 2450mm, just over 4m2. Adjust your measurements to suit the size of your area.

To apply the wash, I used a large brush to stir and combine the sediment. I dampened the concrete with a misting of water from a spray bottle then brushed on the mix and left it to dry enough to walk on without marking – about two hours.
TIP The first coat looks patchy and shows up the brushstrokes, so be prepared to add at least one more coat for a smooth finish.
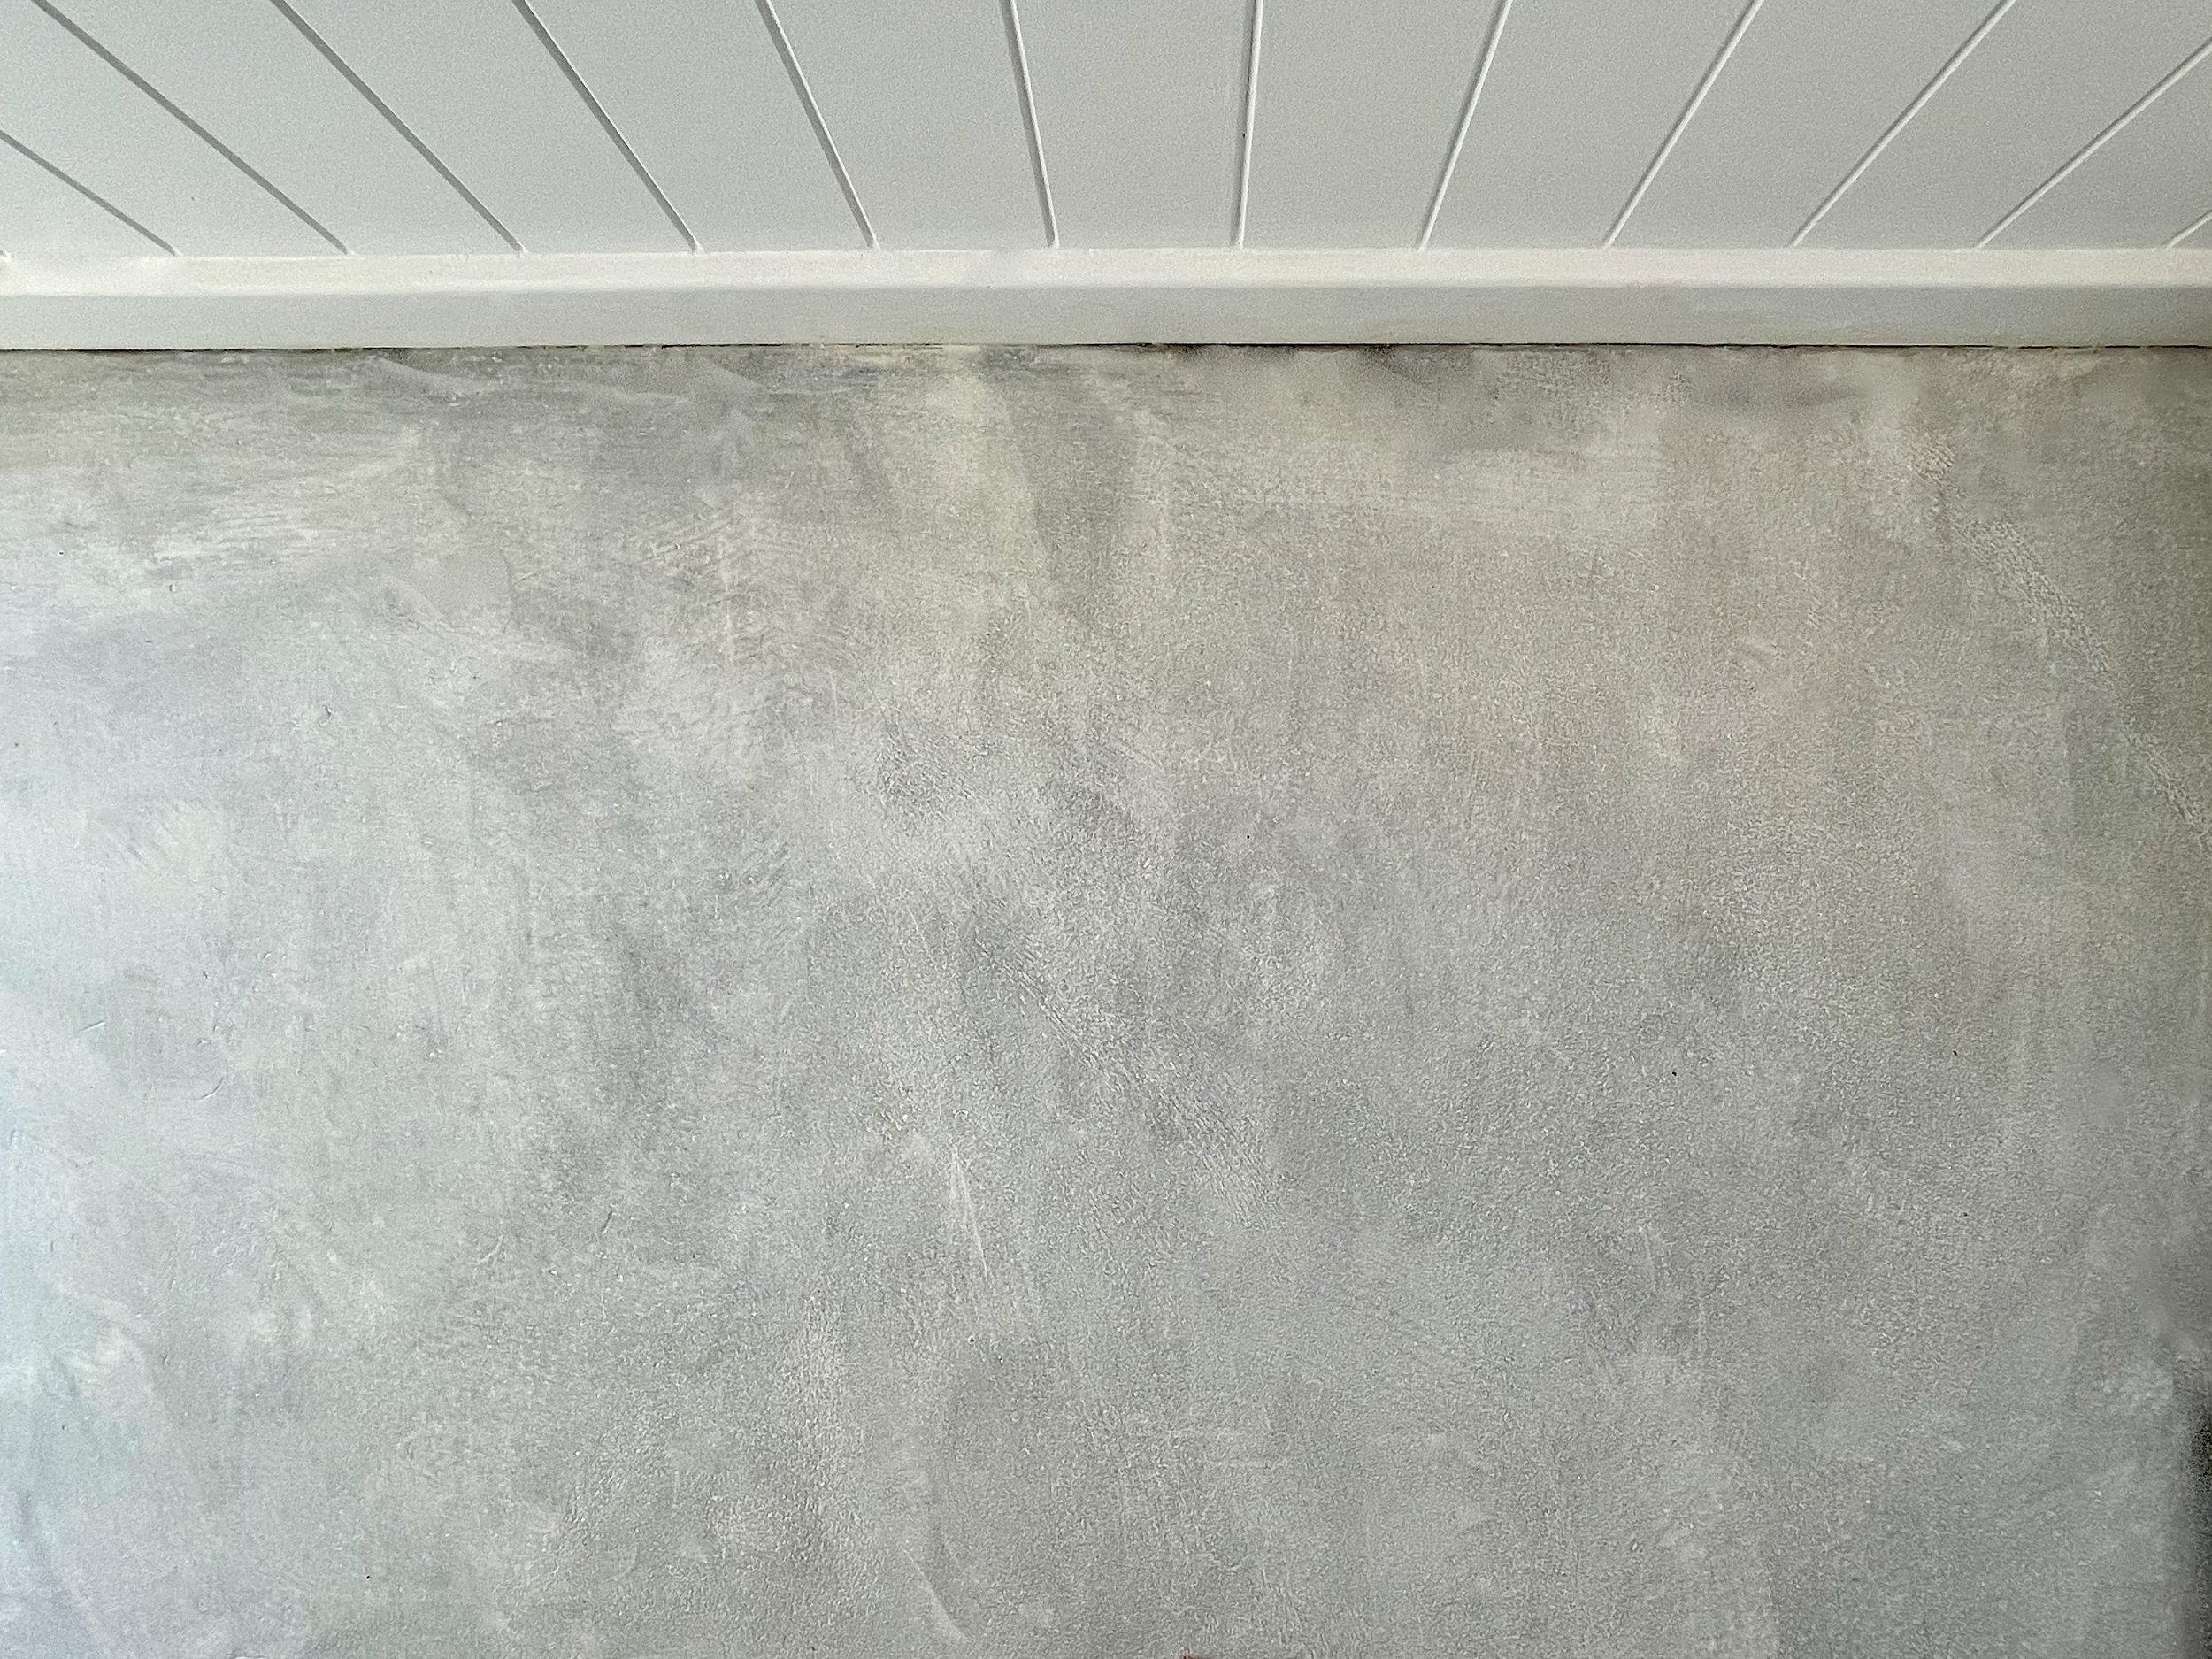
After stirring again, I applied a second coat, left it to dry, then brushed on a third, touch-up coat to make the wash more opaque and hide any problem spots.
TIP Leave the brush in the mix between coats to prevent it from drying out.
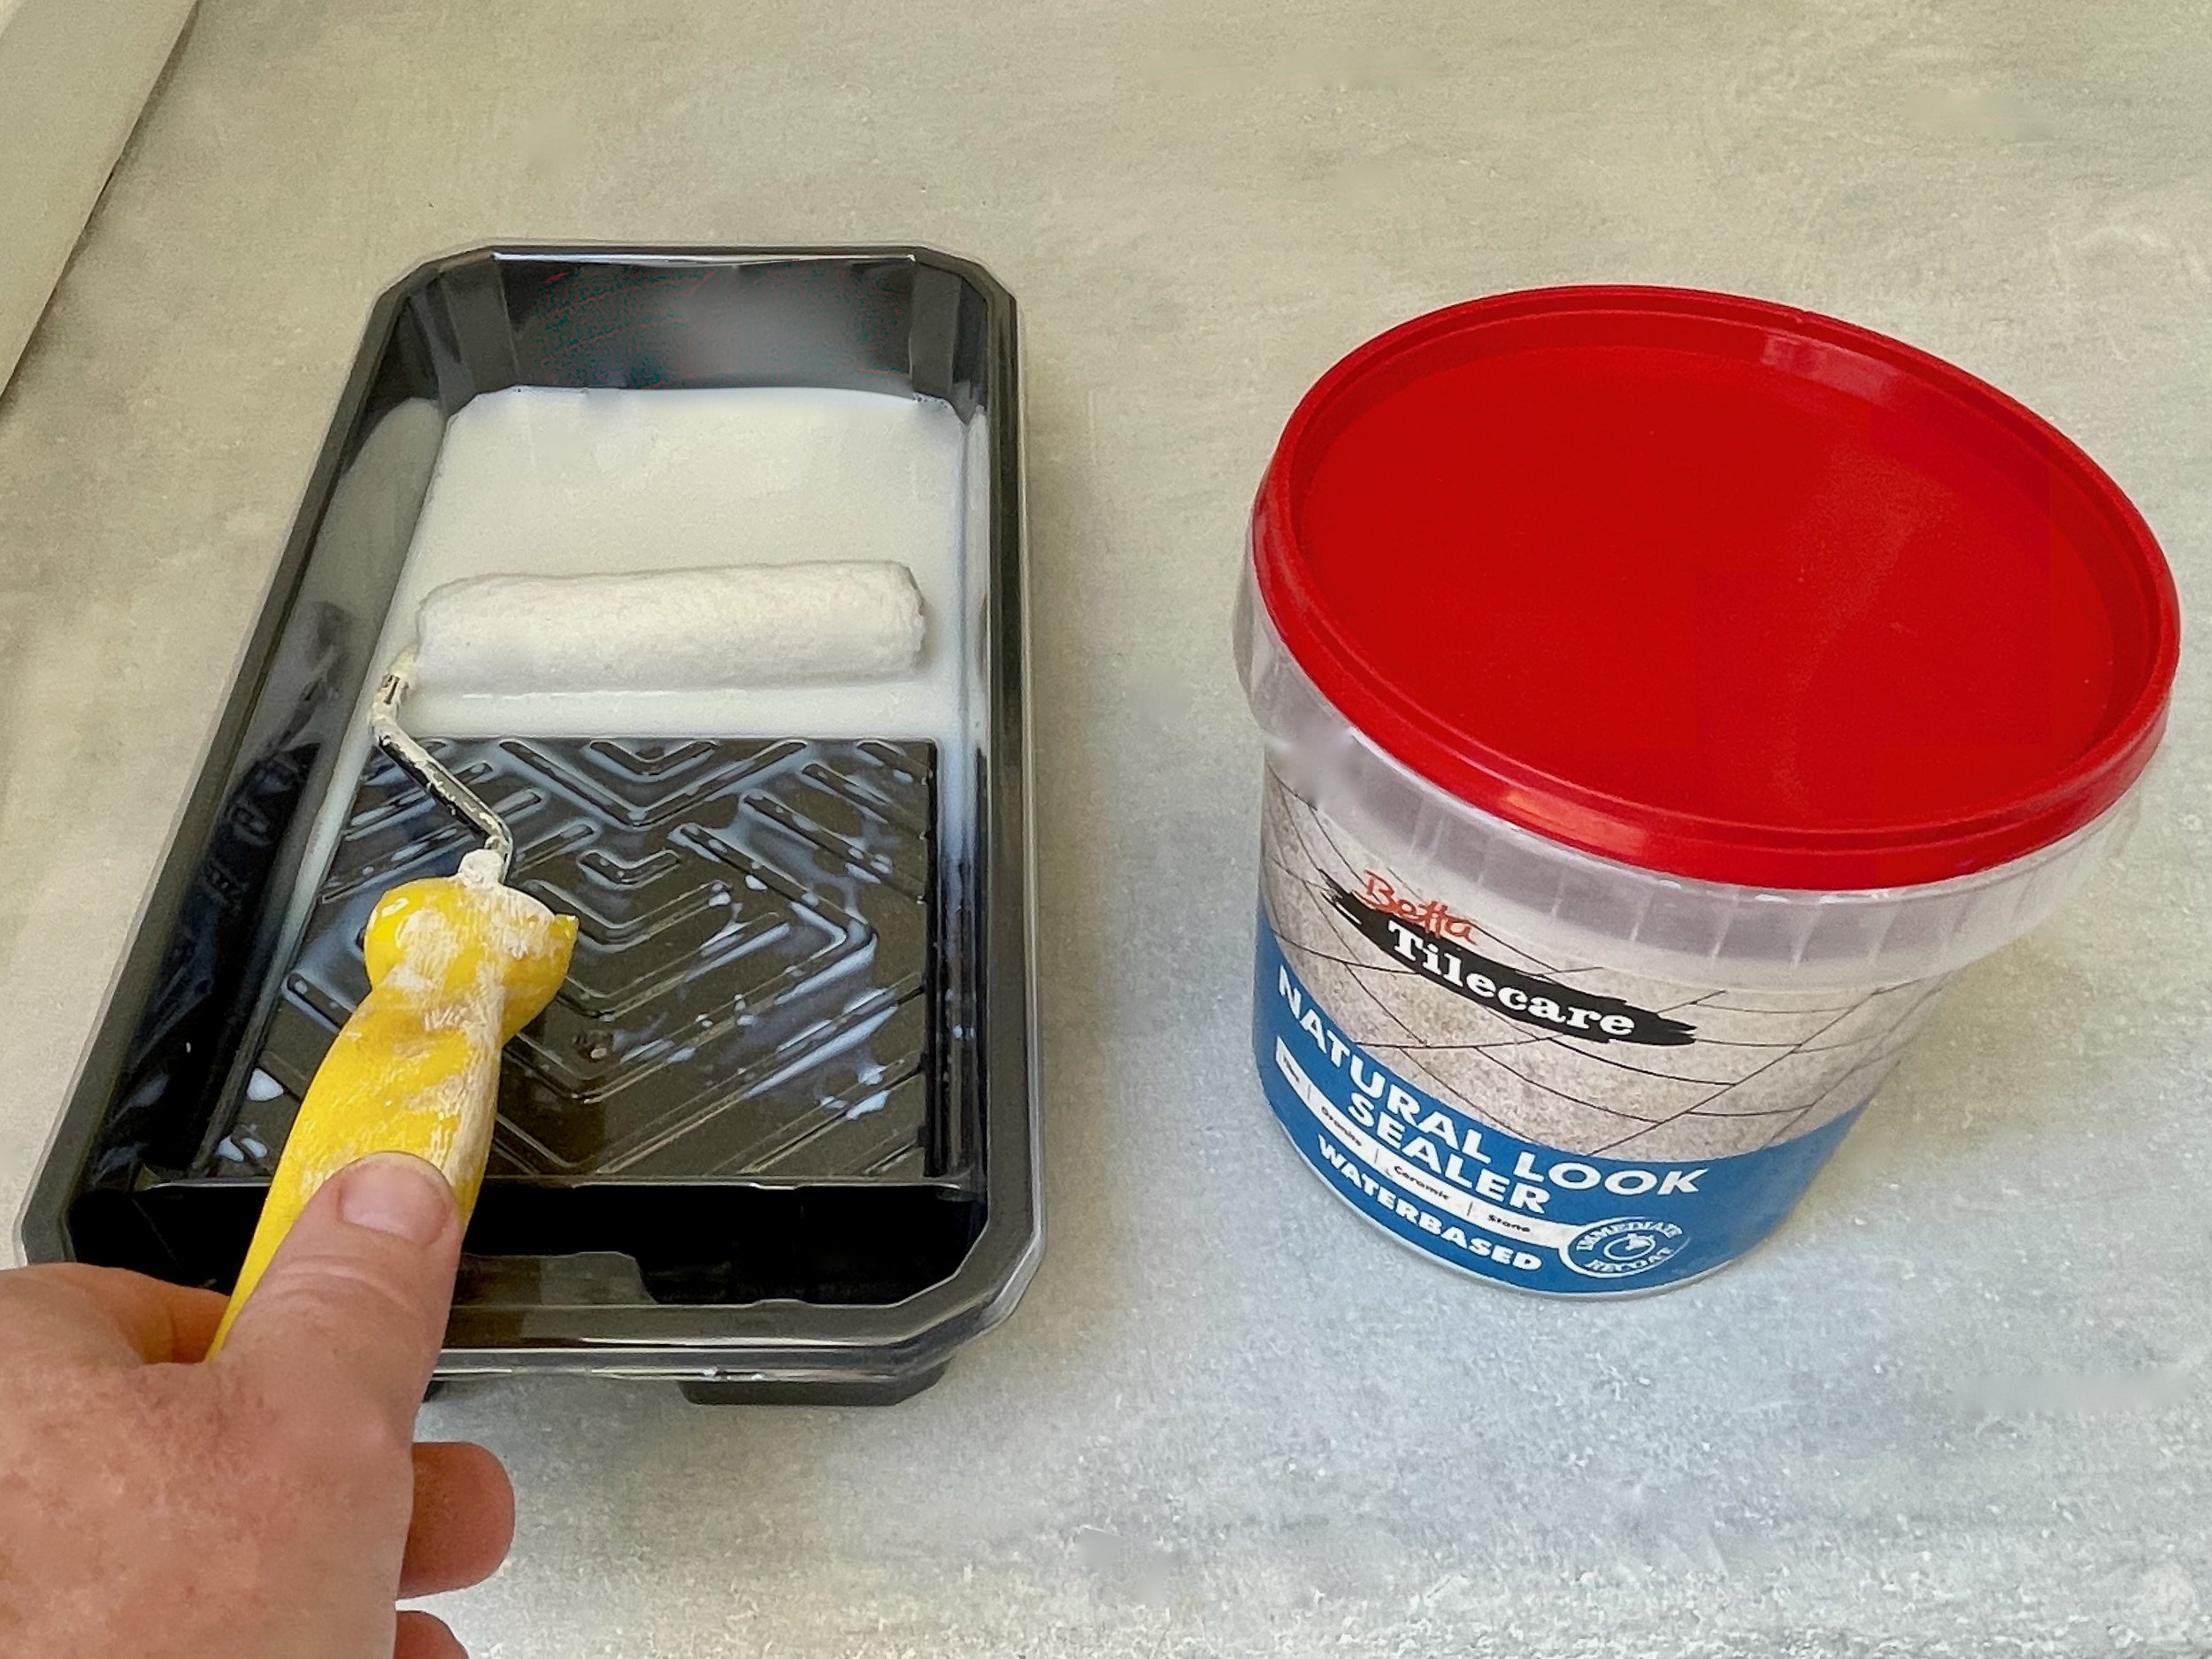
I finished with Gripset Betta natural-look sealer, working in sections to apply two wet-on-wet coats with a roller. This ensures the chalky lime won’t rub off and prevents the surface from staining. It also dries quickly with a lovely matt texture.
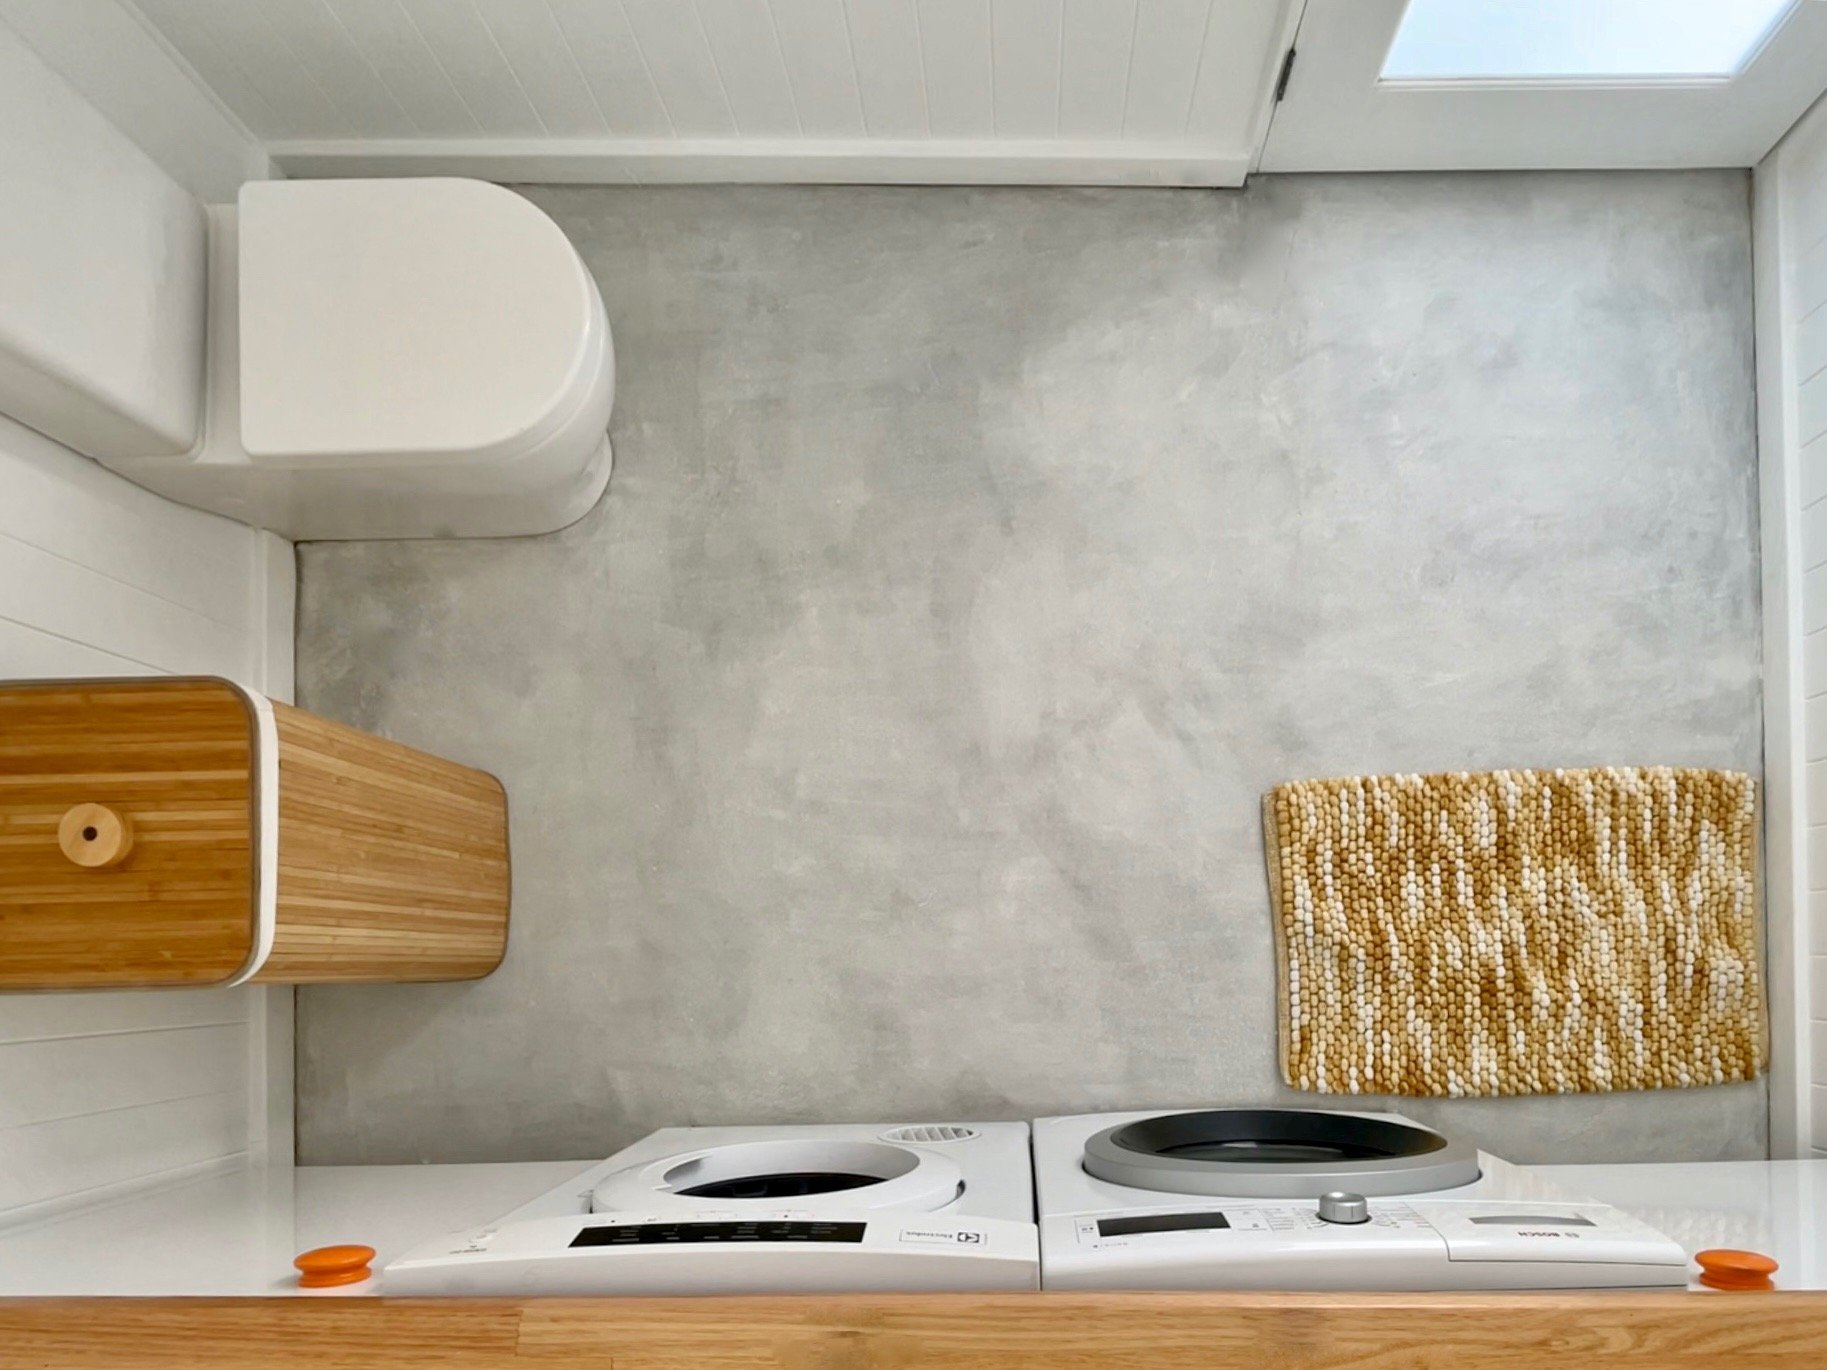
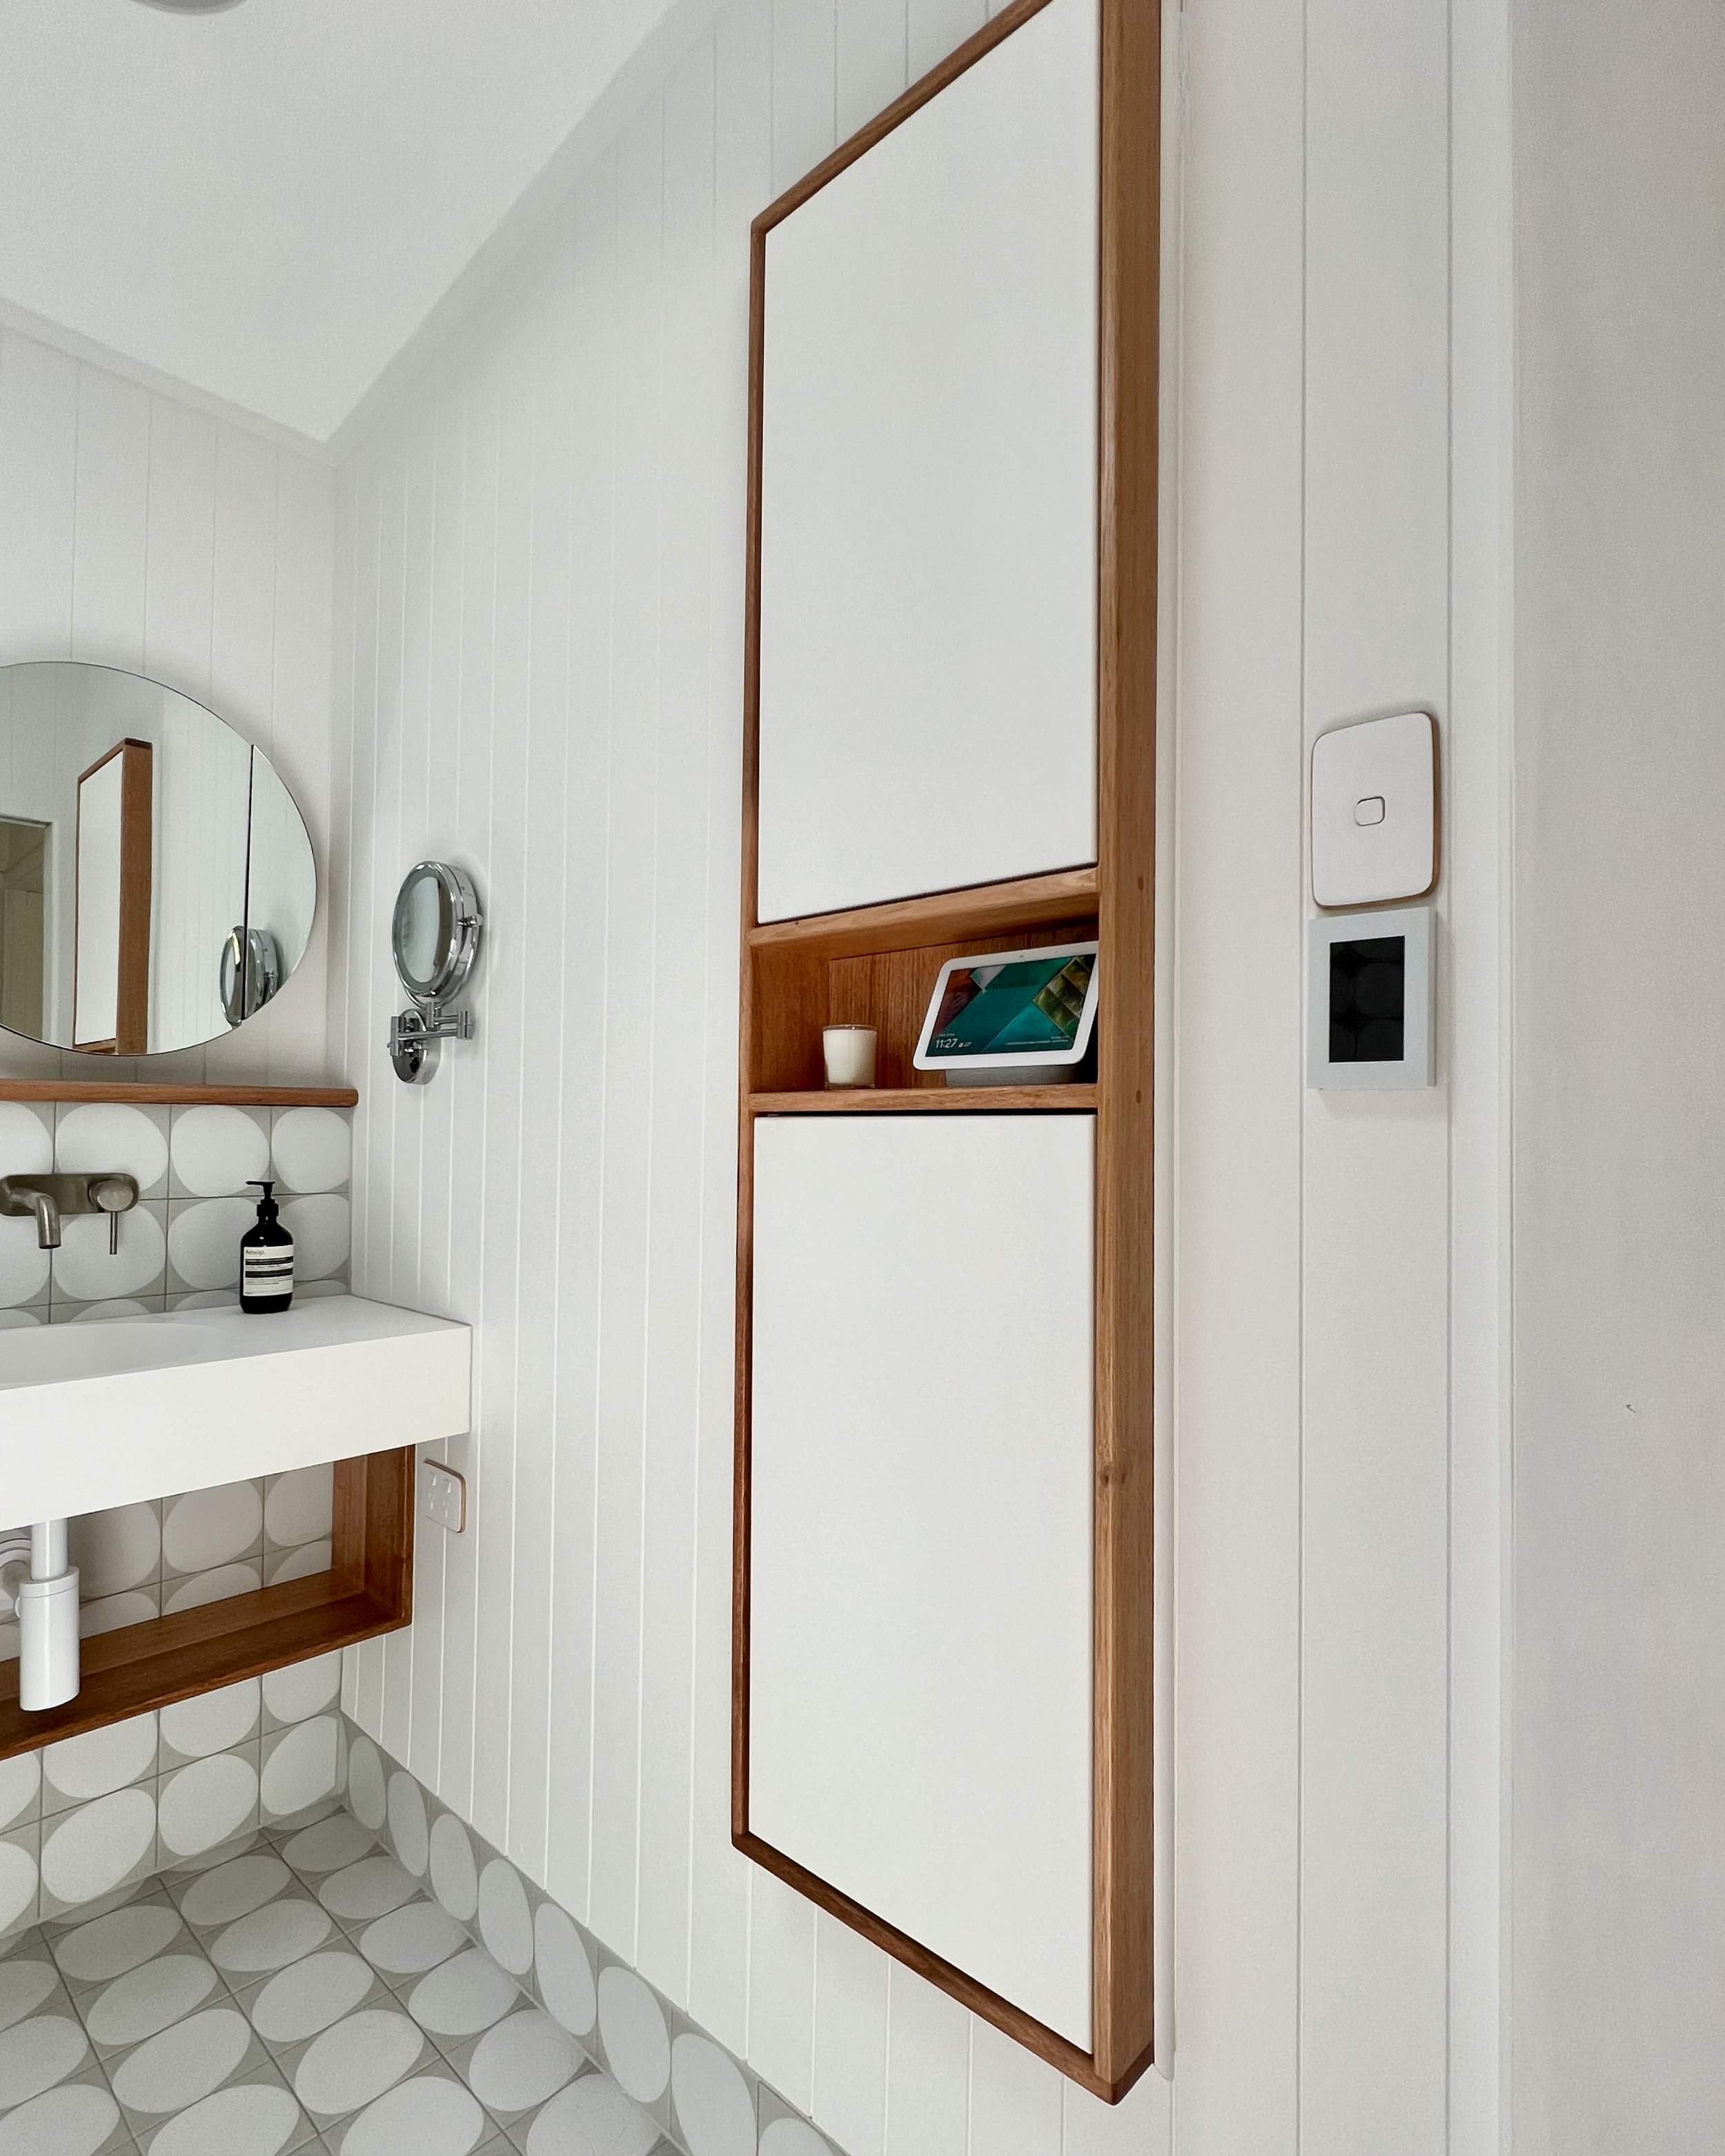
The end result is a refreshed space that feels clean, and the textured finish of the floor is a warm contrast to the stark white walls and appliances.

Are you planning to try limewashing concrete?
Tag me on your project and follow more of my DIY journey on Instagram for tool tips, home improvement and simple building projects.