Built-in Entertainment Cabinet
Alun Machin
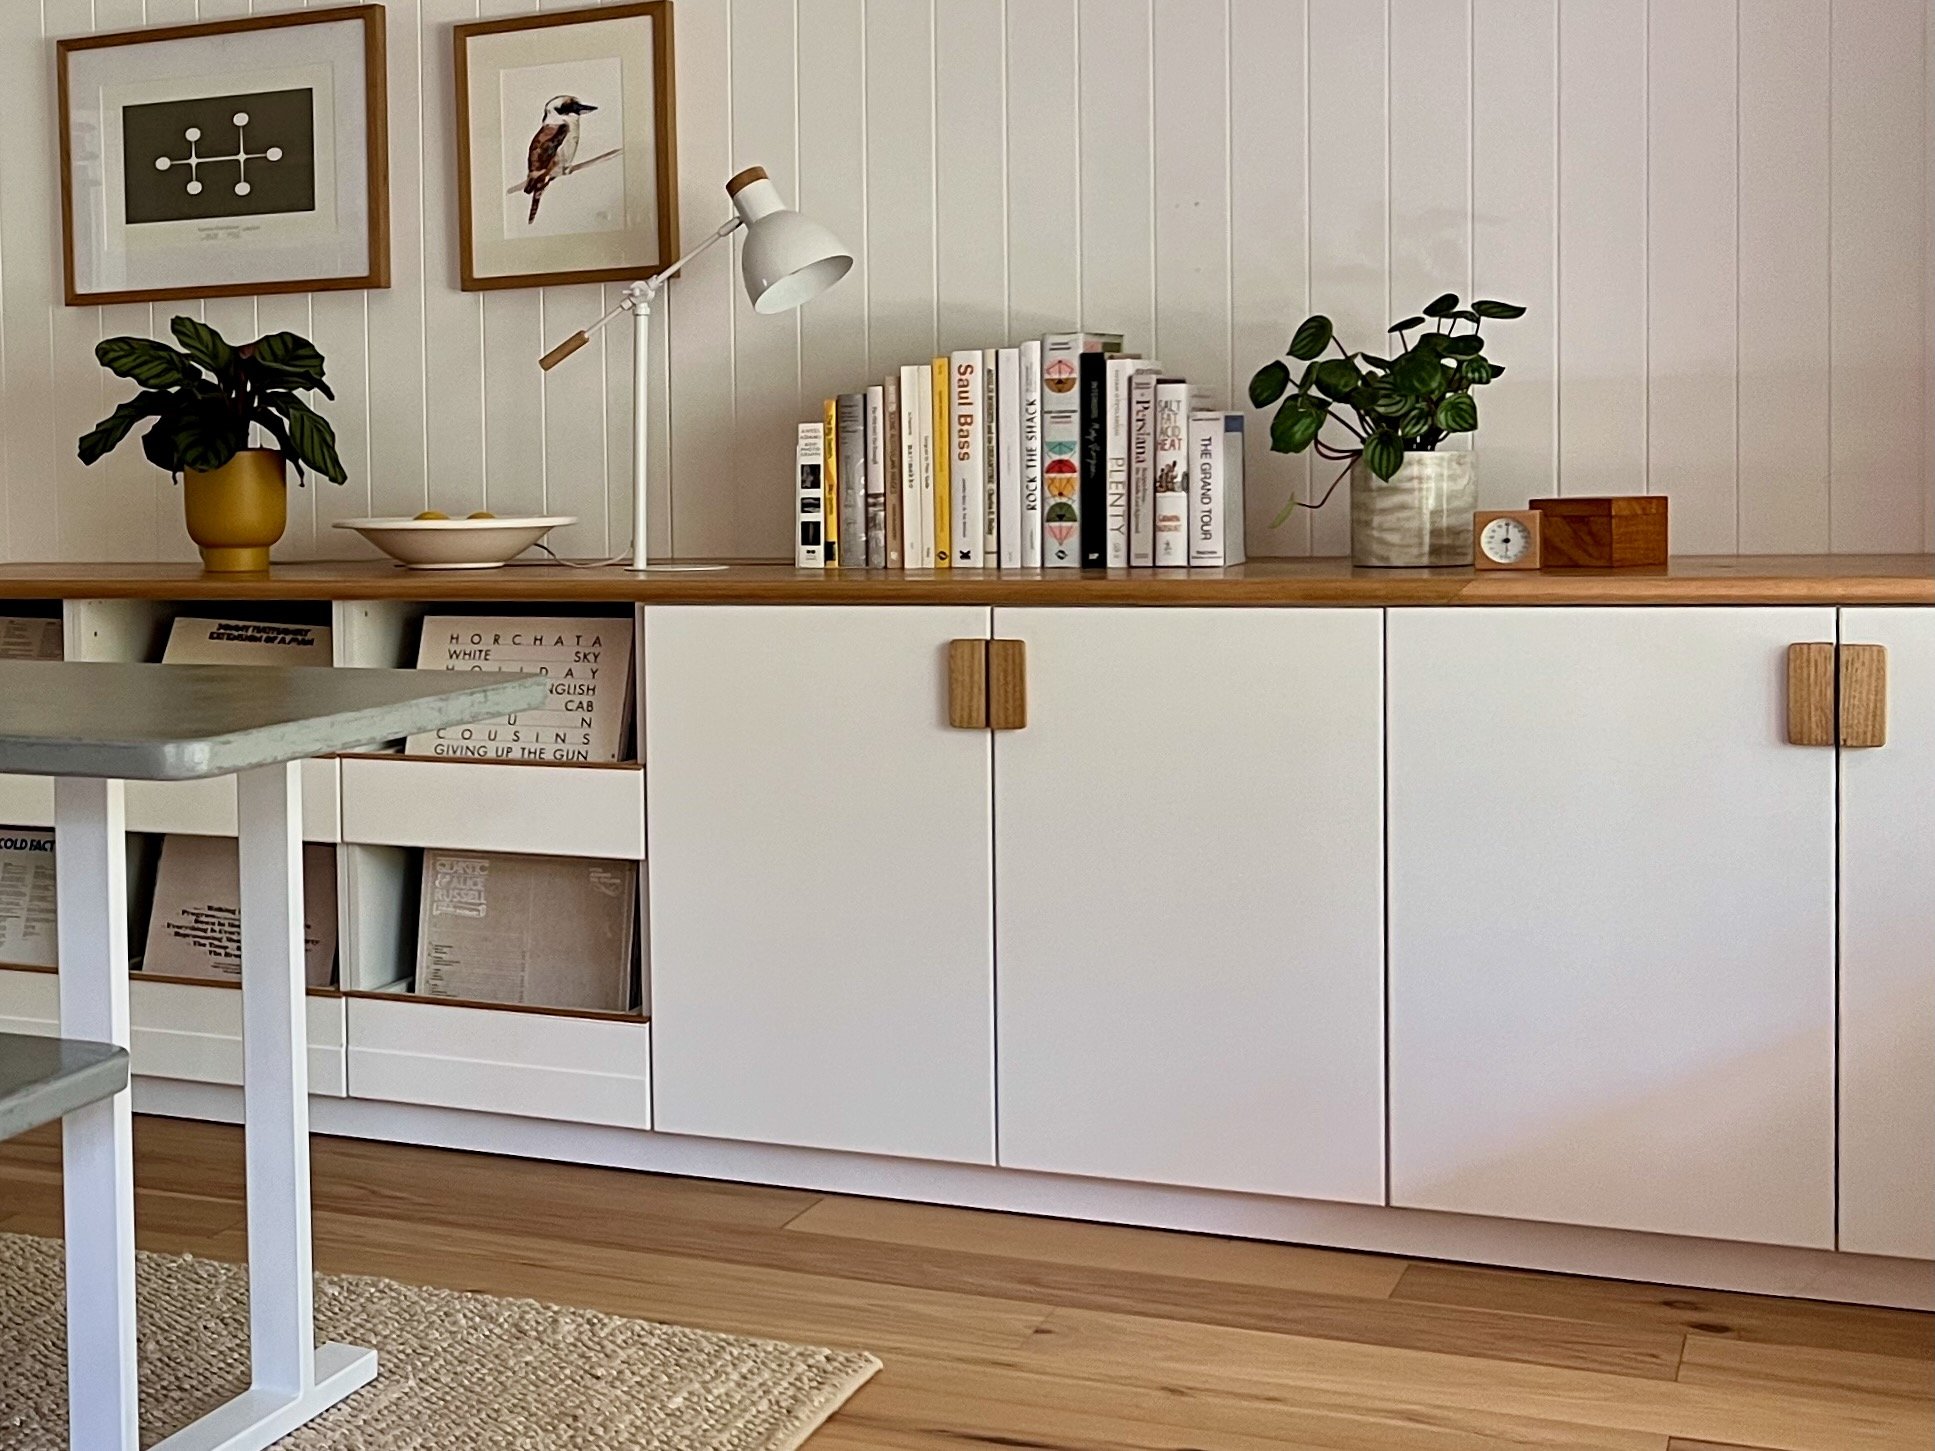
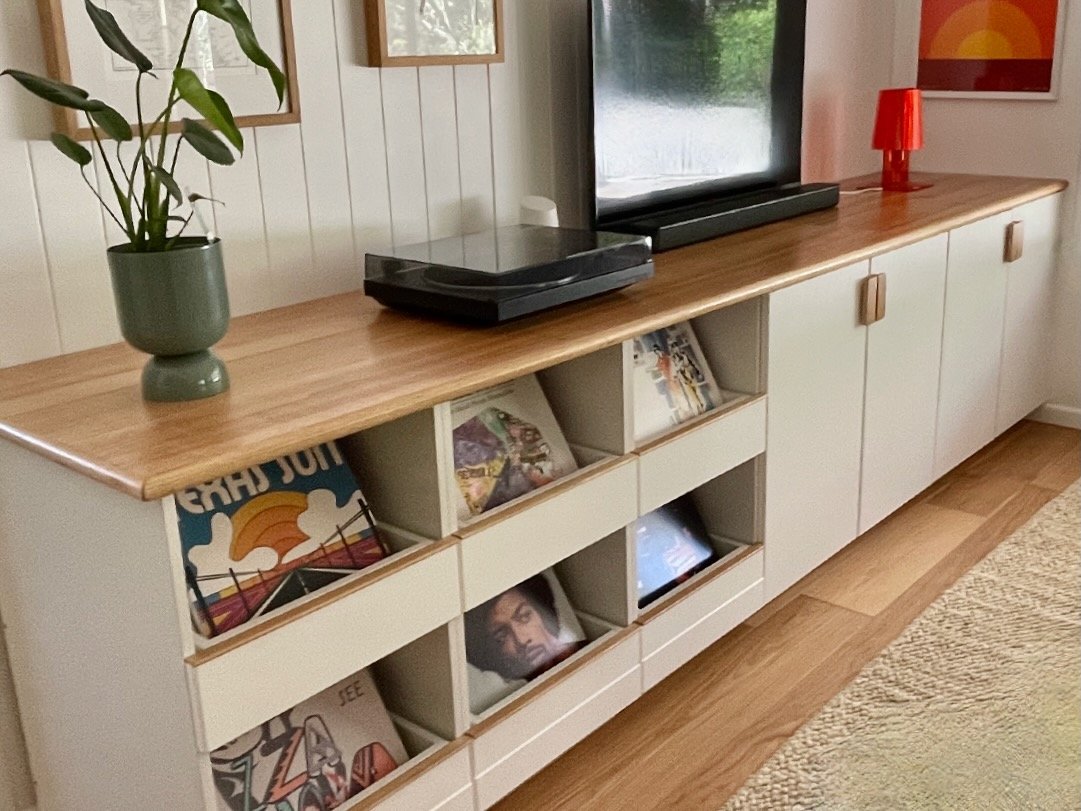
This living room was a long, narrow space, with no storage. So I created a built-in entertainment hub along one wall to hide the TV and stereo cables, store the vinyl collection and help consolidate the lounge area.
The 3.2m-long wall-to-hallway cabinet is made up of five flatpack units finished in the same style of Tasmanian oak benches as the nearby kitchen.
I built it in the workshop, moving the components to install on site. Here’s how it came together…
“I built a hub for watching TV and playing vinyl, with customised drawers to house the record collection for Saturday-night crate-digging through the covers.”
Choosing to use flatpacks instead of building the carcass from scratch saved time and workshop space.
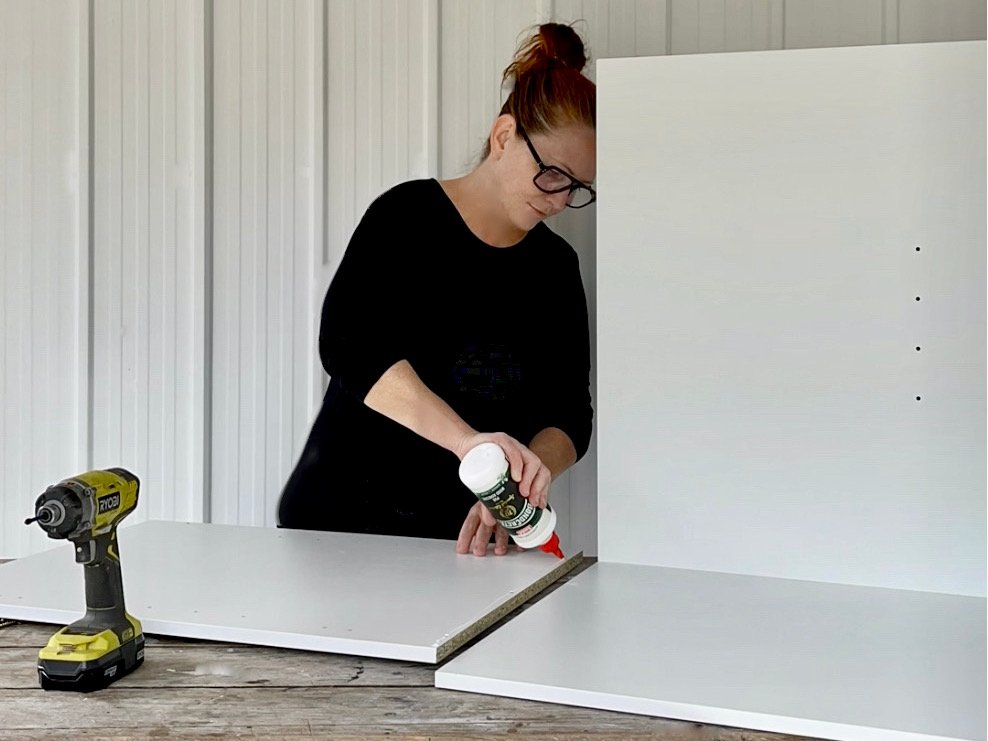
When assembling, I always reinforce the raw particleboard joints with adhesive to make it more durable, especially for drawers to hold a heavy record collection.
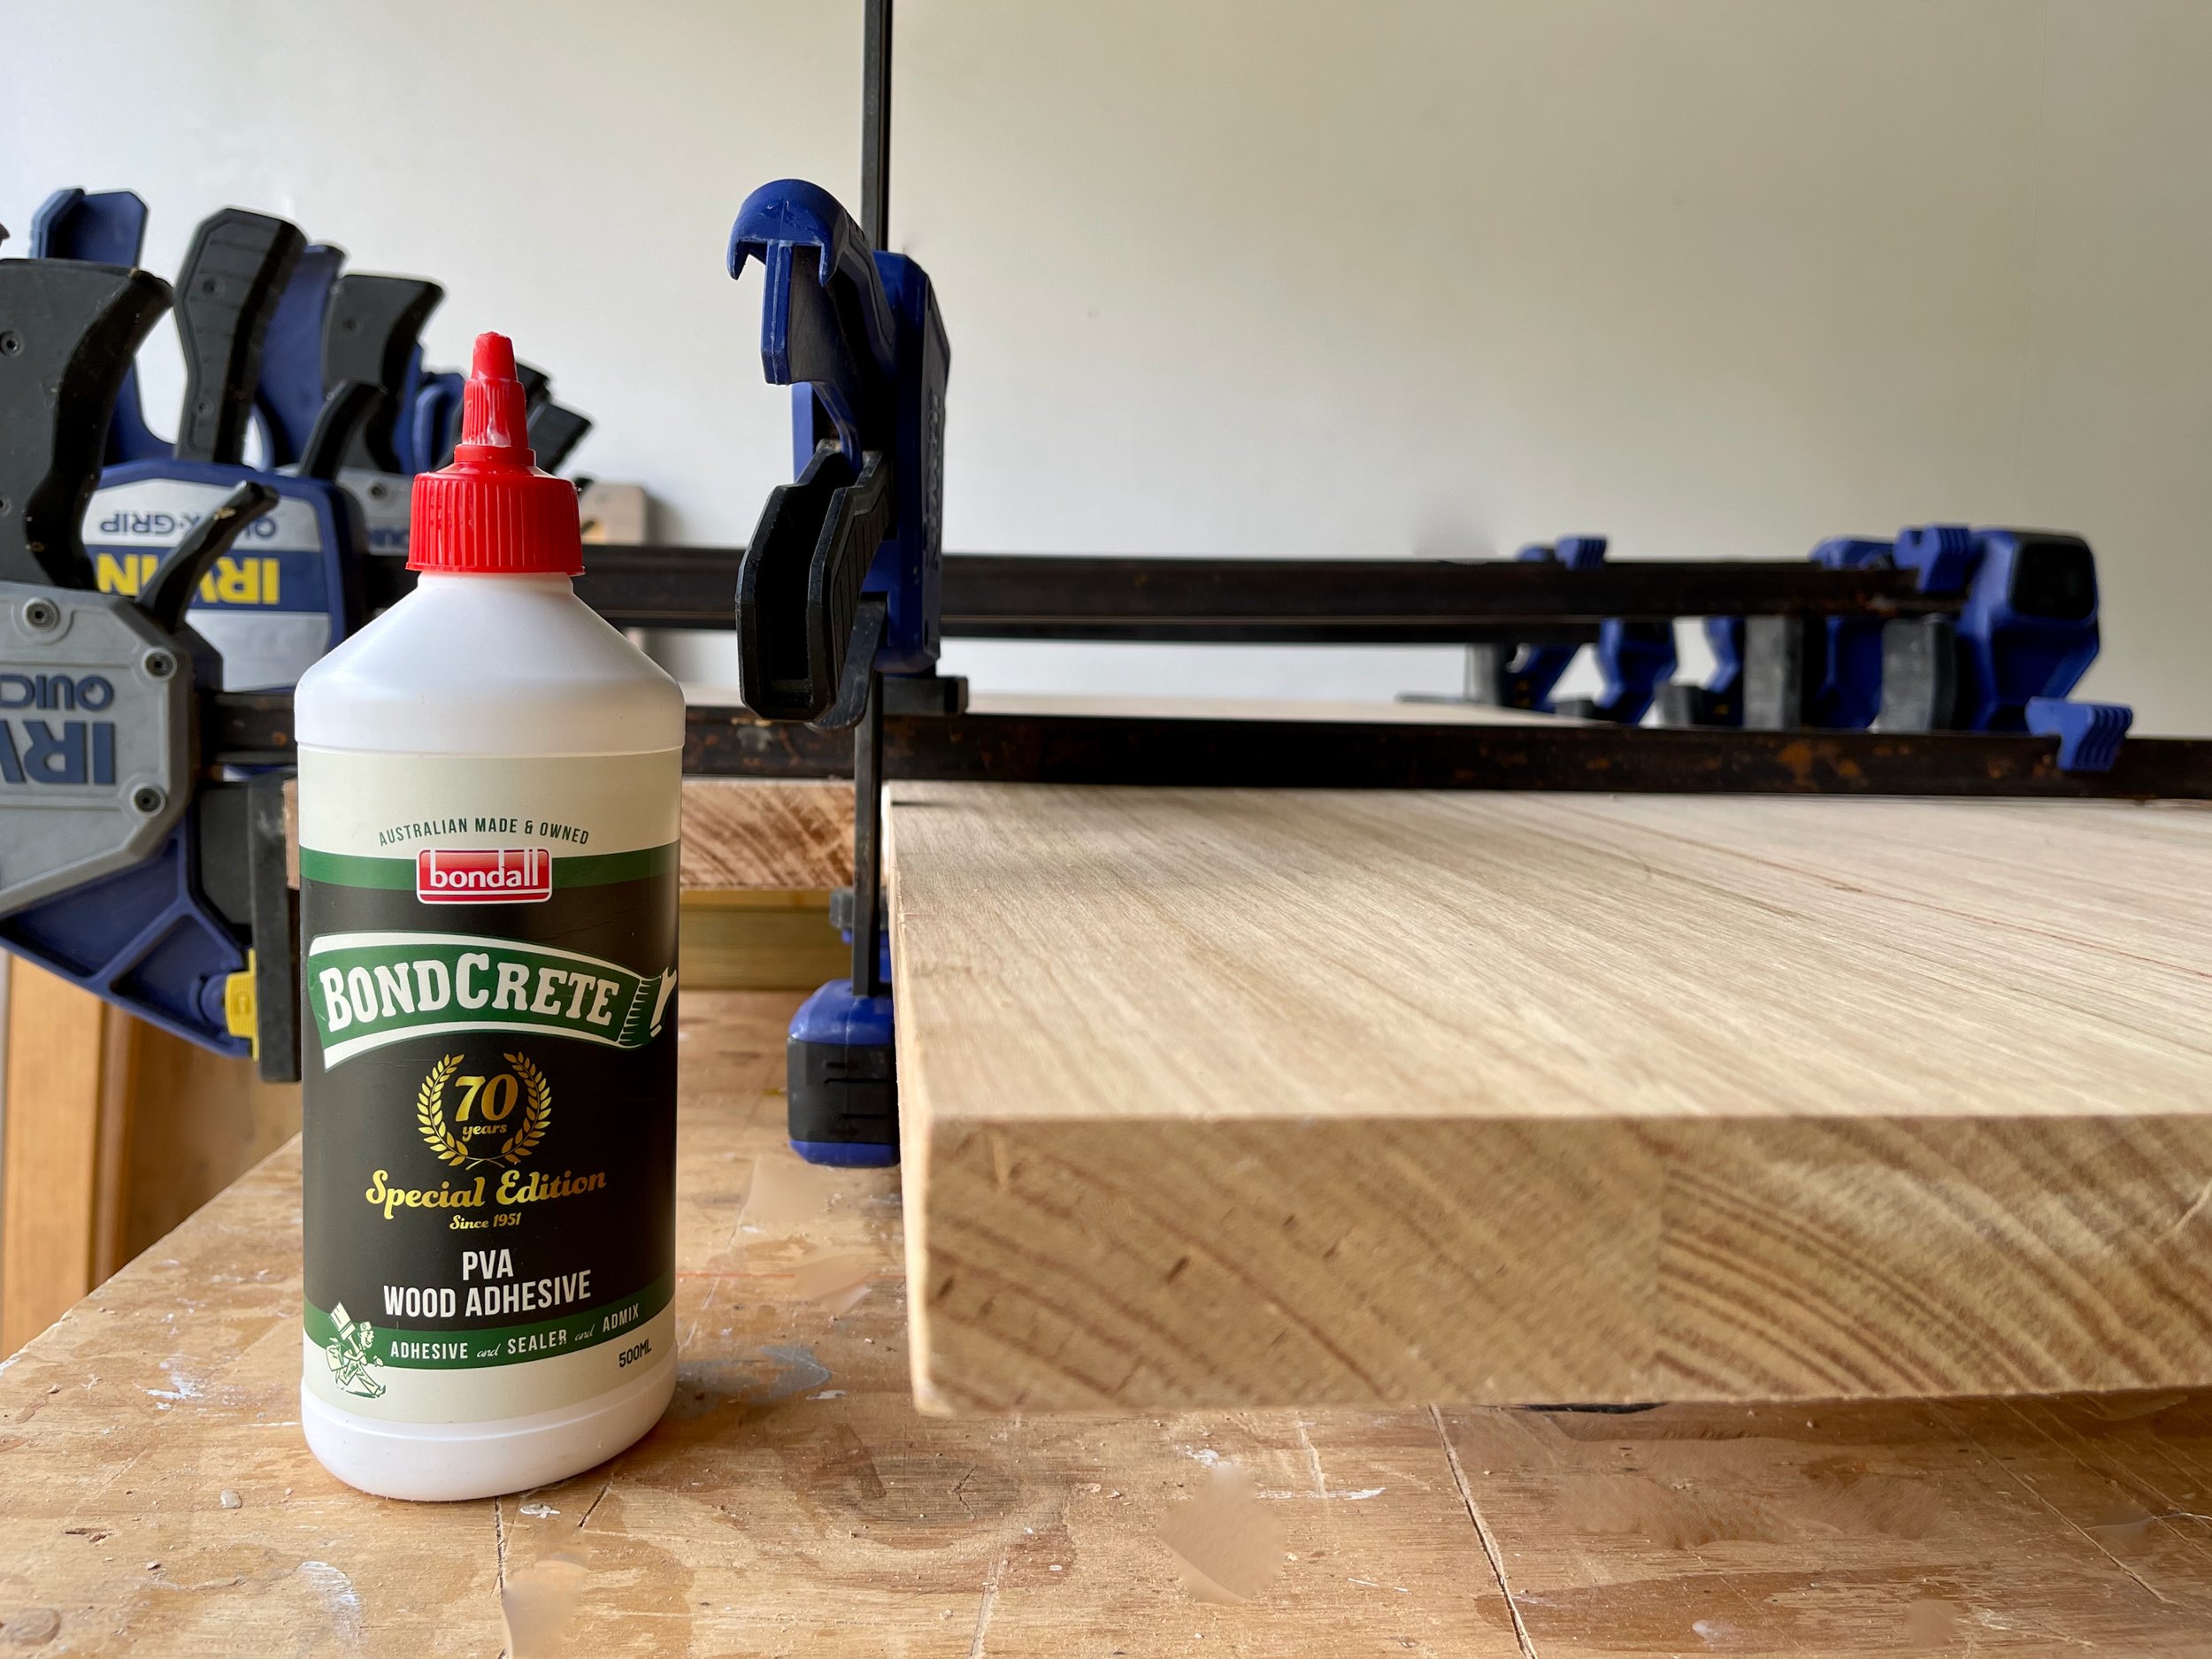
My go-to is Bondall’s Bondcrete, which dries clear. Rather than wiping away the excess I leave any drips to dry completely, then run a spatula along the surface to simply scrape them off the melamine.
WATCH IT Click through to see more DIY tips and tricks for putting together flatpacks.
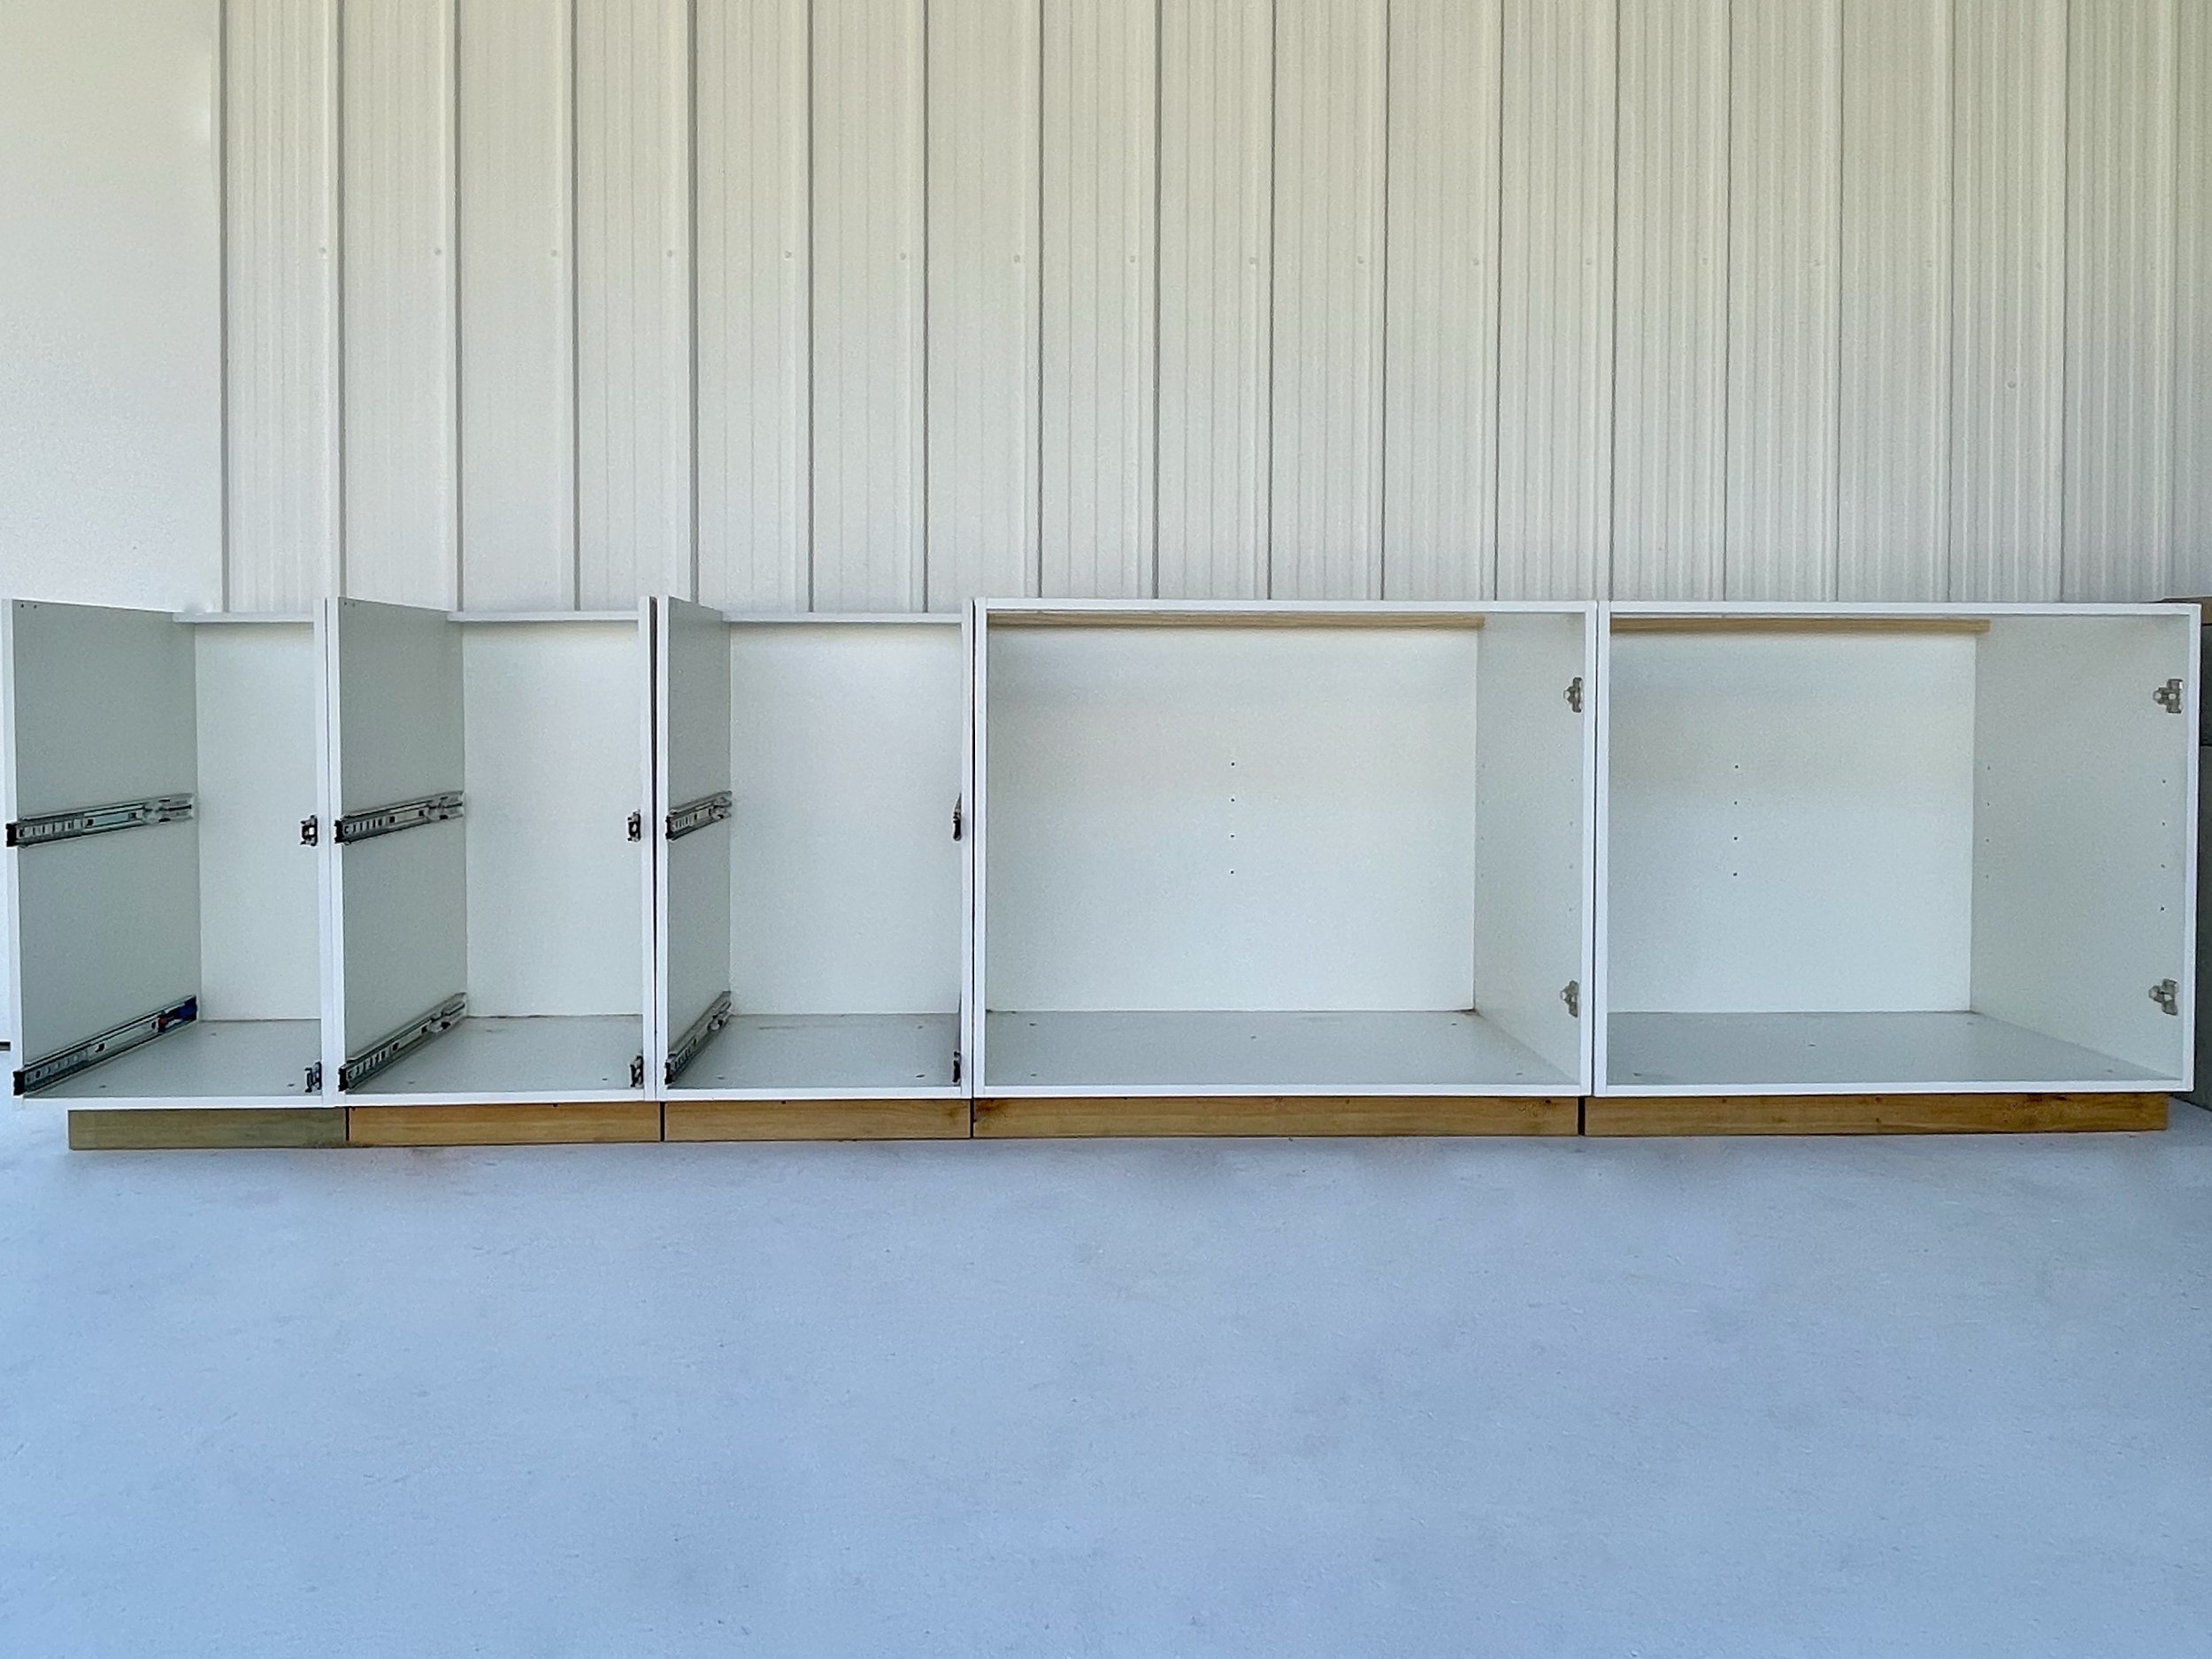
I came up with a combination of Kaboodle Kitchen base units to fit the space, using two 900mm units with doors and three 450mm four-drawer units.
I built all the components in the workshop, including the three-part benchtop, keeping them unattached so I could easily move them.
Once on site, I secured the units together with 30mm screws through the sides to create one long piece of joinery.
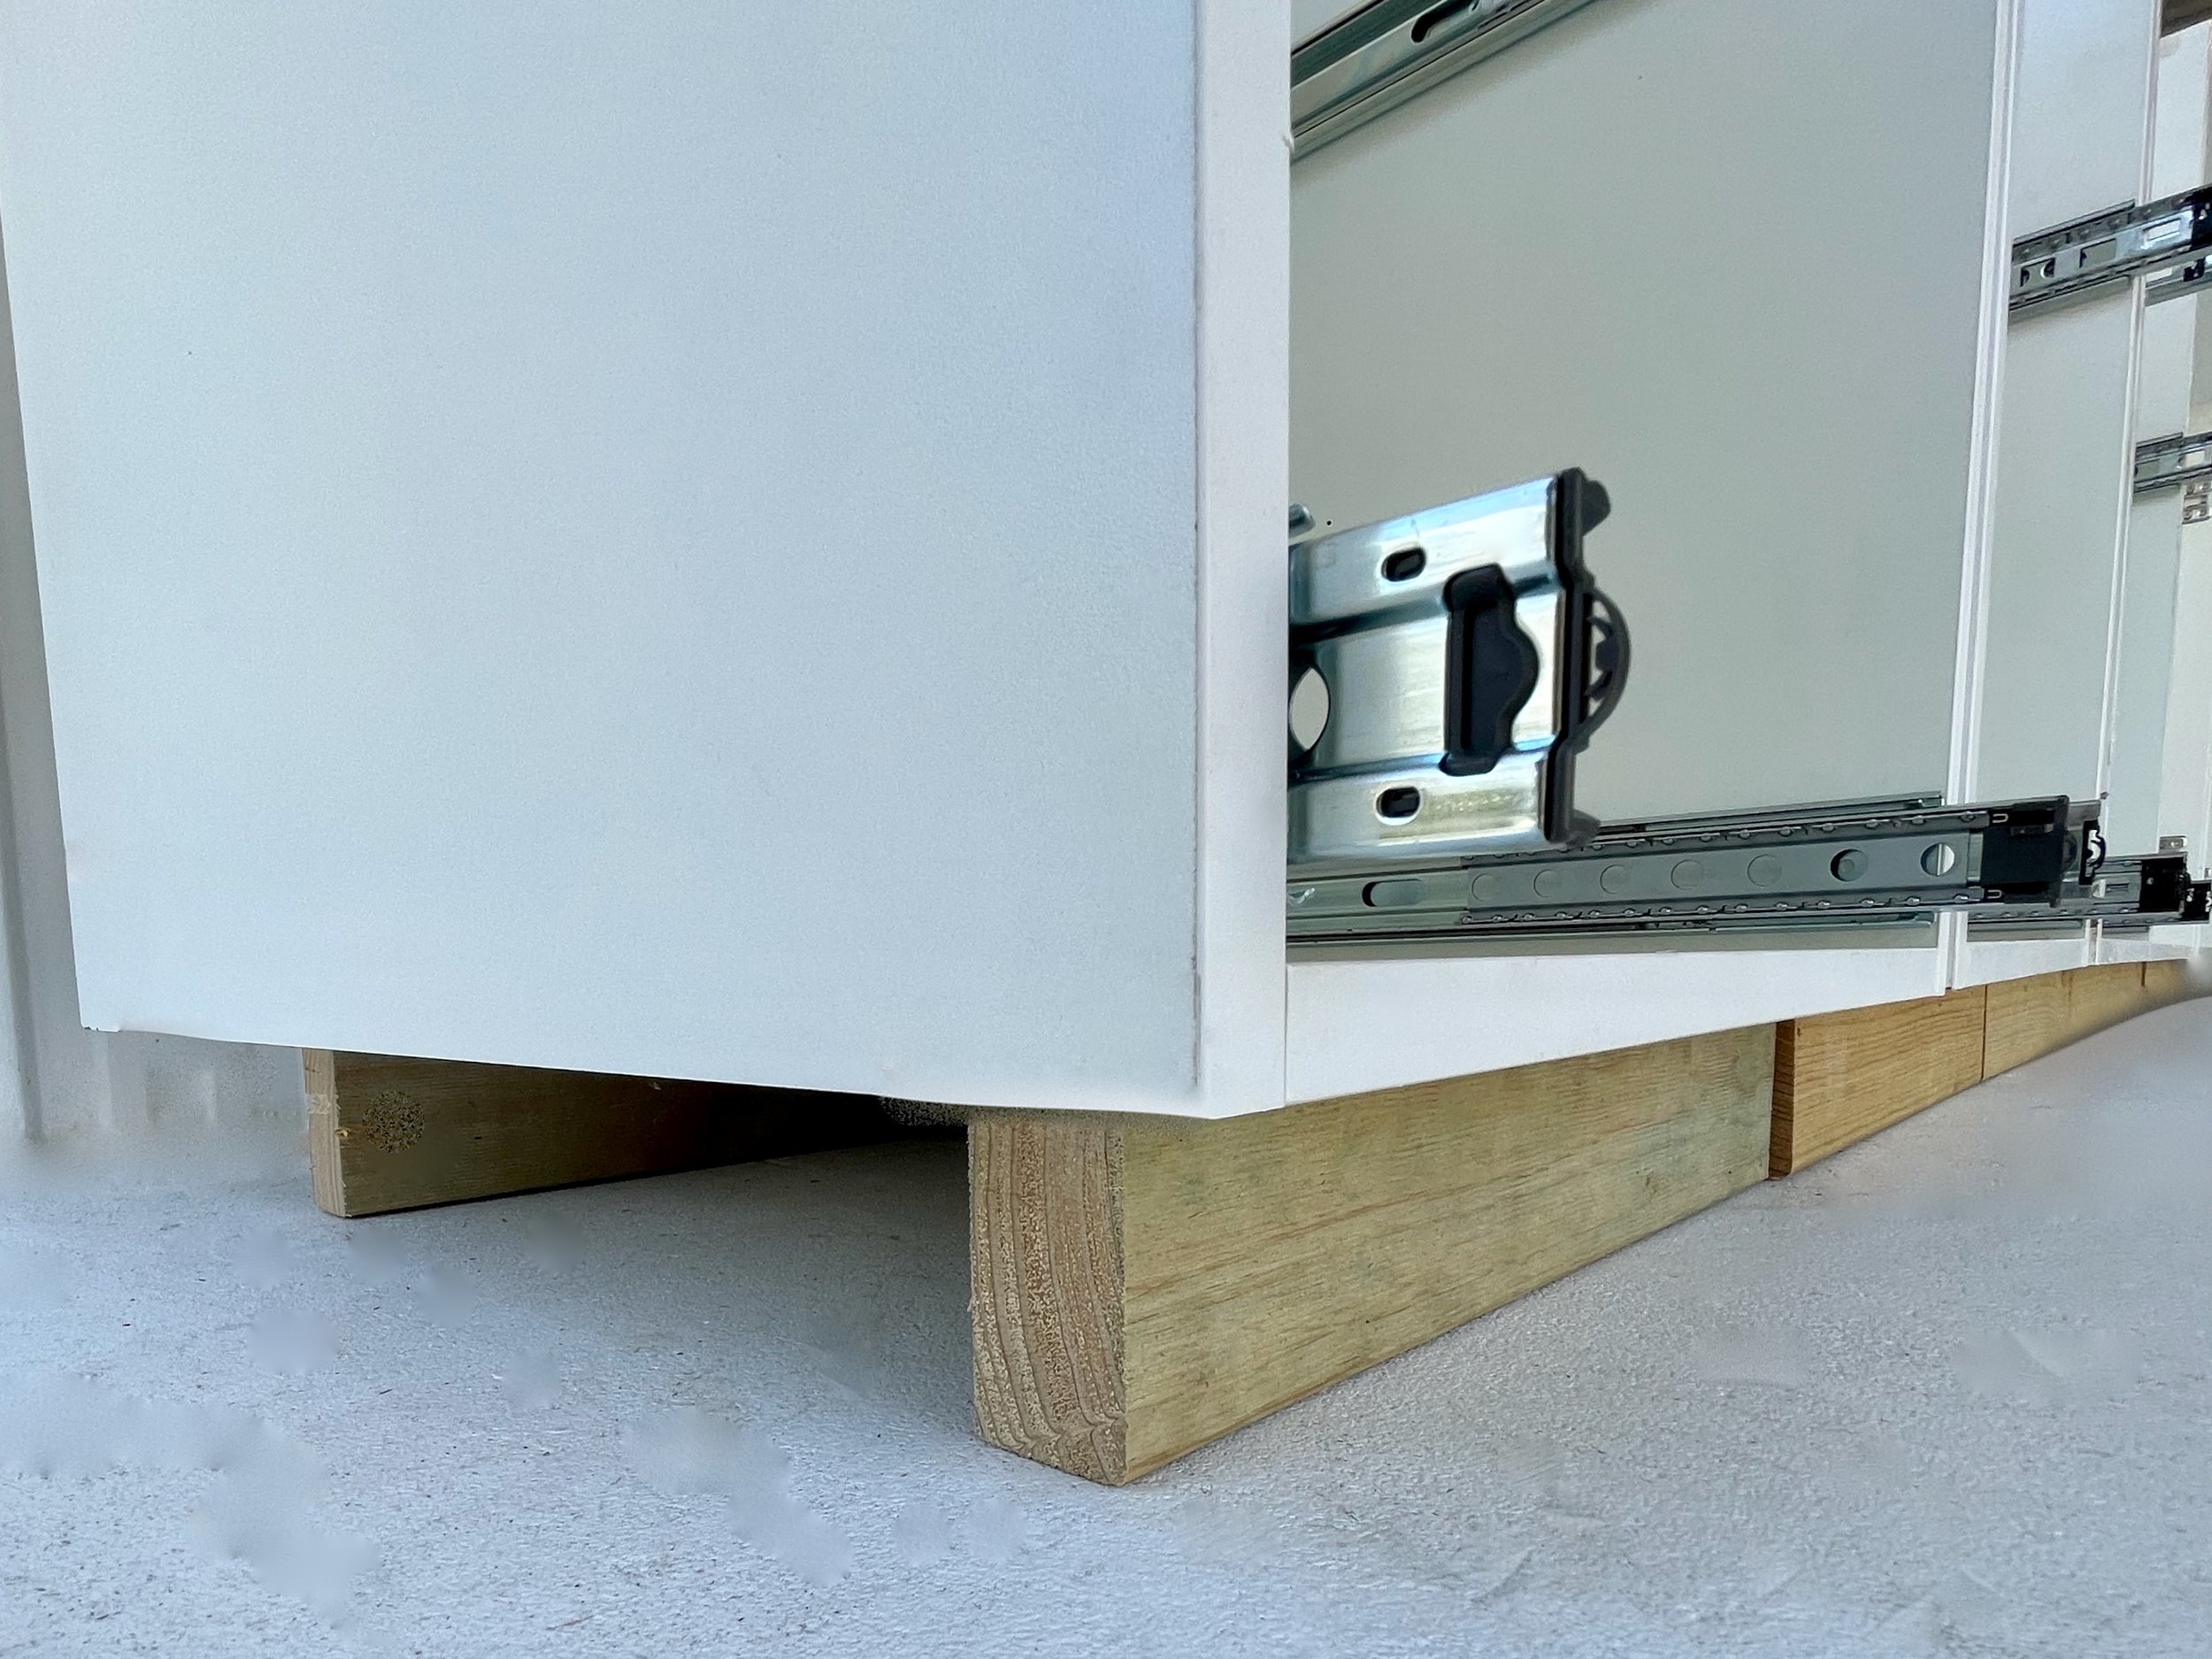
A base frame replaces the standard feet that usually support a kickboard, so the cabinet sits lower than a standard bench for better visibility of the TV from the sofa.
To make the frames, I positioned lengths of 70mm pine 40mm from the front and back of each unit, securing though the base. It’s the same height as the skirting in the living room, which I added later so the end result looks more like built-in joinery than kitchen cabinetry.
TIP I had an electrician install two four-outlet power points on the wall, then made cutouts through the back of the units with a reciprocating multi-tool.
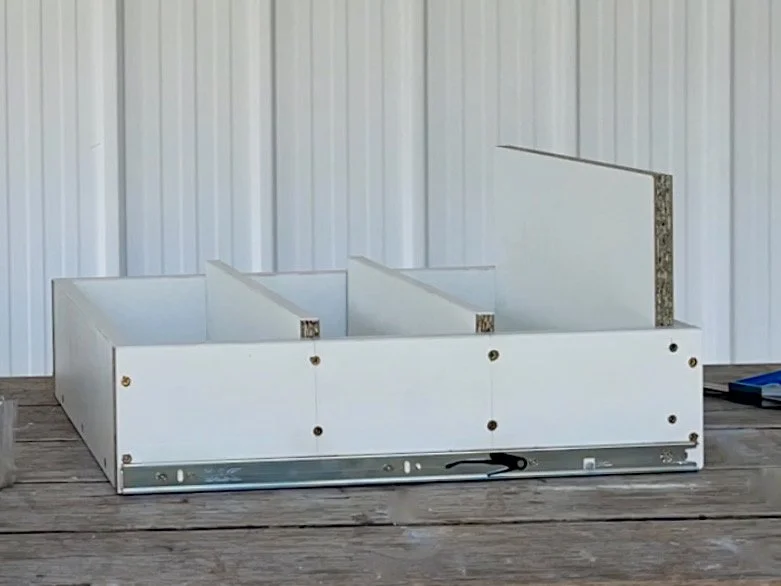
I customised the drawers by repurposing the pieces for every second one into dividers so the records are stored upright.
WATCH IT Click through to see detailed step-by-step instructions on how to make a record cabinet using the same technique.
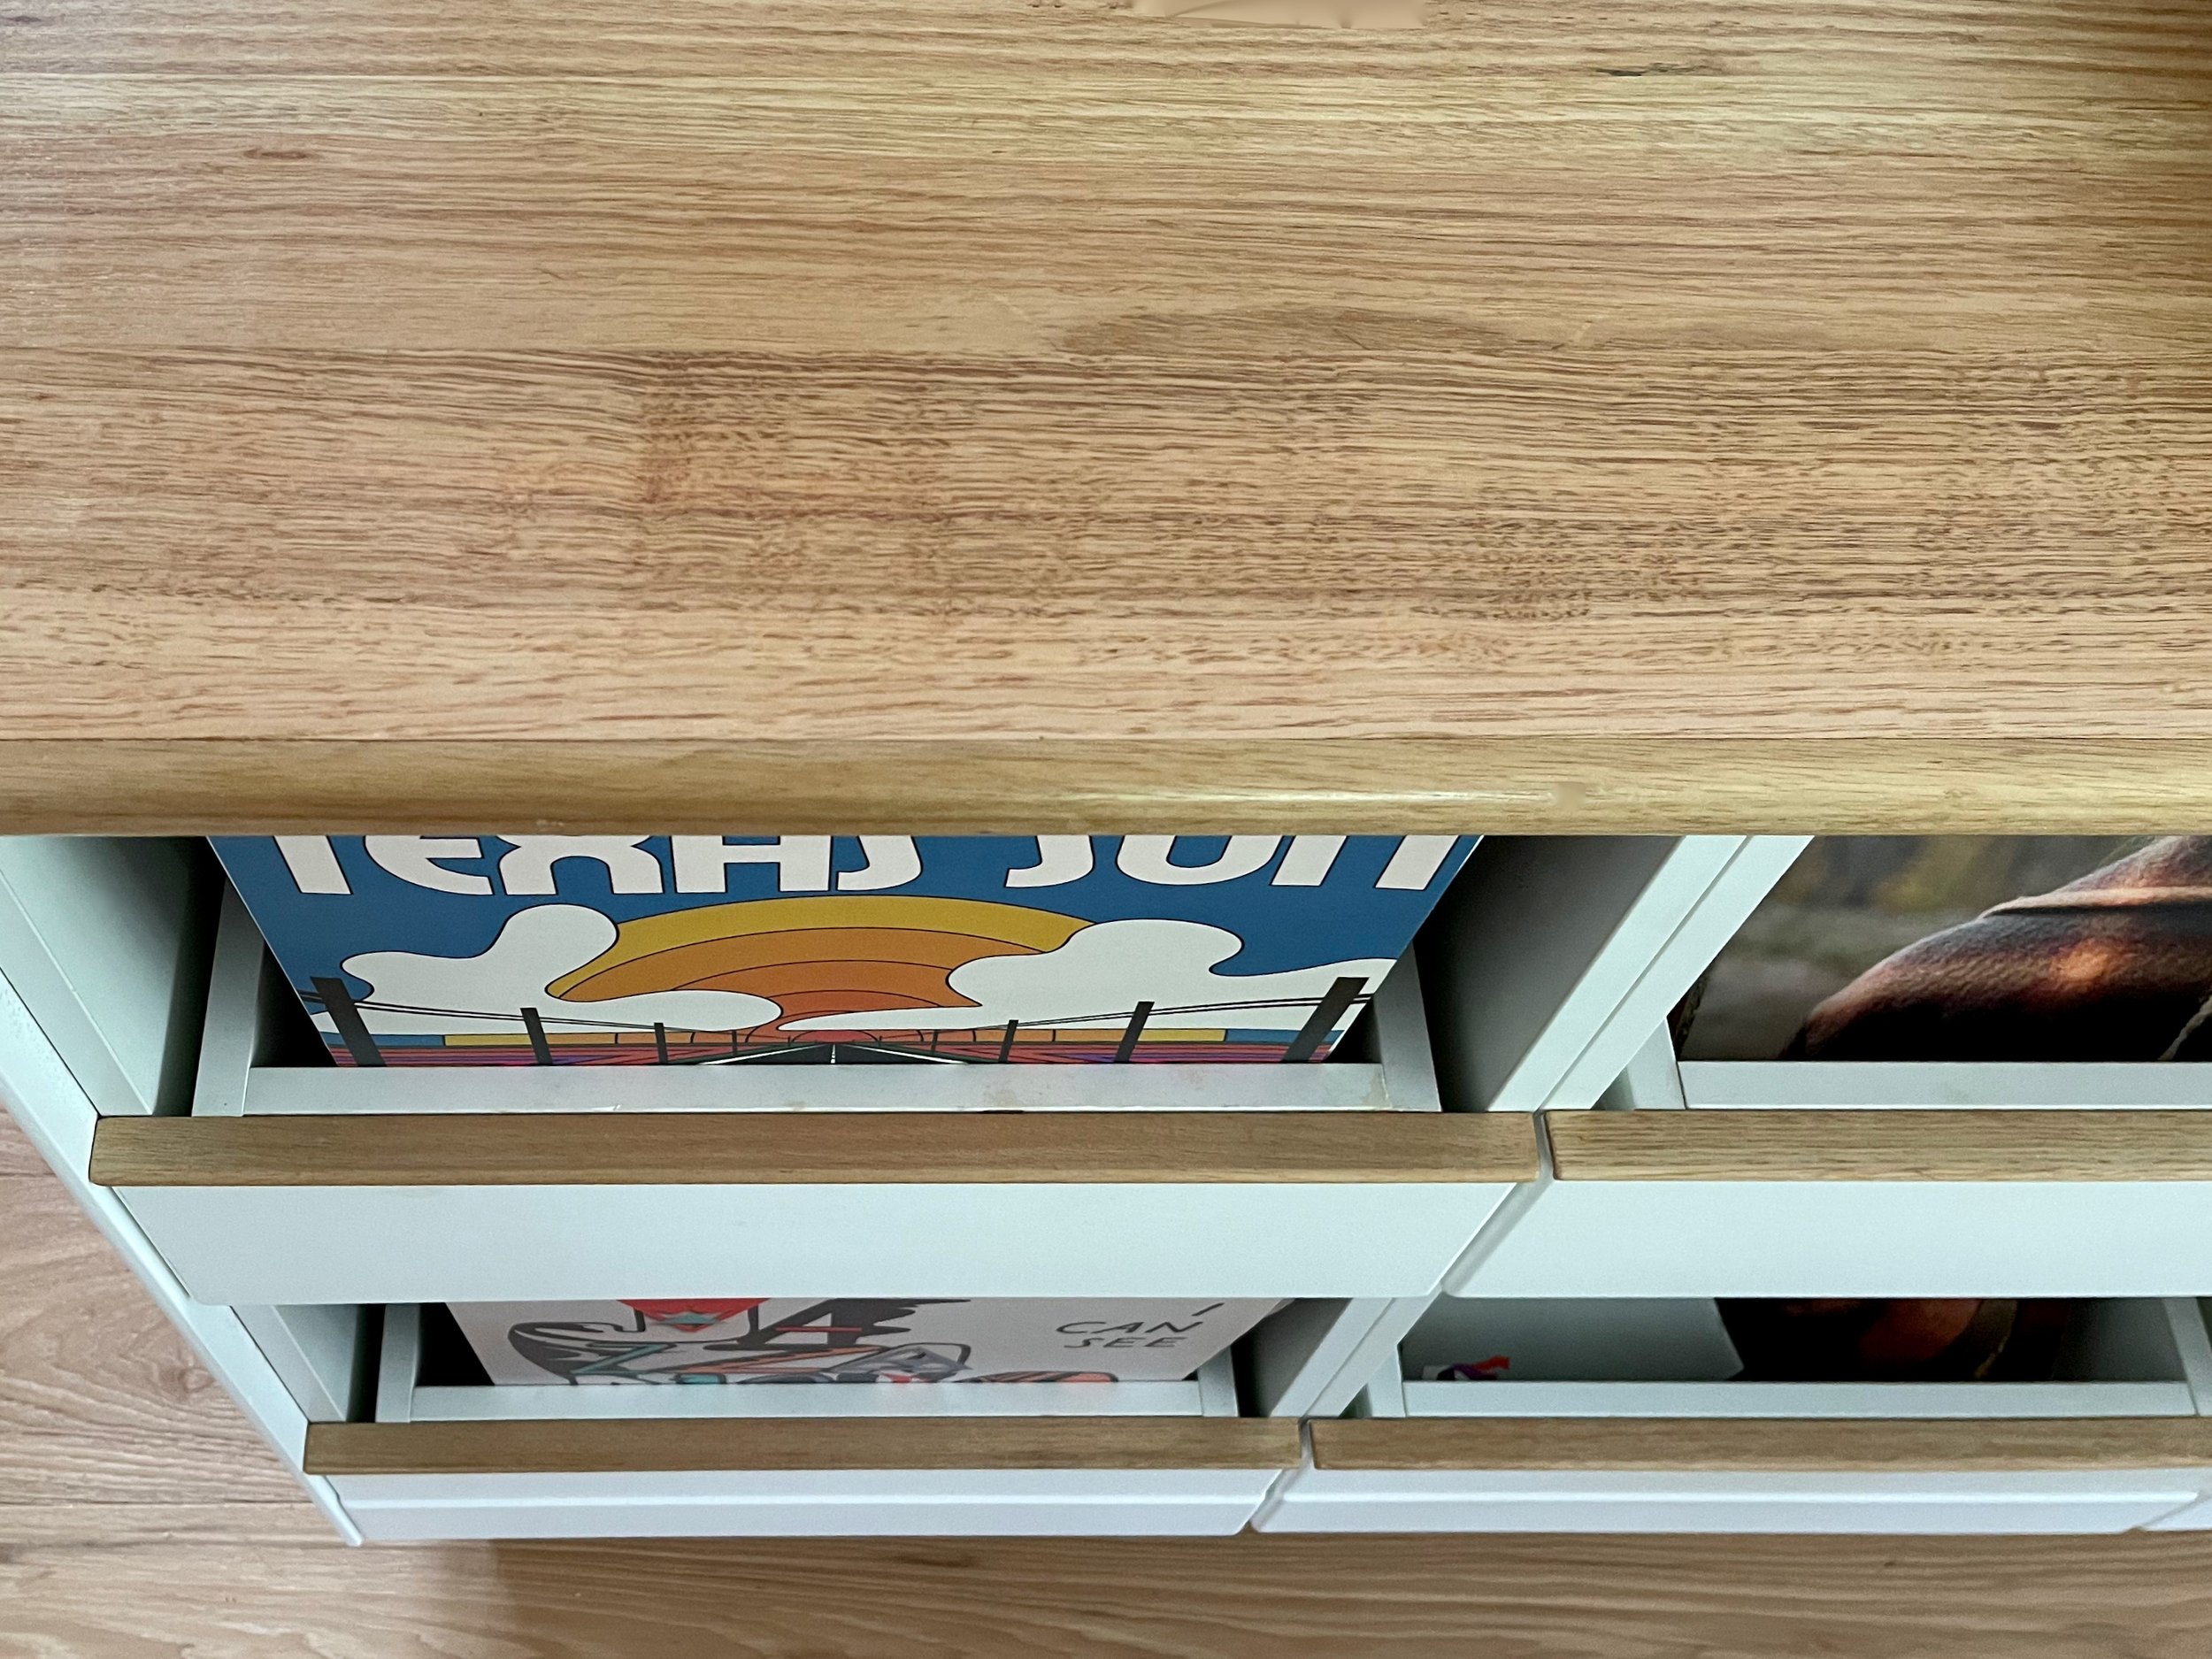
To finish the drawers, I trimmed down standard raw-board fronts to allow for clearance and added shelf edging along the tops to cover the joins.
TIP I painted the MDF doors and drawers in low-sheen, water-based Taubmans Ultimate Enamel the same Brilliant White as the walls.
To build the benchtop, I cut a 900mm x 2000mm, 30mm-thick Tasmanian oak panel in half lengthways to get two 450mm-wide panels, joining and cutting them to 3.2m long.
The offcut was then cut in half and attached to the larger panels to make the bench 605mm wide.
I added a drop-in piece along the centre back that can be lifted off for access to power points, made from matching timber from my kitchen renovation.
TIP I joined the offcuts to the panels with Bondcrete and flat metal mending plates, clamping to cure overnight.
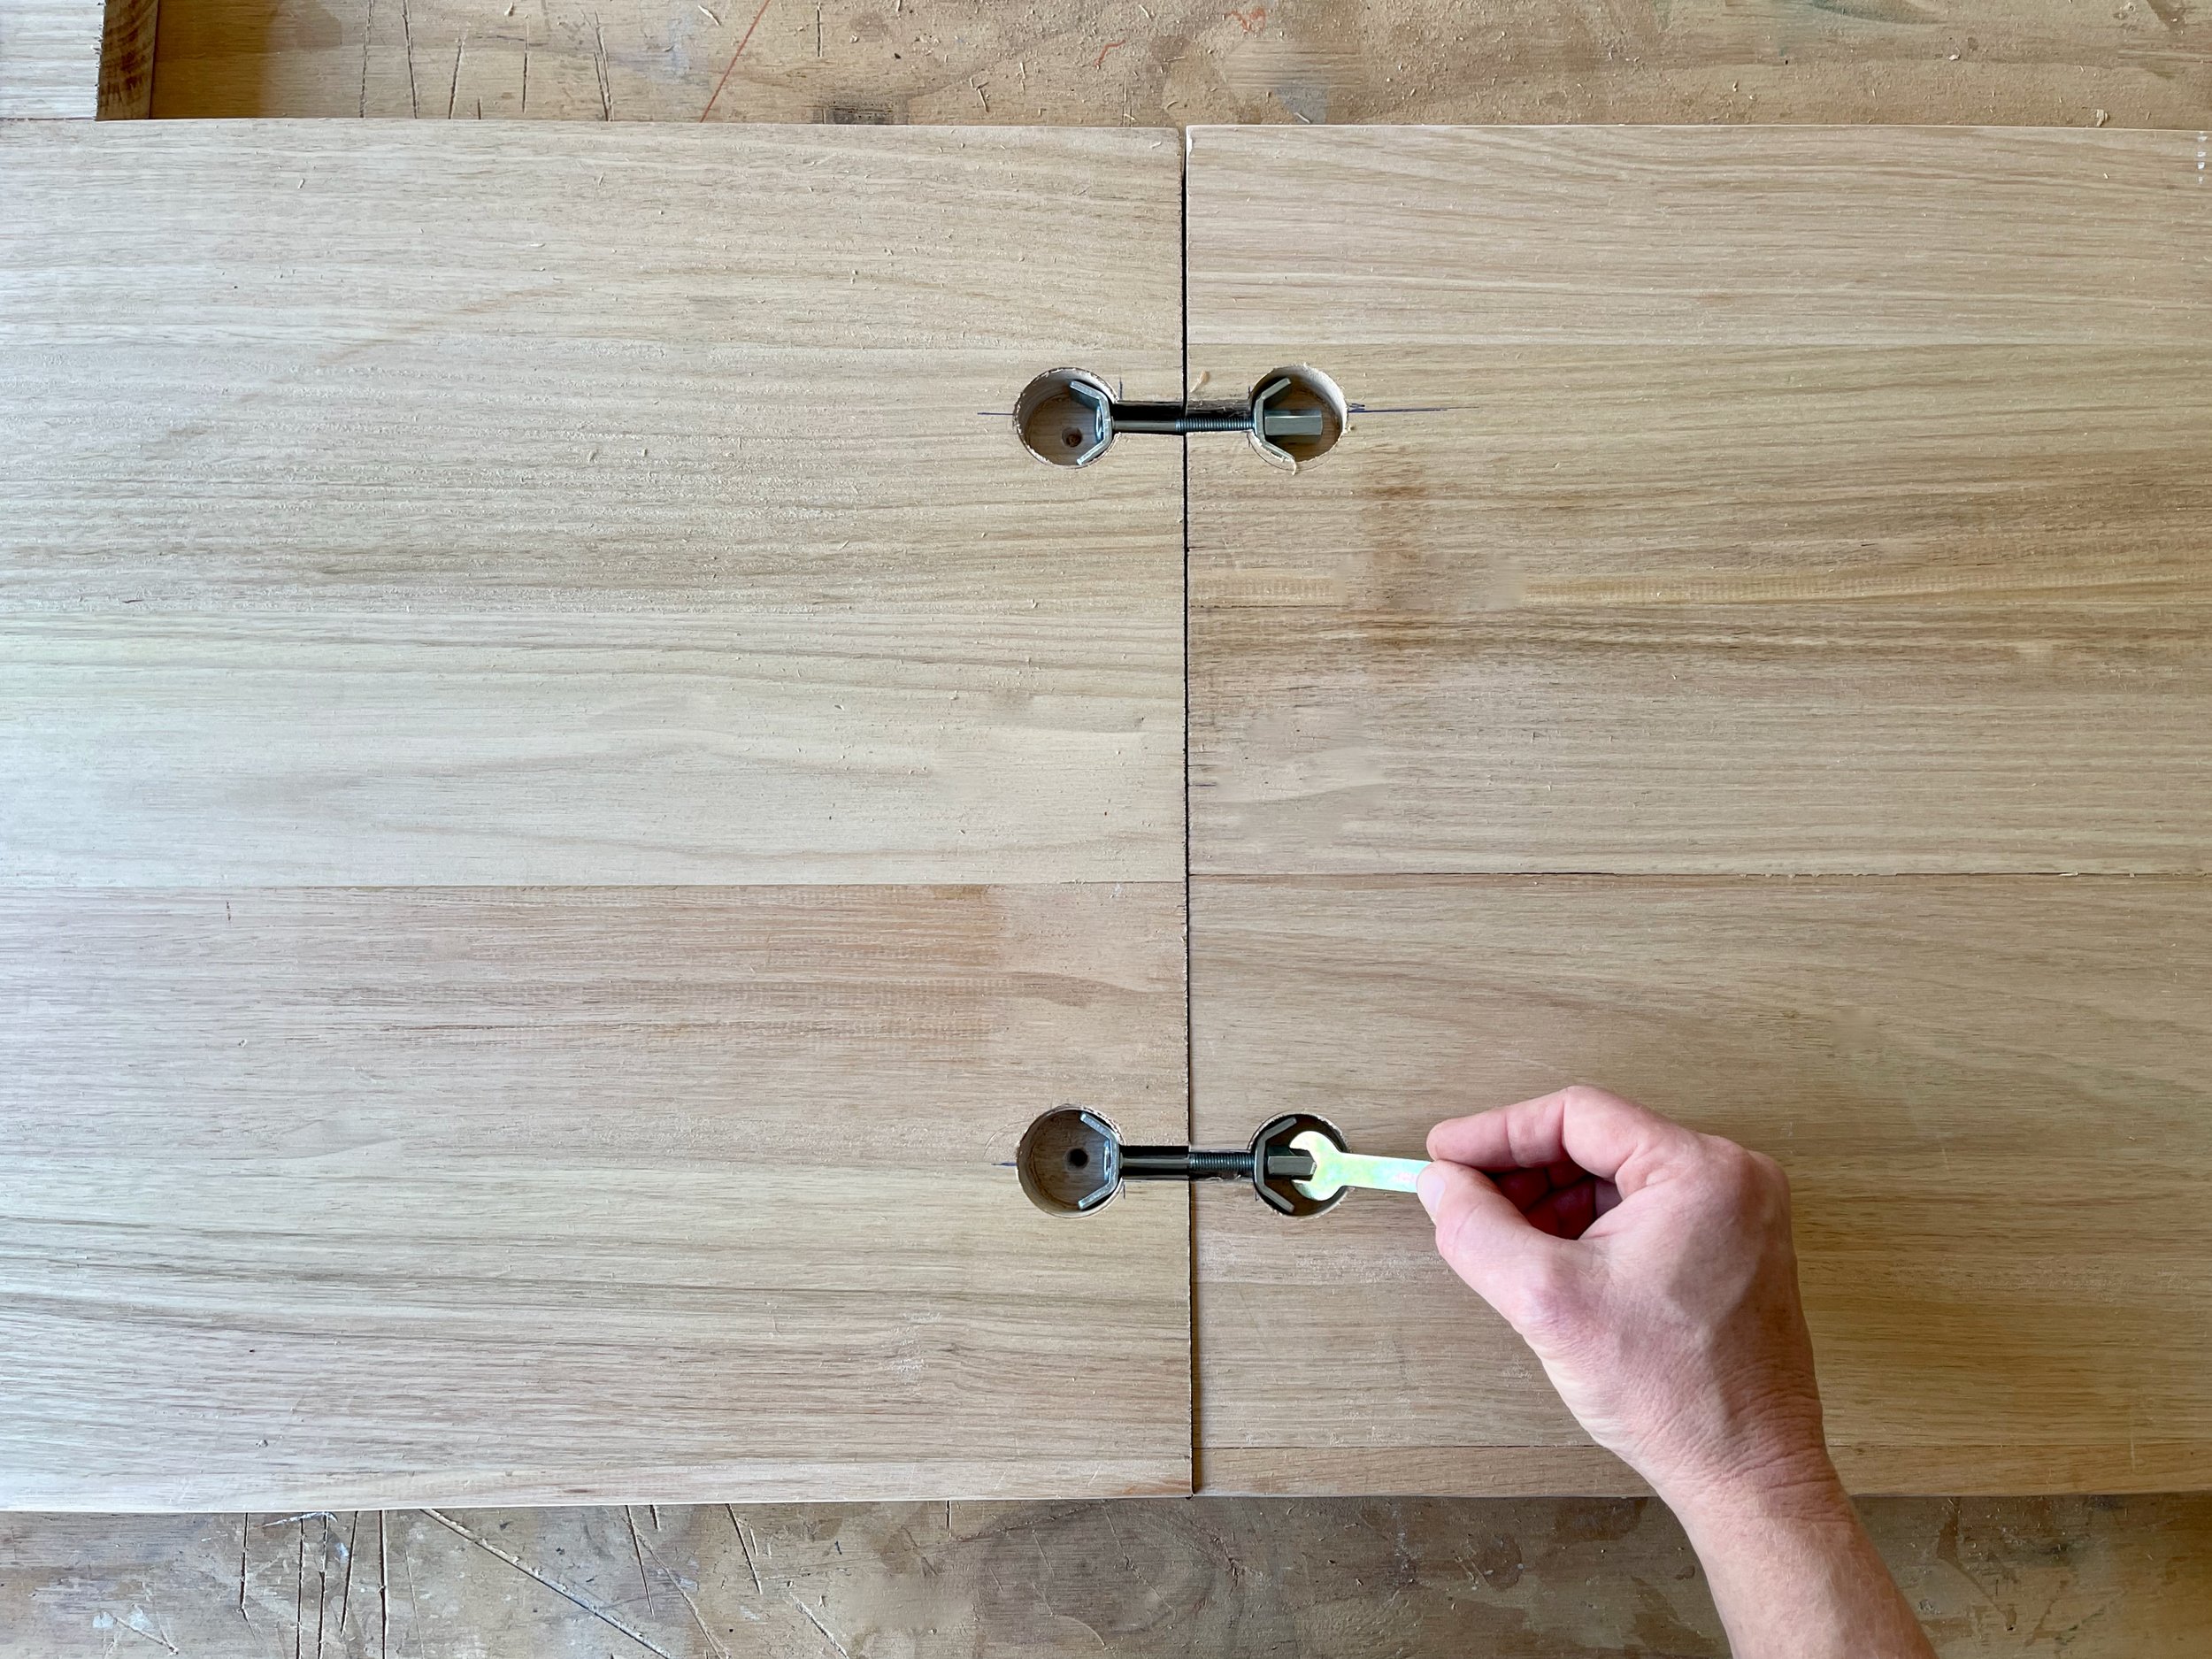
I joined the two heavy panels with benchtop connectors, doing the woodwork in the workshop where I could enjoy making a mess.
The top was assembled on site, where I glued and clamped it before securing to the units underneath with small brackets and 15mm screws.
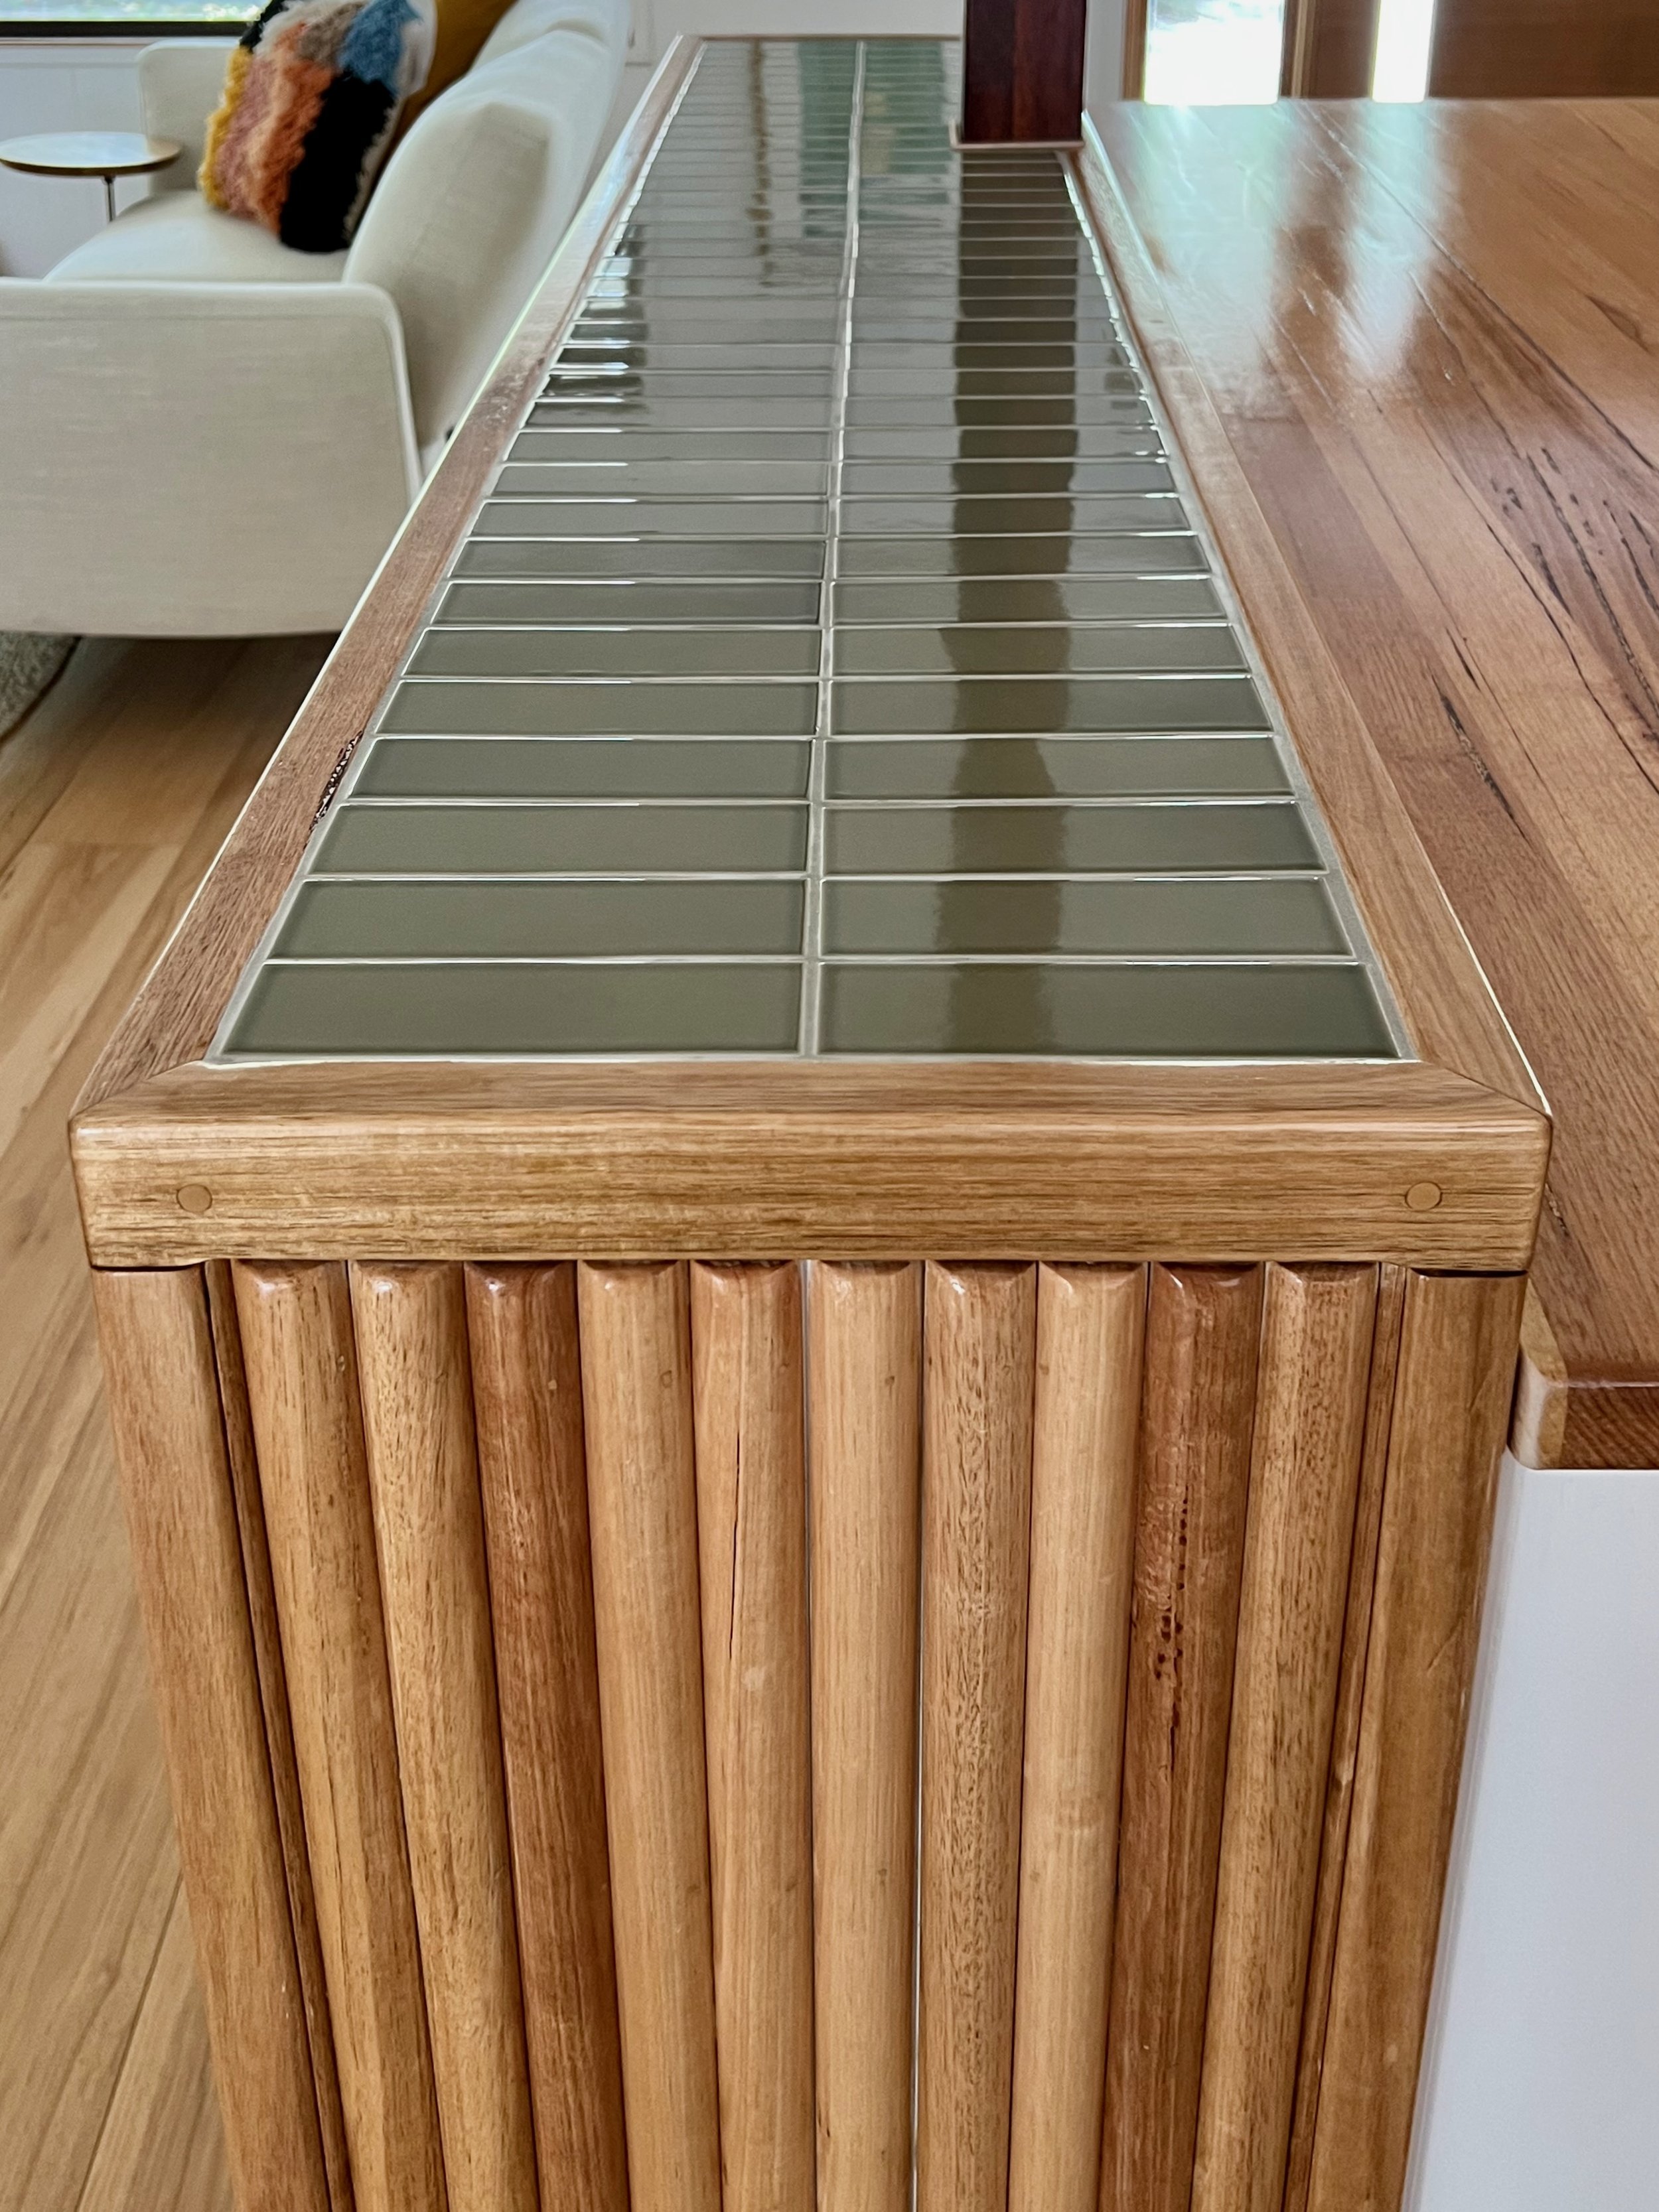
TIP The edge is finished in 30mm half-round dowel, which I also attached to the panels in two pieces.
The timber features are all made from Tasmanian oak and finished Monocel Gold satin varnish.
I worked on the top, handles and drawer edging at the same time, sanding to 240-grit and applying three coats of varnish, leaving to dry for a few hours after each.
WATCH IT Click through to see the simplest method to apply varnish. All you need is a mini mohair roller and tray.
I made the handles from 12mm x 30mm moulding, rounding over the corners with a trimmer and attaching them through the doors with 25mm screws.
TIP You could use store-bought handles like these D-shaped raw pine ones, giving them a quick sand and a coat of varnish.
I finished the end unit in a sheet of Easycraft Easy VJ panelling to match the wall cladding above. Skirtingboard runs underneath it.
Adding a handcrafted element to the front visually ties in the rest of the timber features. I made these handles from 12mm x 30mm Tasmanian oak moulding, rounding over the corners with a trimmer and attaching them through the back of the door with 25mm screws.
TIP Alternatively, you could use store-bought handles like these D-shaped raw pine ones from Bunnings, giving them a quick sand and coat of varnish.
There’s no entertainment without access to power, so I added cable ducts to the lift-out section of the bench for access to points for setting up speakers, the turntable, TV and lamp.
TIP I used a 60mm holesaw to make the cutouts then ran construction adhesive around the outside of the ducts to hold them in place.
With the TV and speaker cords hidden away, the entire entertainment hub is easy to keep dust free and tidy.
The end result is a lovely cabinet that has made playing vinyl a breeze – it’s fun to crate-dig through the covers and there’s lots of space to spread out so records don’t get left on the floor.
Have you installed built-in joinery?
Tag me on your project and follow more of my DIY journey on Instagram for tool tips, home improvement and simple building projects.
