Replace an external sliding door
Natasha Dickins
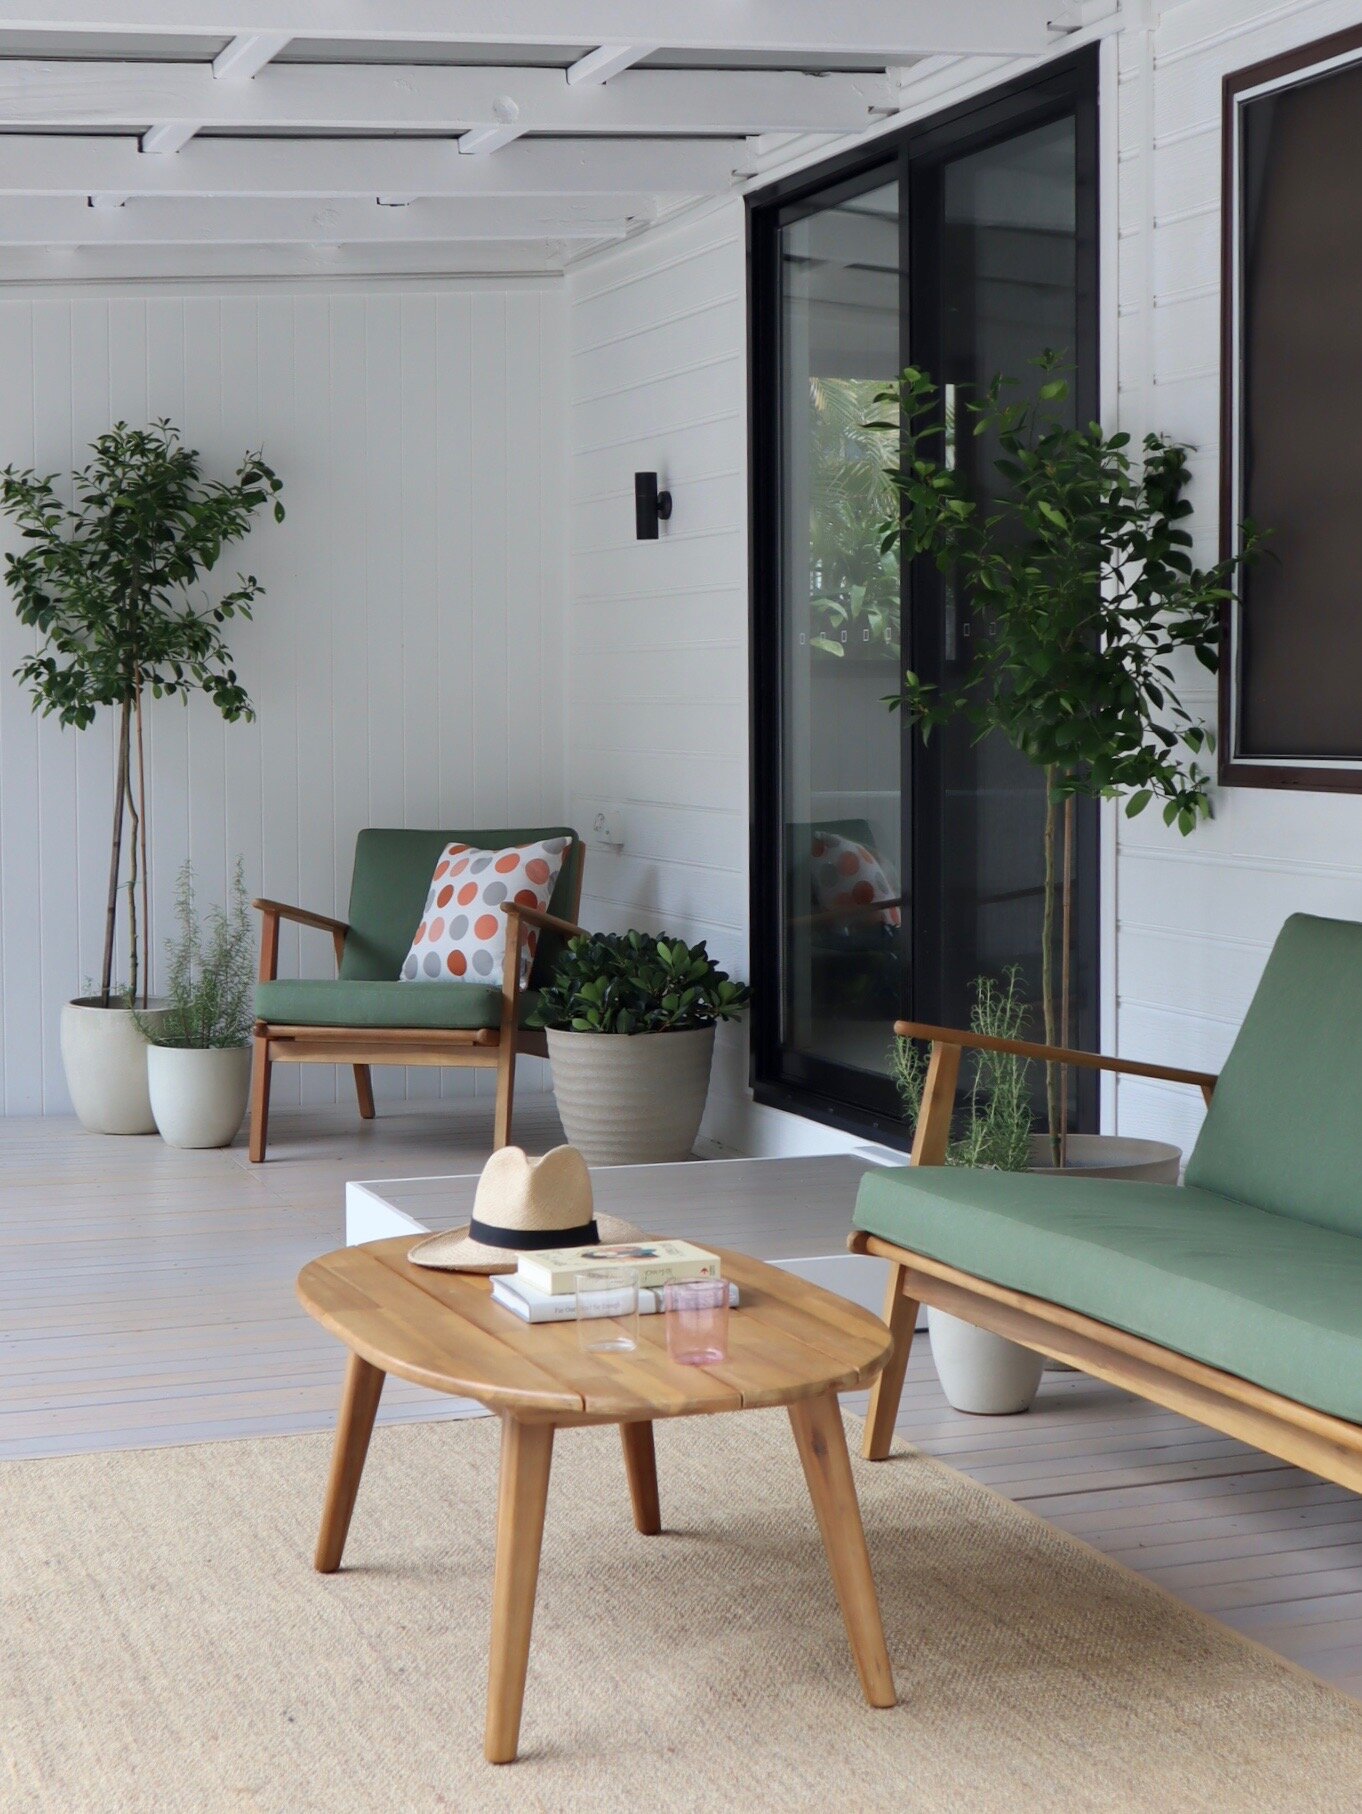
Upgrading a wonky old ensemble with a new sliding door kit transforms the indoor-outdoor flow for movement and fresh air. Here’s how I did it…

The old door handle had broken off so it wasn’t lockable from outside and the screen door had bent out of shape.
I also wanted to upgrade with energy-efficient double-glazed panels for noise-proofing and to help retain warmth from the fireplace in winter while reflecting exterior heat in summer.
“The double-glazed door panels have made the room quieter and the temperature control is improved.”

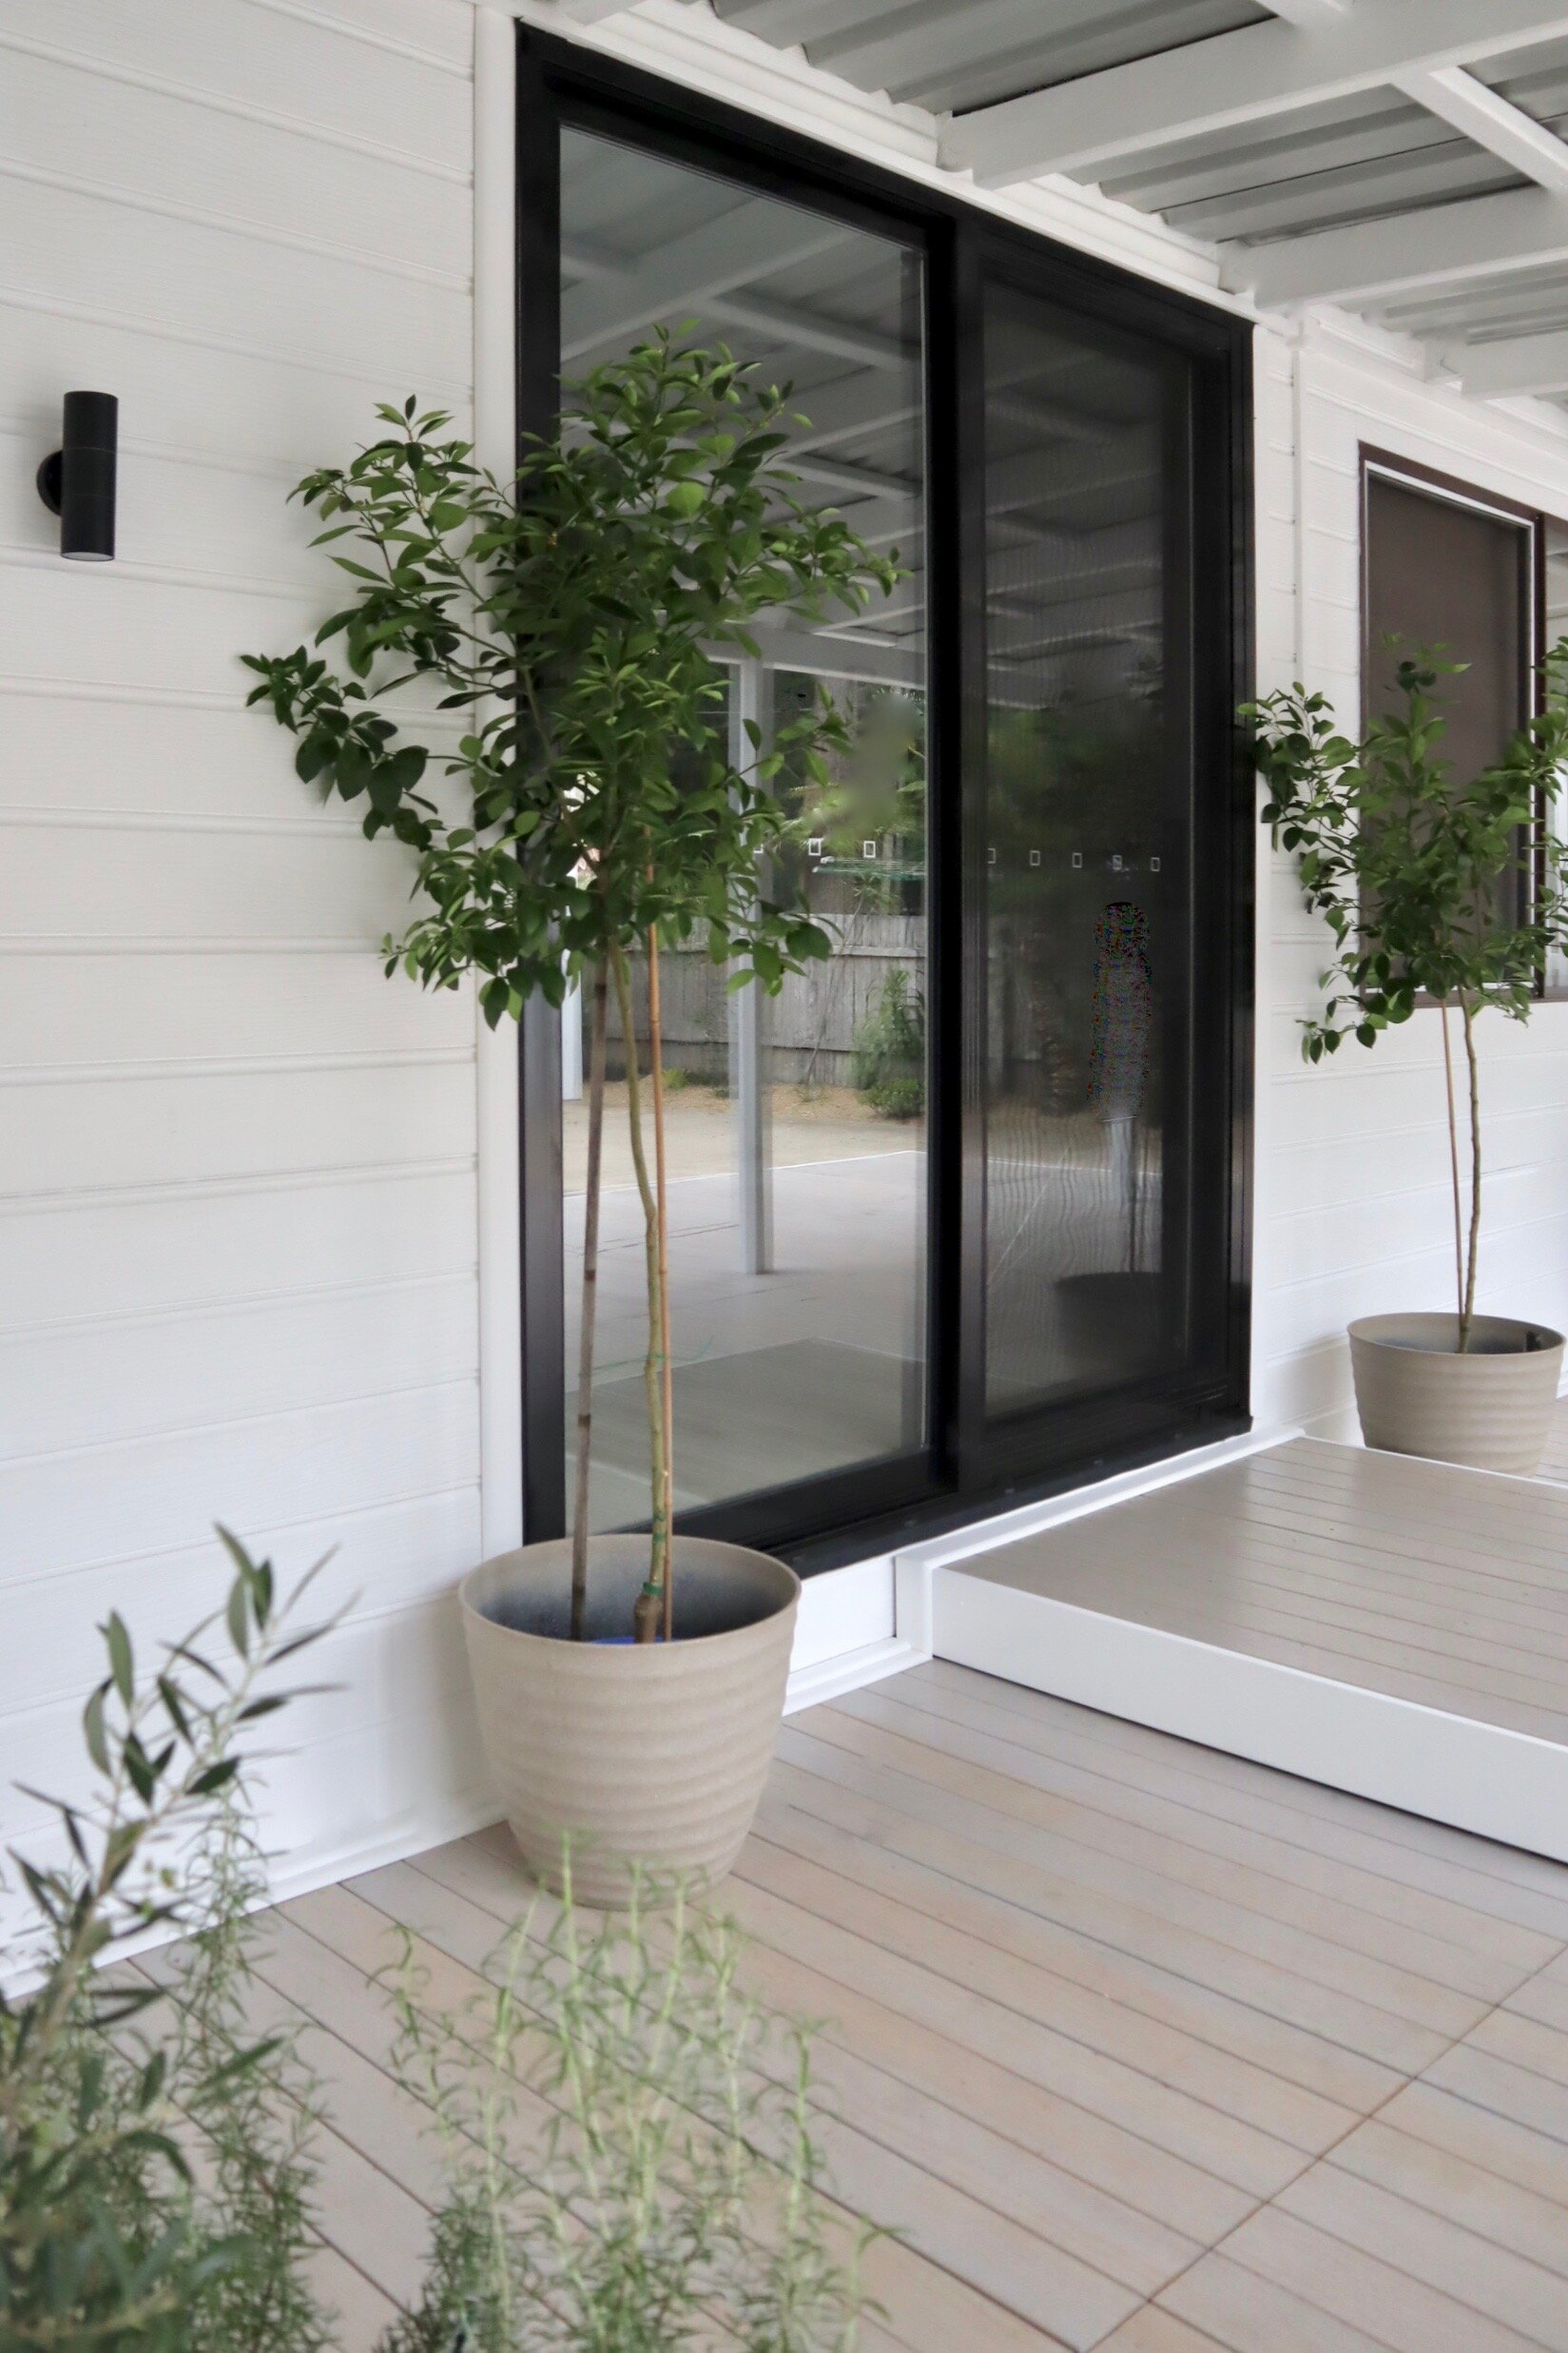
I chose a Polar Eco-View double-glazed aluminium sliding door kit in black with a matching sliding screen door, which looks clean and modern.
TIP Before ordering the door, check which way it will slide – from the left or right – looking from the outside. Mine is right-handed.

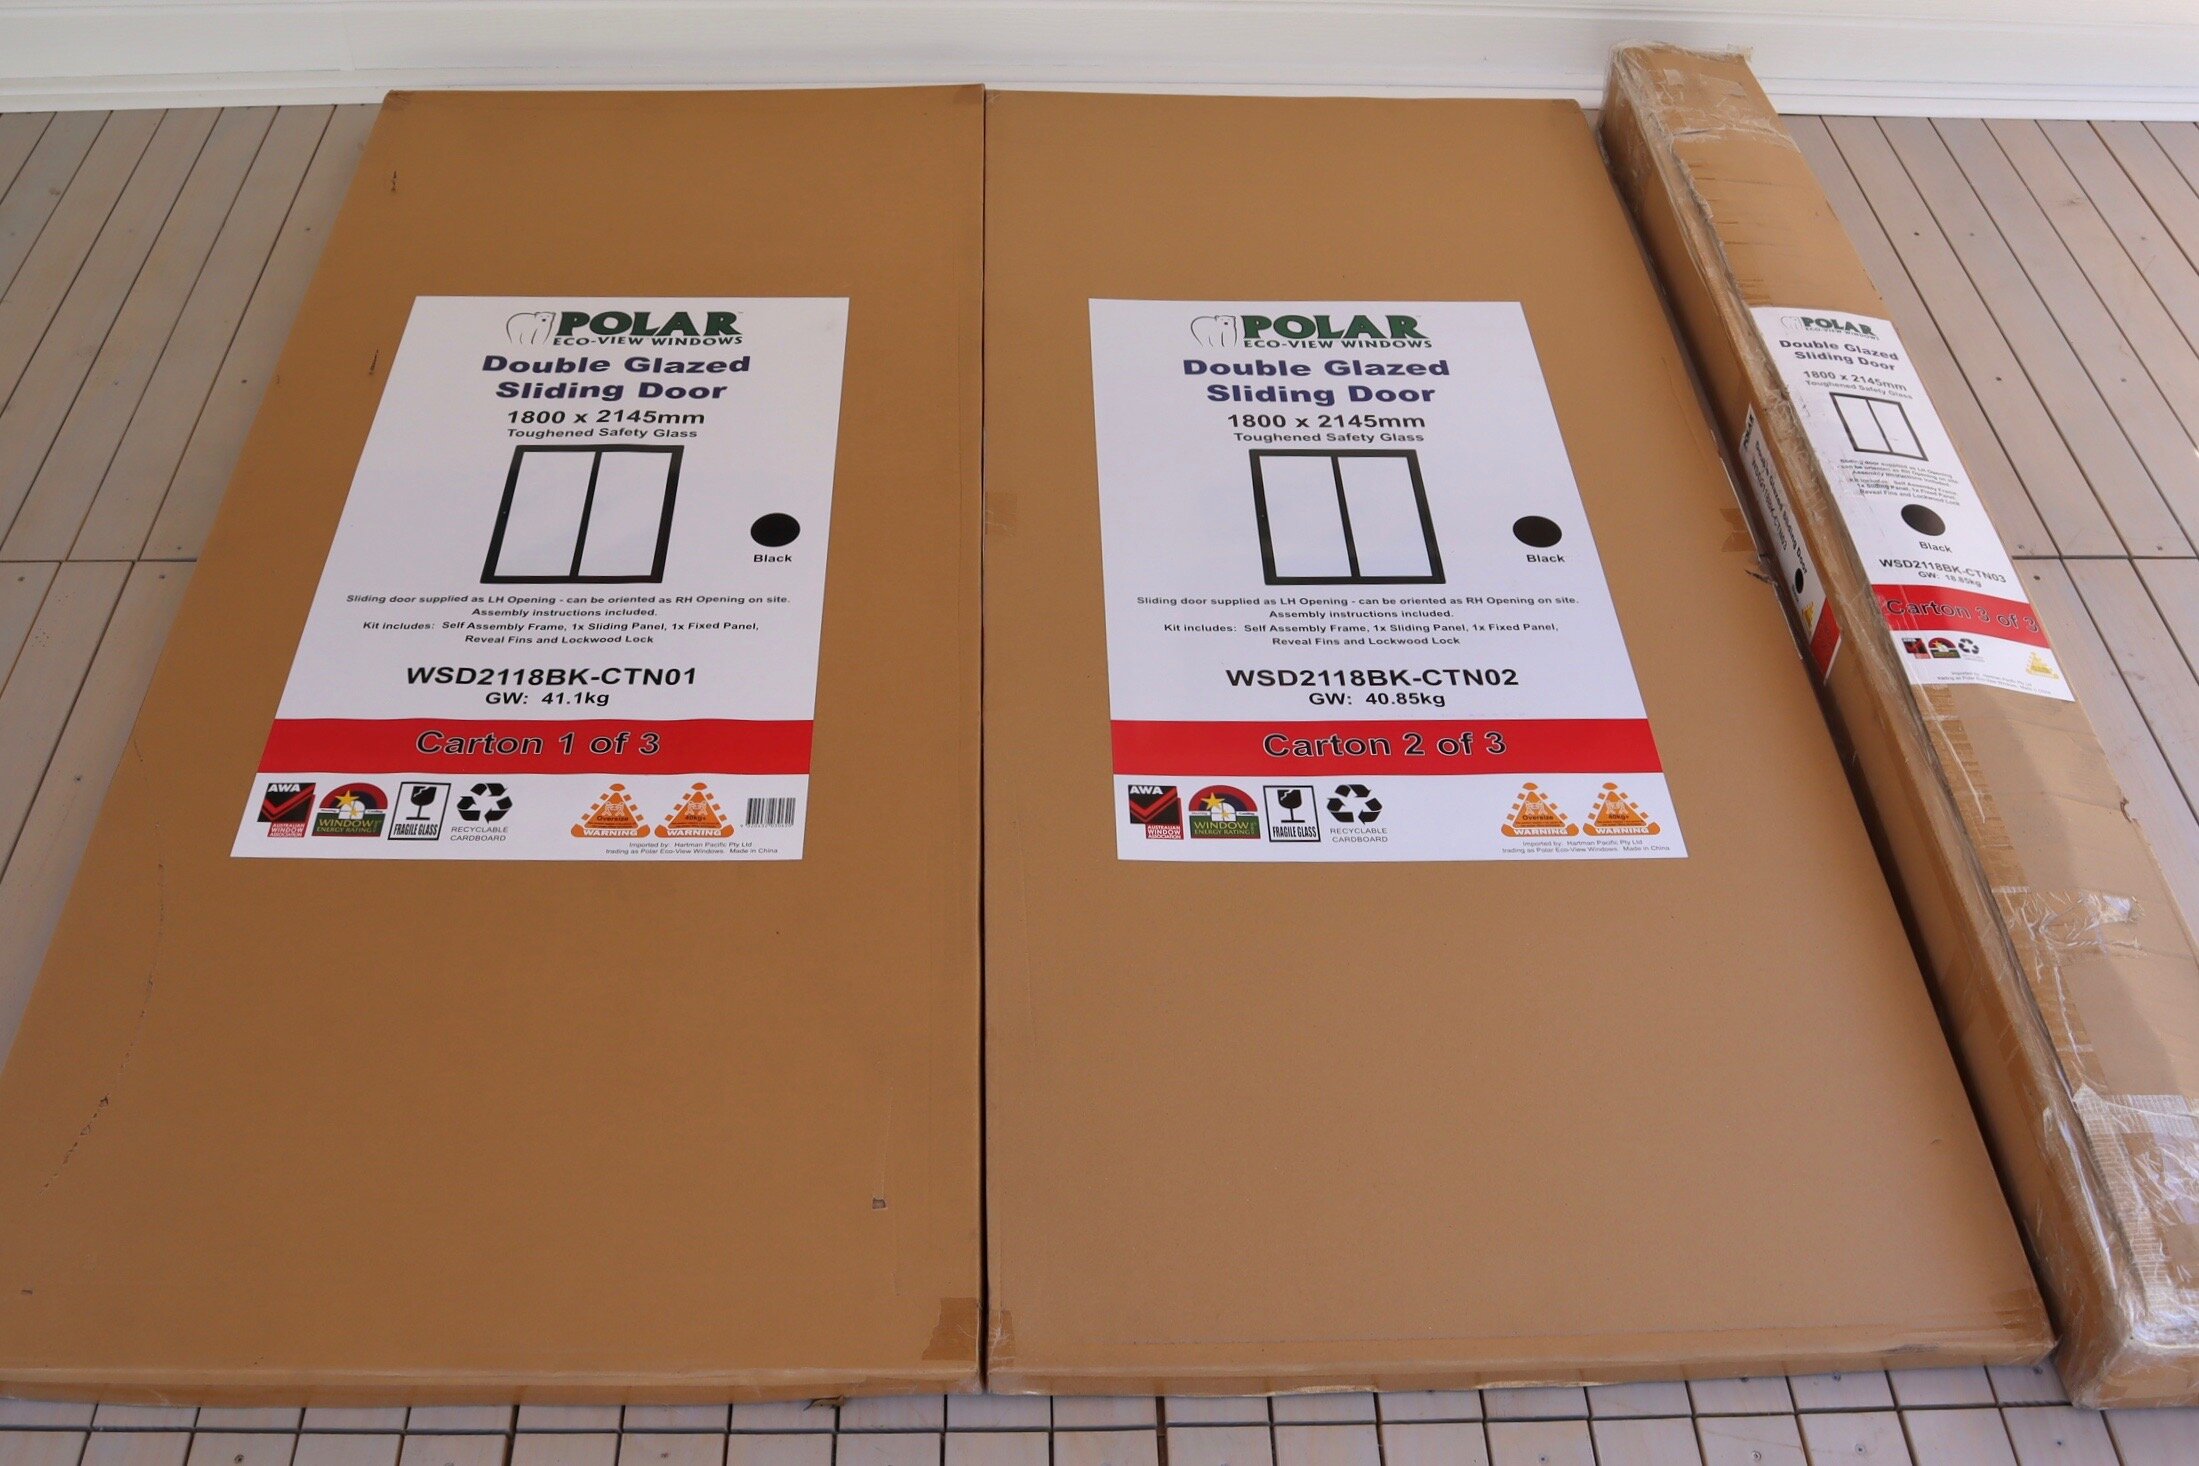
The door kit includes the frame and glass door panels, a base sill fin, reveal fins for the head and sides plus a lockable handle.
TIP The timber reveals don’t come with the kit, so order them separately with the screen door plus stainless steel or galvanised screws.
MY SHOPPING LIST
Polar Eco-View double-glazed aluminium sliding door kit 2145mm x 1800mm in black
15mm stitching screws for the reveals and screen door
50mm screws to install
New trim for inside and outside
20mm timber screws for the trim
Timber filler and sand paper for the reveals and trim
Paint and painting equipment
DIY TOOLS
I needed these to pull out the old door…
Utility knife
Rubber mallet
Sliding compound mitre saw for cutting trim
And these to install the new one…
Tape measure
Phillip’s head screwdriver
Impact driver
Drill with drill bits and countersinking bit
A patient hubby to help with lifting (not from a hardware store)

To remove the original door, I started inside, slicing down the side of the trim with a utility knife to prevent the paint from peeling off the wall. I used a wrecking bar with an offcut of hardwood behind it to lever off the trim and pull out the nails. I finished by sanding the wall for repainting later.
TIP You could reuse the trim with the new door, but I chose to install new moulding with a more modern profile to compliment the door.
I removed the original fixtures including the rubber stop, screen door and framing, taking out the fixed panel before the sliding one. With a reciprocating saw, I cut through the nails securing the frame and knocked out the reveal with the wrecking bar and mallet.
TIP This old doorway was so well installed, it took lots of elbow grease and a few hours to knock out.

Then this happened! A big storm hit so the tools had to be put away. The doorway was also too small for the new frame so I needed to drop the step. Usually the head would be lifted, but the raked ceiling meant there wasn’t enough space to go up.
TIP If you don’t get the door installed in a day, have plywood sheets on hand (just in case) and tape around the inside to seal out bugs.

Installing the door would usually take a couple of hours, including painting, but I had to cut into the joists and bearers to drop the step by about 50mm to enlarge the doorway. This took an extra day as I had a builder pop in to check it wouldn’t compromise the integrity of the house framework.
TIP Assemble the door frame first and check it fits before pulling out the old door.

After setting out the parts of the kit on a flat surface, I positioned the sides against the head and base, checking the inside of the frame was facing up.
TIP The rubber sill of the base faces outwards when the frame is installed.

I slid off the aluminium reveal fins before assembling and kept them aside, then used two of the supplied screws at each corner, checking they were positioned in the corresponding holes.
TIP Avoid over-tightening the screws.

The reveals are cut from pre-primed pine, and I painted them with two coats of water-based enamel before assembling.
On the side reveal fins, 150mm in from either end, I pre-drilled 4mm holes, and another in the middle to secure through the aluminium and into the timber with 15mm stitching screws.
For the top, I centred the timber reveal to protrude either end, secured with screws, then slid it back into the frame first, adding the sides so they were flush against it.
TIP The side reveals are the same length as the fins, and the top reveal is longer to allow for the thickness of the sides.

I’d checked the jamb and sill were square and straight with a spirit level, and the doorway would now allow for a 10mm clearance down the sides of the new door frame and along the head.
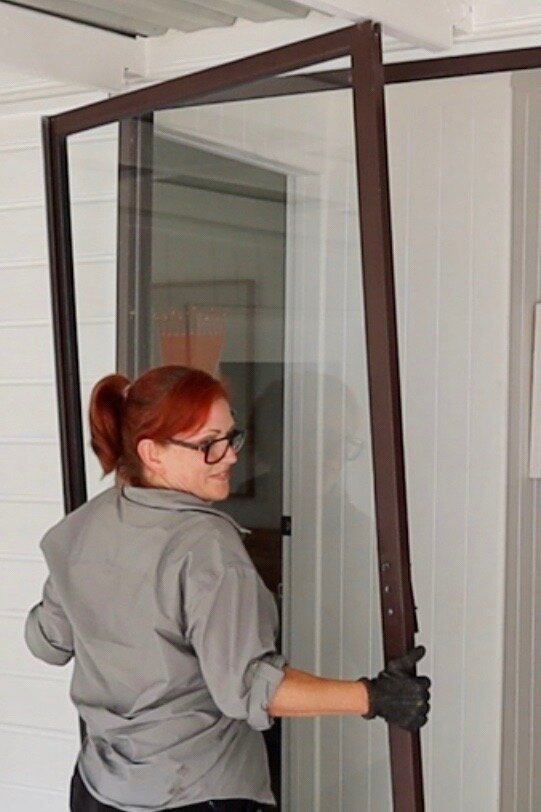
While the frame isn’t heavy, it’s best to have two people install – hubby provided a second pair of hands to lift it into position from the outside.
TIP When lifting, hold the side reveals to prevent them from sliding down, and check the rubber sill will face outwards over the step.

To attach the frame through the timber reveals, I checked the jamb was plumb, then used a combination countersinking bit to pre-drill the screw holes. For each screw, I positioned a packer between the reveal and the jamb and secured through the holes.
TIP Begin with a screw into each side, 100mm up from the base, checking the frame is square and plumb after each, working upwards.

From the outside, I lifted the sliding panel onto the furtherest track, checking it was orientated to slide from right to left and that the base wheels ran smoothly.
TIP To install each panel, lift them up into the track of the head, move them into position, then lower them onto the track.

I moved the sliding panel to the right for access to clip in the fixed panel sill, then lifted the fixed panel onto it, moving it to wedge into the side of the doorway frame.
TIP If the door slides from right to left, the Polar protective film on the fixed sill faces inwards and upside-down.

I clipped the door sill into the track in front of the sliding panel and pushed the weather seal into the top side of the fixed panel.
TIP Install the door stop at the base of the sliding track, clicking it into position to ensure it prevents the sliding panel from bumping the frame when the door is opened.
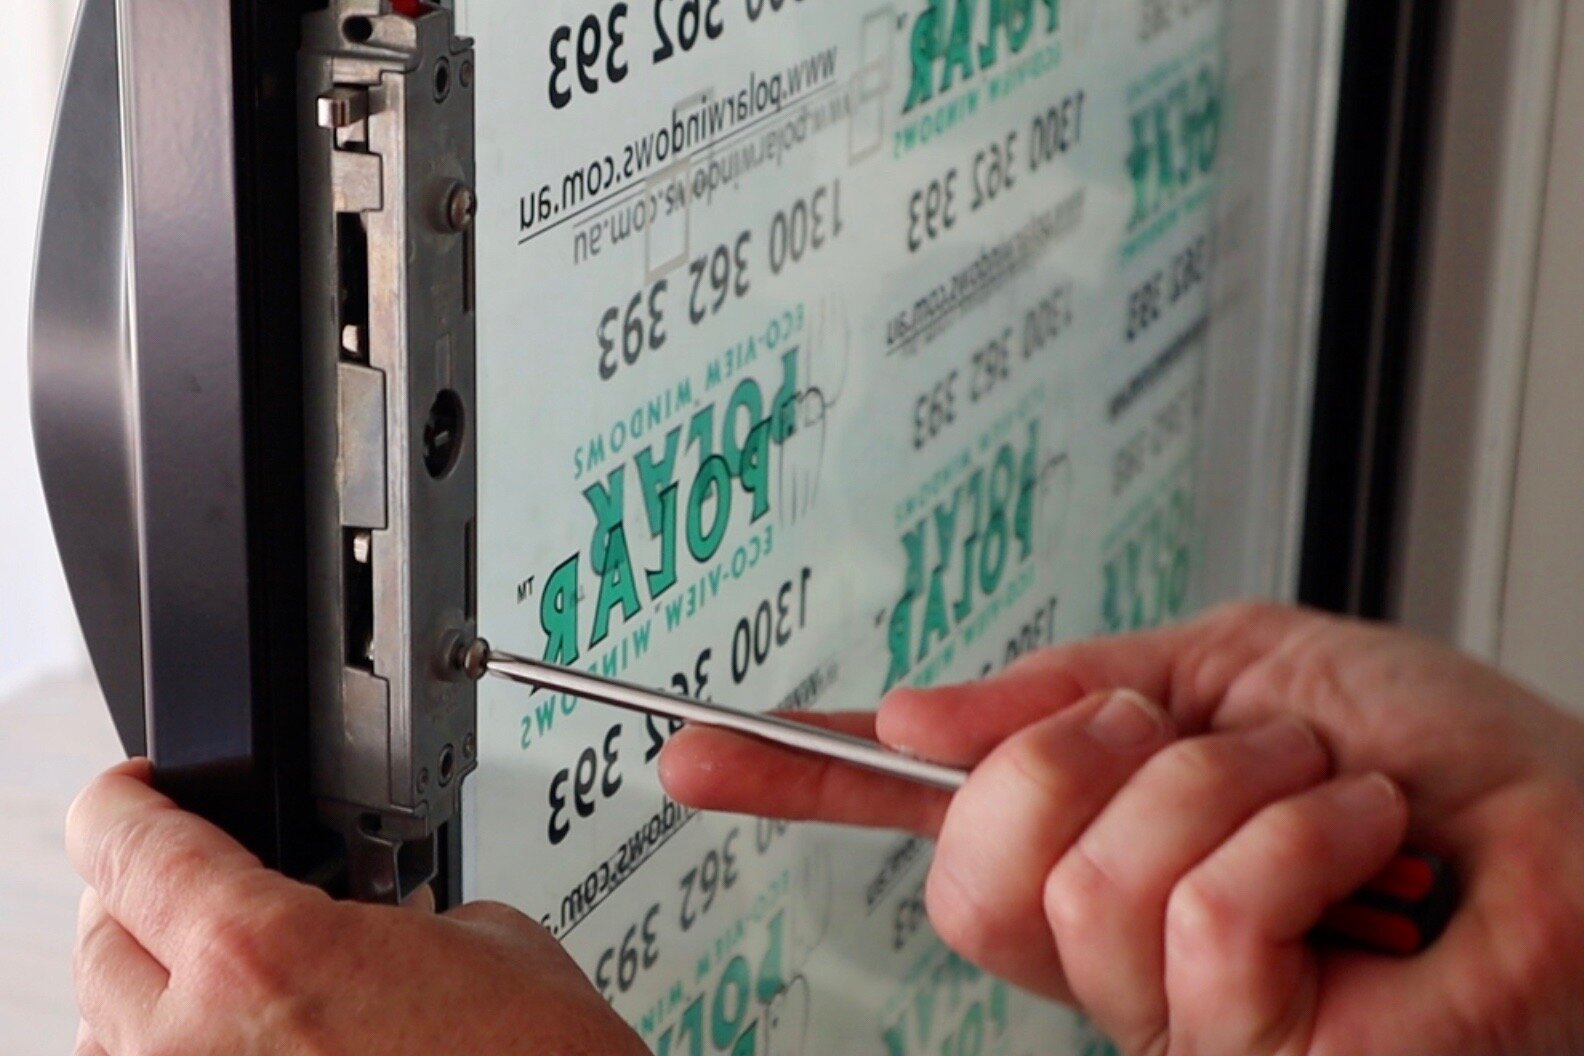
To install the lock handle, I used the supplied fasteners and followed the template to drill holes for the lock bracket.
TIP When installing locks and handles, use a screwdriver, rather than a drill, to avoid over-tightening and ruining the thread.

To assemble the sliding screen door, I predrilled holes into the back frame piece, attached it to the screen panel with 15mm stitching screws, then lifted it into position, checking the wheels were centred over the track.
TIP I gave the screws a quick squirt of black spray paint to hide them.
To finish, I installed new trim moulding around the door frame inside and out, countersinking the screws and smoothing them over with timber filler before sanding and painting.
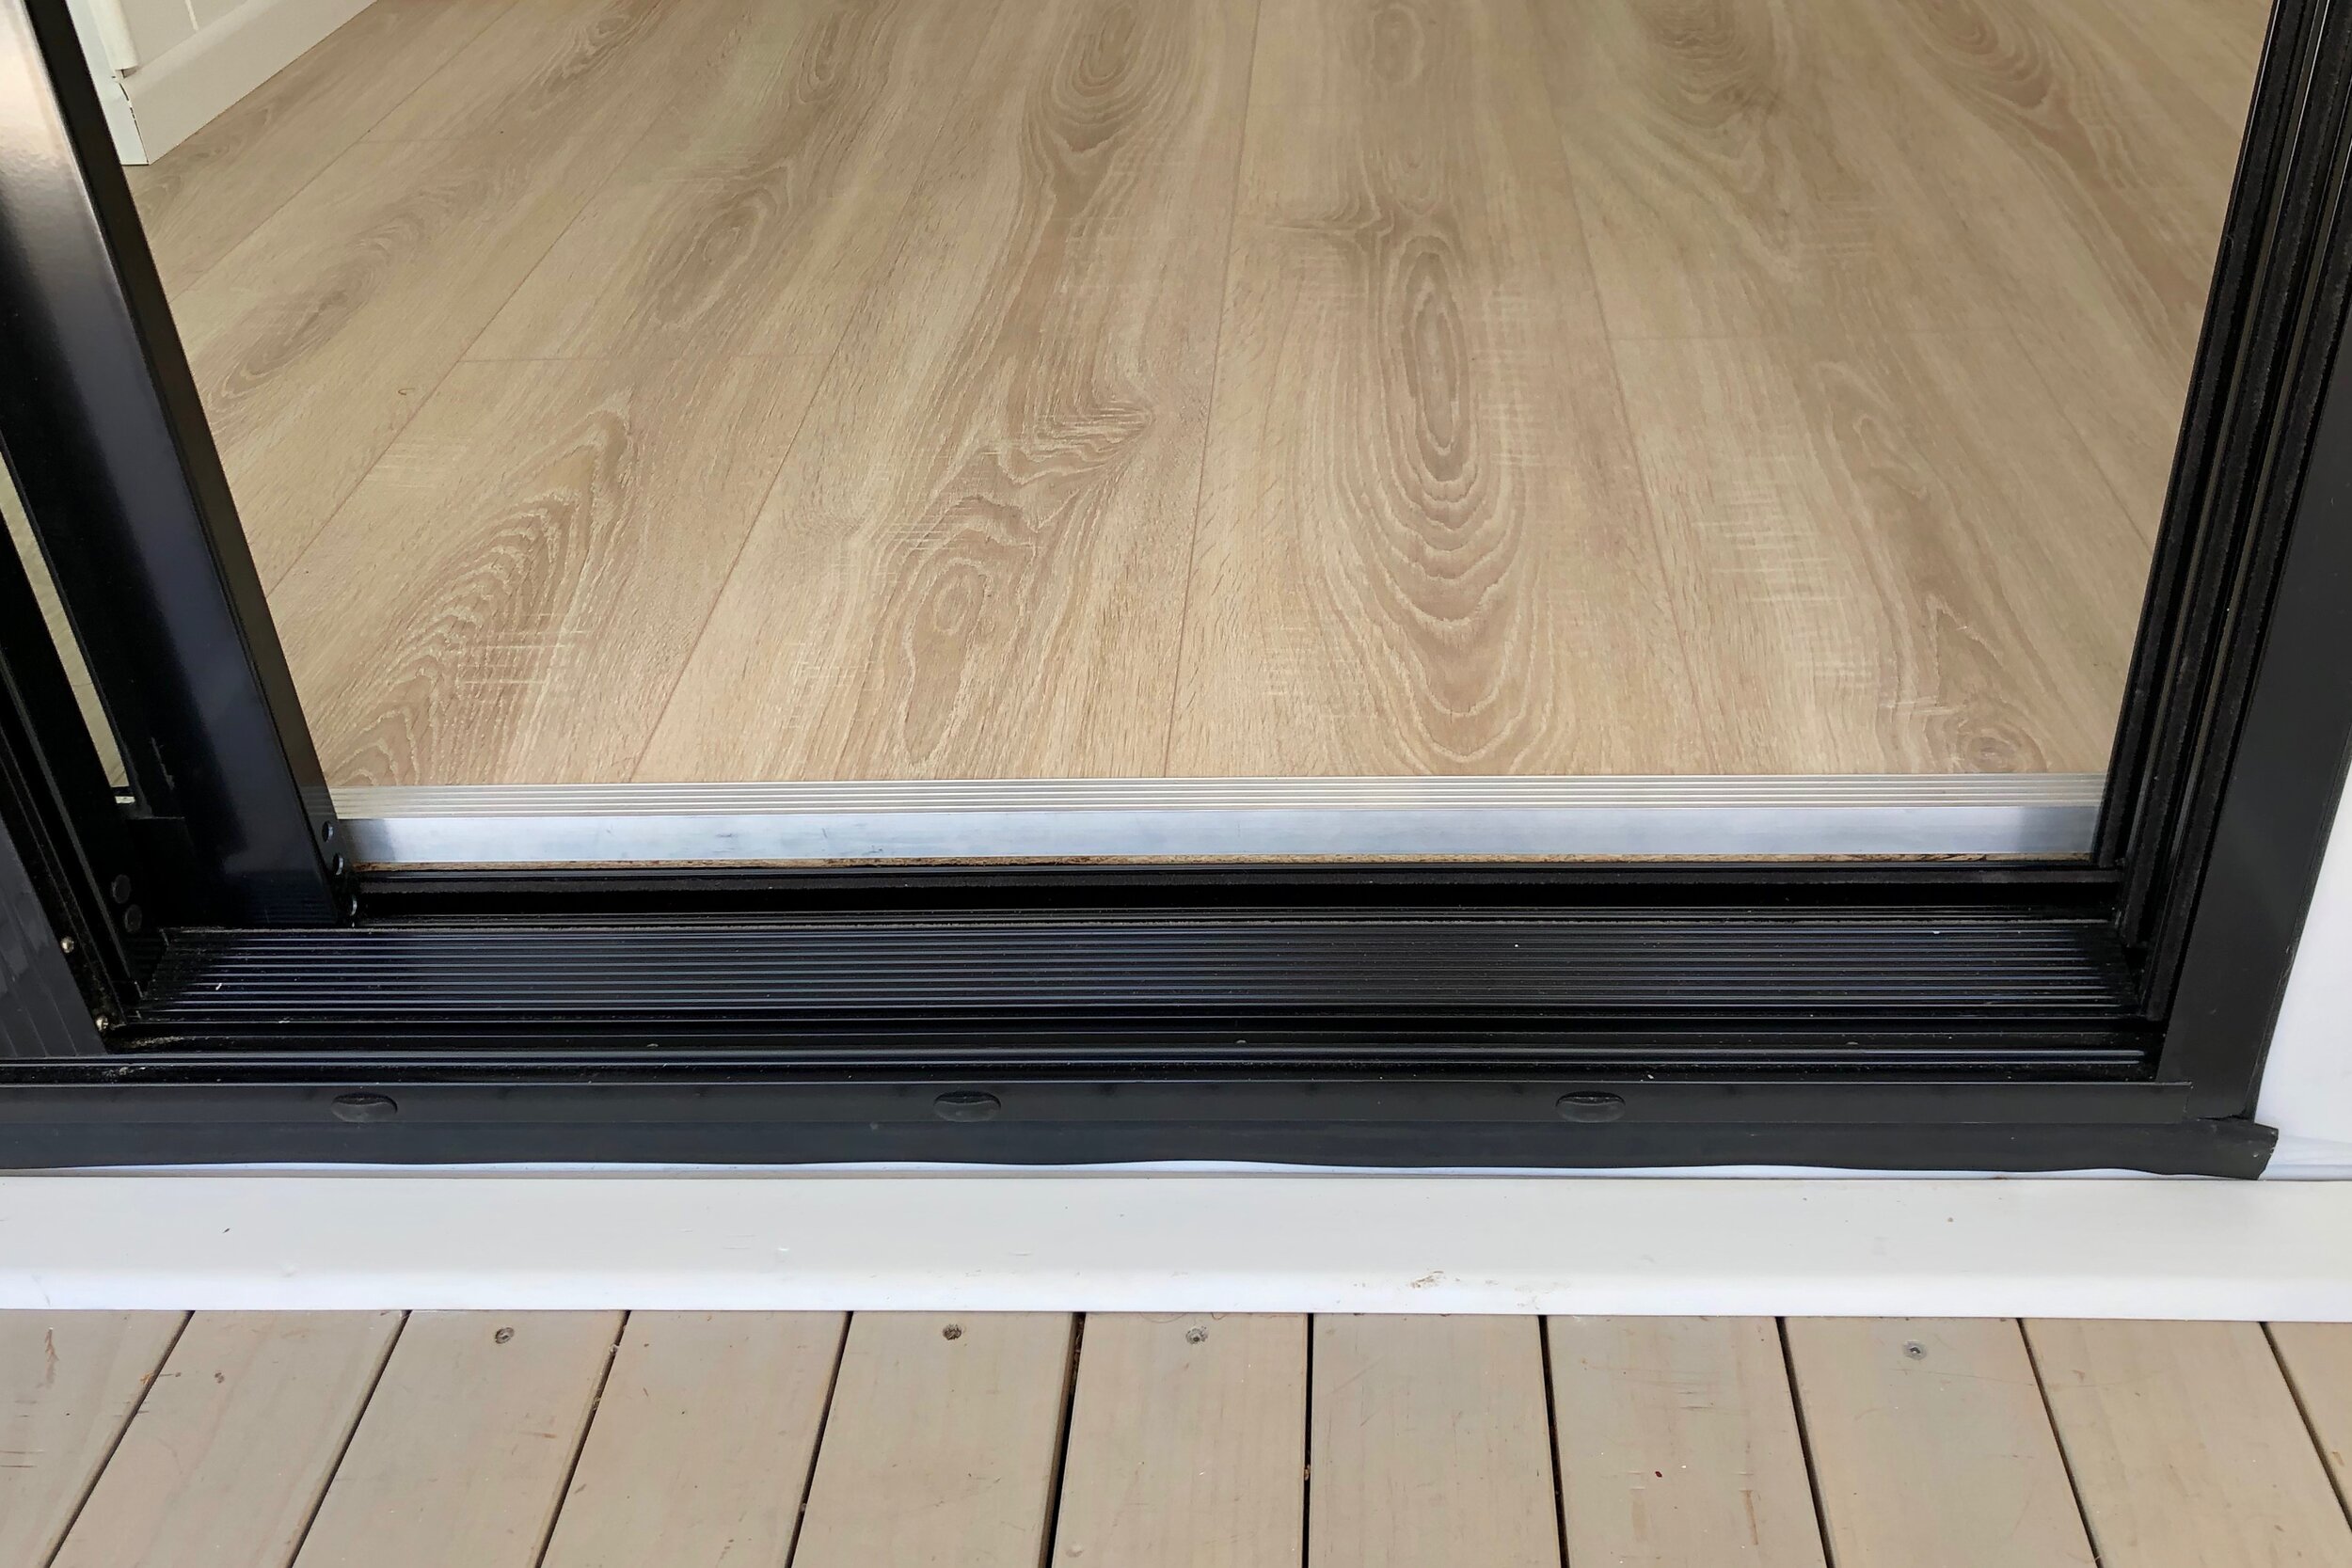
I also covered the edge of the floor in aluminium trim to neaten the step that had been cut to enlarge the doorway.
TIP If doing a new build, install the door frame first and clad the outside house walls with weatherboard later so they tuck into the door frame without requiring trim.
I also replaced the window screens next to the door, keeping the original windows and putting in new white frames with stainless steel mesh.

Follow my DIY journey on Instagram for tool tips, more home improvement and simple building projects.