Customise a flatpack wardrobe
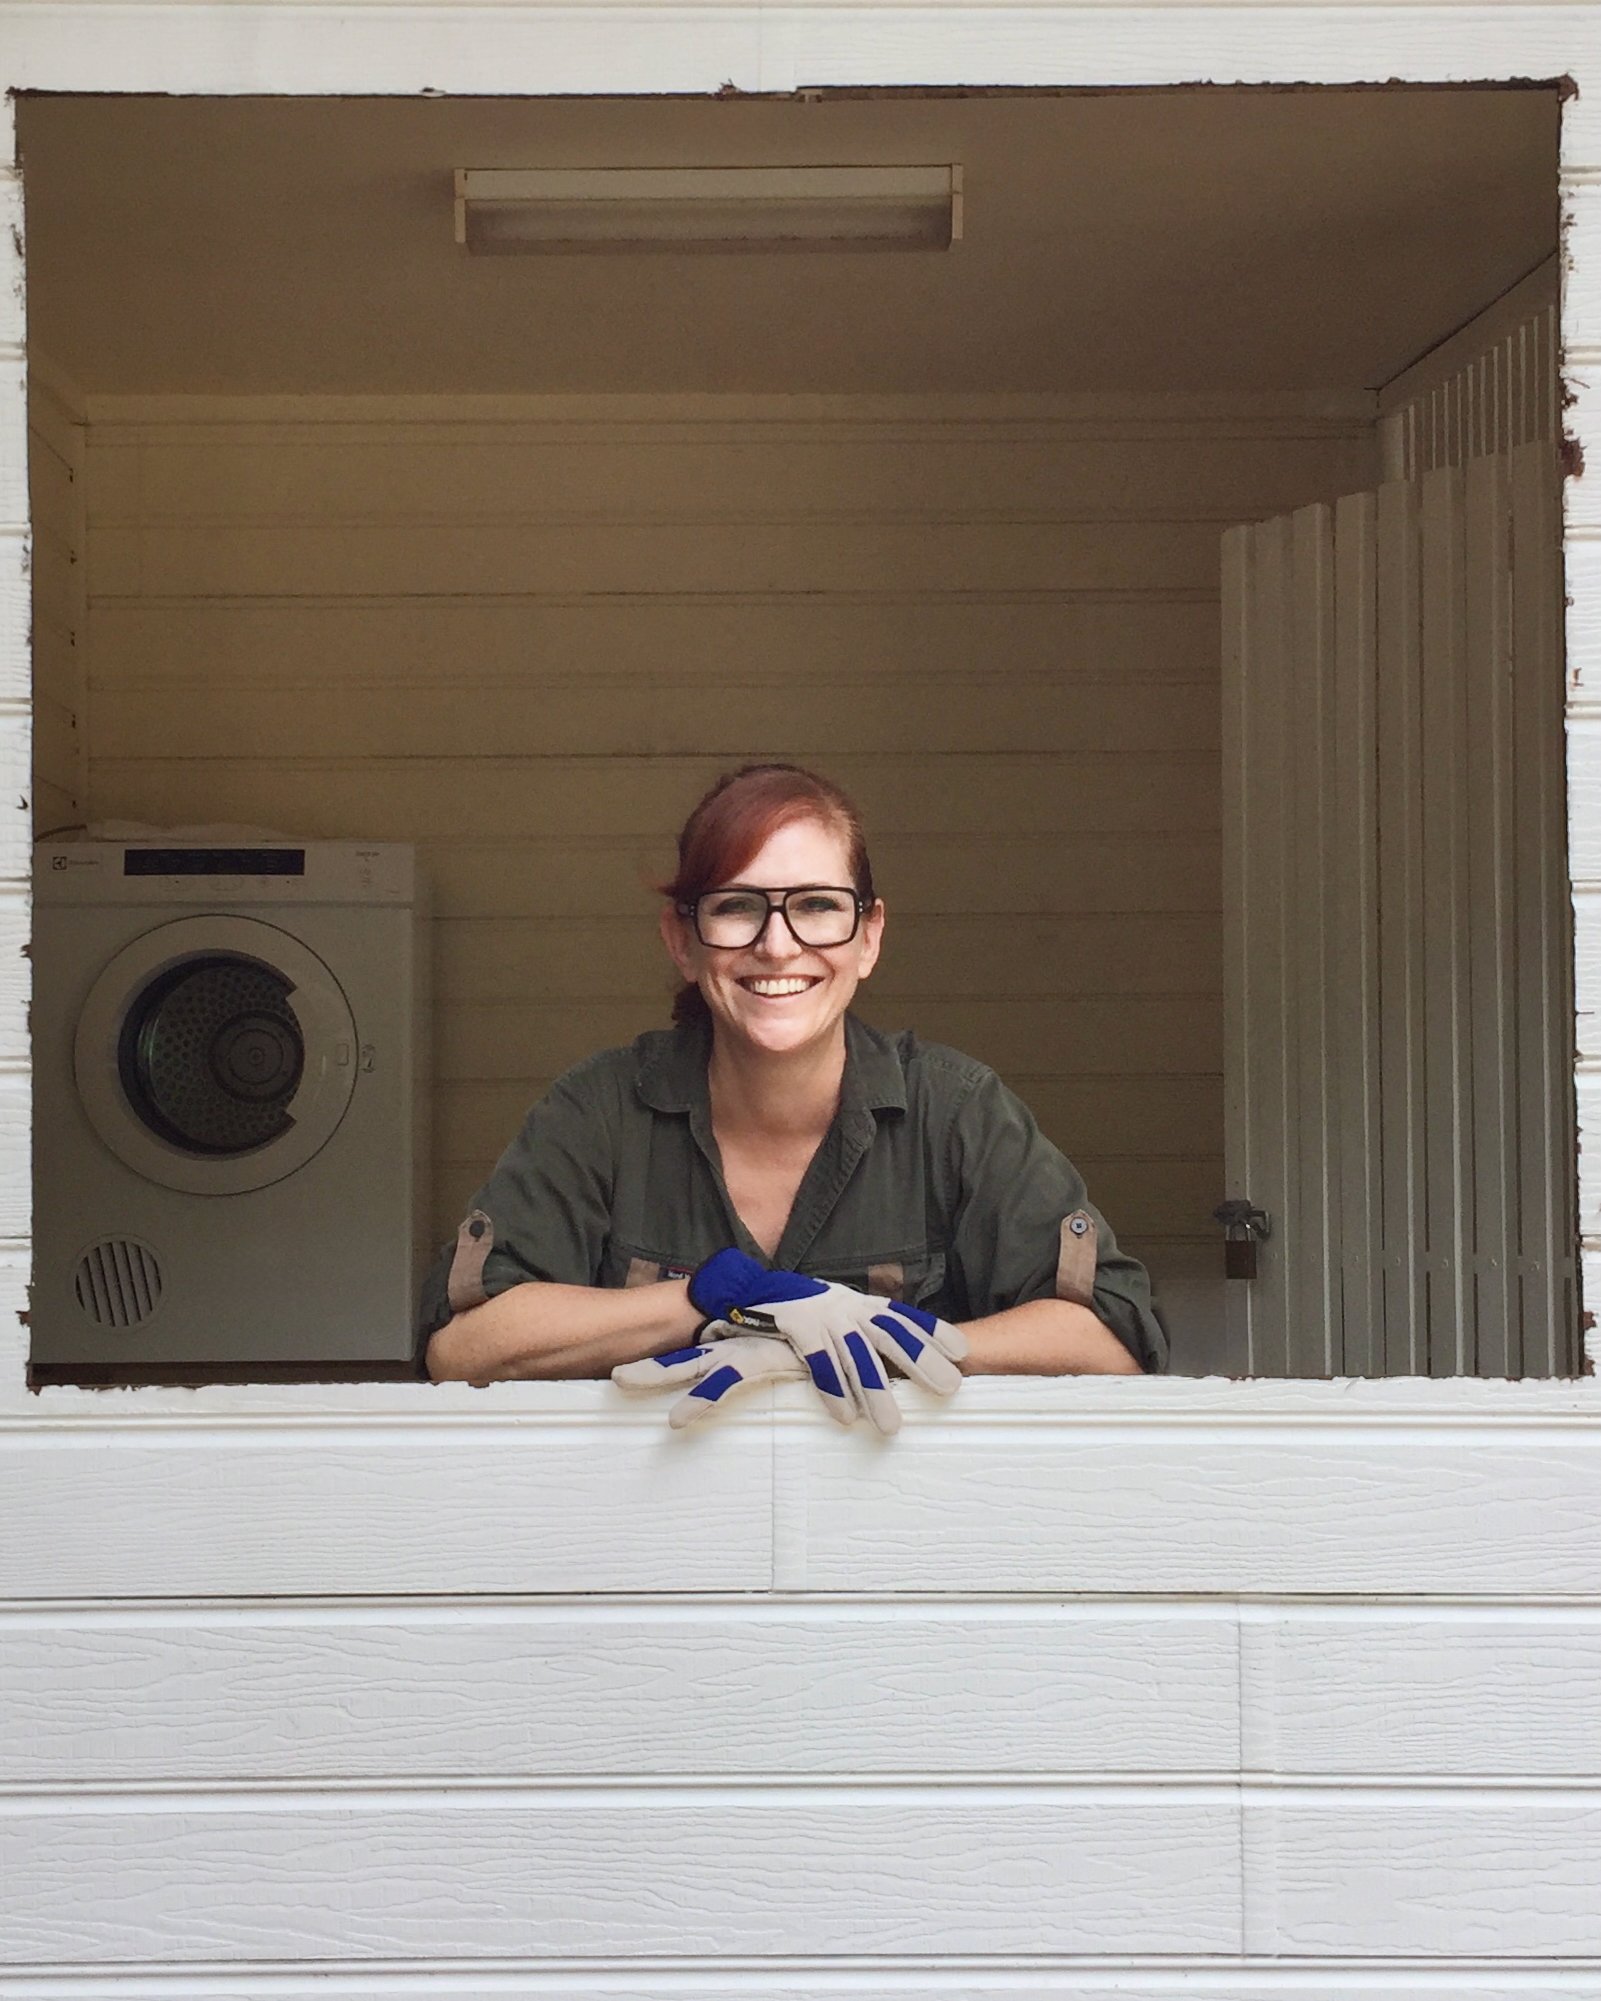
Alun Machin

Take two flatpack units, a hat shelf and Multistore Solutions VJ sliding door package, then add customised timber finishes to create a bespoke built-in robe that transforms a tiny room into a lovely, functional space. Here’s how I did it…
THE PLAN
This small bedroom room is a nice space to sleep in, but it has no storage. So I created an area for a built-in wardrobe by knocking out the wall and moving the door to the opposite side and building a new cavity.

In such a small room, keeping any additions white helps to make it as seamless and bright as possible, so I’ve gone with white Multistore Solutions units, tracks and sliding doors.

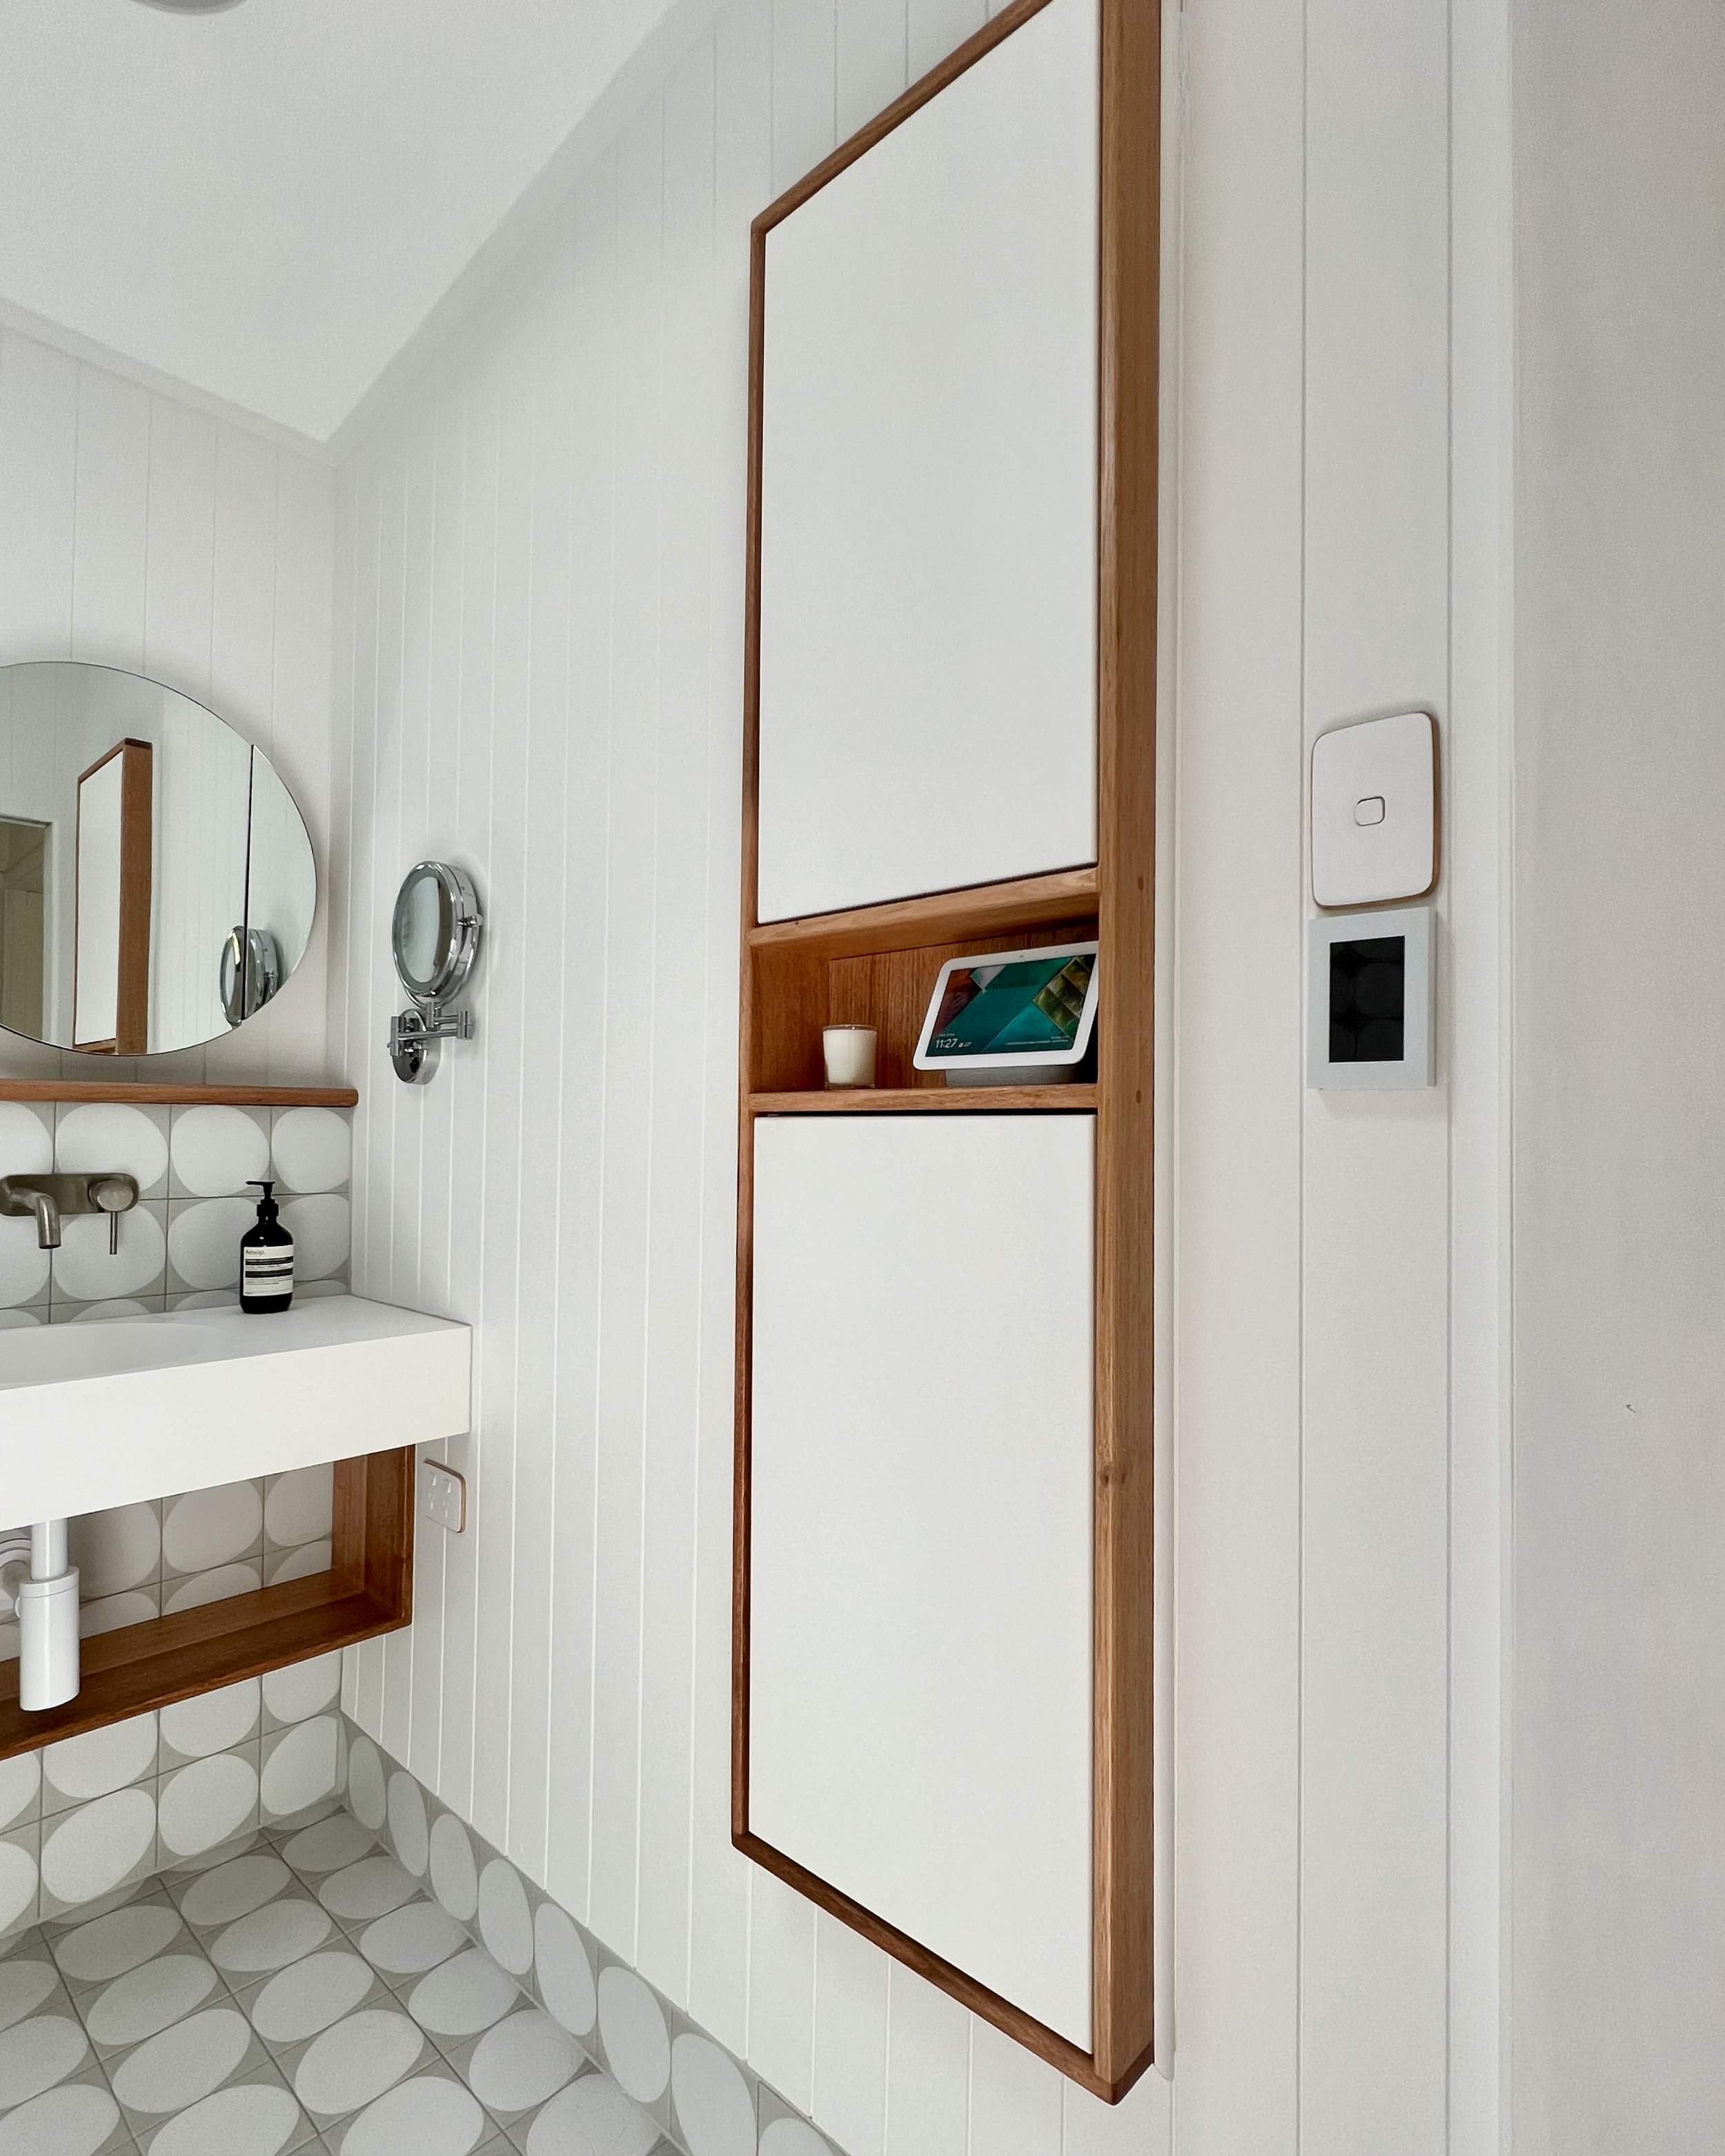
The customised wardrobe in my guest bedroom now has it all – hanging space, lots of drawers and shelves, a vanity top and even hidden suitcase storage that makes the most of an awkward spot under the raked ceiling.

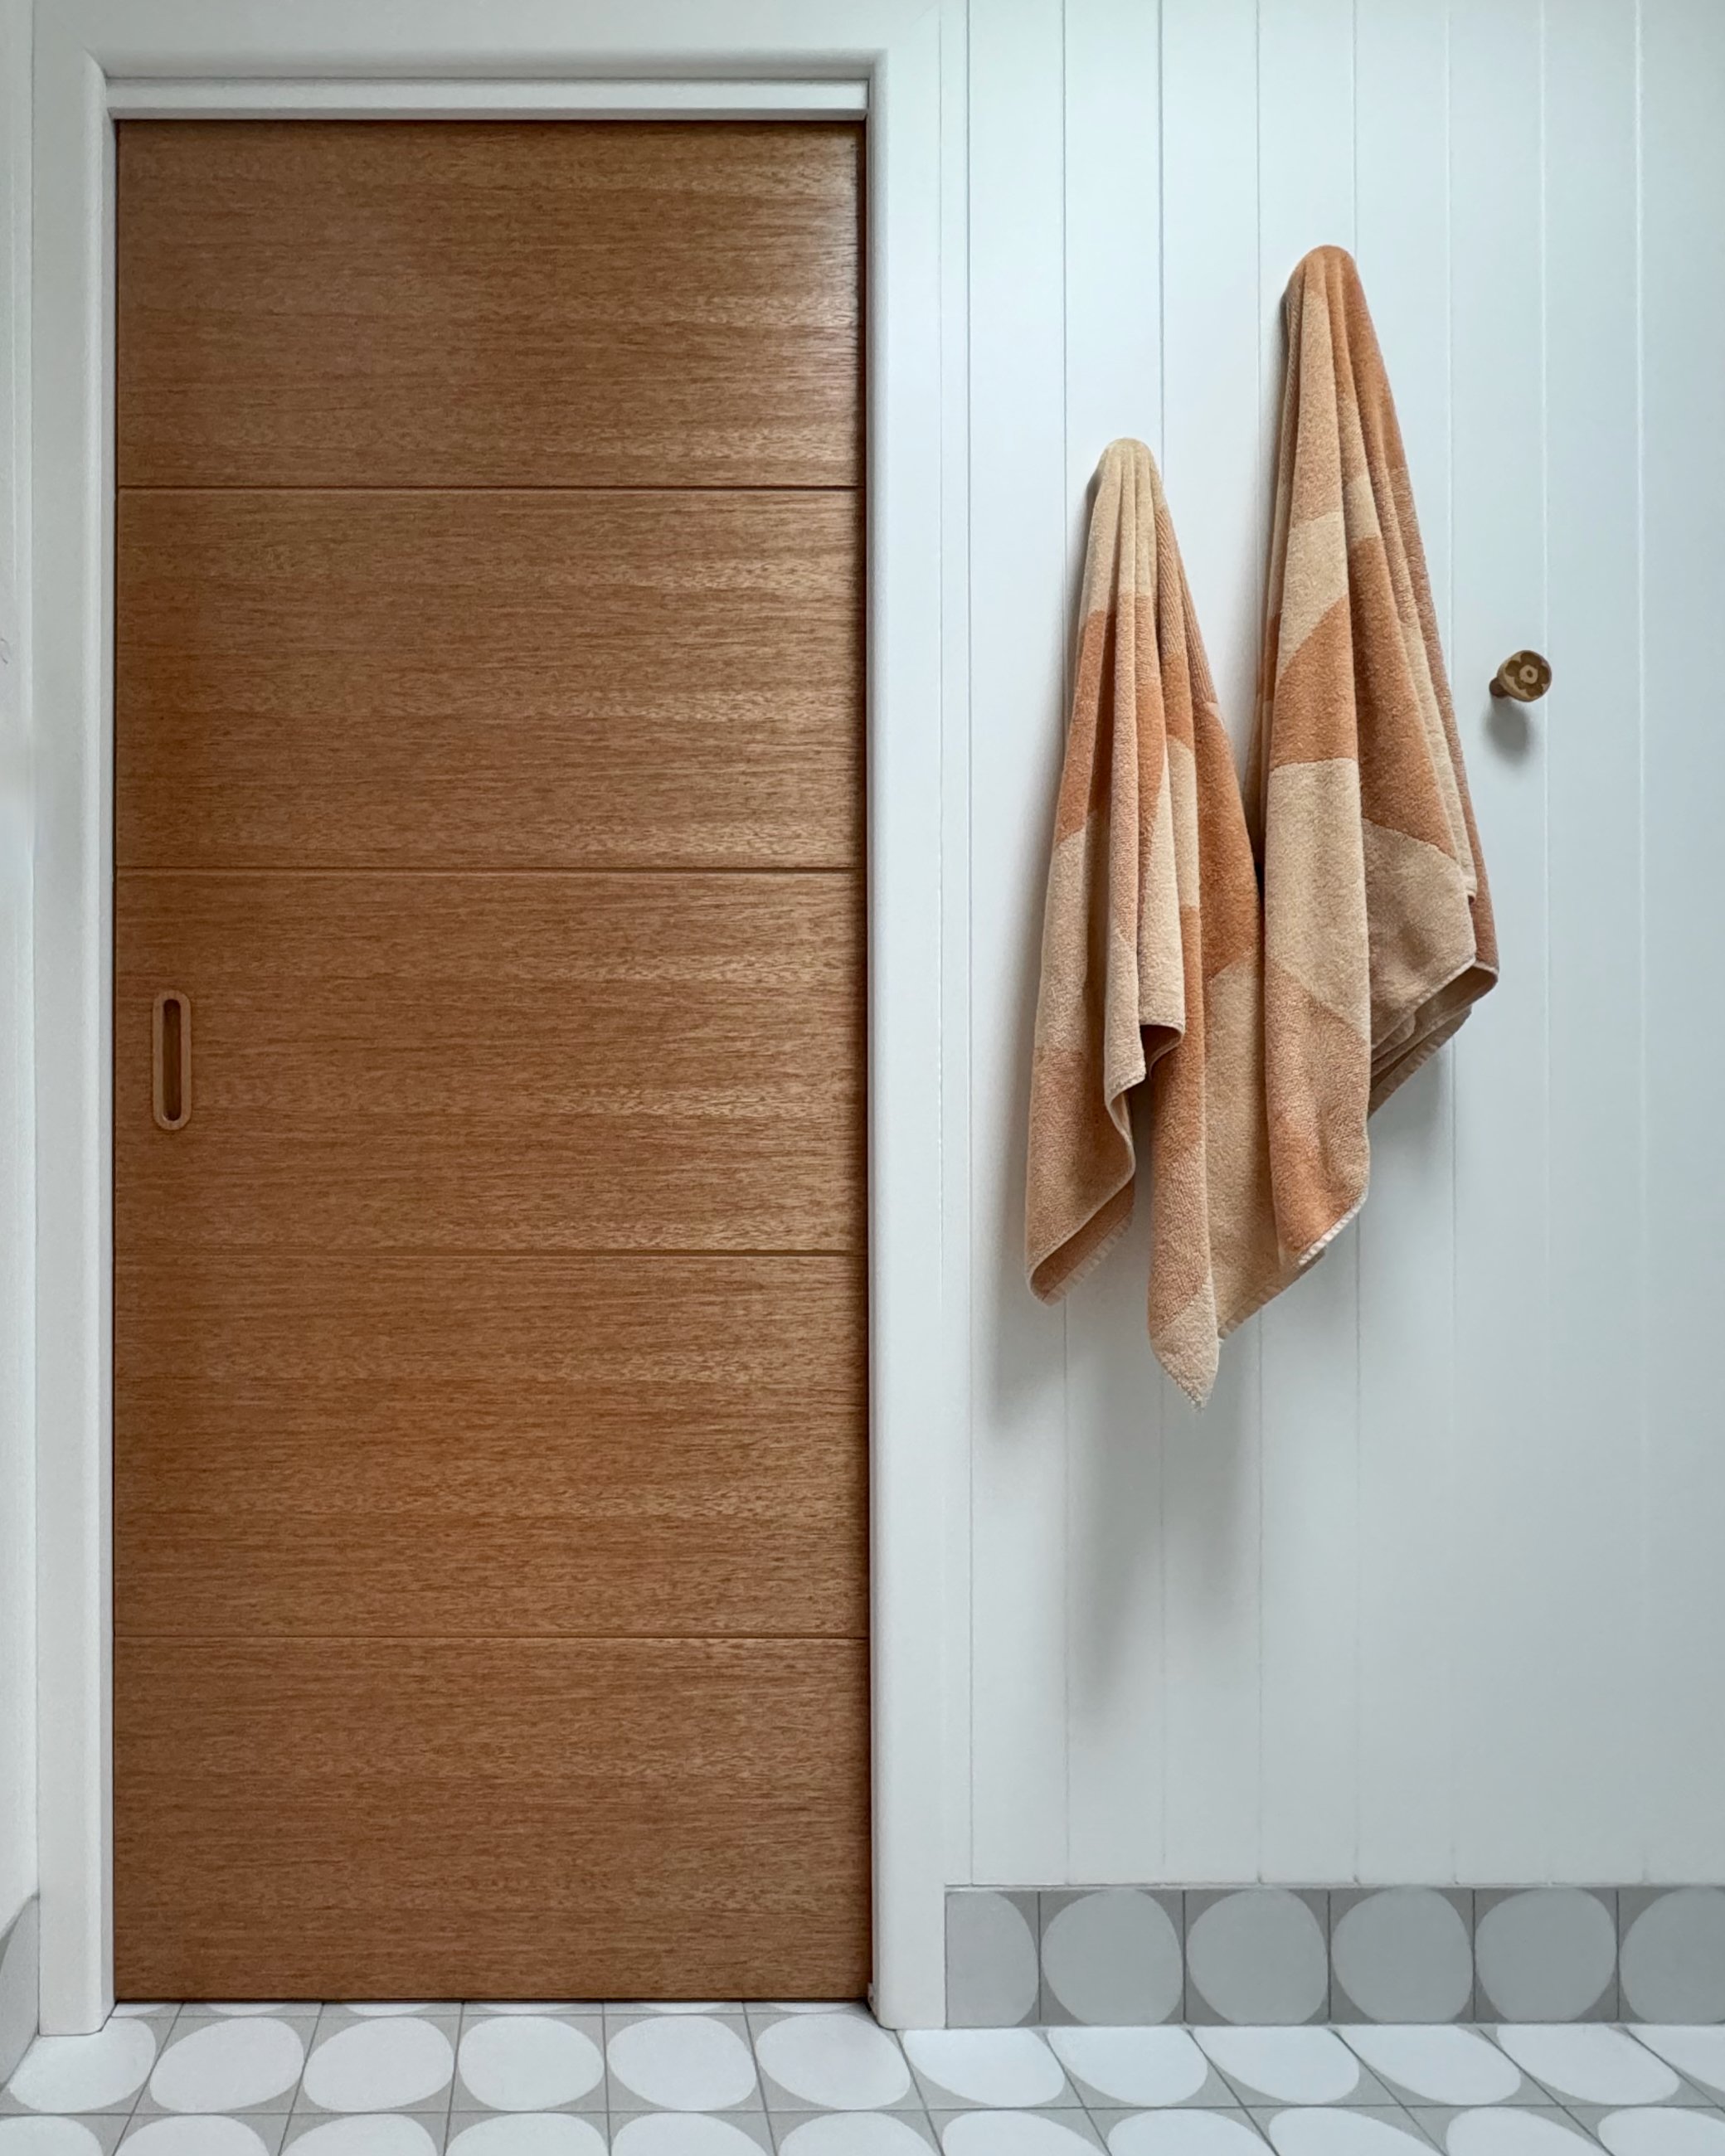
As part of the full room renovation I chose the lovely grooved sliding doors so they would blend with the surrounding Easycraft EasyVJ wall panels in the small all-white room to help it feel airy and spacious.
I love the warmth of wood features though and couldn’t help adding a little midcentury touch by switching out the unit handles and adding a vanity-type timber top.

BEFORE To prepare for the wardrobe install, I lay the flooring, clad the bedroom walls in VJ panels and painted all the surfaces.

What I needed to get started was a plan, plus Multistore Solutions shelf and five-drawer unit, drawer unit, hat shelf with rail, door package with three VJ doors and triple track.

To assemble the units I set up on a table in my workshop where there’s a great flat surface to work on and room to move.
TIP If assembling in the room where the robe will be installed, work on the packaging to avoid scratching the floor.

After unpacking all the components, I put together the top and base units by simply following the instructions included.
TIP Use a flat-head hammer to knock in the nails that support the backing. I like using this Irwin 20oz steel hammer.
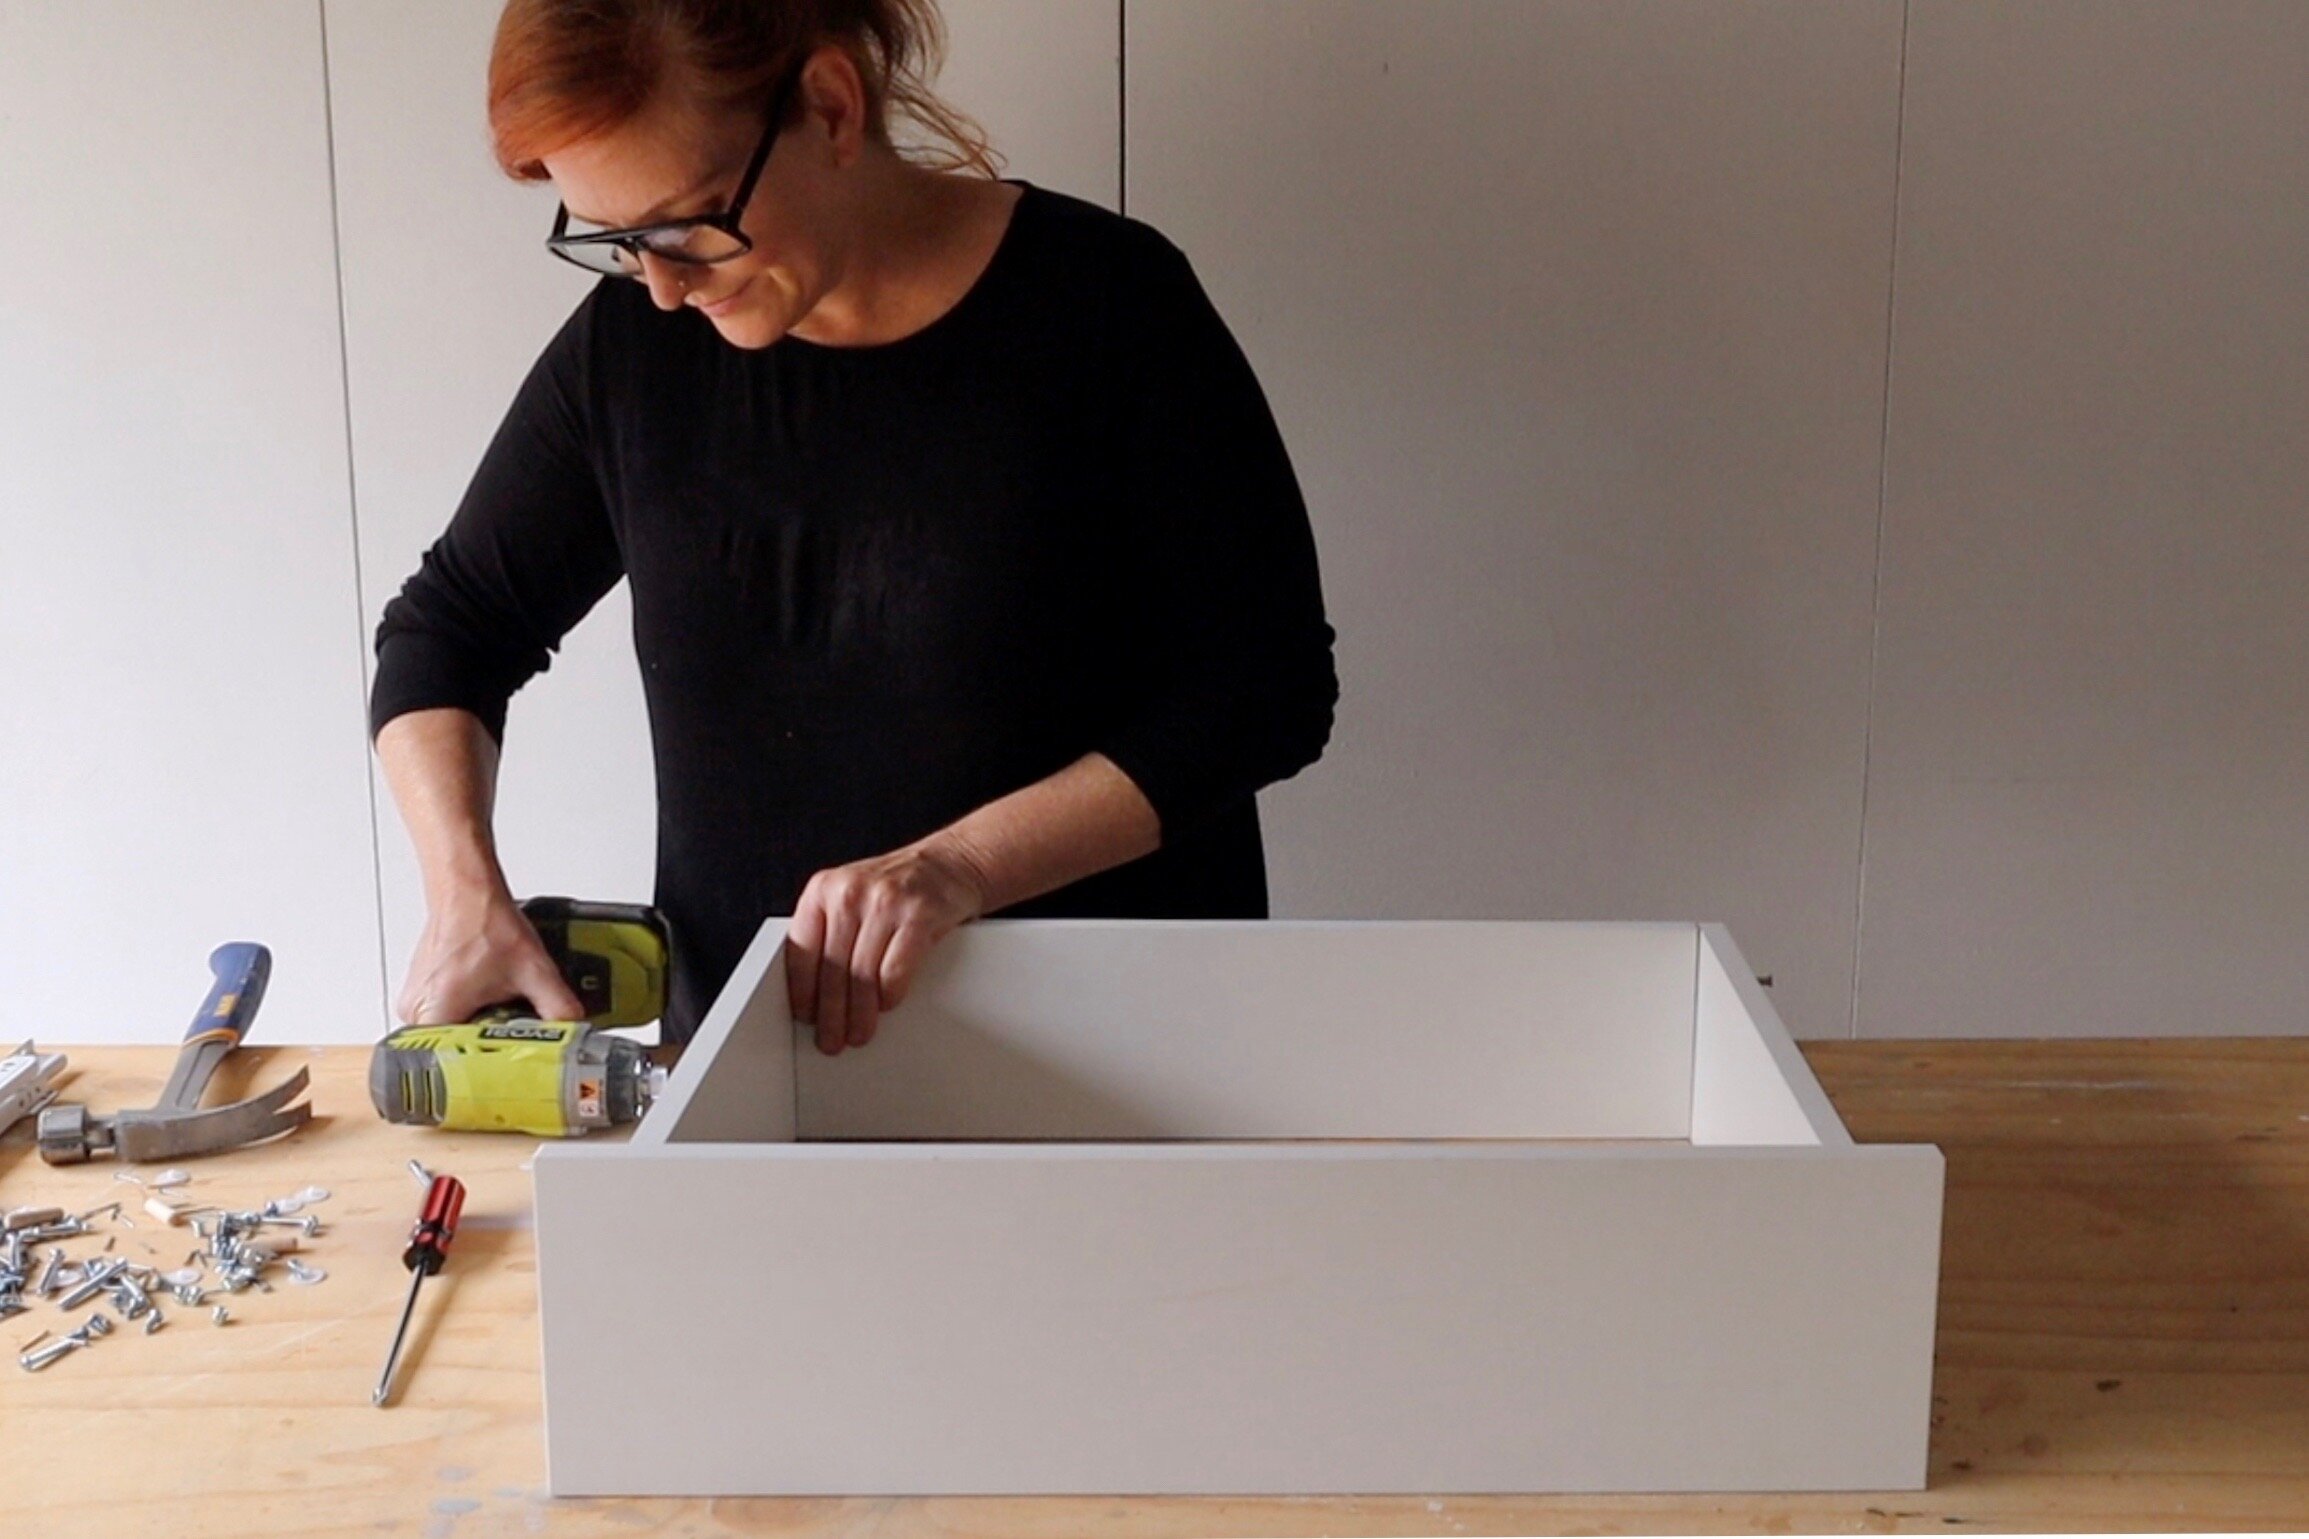
Then I set up a production line to assemble the drawers and found that it’s best to have both a drill and screwdriver handy.
TIP When separating the runners into parts for the drawers and parts for the units, keep the pairs together with the supplied rubber bands.
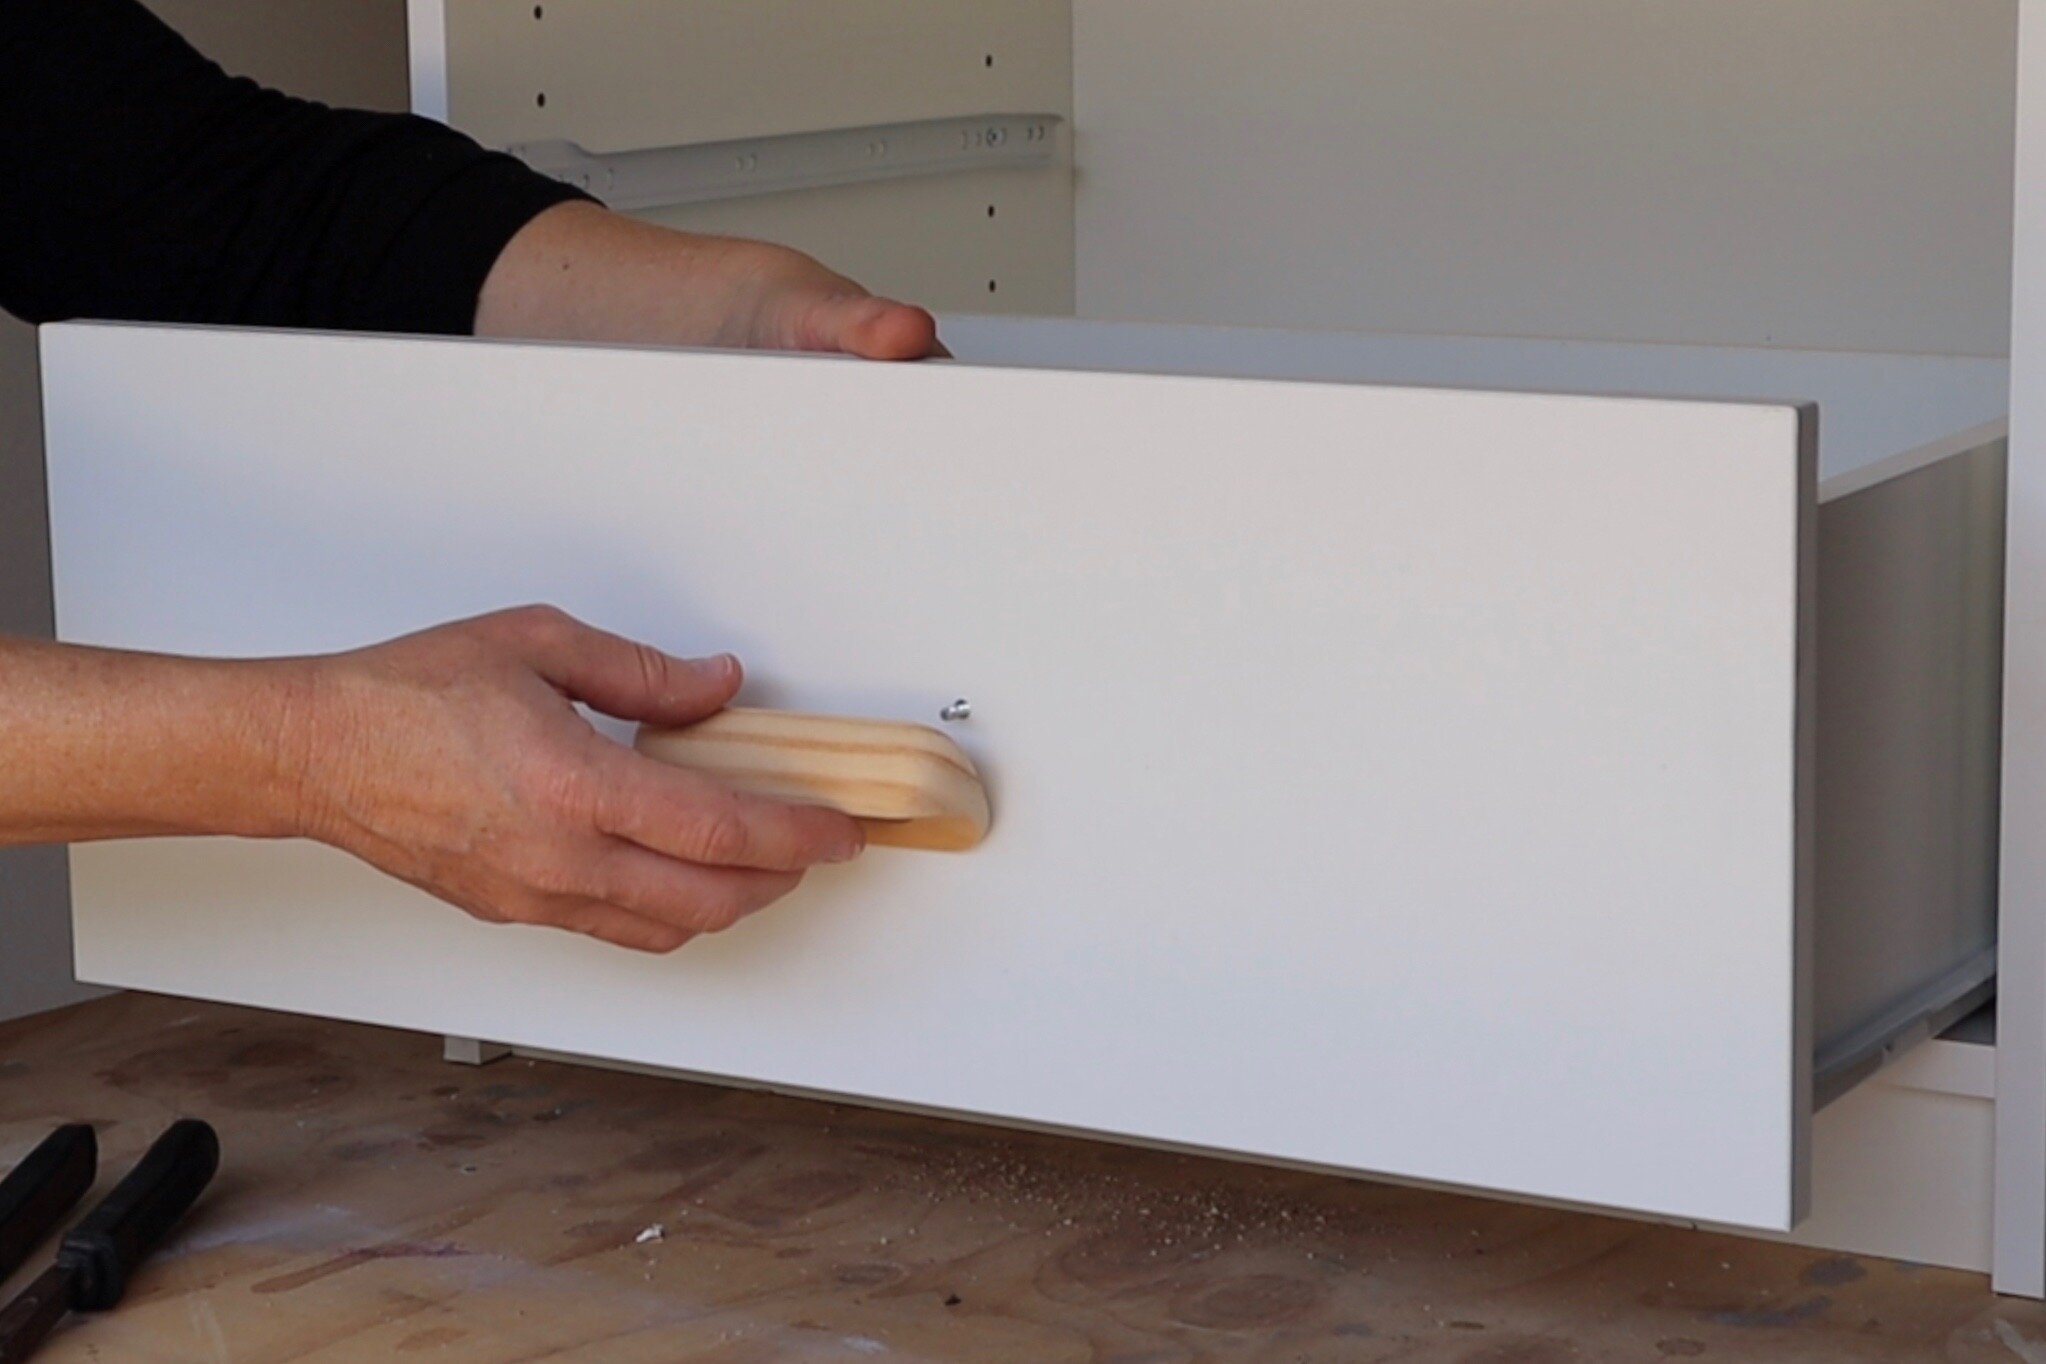
By swapping out the supplied handles for these midcentury-style timber Prestige post box handles I added a little warmth and personality to the wardrobe.
TIP Make a template and drill the holes outside as there’s lots of sawdust. Also check the handles don’t increase the depth of the units to catch the doors once installed.

To install the runners, check the instructions for which holes to use then count up from the base and mark with tape.
TIP Make sure the wheel of the runner is at the front, facing down, then match up the holes to install two screws per runner.

Before joining the units, I moved them into the cavity and dabbed adhesive into the holes for the dowels.
TIP I like to use Bondcrete woodworking adhesive for assembling flatpack furniture as it dries fast and clear. I also used it to secure the join the drawer fronts to the drawer sides for extra hold.

I lifted the top unit (with the dowels) onto the base then nudged the full assembly into position.
TIP The units are much lighter and easier to move without the drawers.

I added drawers and shelves last, checked the units were flush against the cavity back and installed the safety brackets to keep them in position.
TIP Don’t skip the safety brackets, especially if you have kids that like to climb.
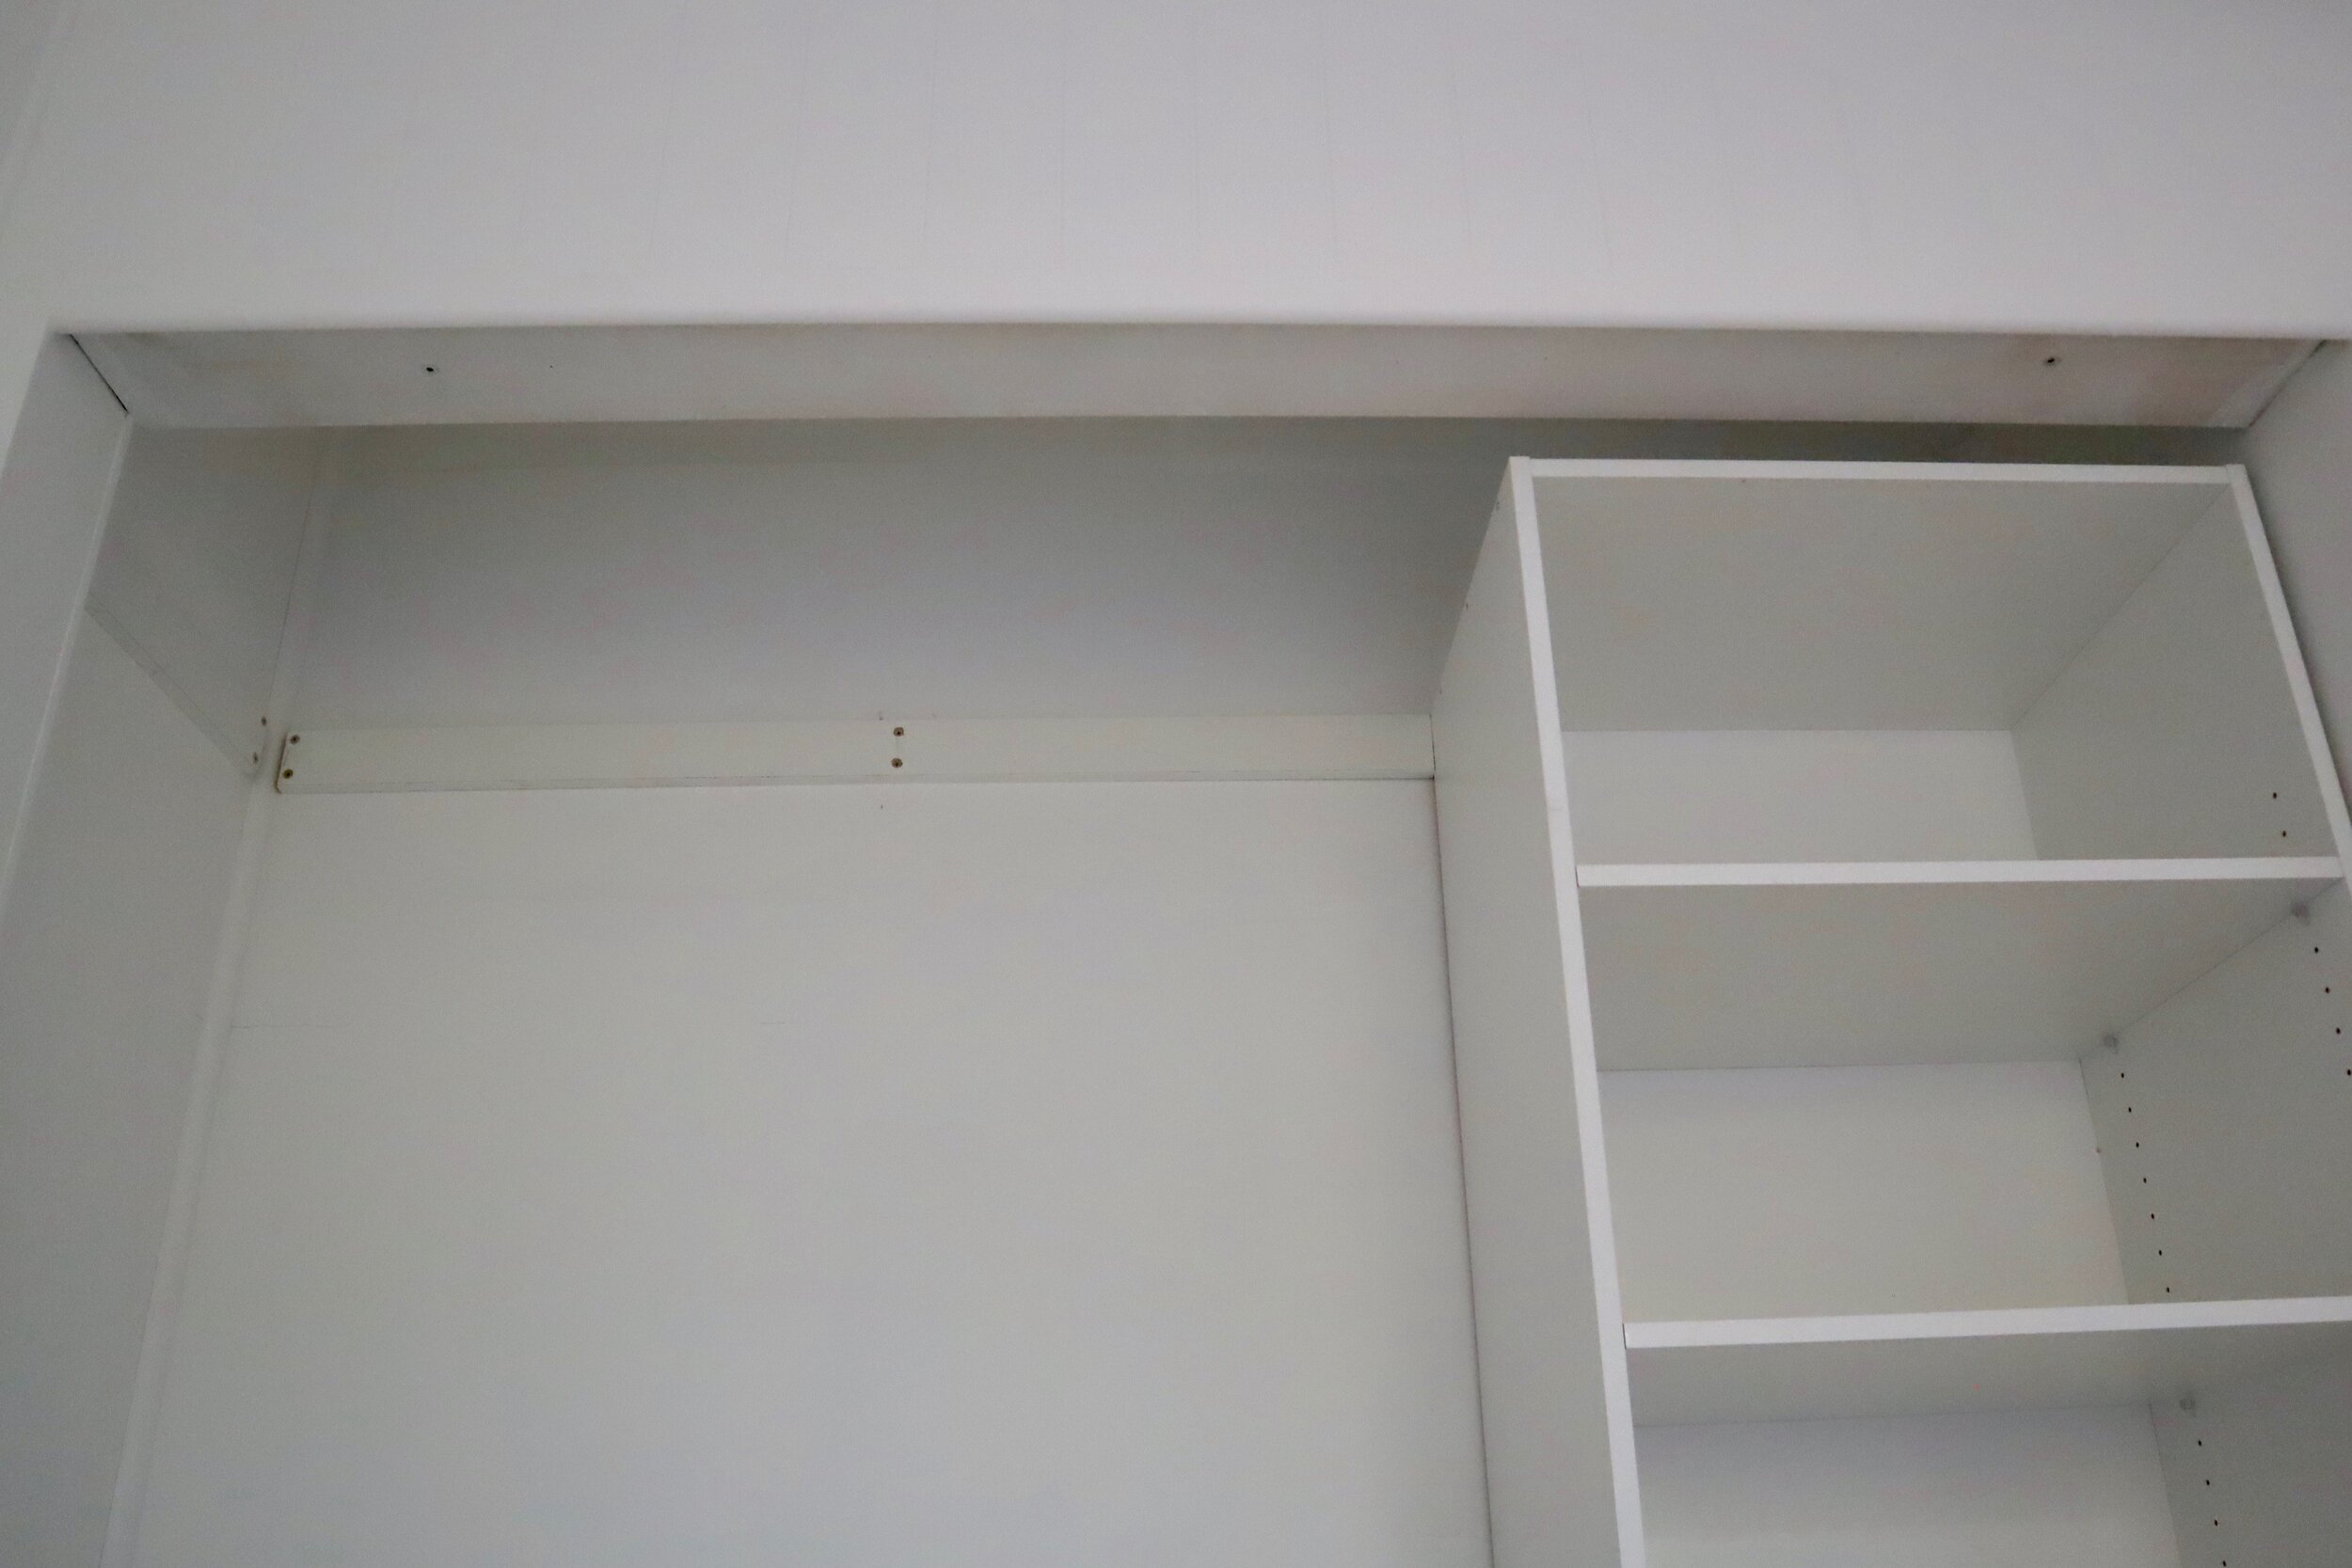
The hat shelf comes with battens that I cut to fit between the wall and the unit.
TIP While a handsaw will do the trick, using a circular saw makes for neater cuts.

I trimmed the corner of the shelf to fit around the moulding in the corner of the cavity and checked that it fit safely before sliding it across for access.
TIP When ordering the units, you would usually check the hat shelf runs the full width of the units, but I wanted to be able to slide it to the side to fit a suitcase.
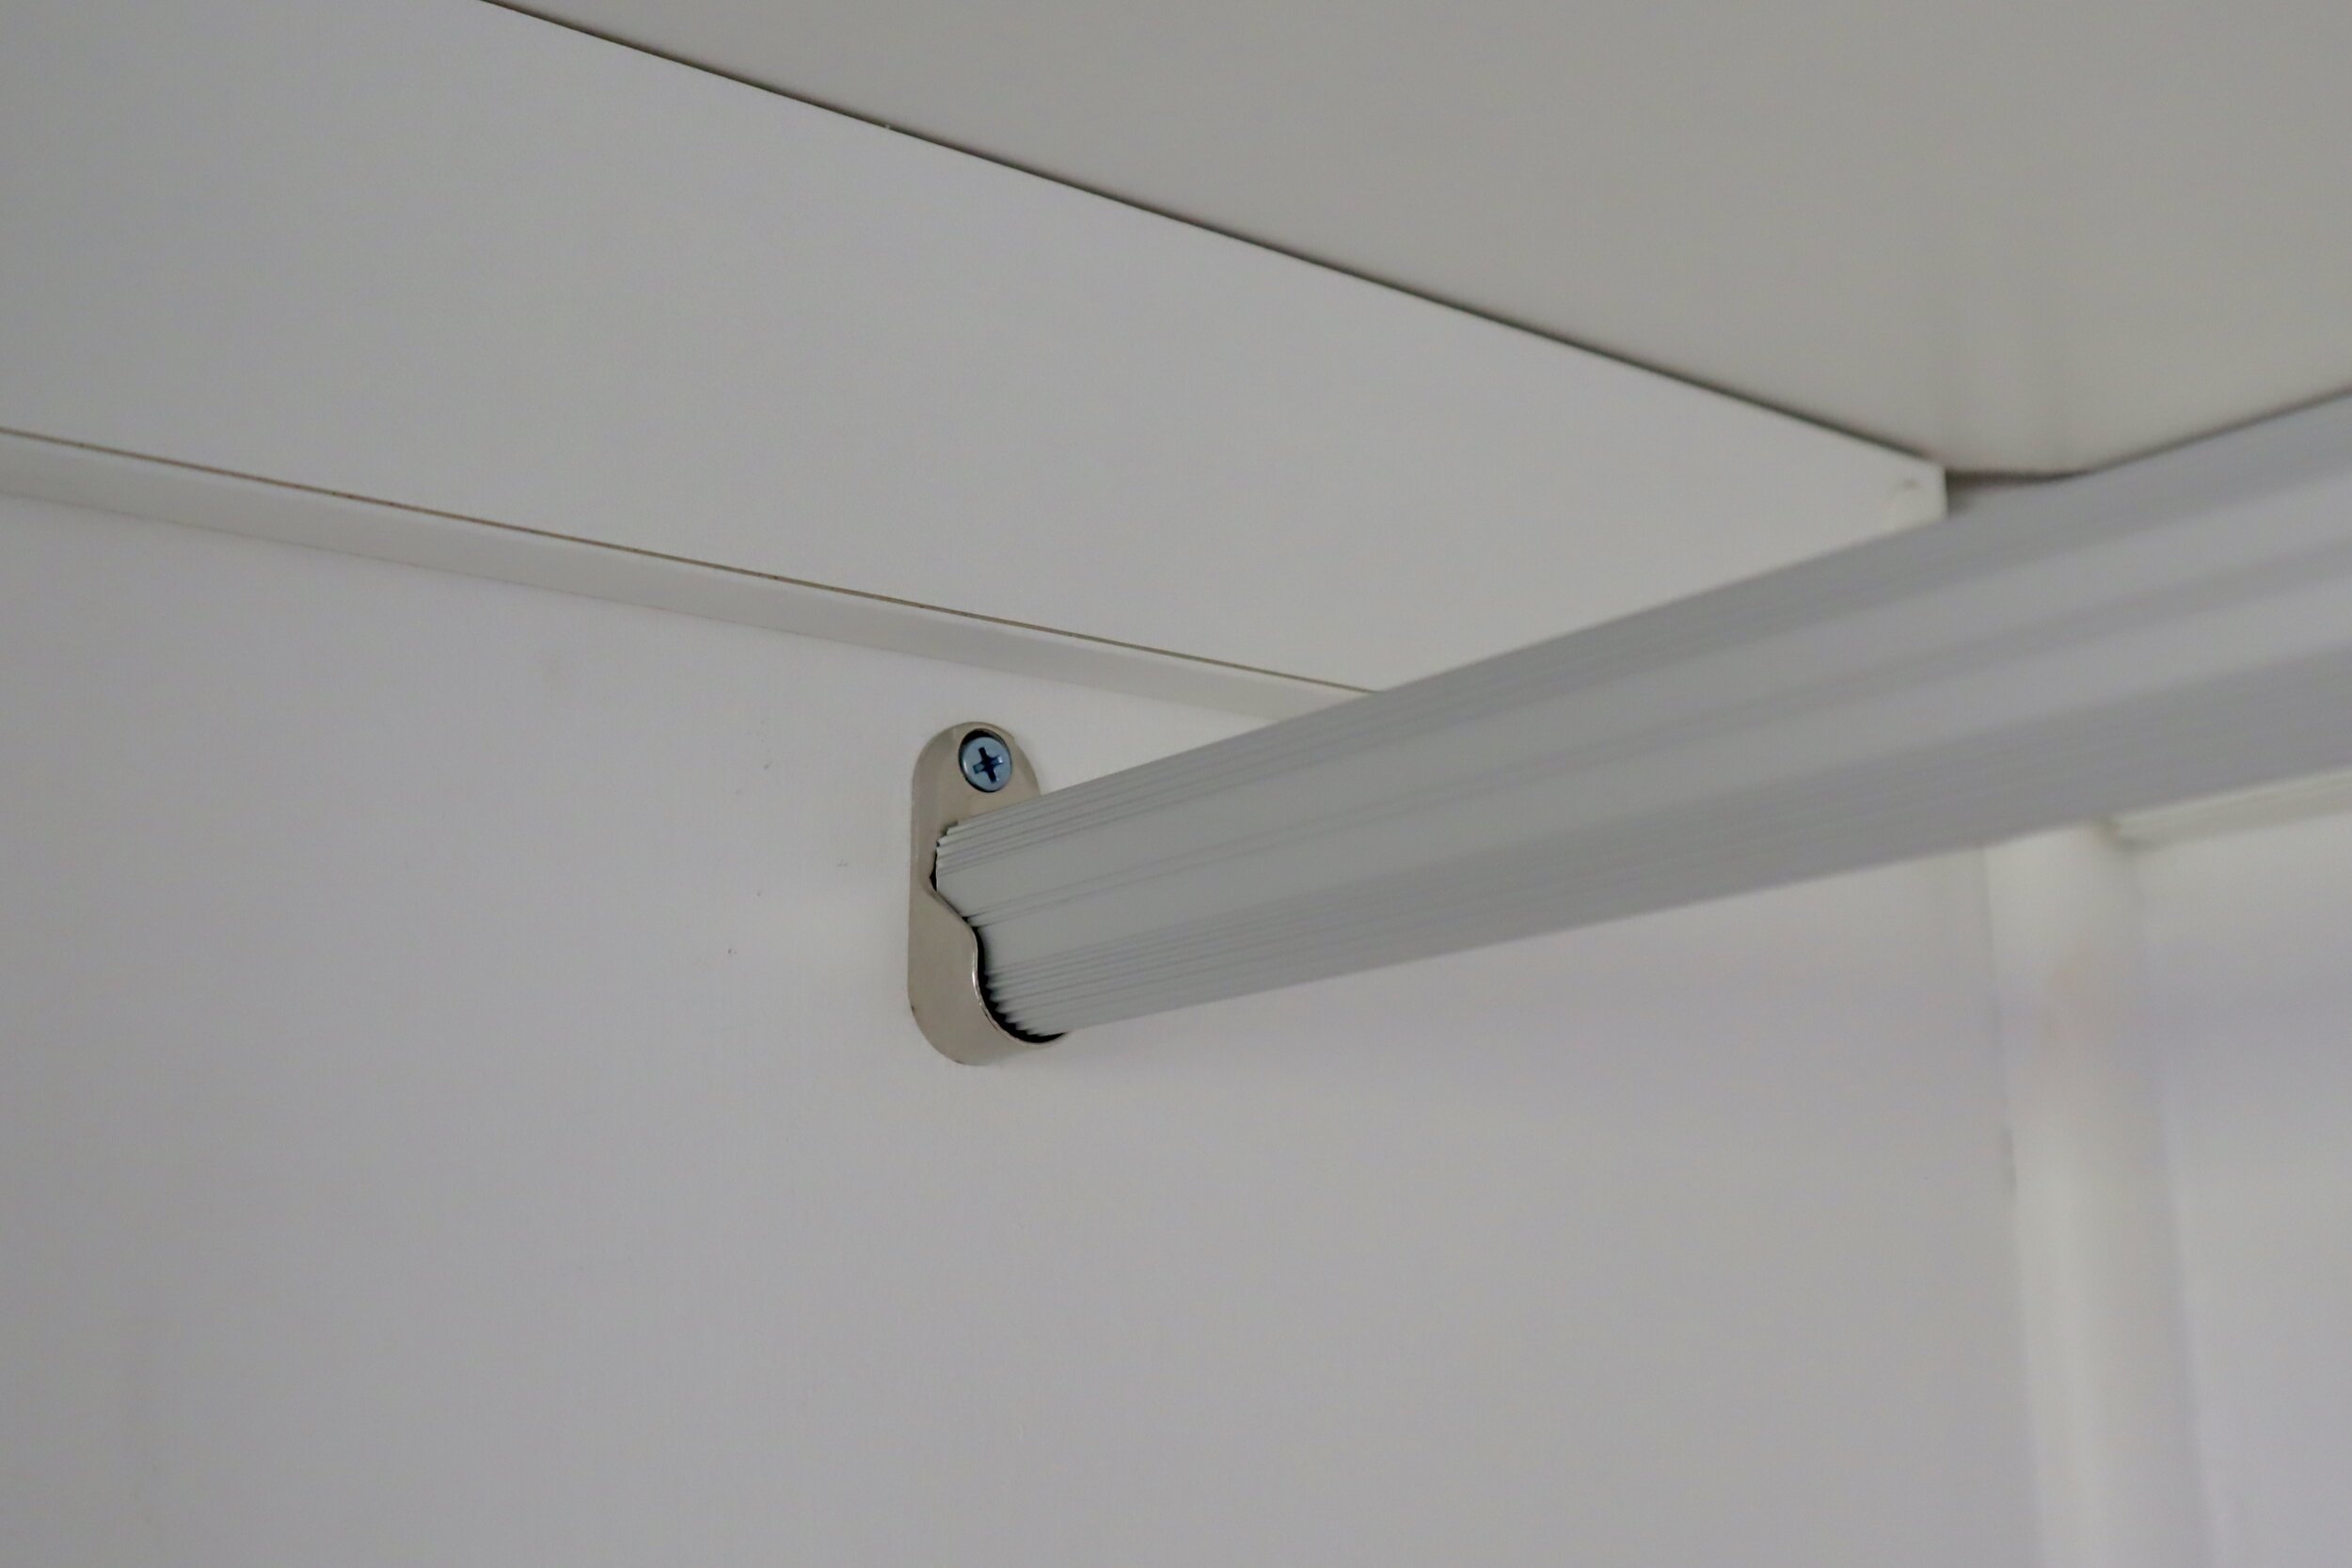
I marked the centre of the wall and measured down from the battens, checking that a wooden coat hanger would fit without banging the wall or doors.
TIP My rail is positioned quite high to allow for shirts to hang over the shorter drawer unit, but position your rail so that it’s within reach while maximising the hanging area

Painting the room in Porter’s Eggshell Finish in Popcorn gives it a beautiful glow and I finished the VJ doors with the same. I love how creamy this paint is and how smoothly it rolls on.
TIP While the MDF of the VJ panels is pre-primed, you’ll still need to apply at least three coats if using a pale colour.
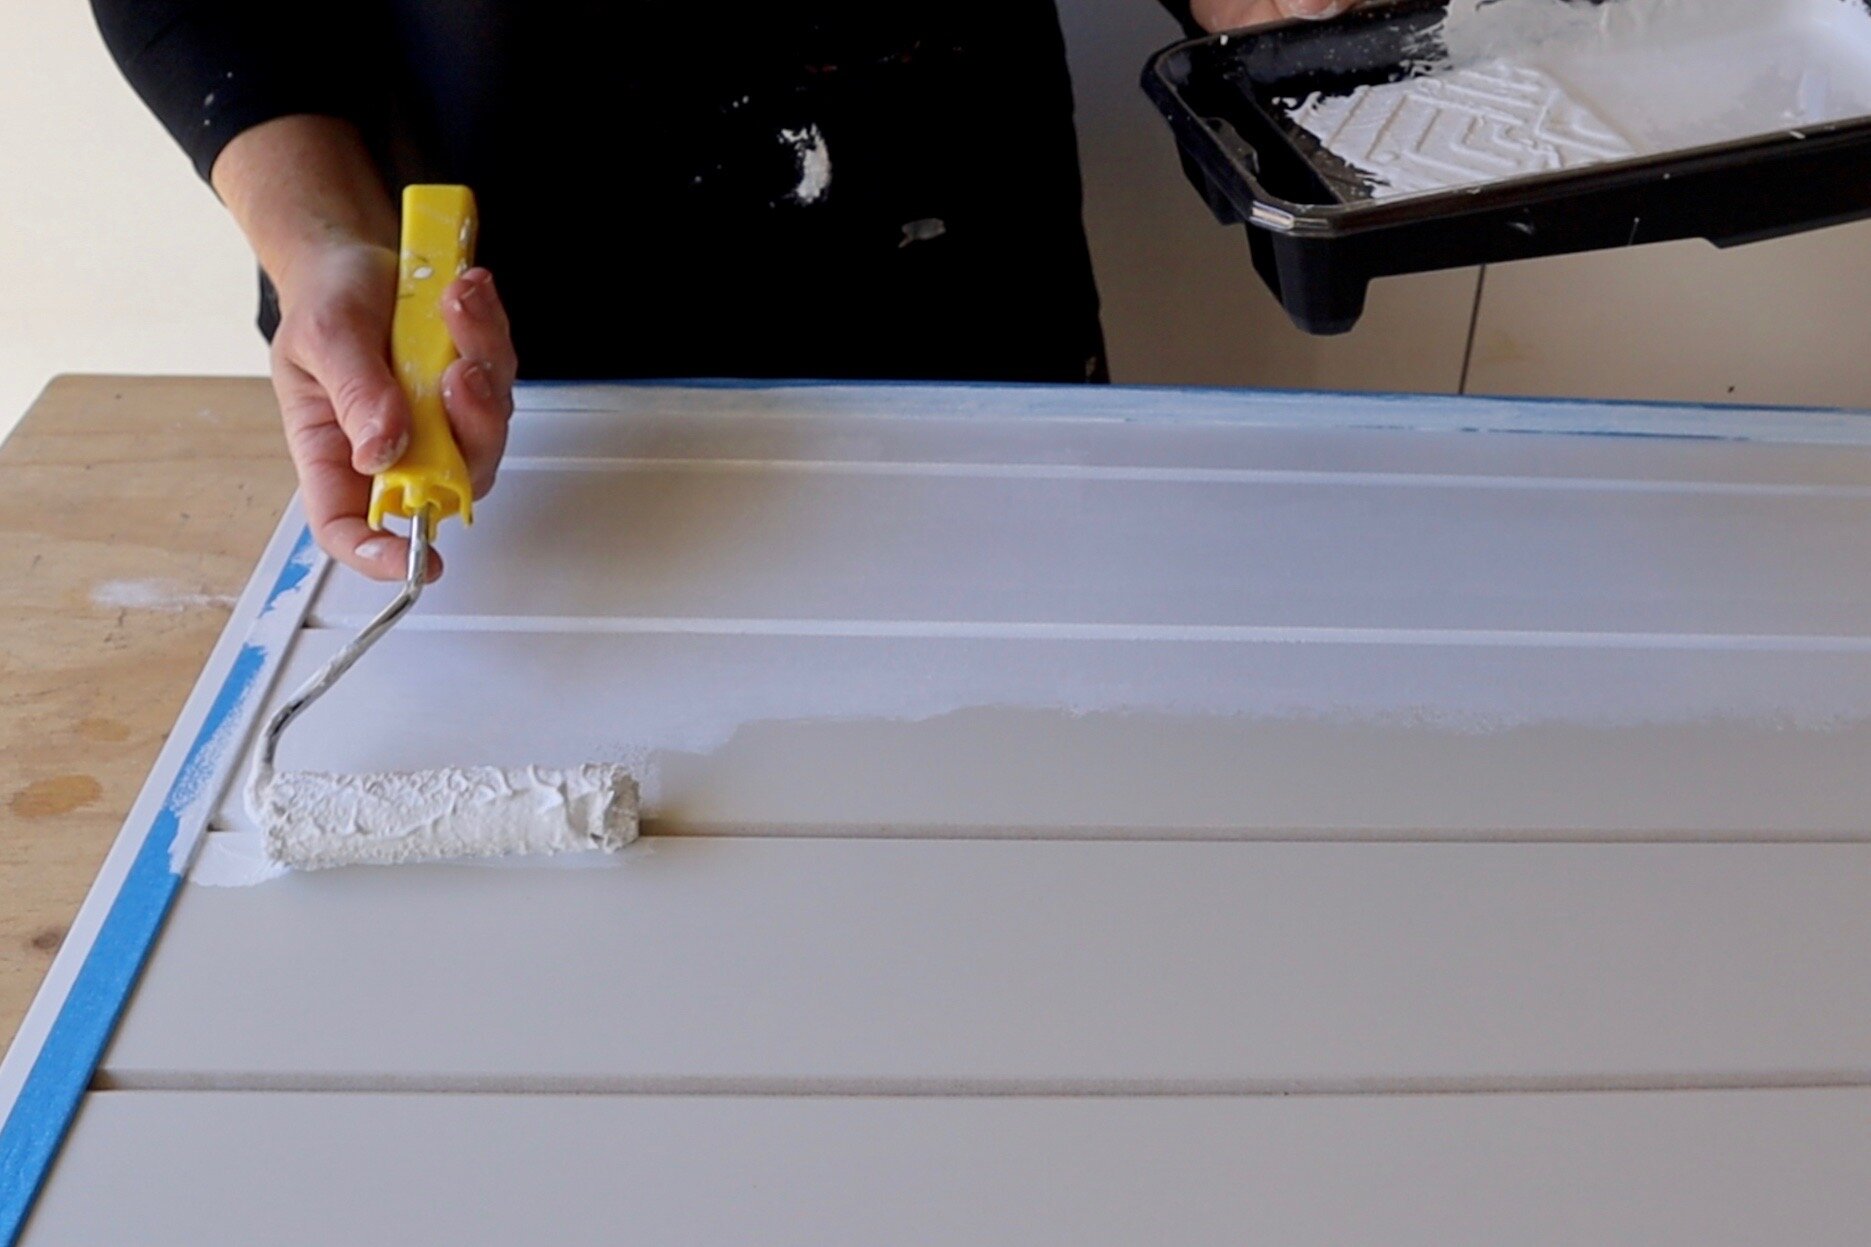
After masking around the frame with painter’s tape, I used a 100mm mini microfibre roller with a handy technique that avoids cutting in with a brush – keep the roller loaded with paint, use the tip to paint around the inside of the frame then push it along the grooves, saturating them without pooling, then paint the panels.
TIP Choose a 10mm nap roller if using a flat wall paint, but go with a 4mm nap if applying gloss.

I used an angle grinder to cut the top and base tracks for the sliding doors then pre-drilled three holes into each with a 4mm bit.
TIP A hacksaw or a multitool with a reciprocating blade will also do the trick.

Using 40mm-long screws, I secured the tracks through the holes, positioning the flatter, rounded edge of the base track along the front.
TIP Ensure the screws go in straight and are flush with the track so they don’t protrude and prevent the doors from sliding smoothly.

To install the doors, I retracted the wheels by loosening the screws above them, then lifted the doors into the top track and dropped the wheels onto the corresponding base track.
TIP Position a door in the back track first, working your way forward.
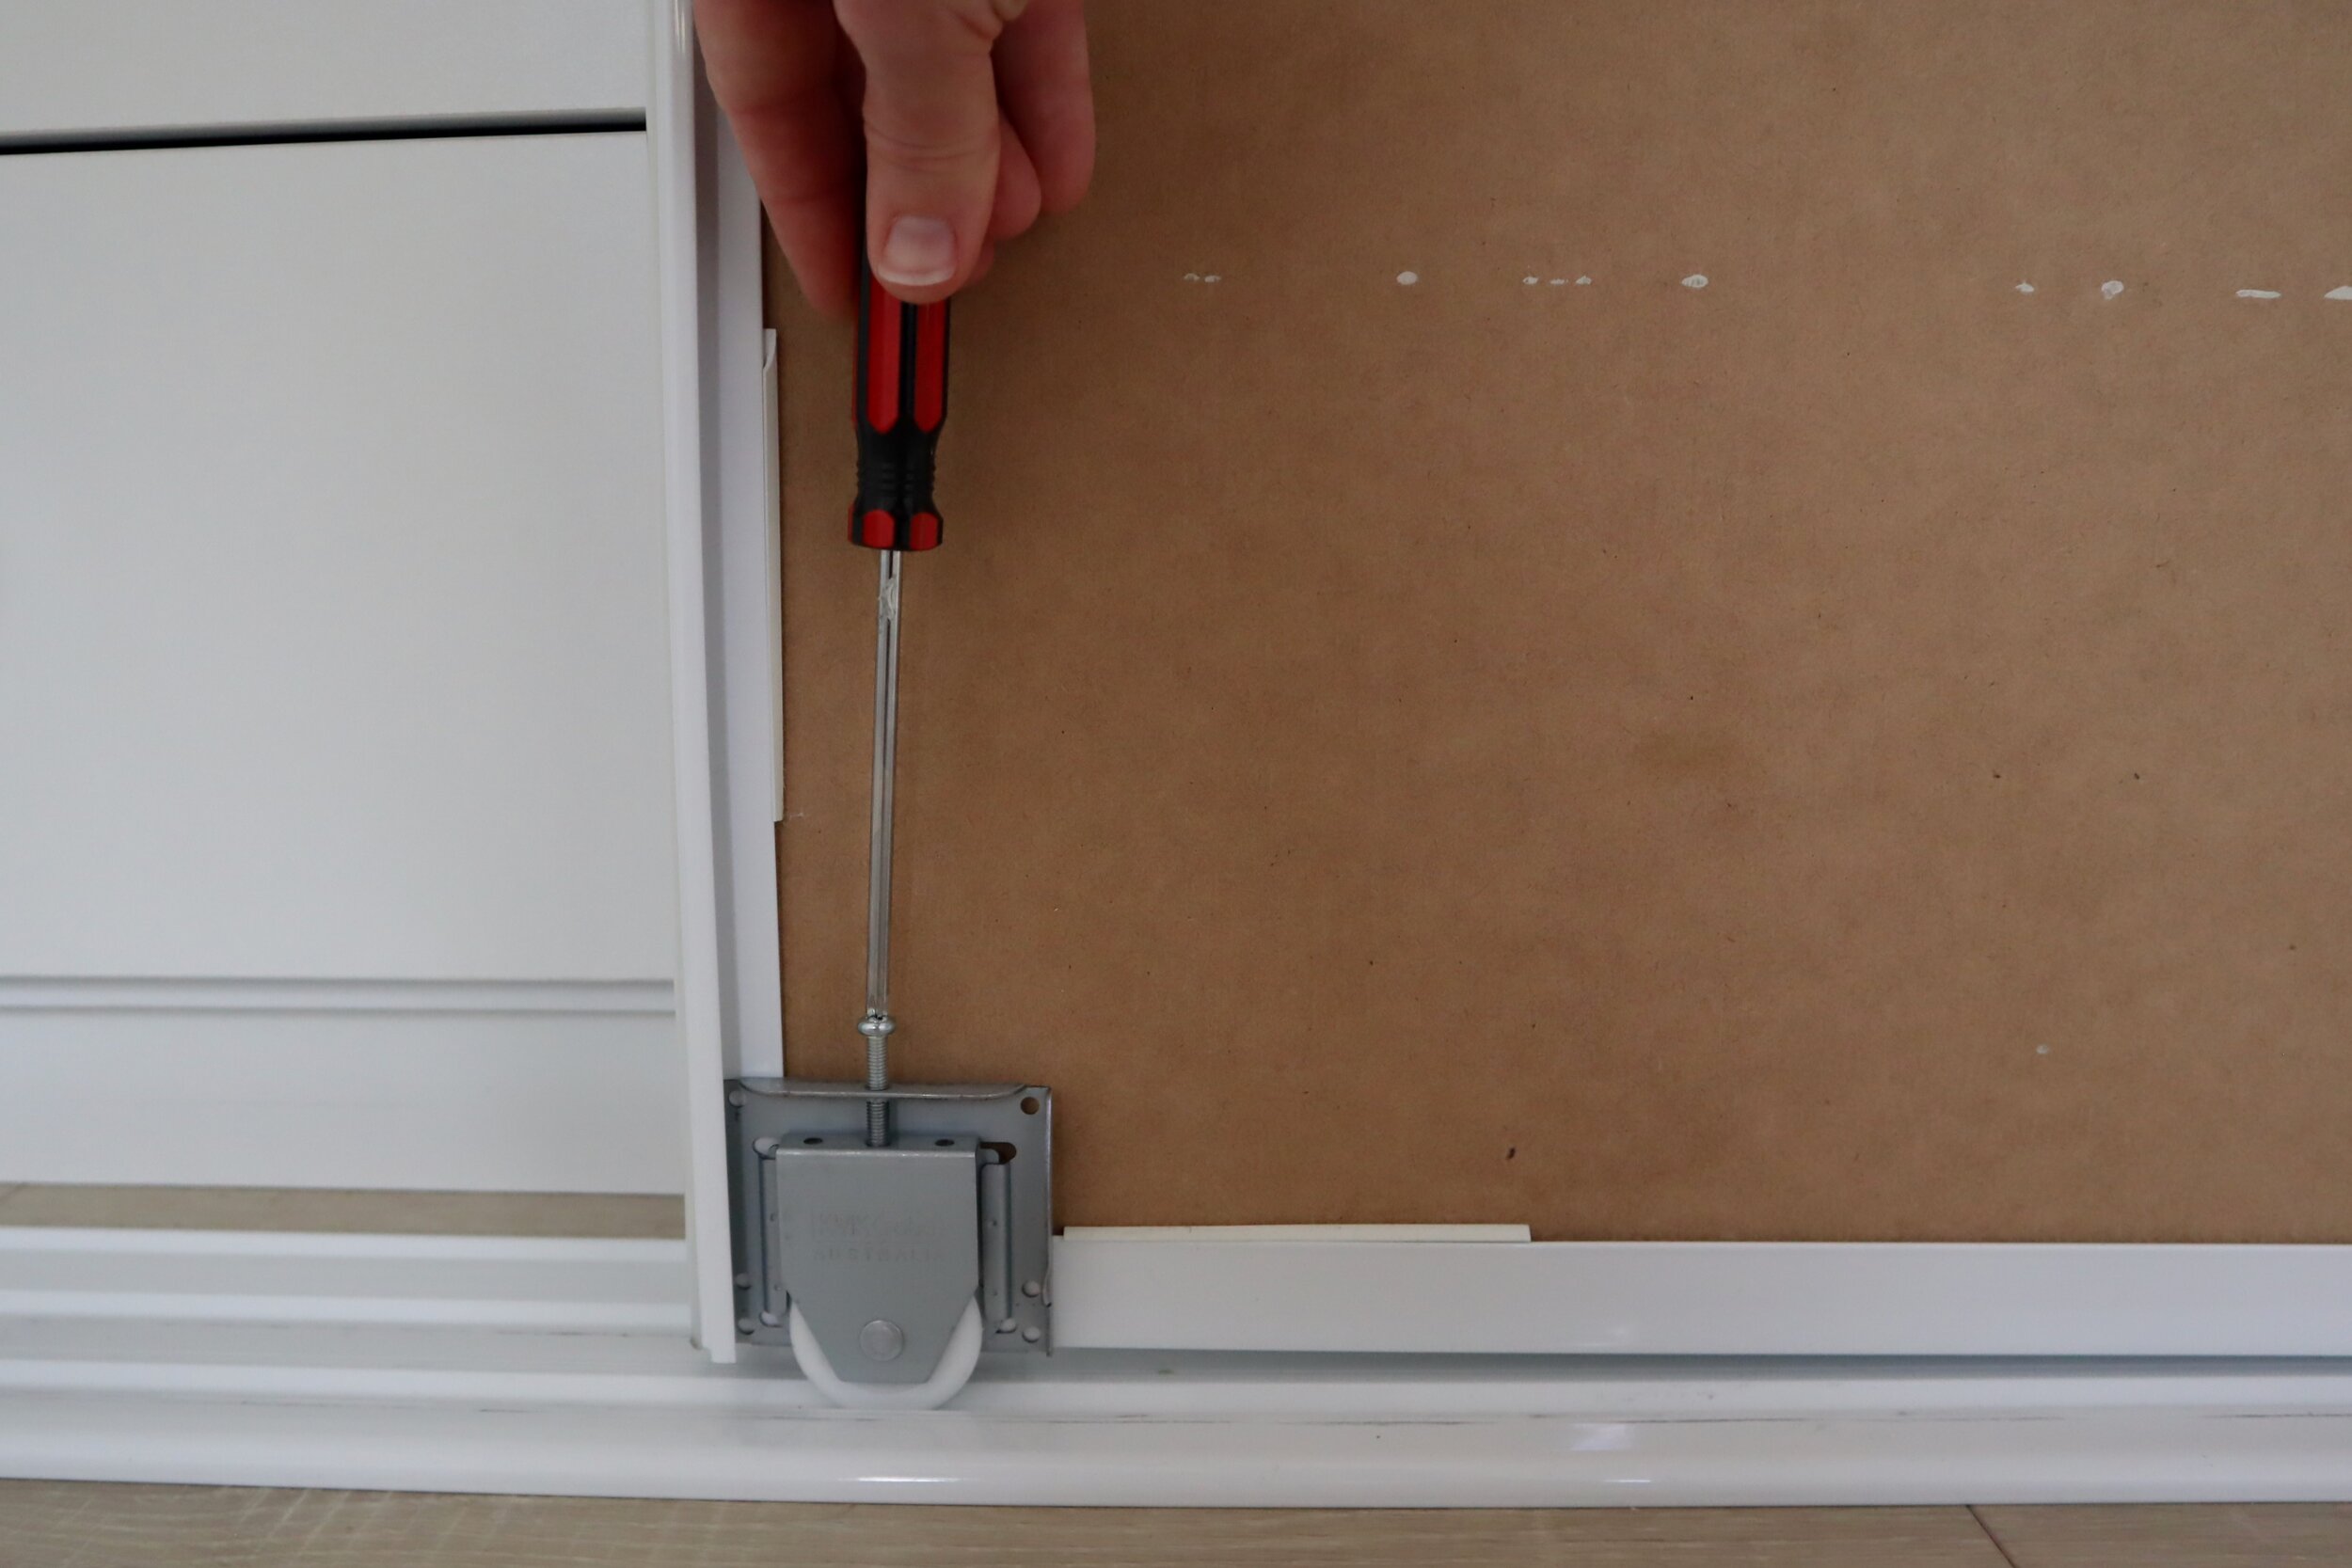
Using a long-handled screwdriver I adjusted the height of the wheels so the doors moved smoothly.
TIP Use a spirit level to check they are straight, adjusting the wheels one at a time to suit.

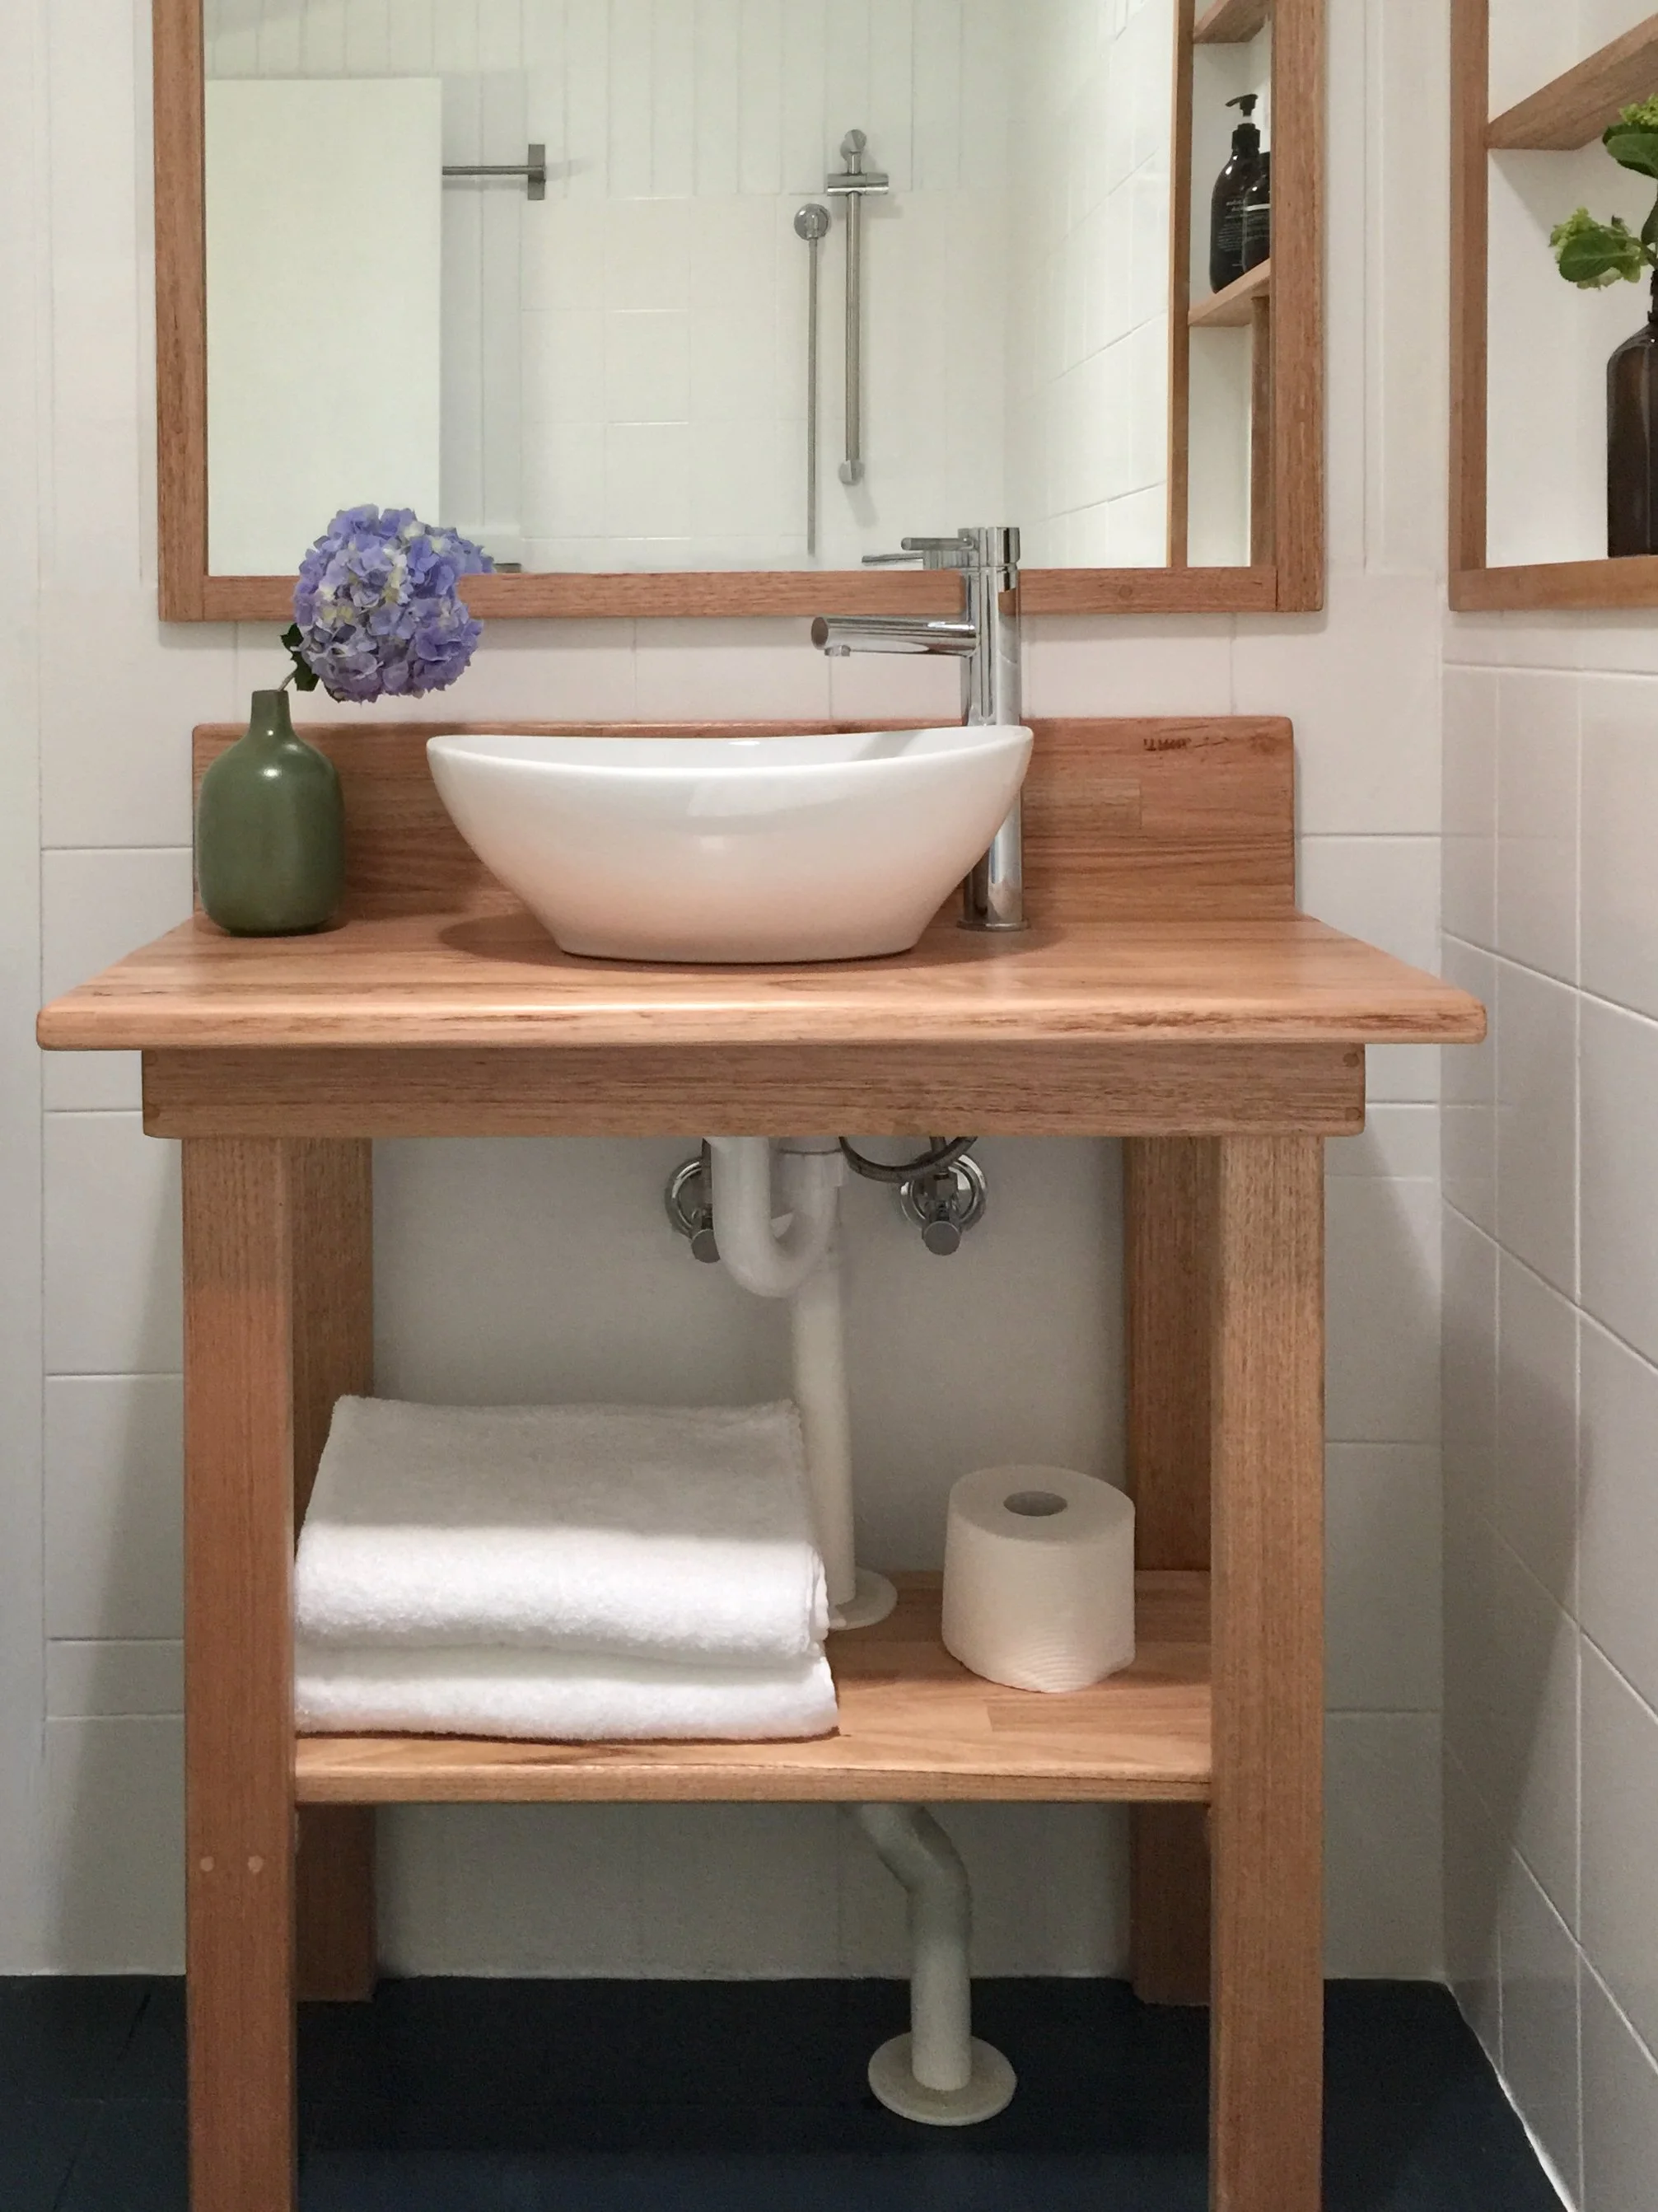
To make a vanity tabletop, I cut a 600mm-wide laminated timber panel to fit and nailed a length of half-round dowel along the front to create a lip.
TIP Always sand and varnish timber to protect it and give a professional finish. I applied two coats of Monocel water-based varnish which dries super fast and doesn’t have a strong varnish odour.

Transformed! The room is bright, practical and a delightful space to be in.

Follow my daily DIY journey on Instagram for more renovating and home improvement, tool tips and simple building projects.