Patch plasterboard holes of any size
Natasha Dickins
Whether the plasterboard hole is made by a picture hook, door handle or a relocated powerpoint, there’s a product that can help achieve a smooth finish in just a few minutes (plus drying times).
TIP Plasterboard (also called drywall in the US) is made by sandwiching gypsum plaster between sheets of thick lining paper. It’s dusty and crumbles when cut, so protect surrounds with a drop sheet and wear a mask.
“The aim is to make the repair invisible and restore the wall to be perfectly seamless.”
Patch a small hole
This technique is best for a hole up to 20mm, maybe made by a picture hook. Pick up a handy kit, such Monarch Fill Sand Go, that has everything you need for quick fixes, plus a small craft paintbrush and same-colour wall paint.
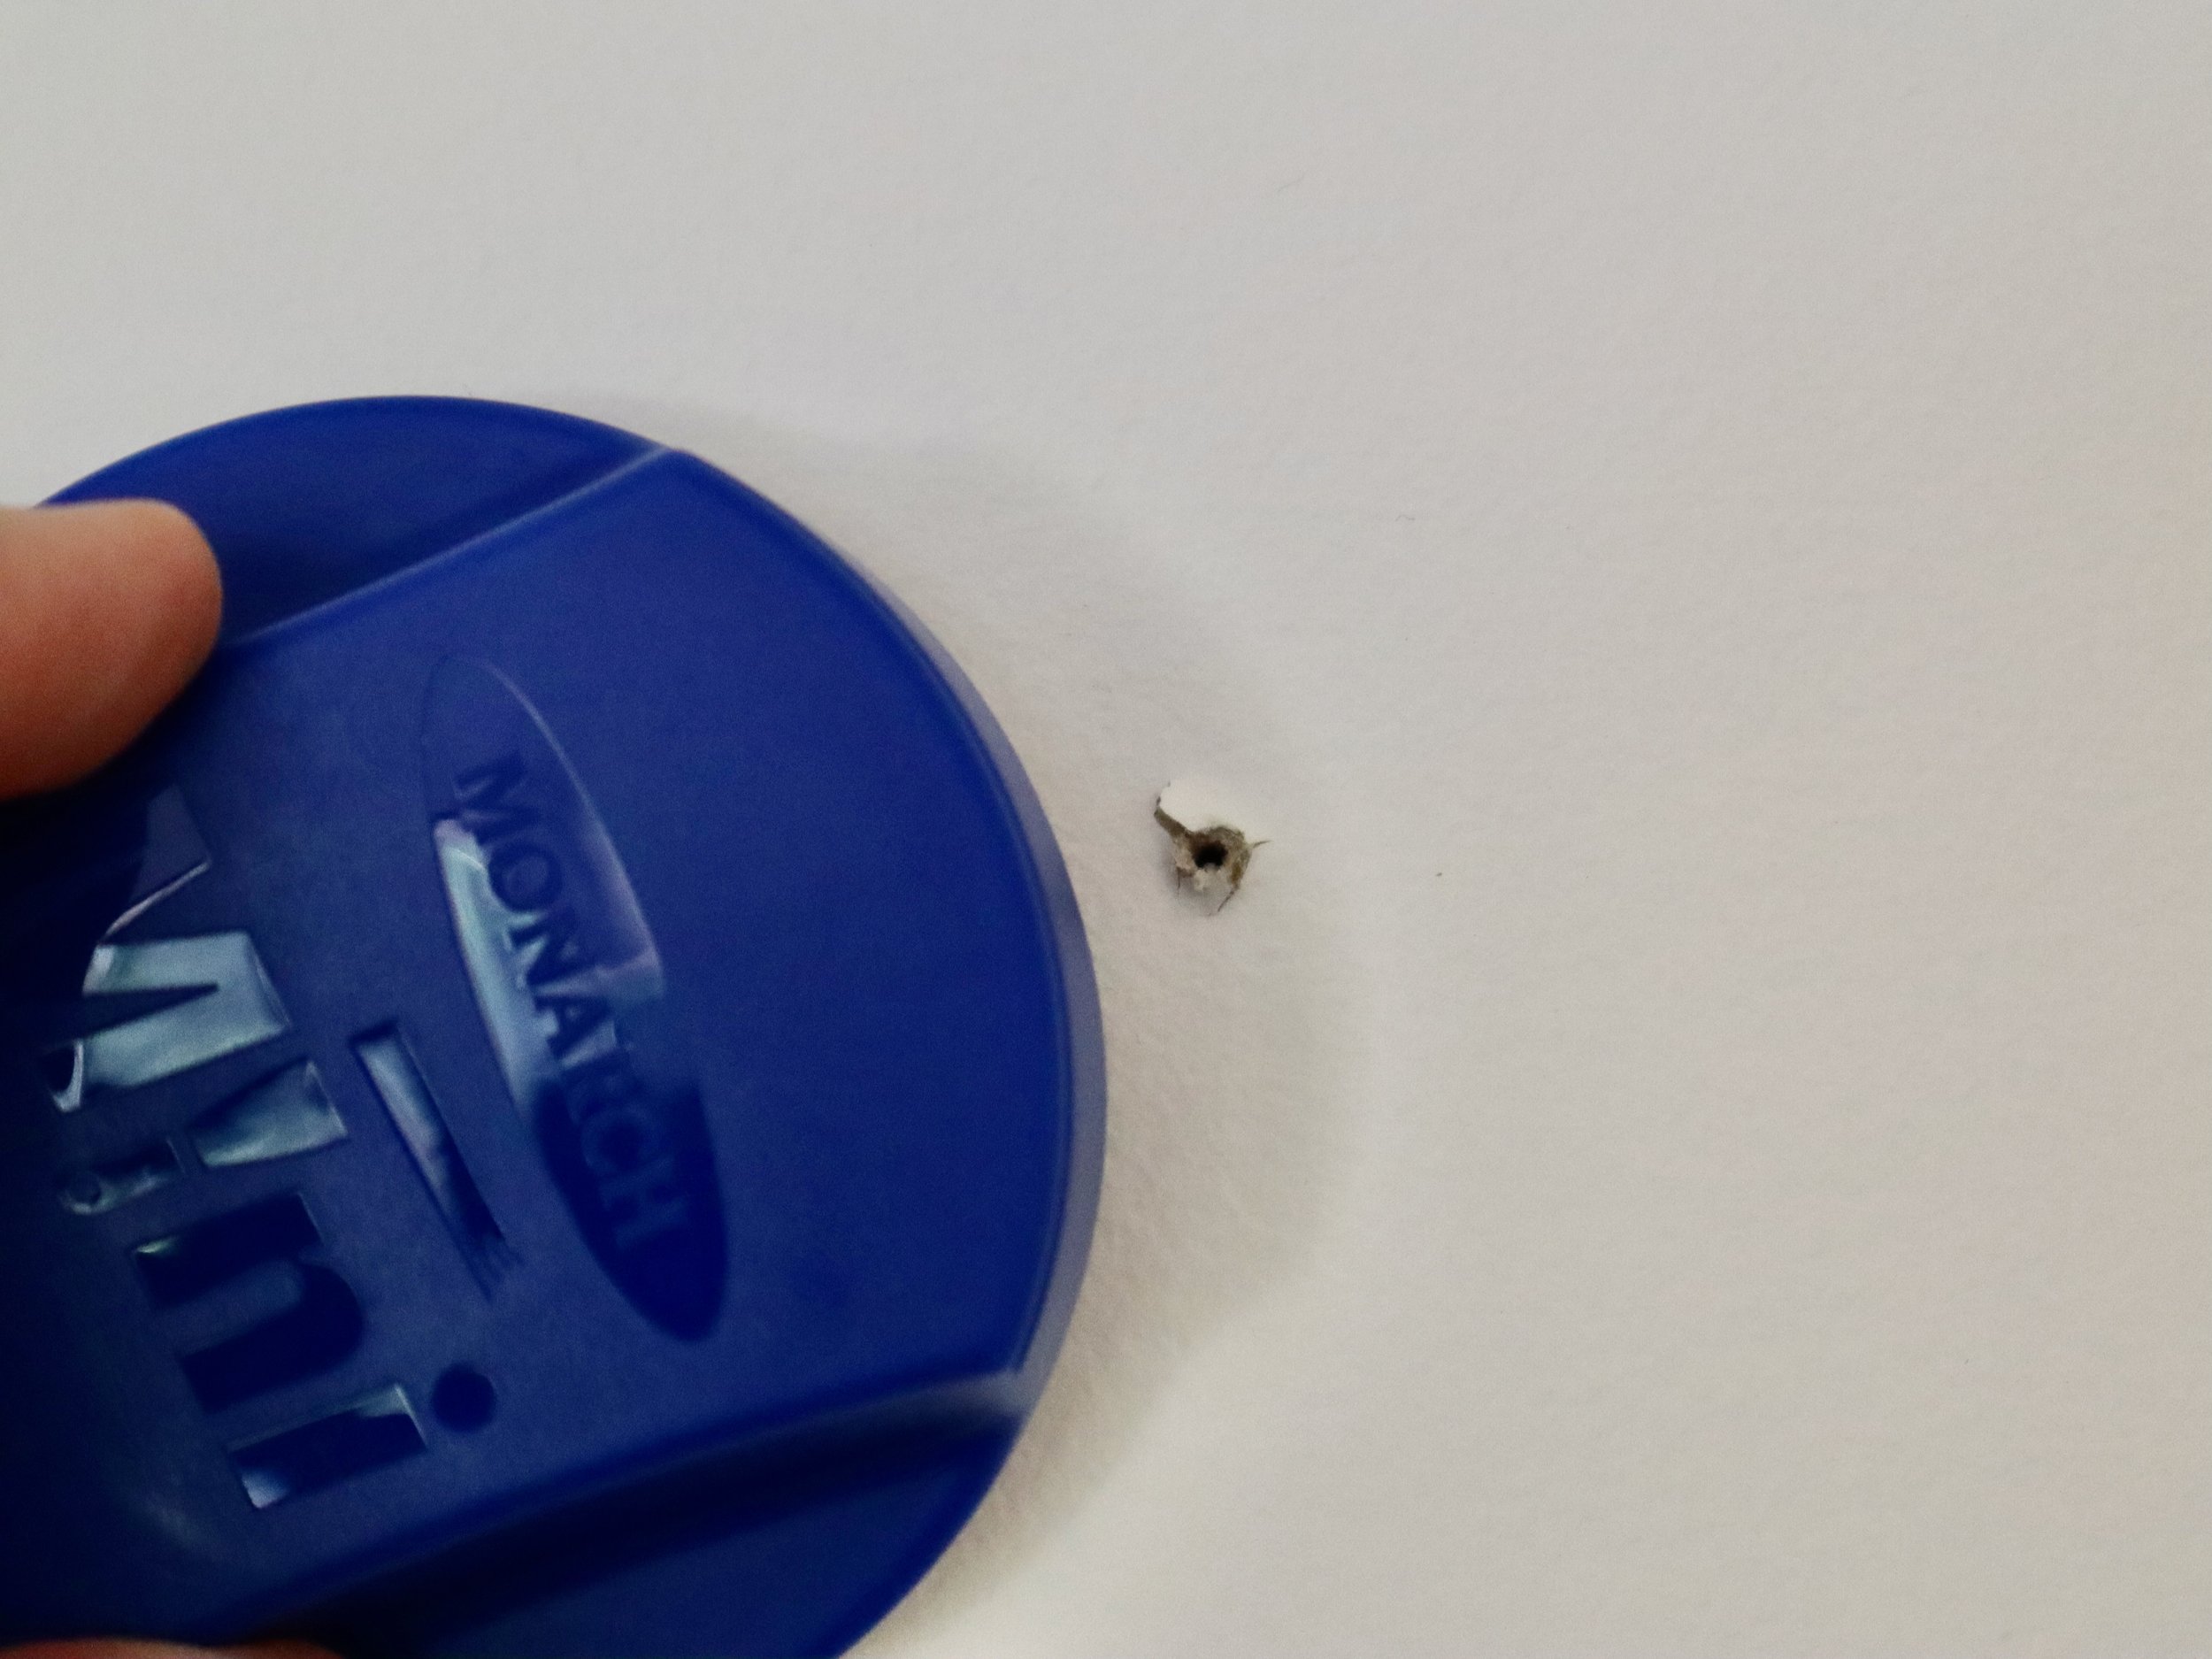
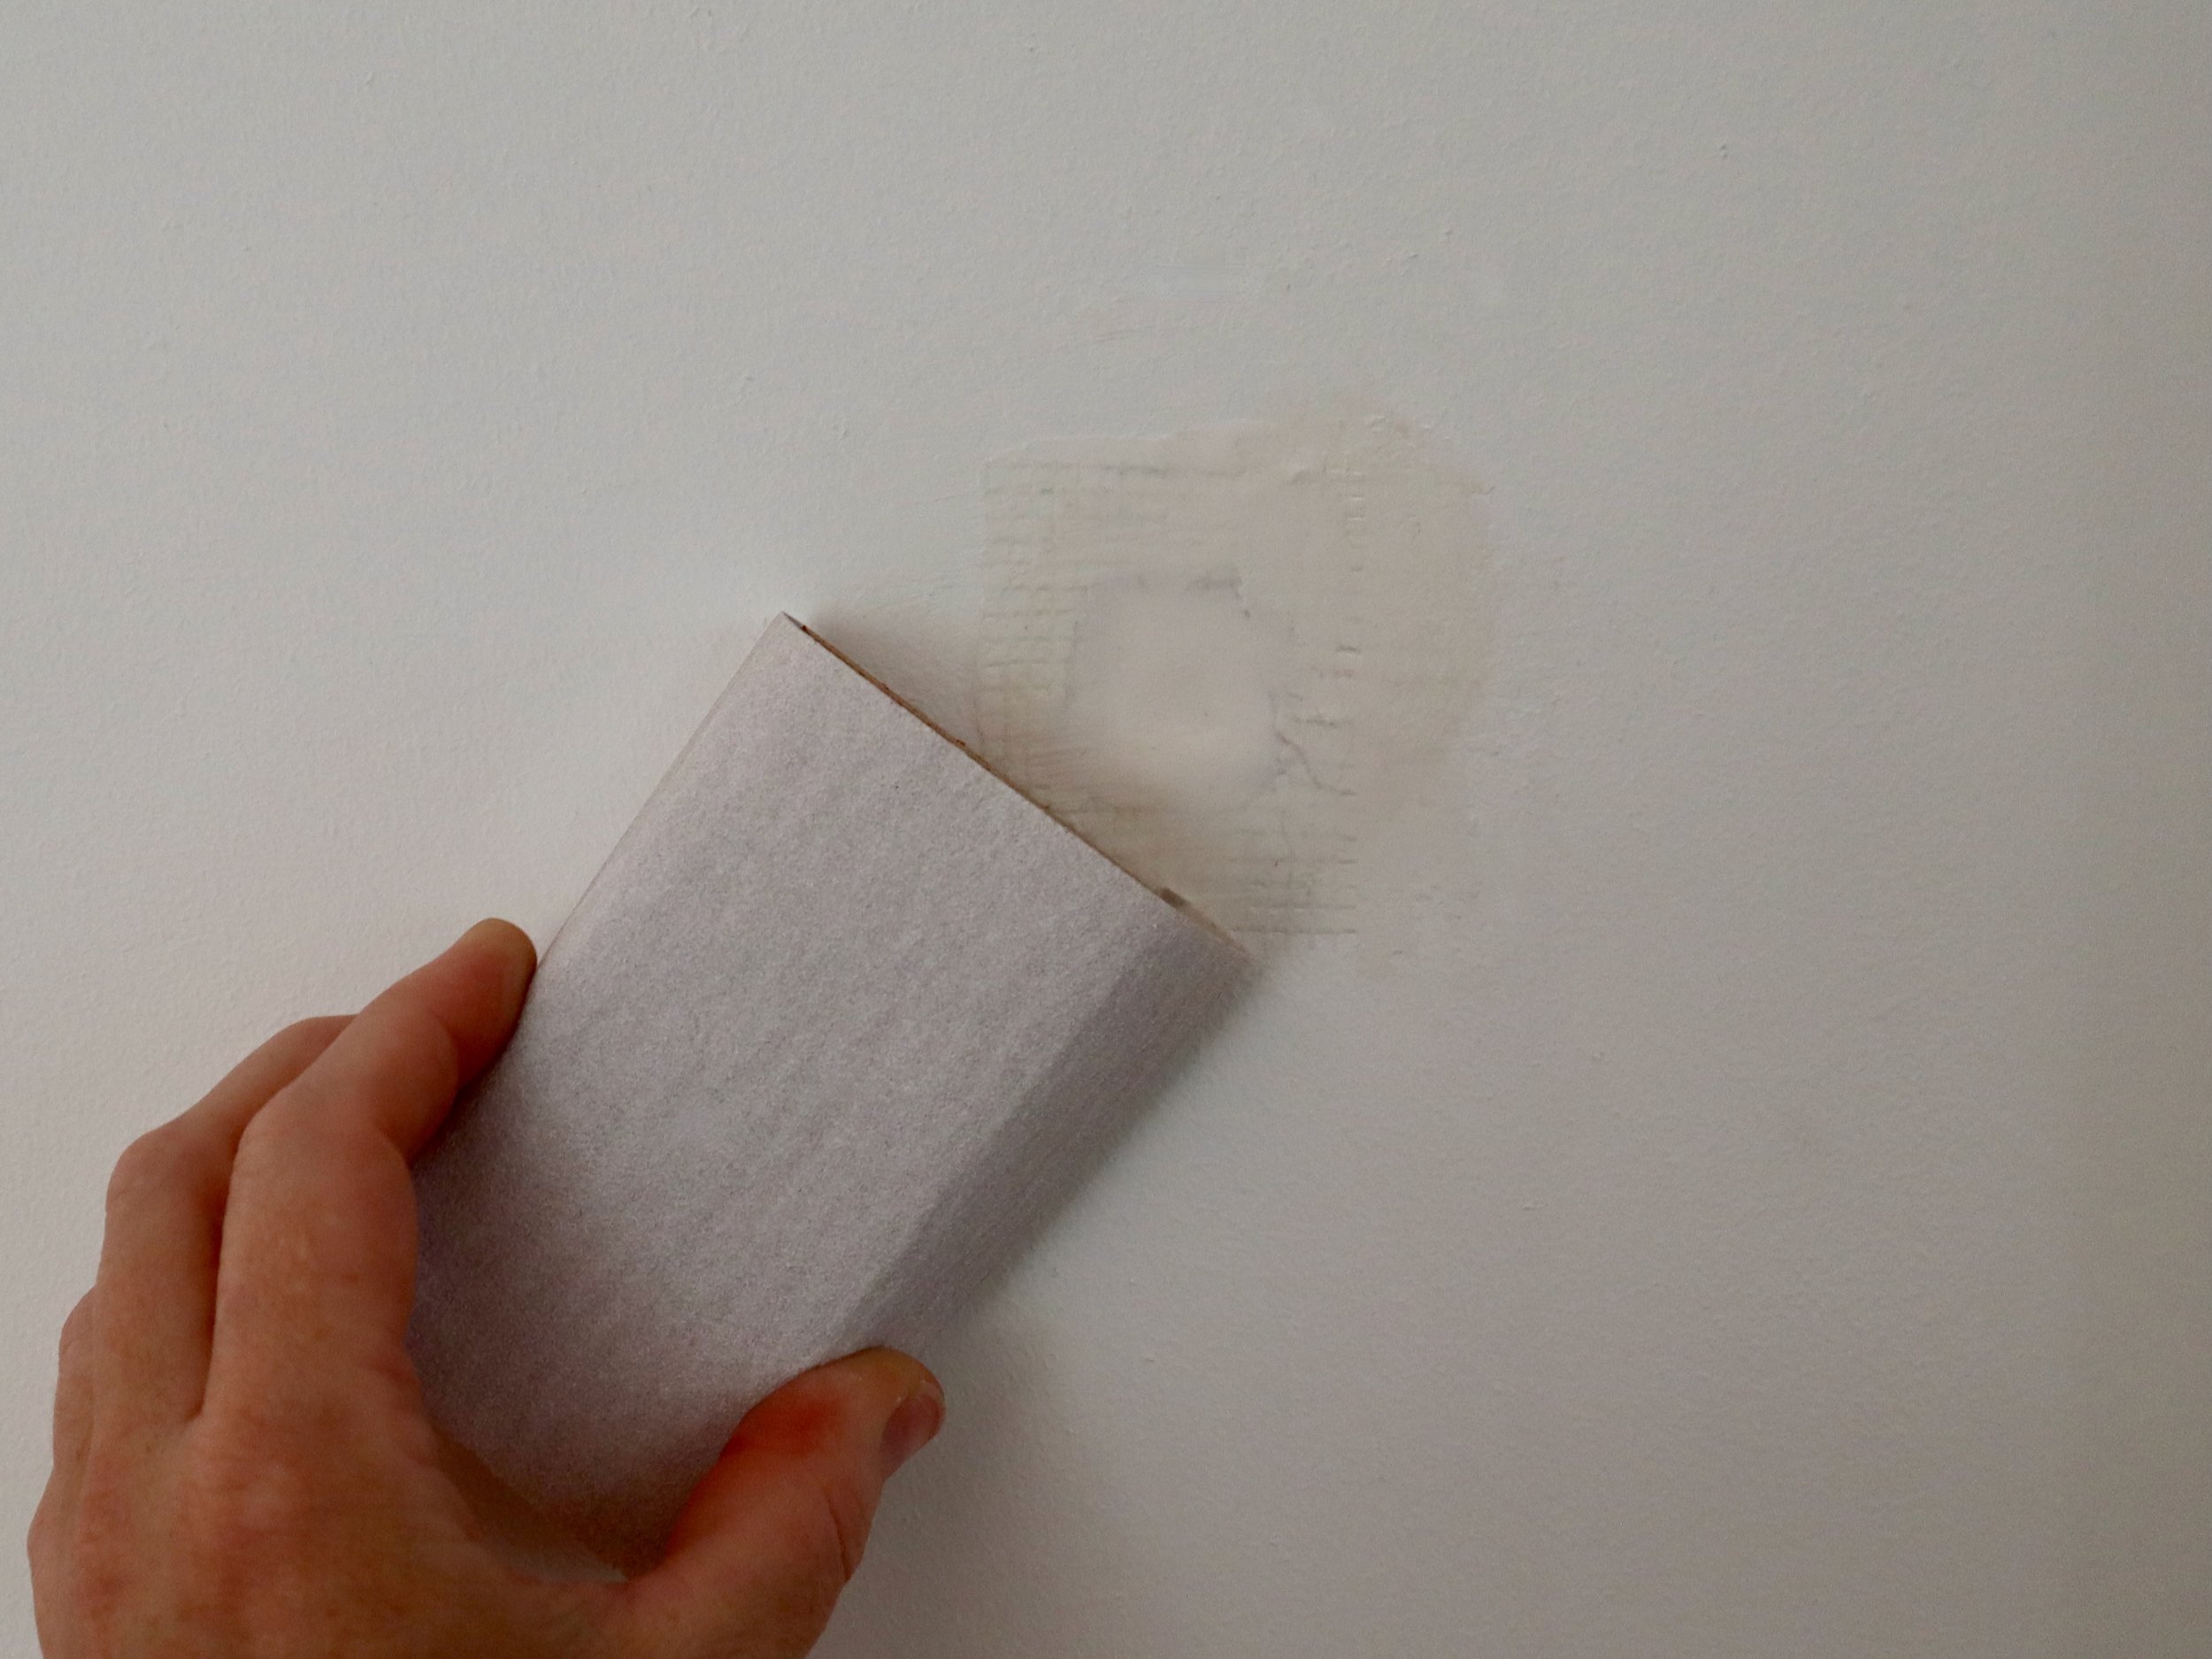
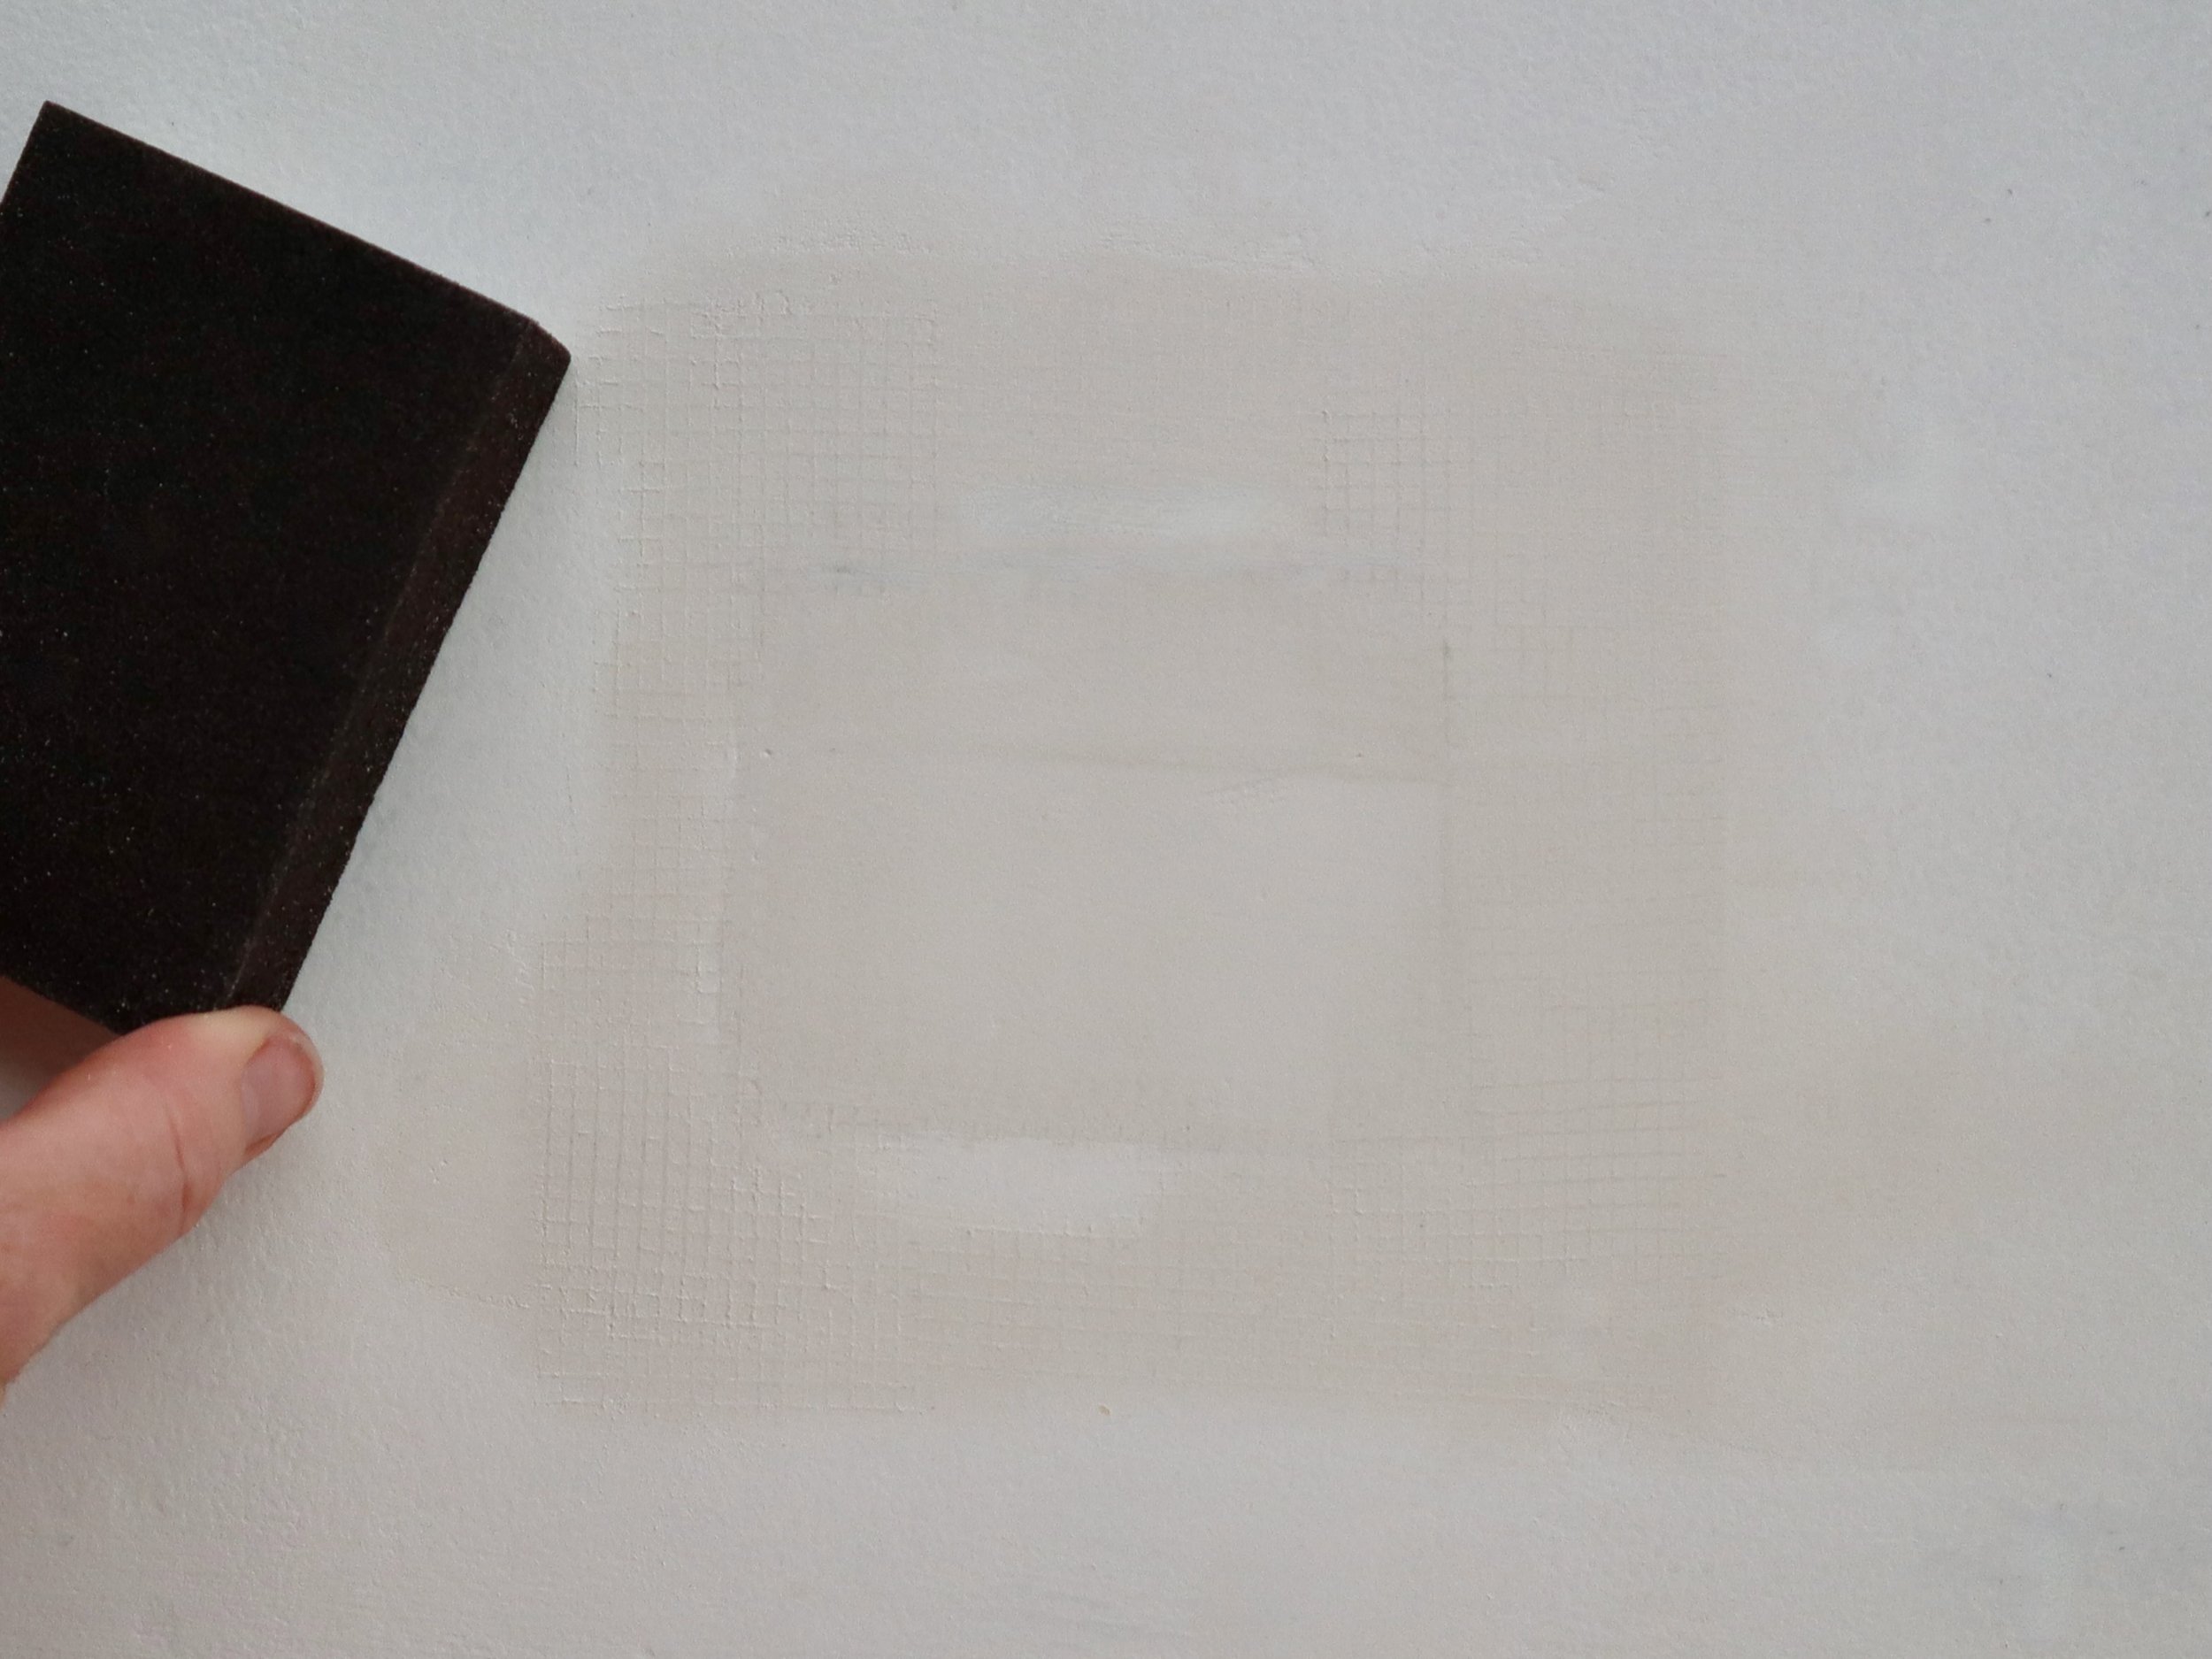
I used the 120-grit abrasive pad in the lid to sand over the hole and ran my hand over it to check the edges don’t protrude, then sanded again and wiped with a cloth to remove dust.
After scooping up a pea-size amount of filler, I held the applicator at 45° to smooth over the hole. Then held it at 90° to scrape away the excess and left it to dry for half an hour.
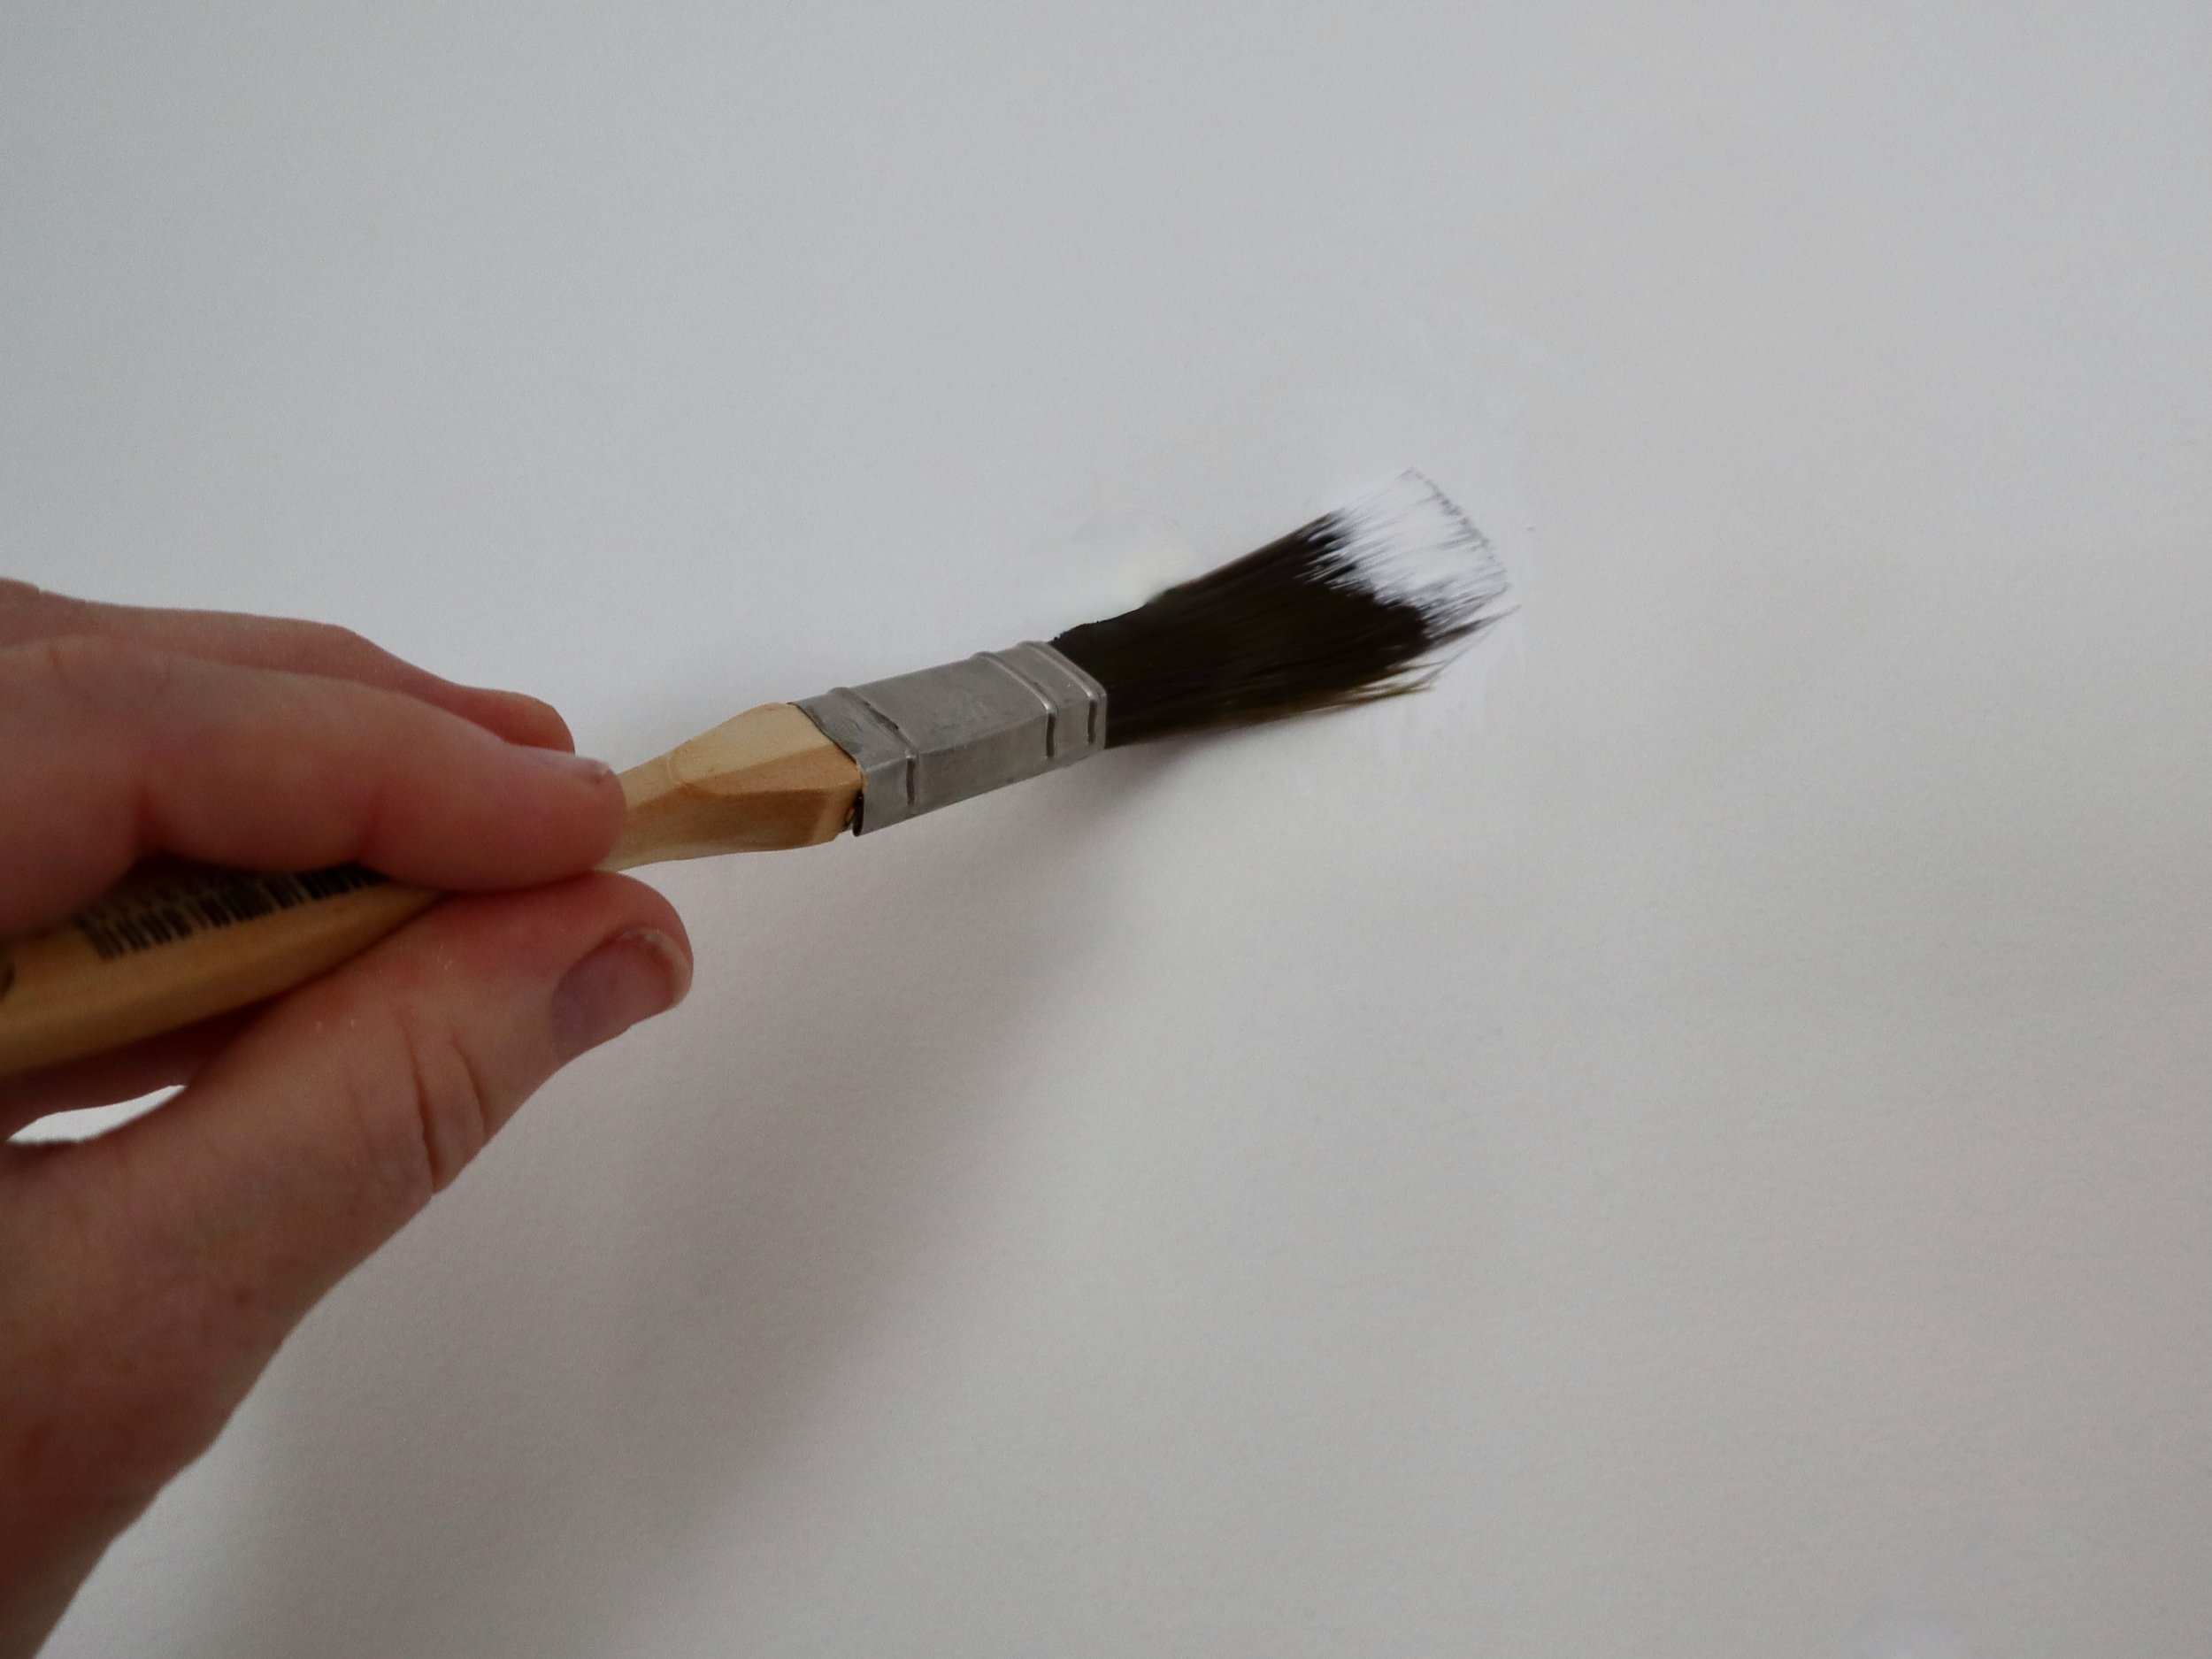
I lightly sanded in a circular motion and removed the dust with a cloth. Then dabbed a craft brush into paint, removed the excess and feathered over the repair, applying light layers into the surrounding area, leaving to dry between each.
Patch a medium hole
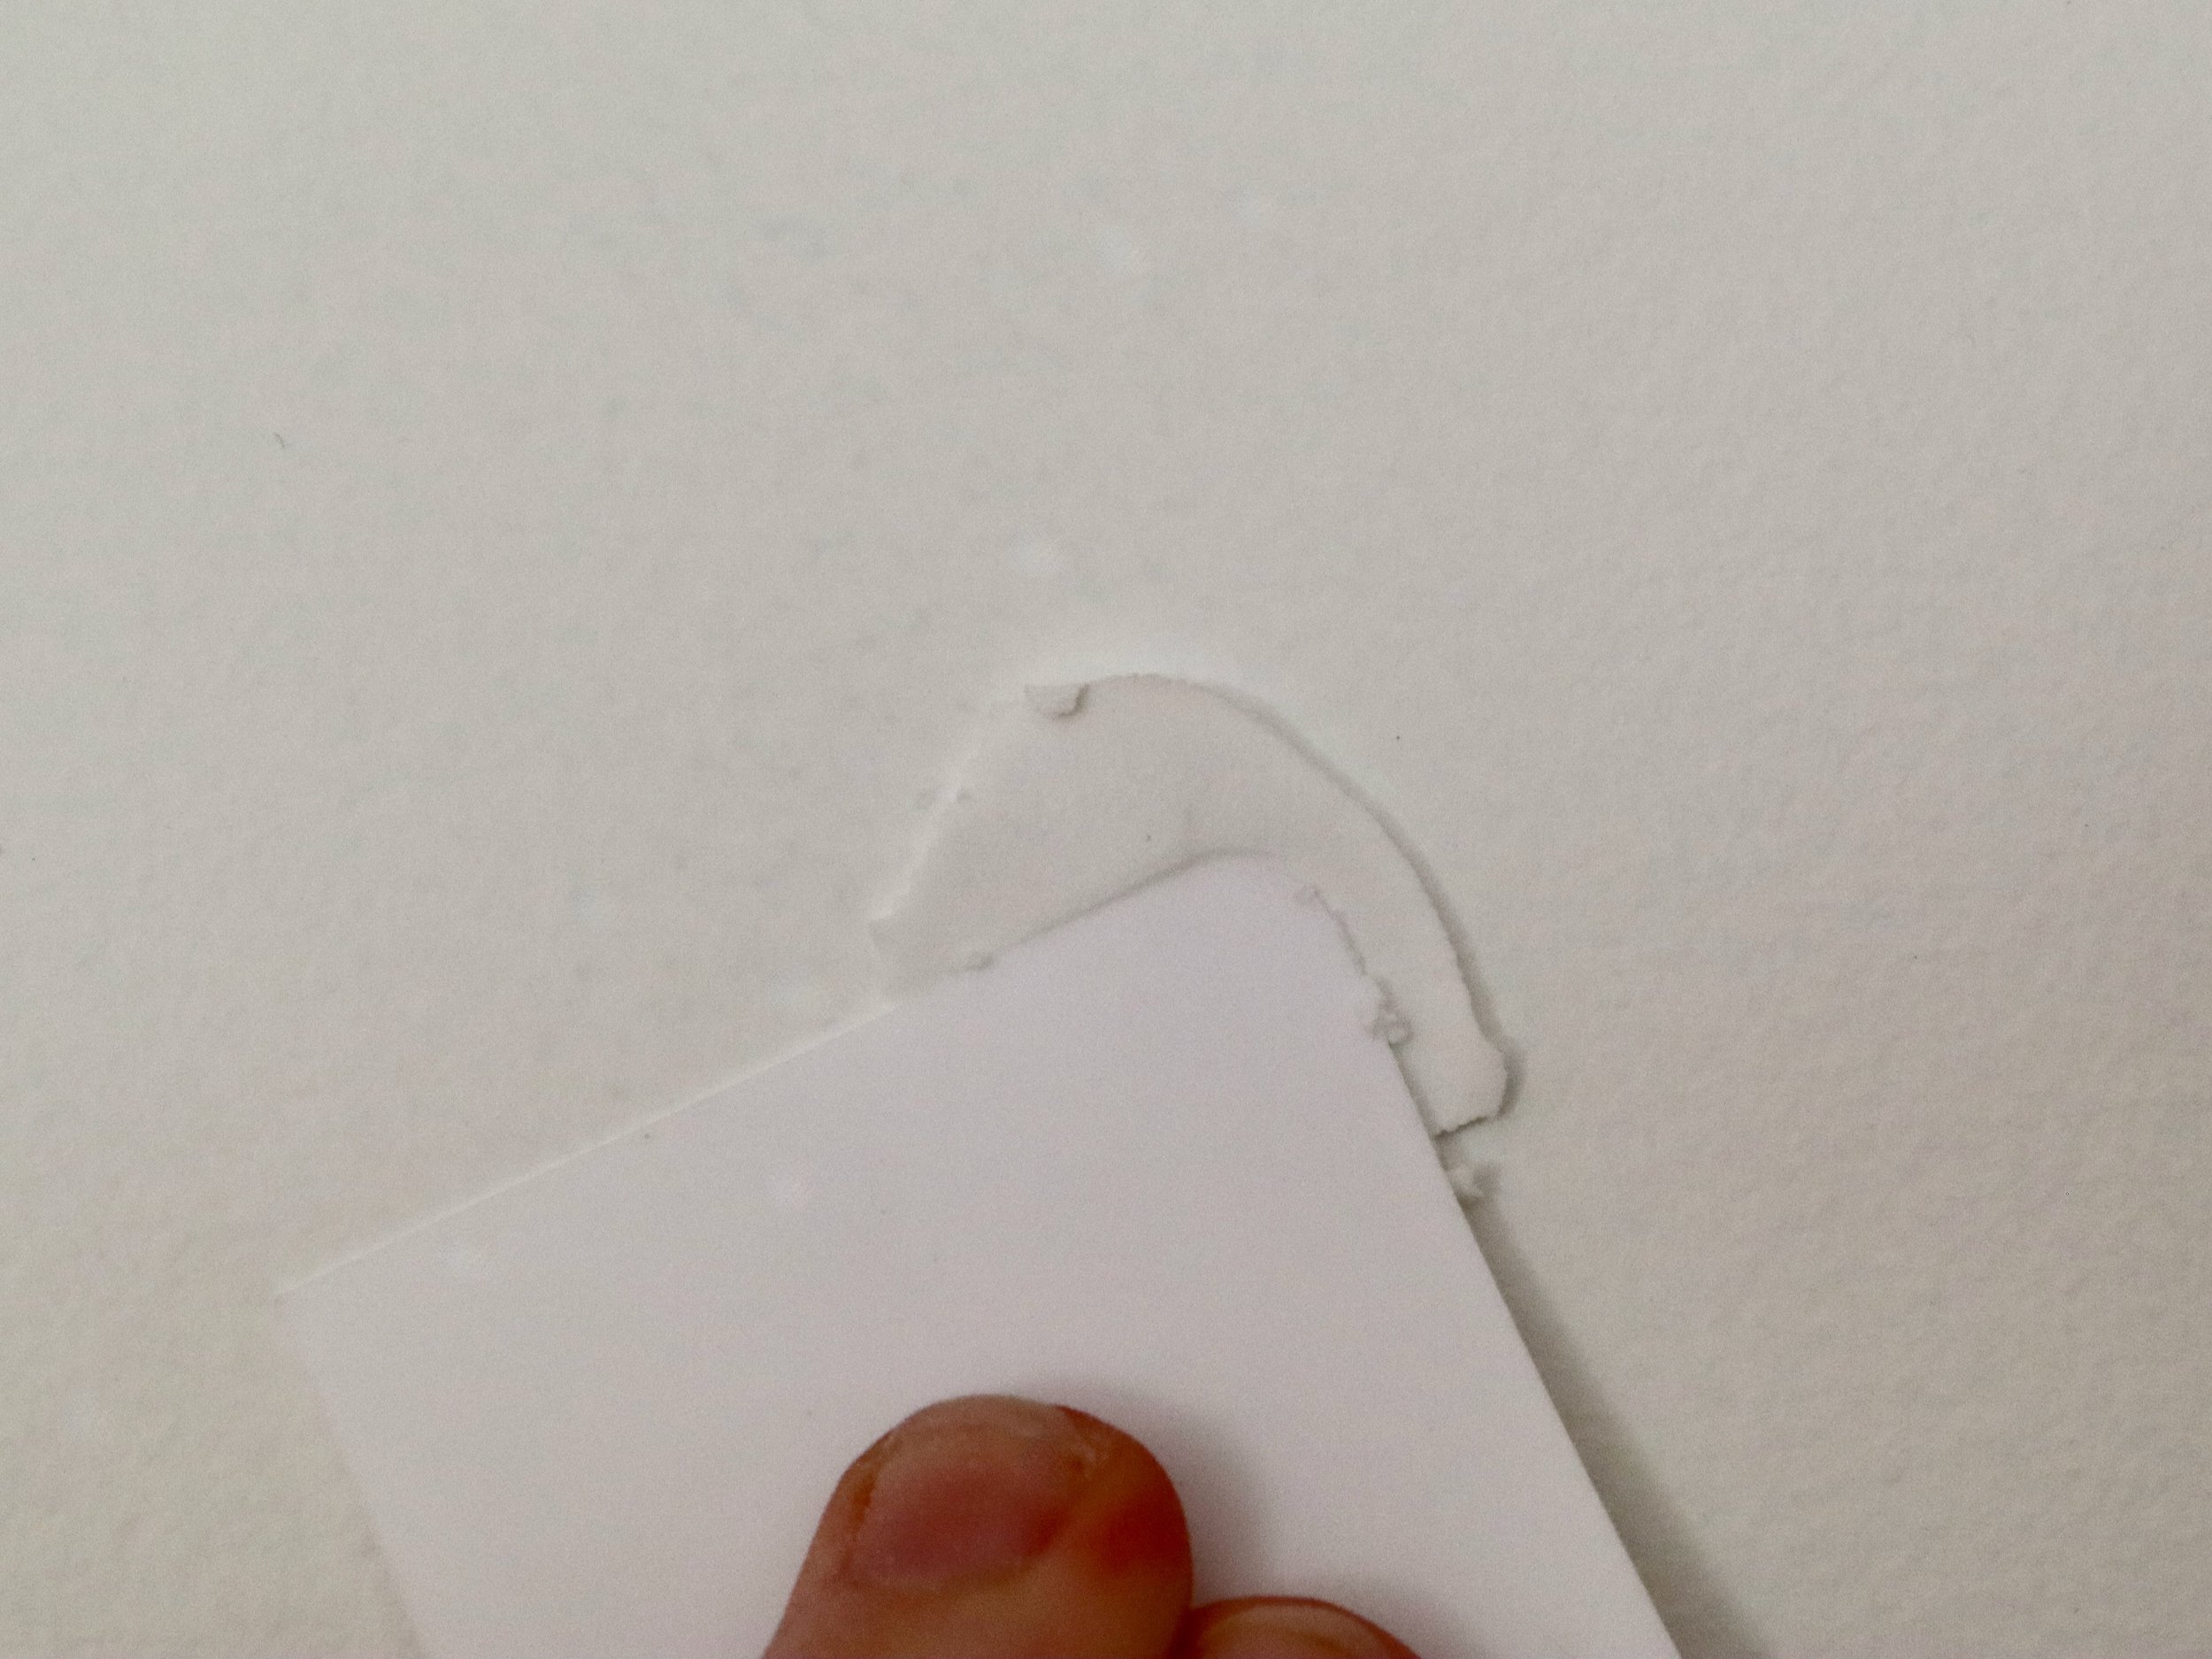
Use this technique for a hole of 30-50mm, maybe made by a door handle. Pick up a utility knife, sheet of 120-grit abrasive paper with a sanding block, self-adhesive fibreglass mesh tape, Selleys SpakFilla Rapid, a mini roller with tray and same-colour wall paint.
I used a utility knife to trim around the edges to remove torn paper, then smoothed over the hole with a sanding block and abrasive paper, wiping away the dust with a cloth.
Ensuring there was enough to adhere to the wall, I cut mesh tape to fit over the hole and pressed it into place.
Then I pushed filler into the mesh using the spatula – in a wiping motion from opposite directions – spreading it onto the surrounding wall 20mm past the tape. I scraped over the area to remove the excess and left it to dry for half an hour.
I sanded over the filled area in a circular motion, smoothing the edges and sanding the surrounding wall.
To reapply filler over the area, I used a wiping motion from opposite directions, extending the coverage onto the wall by about 20mm. I left it to dry thoroughly then sanded and wiped away dust.
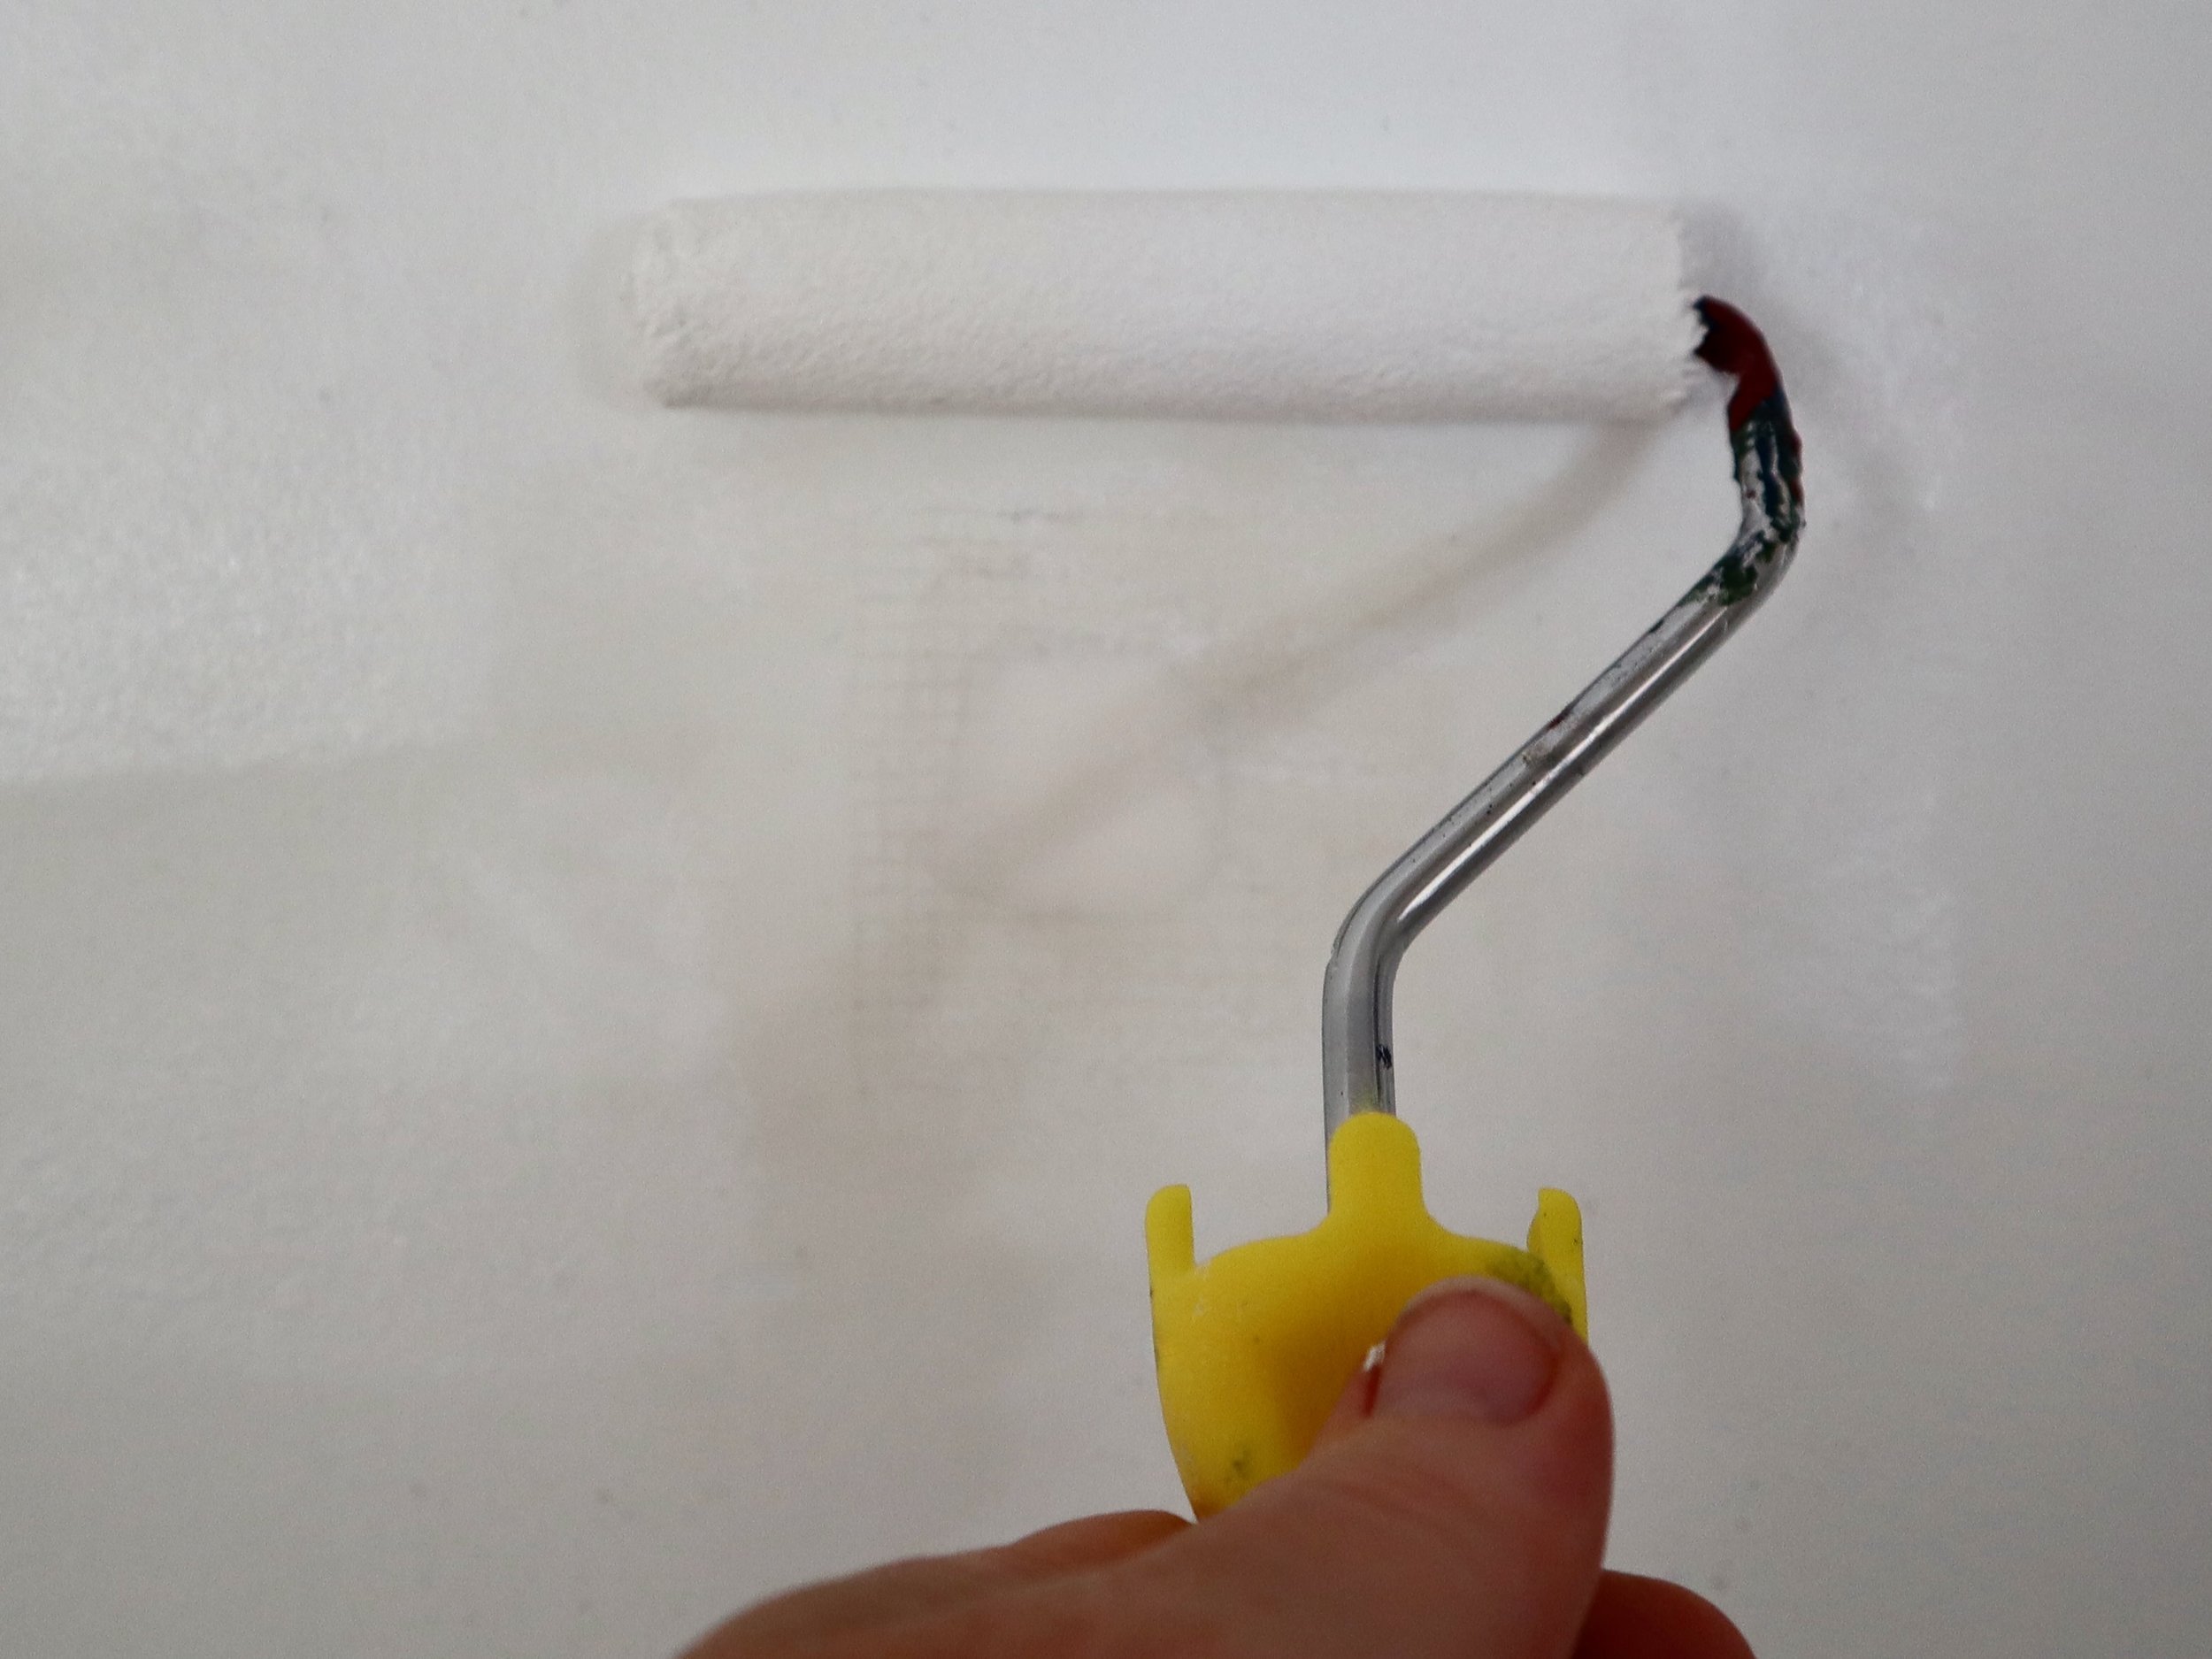
After pouring a tablespoon of paint into a mini tray, I used the top section of the tray to roll out the paint and remove the excess. I rolled over the repaired wall area, feathering the edges and left it to dry before repeating two more coats.
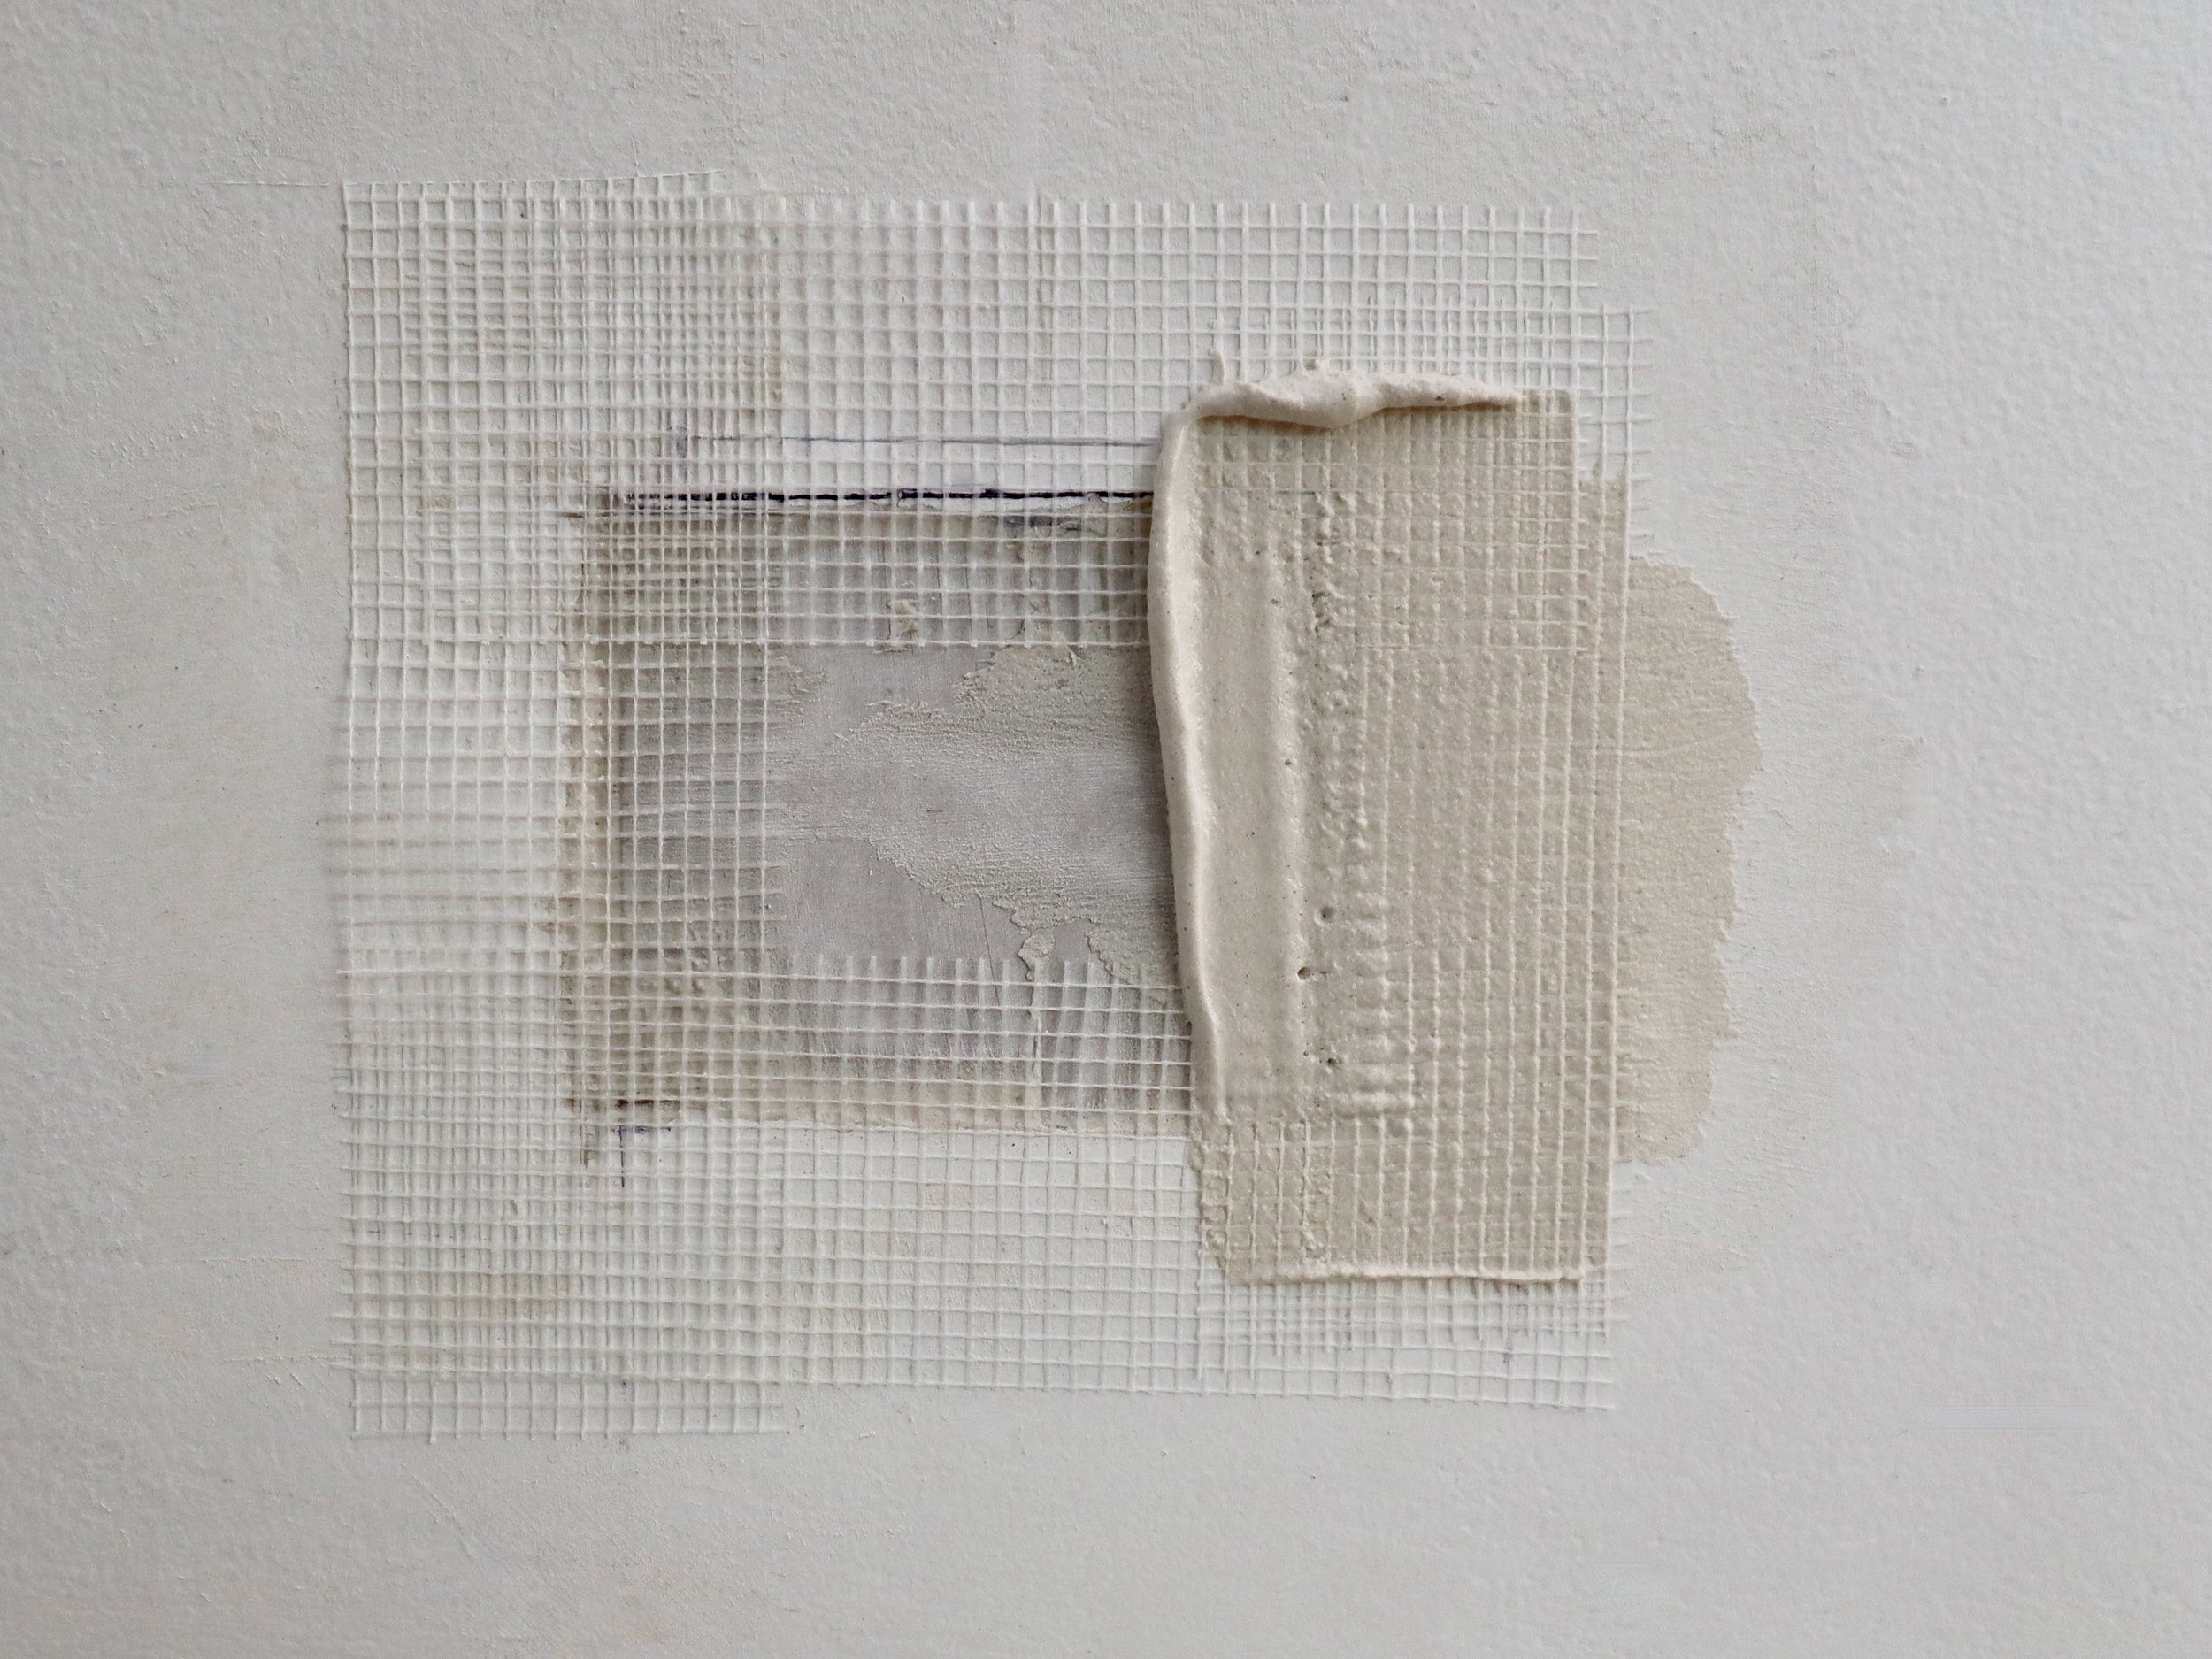
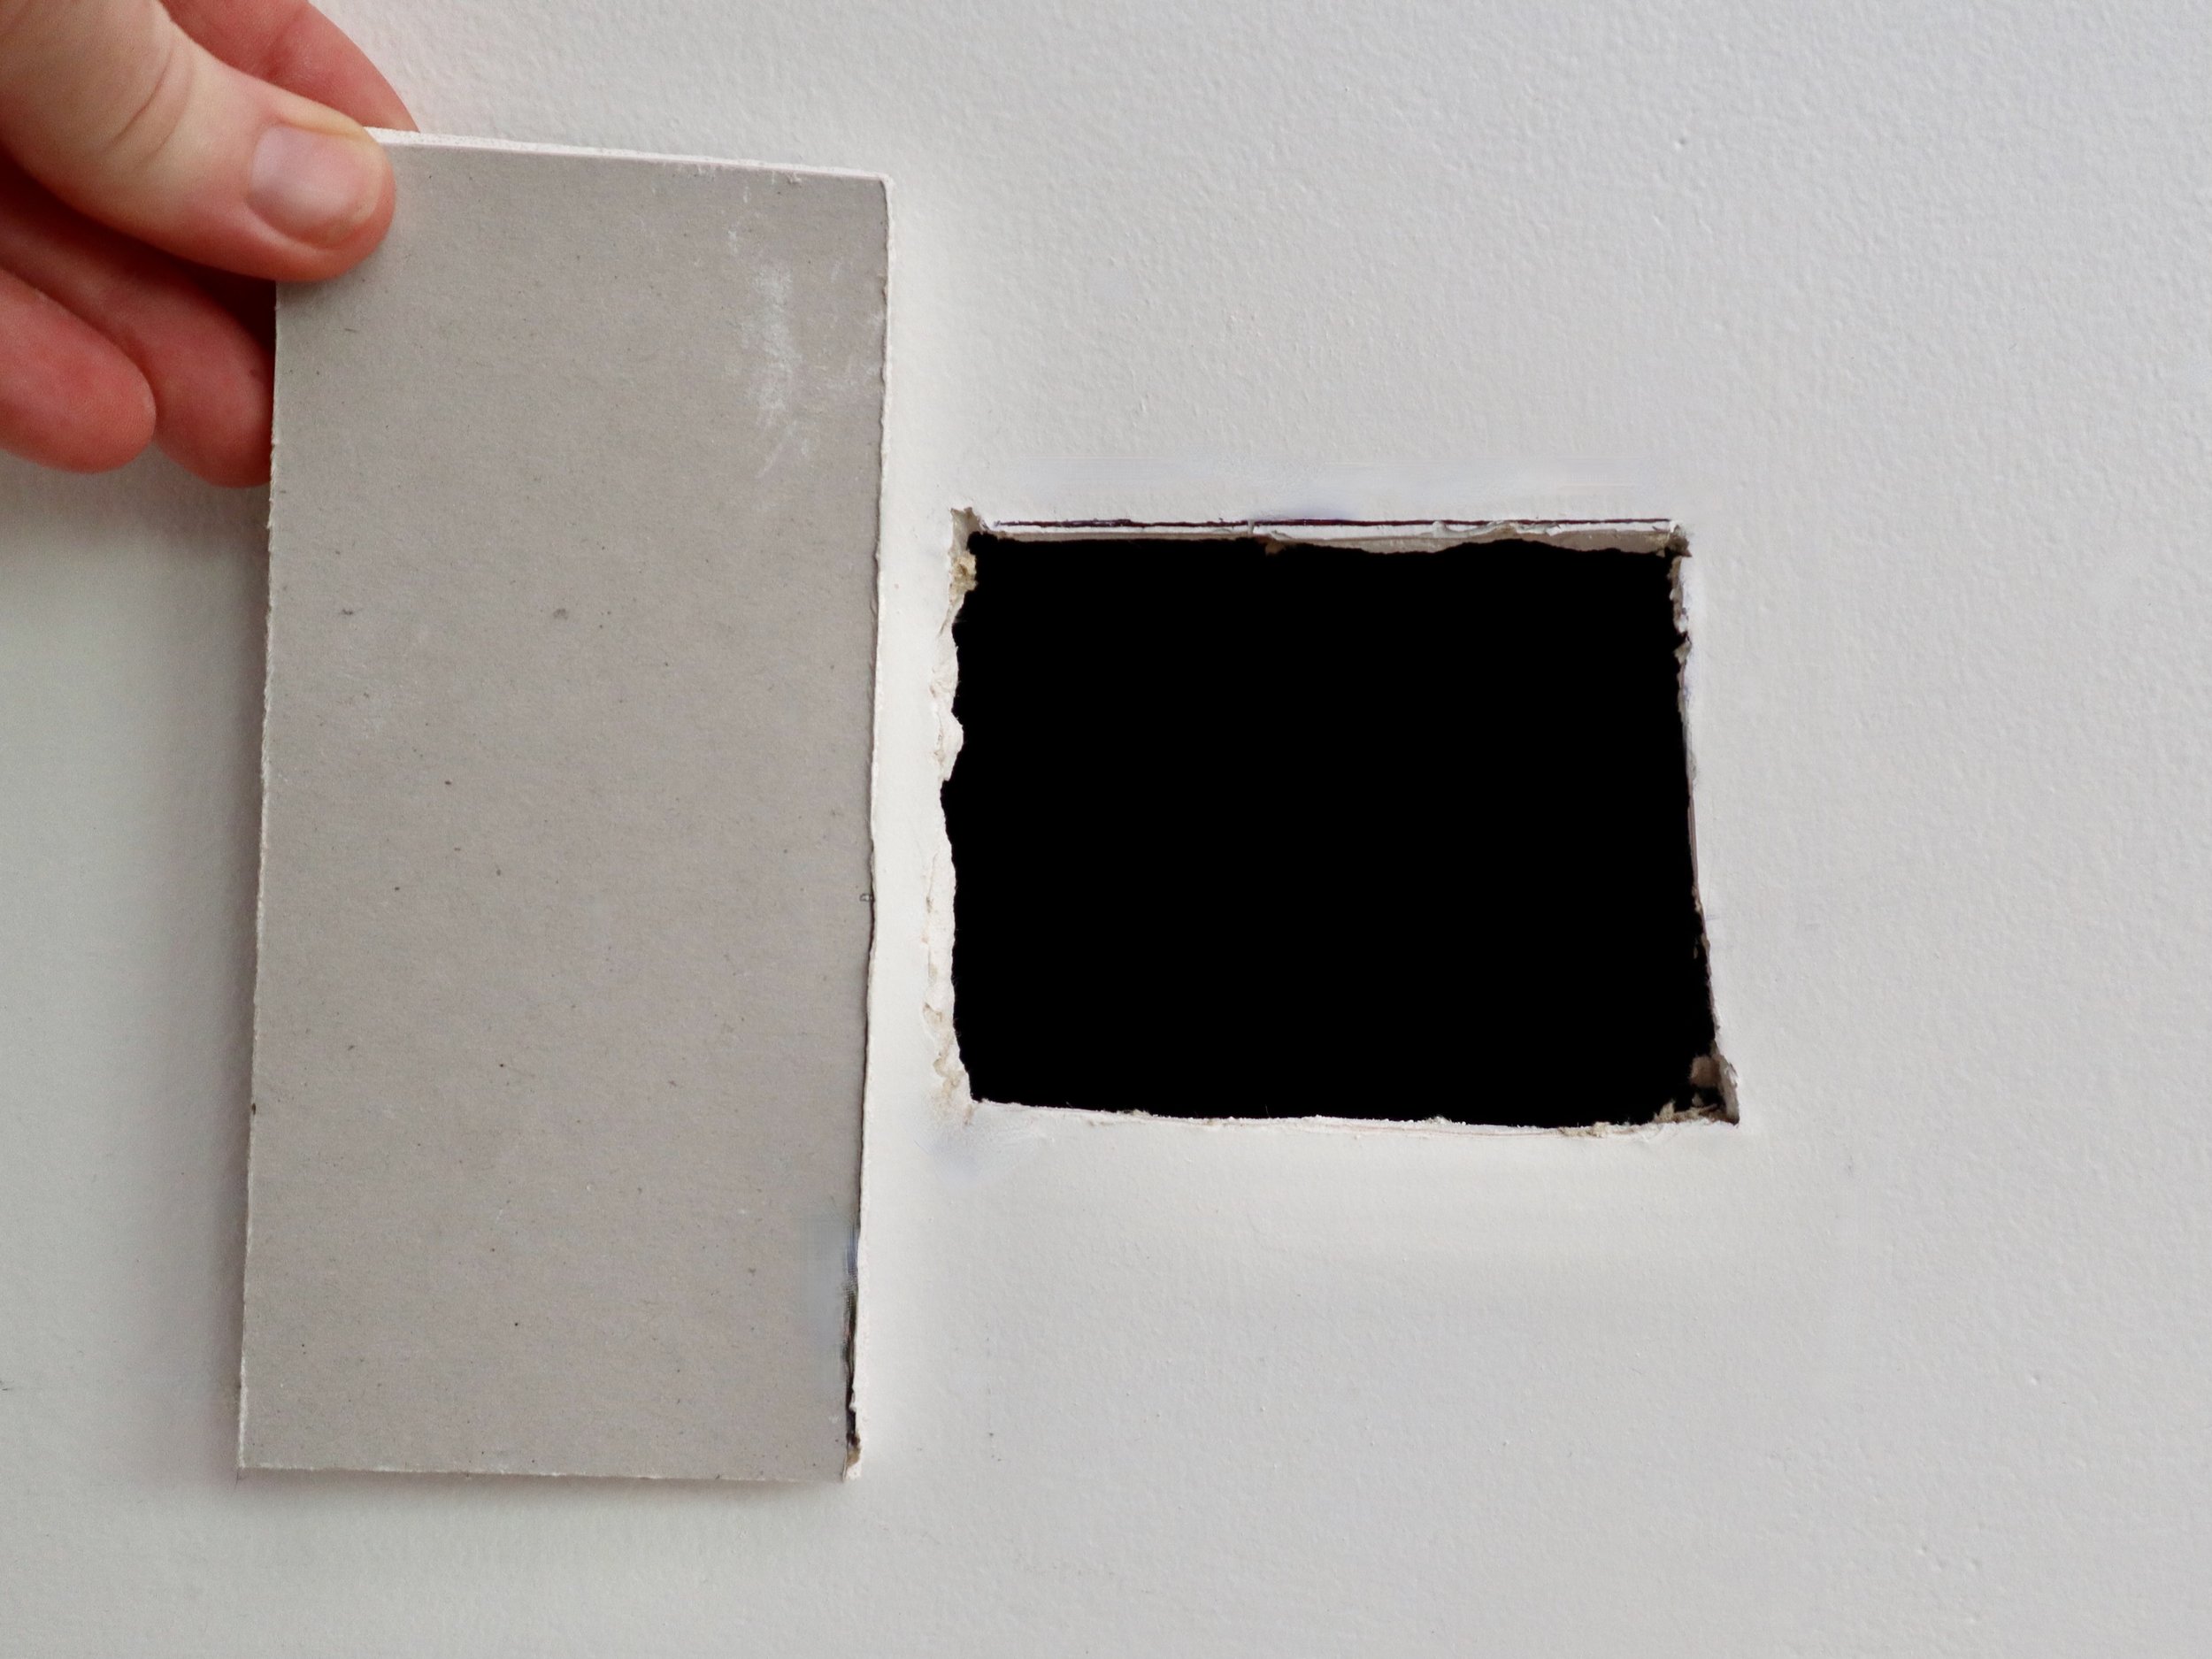
Patch a large hole
This technique is for a hole up to 120mm, maybe from moving a switch or powerpoint. You’ll need the Gyprock 1.5kg DIY Rapid Plaster Repair Kit, a paper cup, utility knife and a small plasterboard saw. Also a full-size roller, tray and paint to refresh the entire wall.
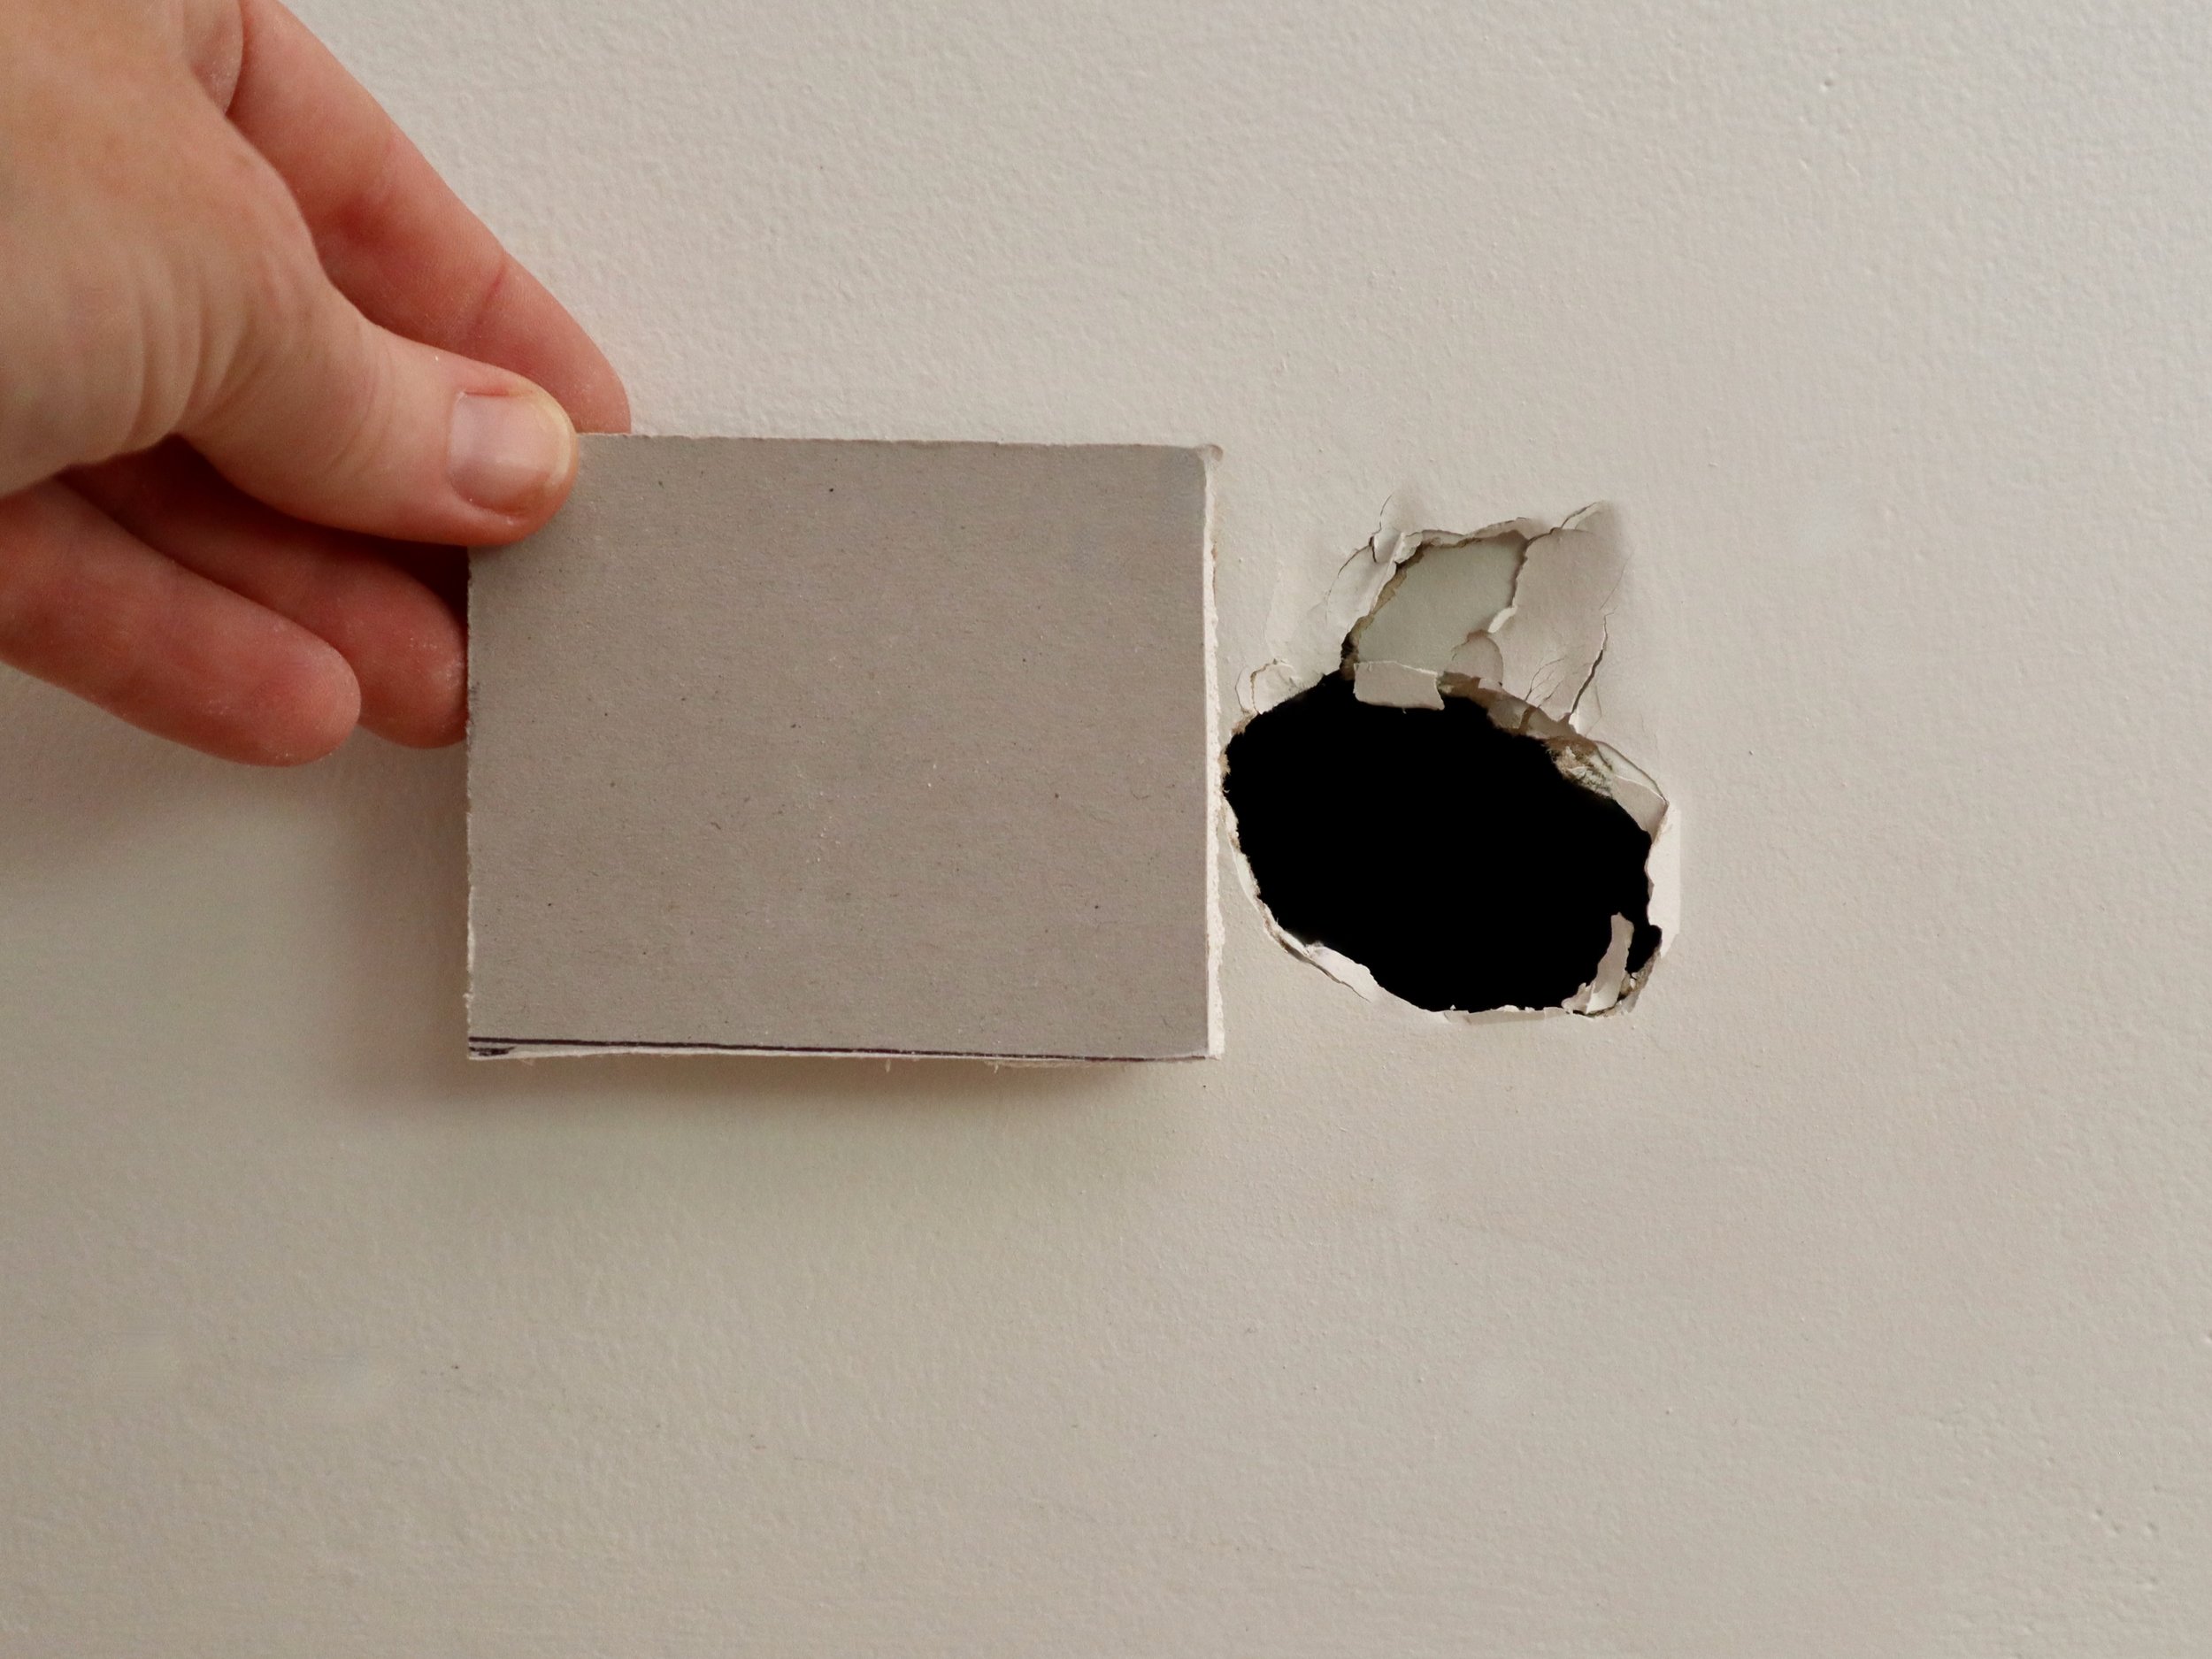
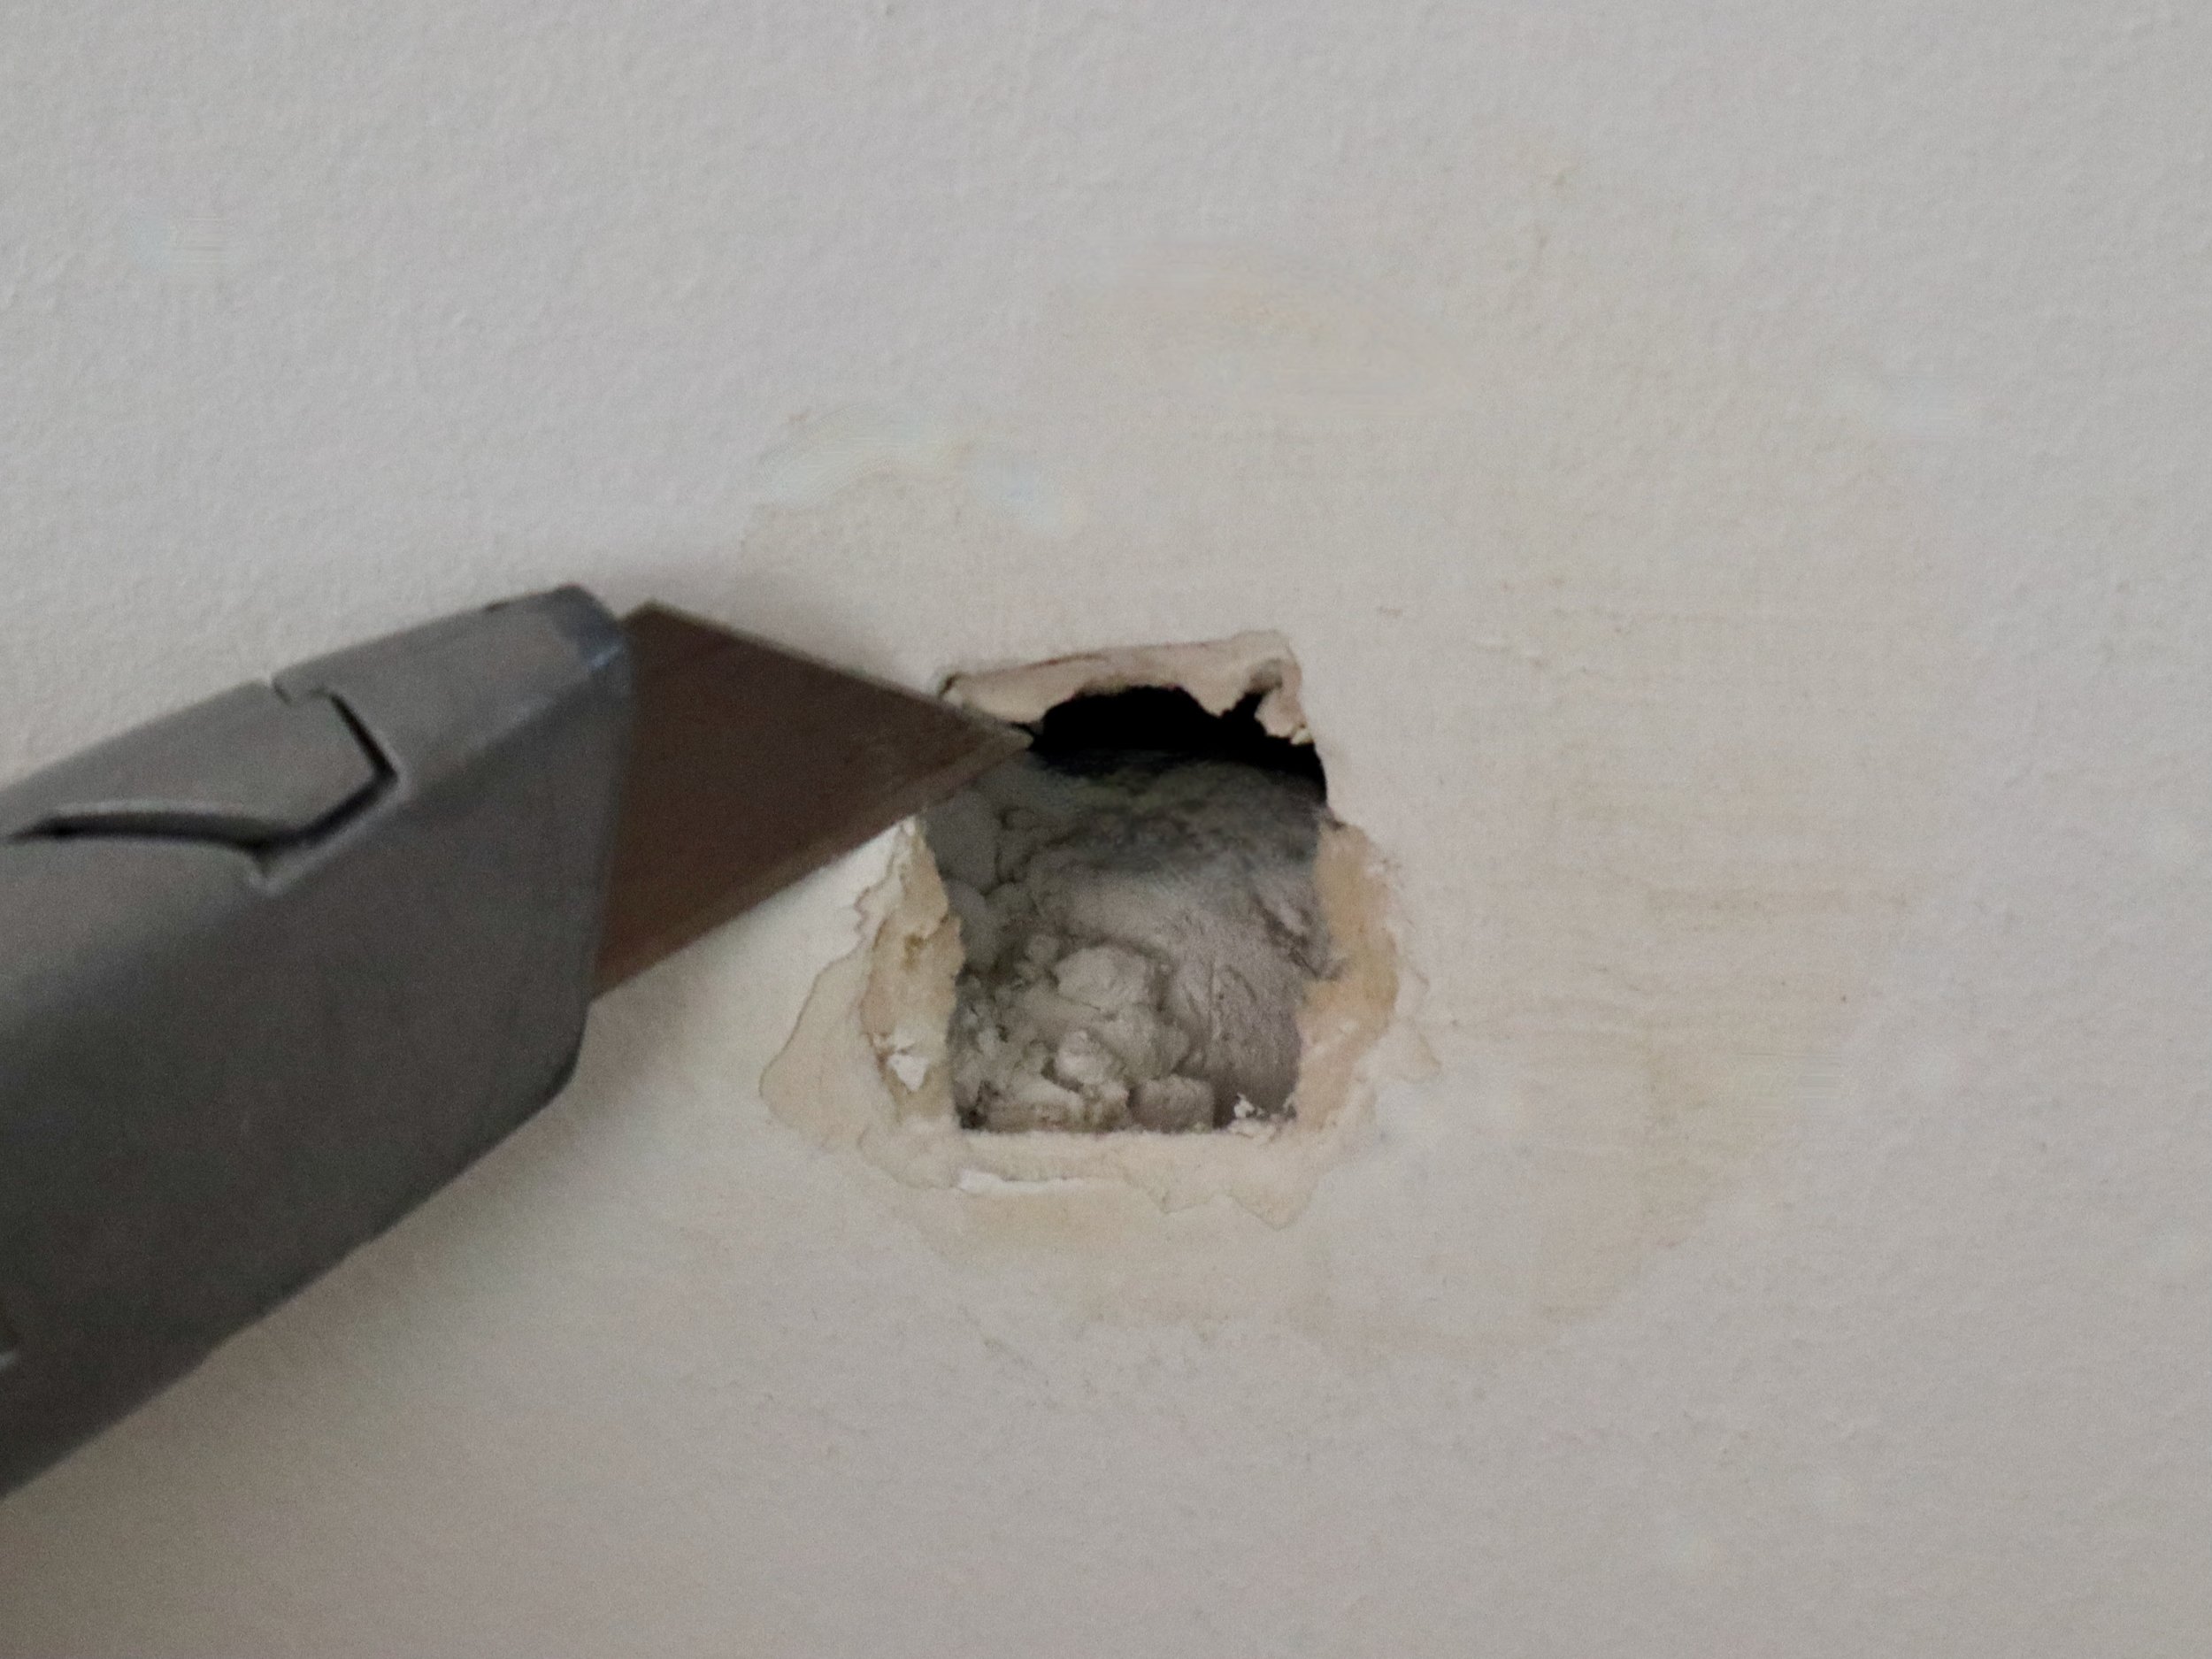
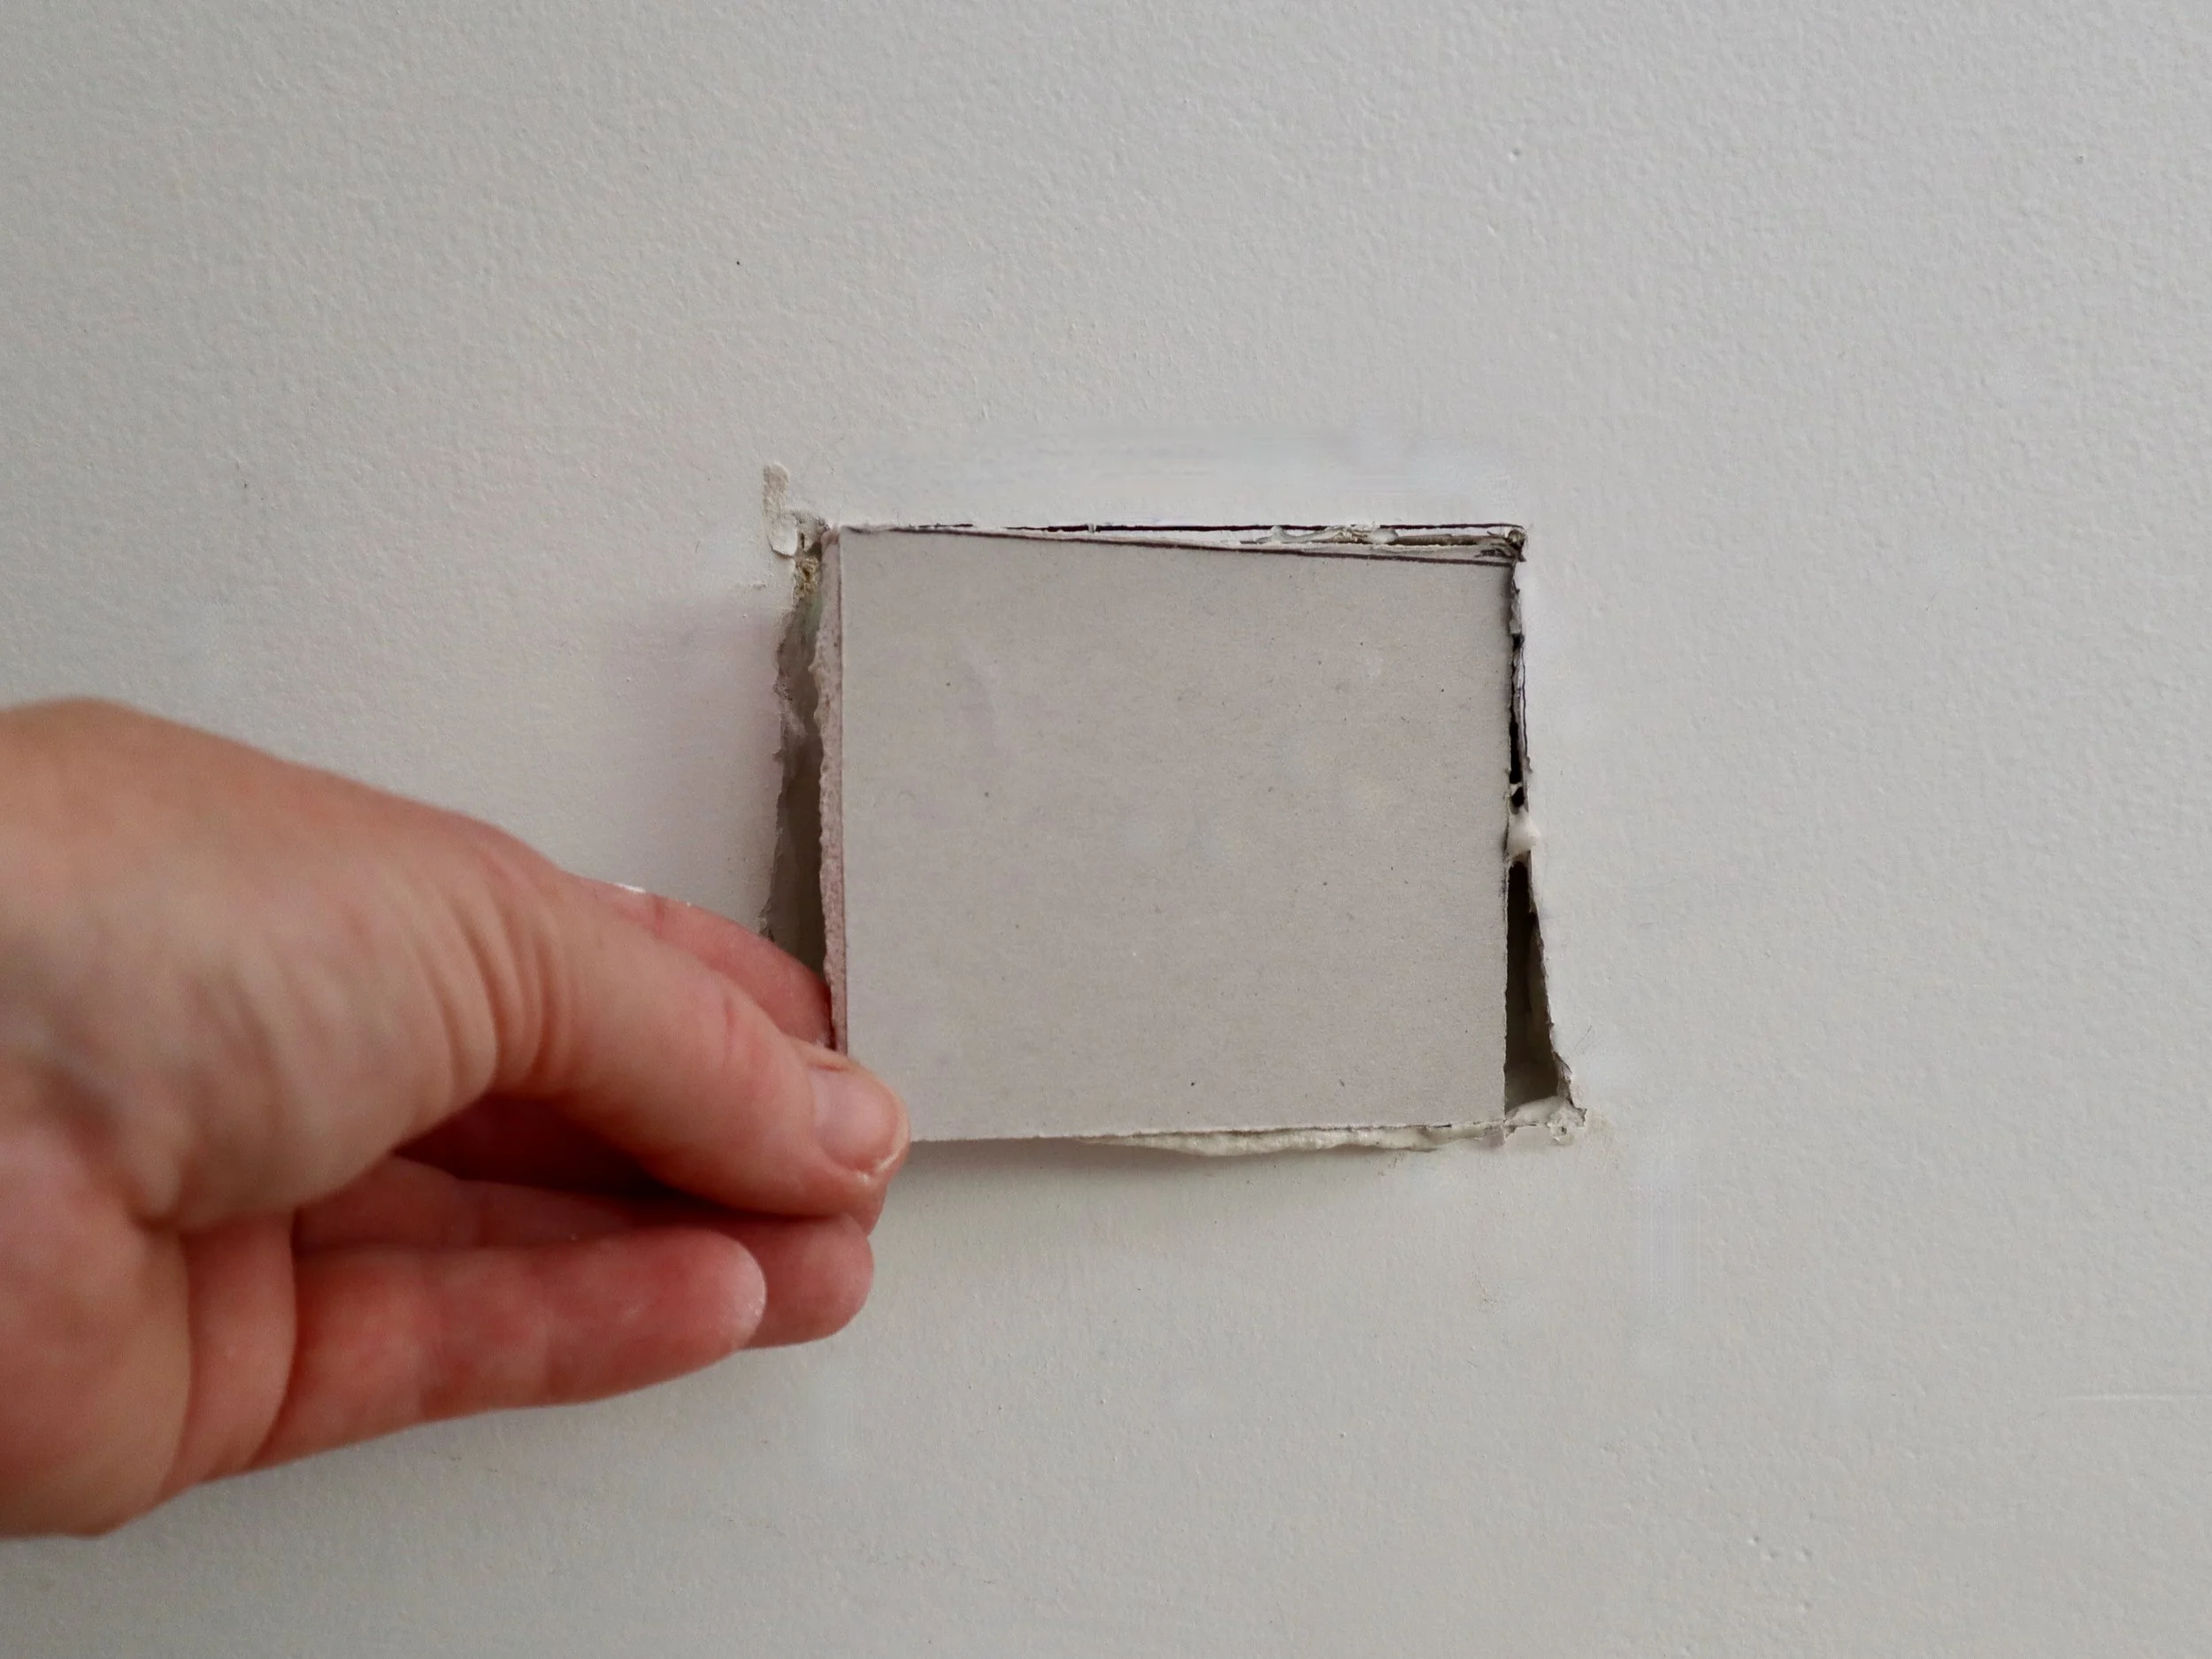
Using a repair panel from the kit, I marked a square slightly larger than the hole, scored it with a utility knife and snapped the edges – this will be my filler piece. I centred it over the hole and marked around it with a pen.
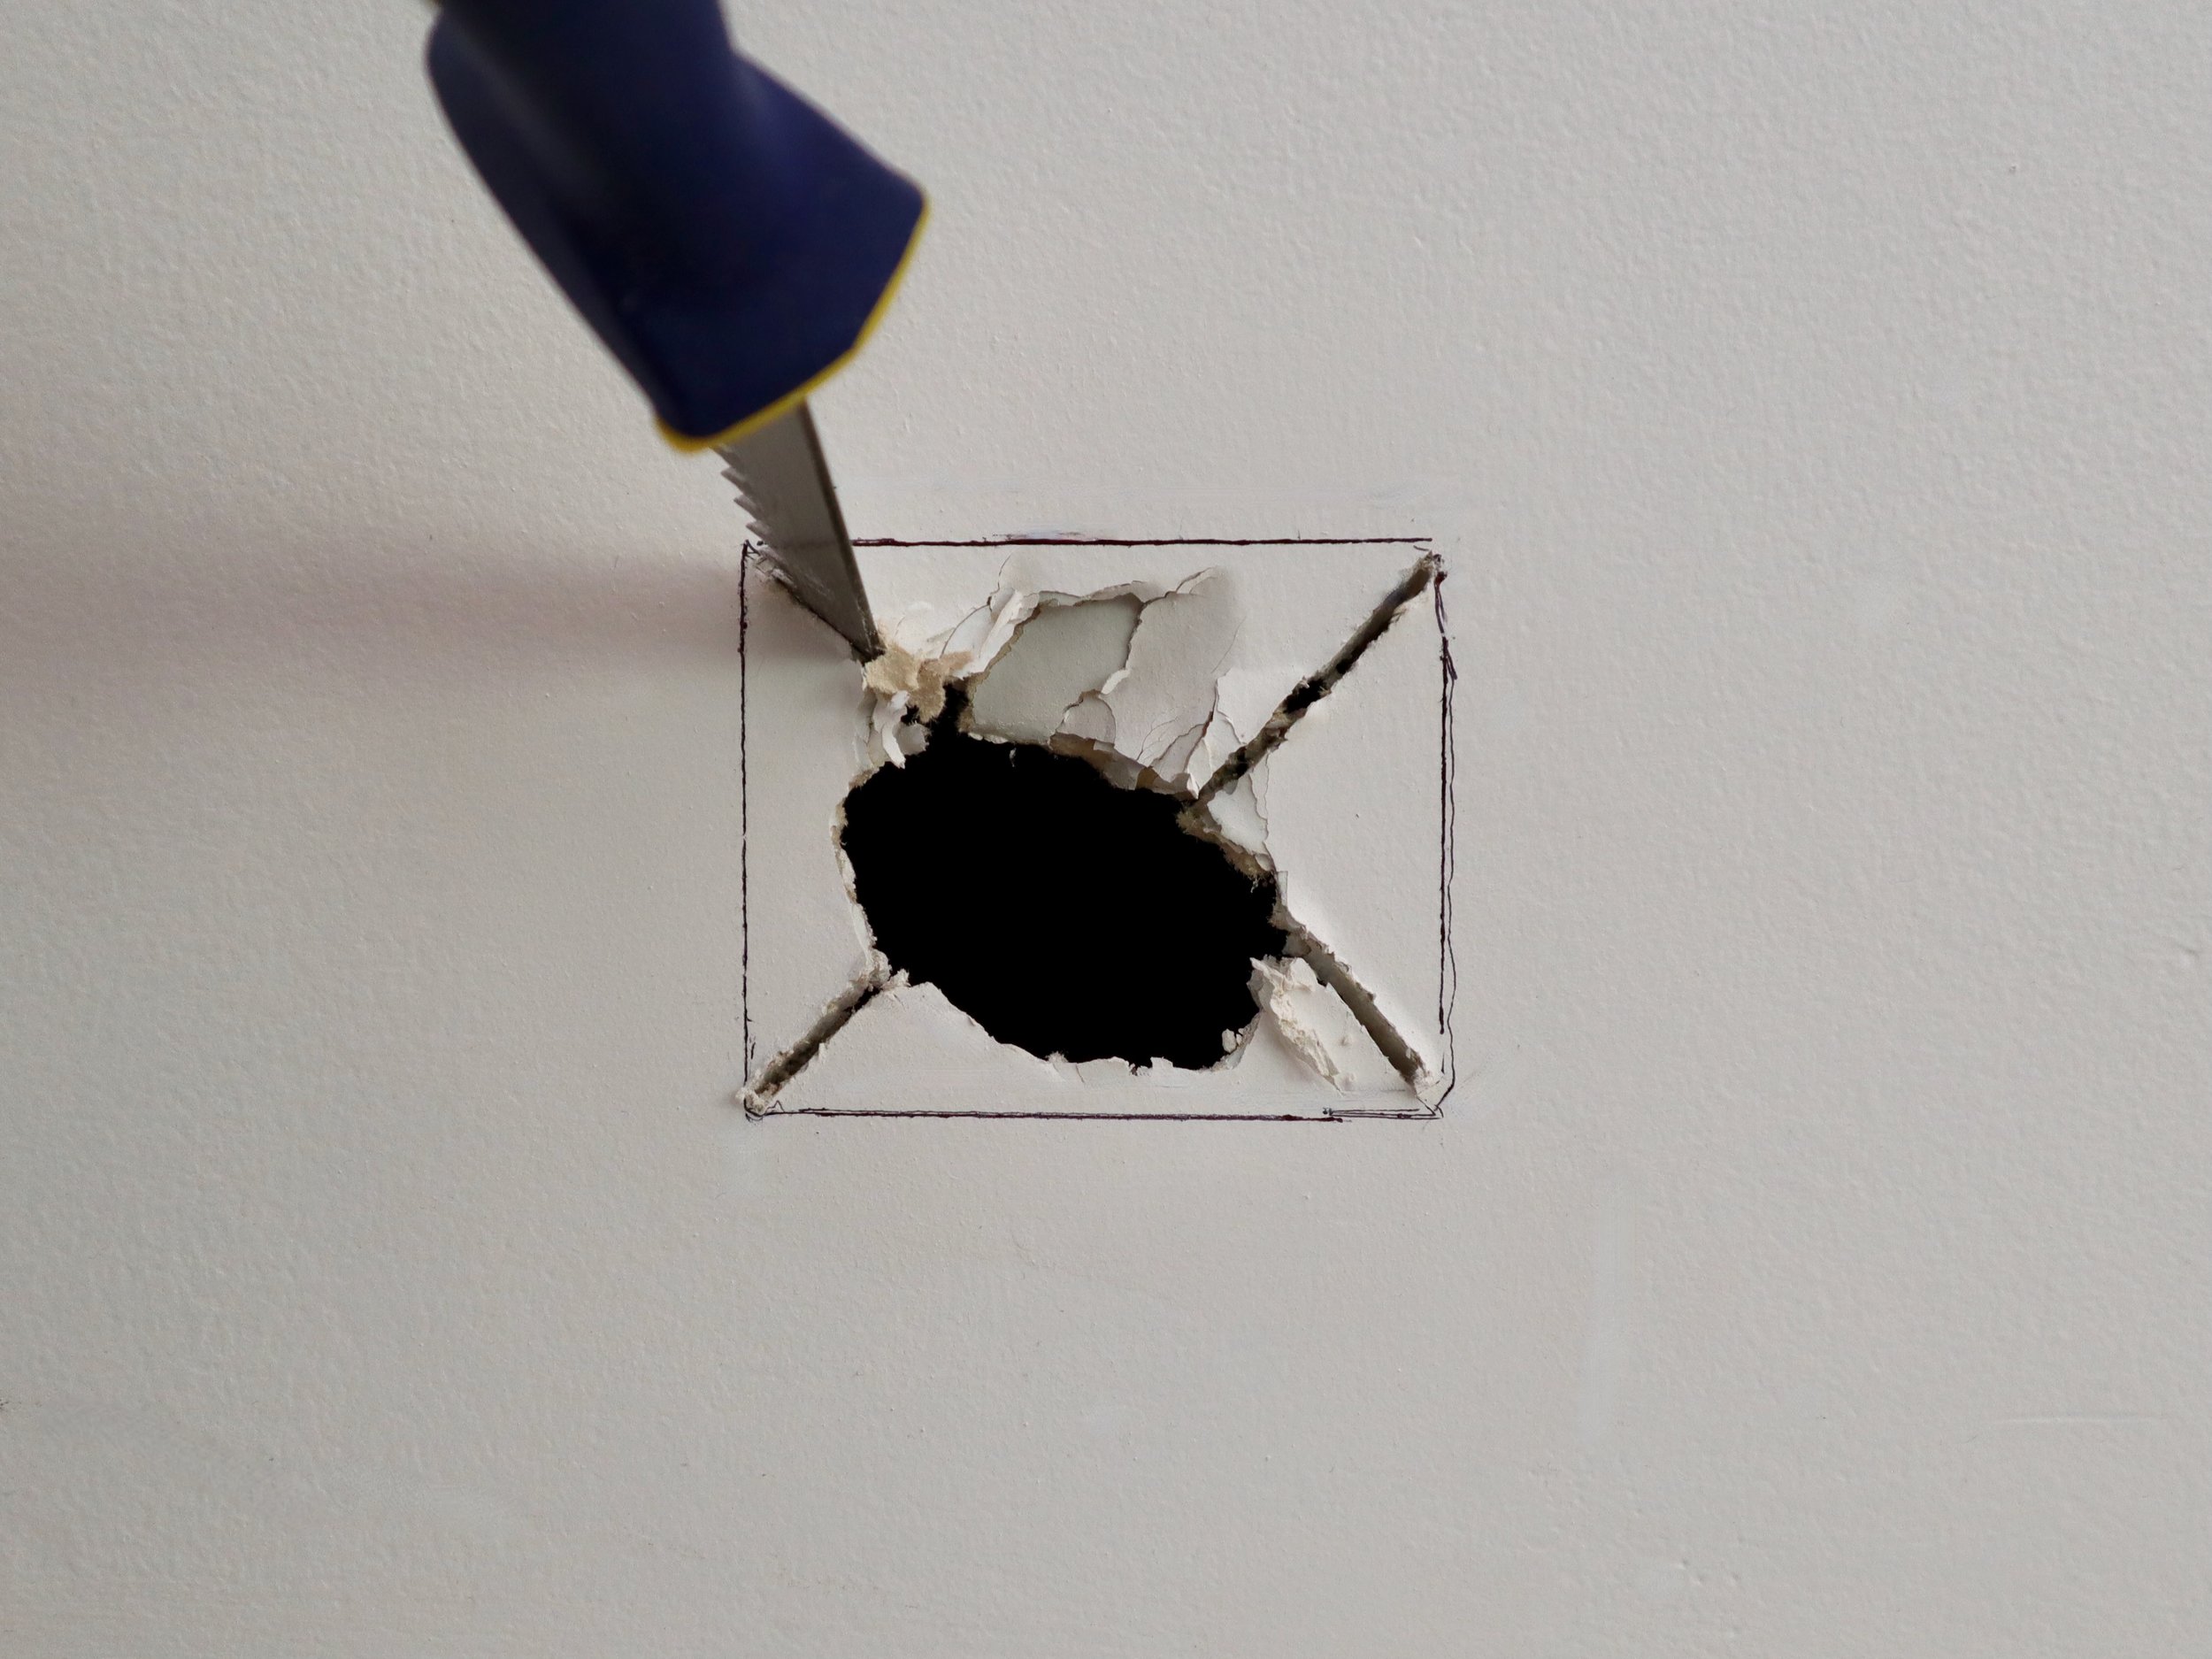
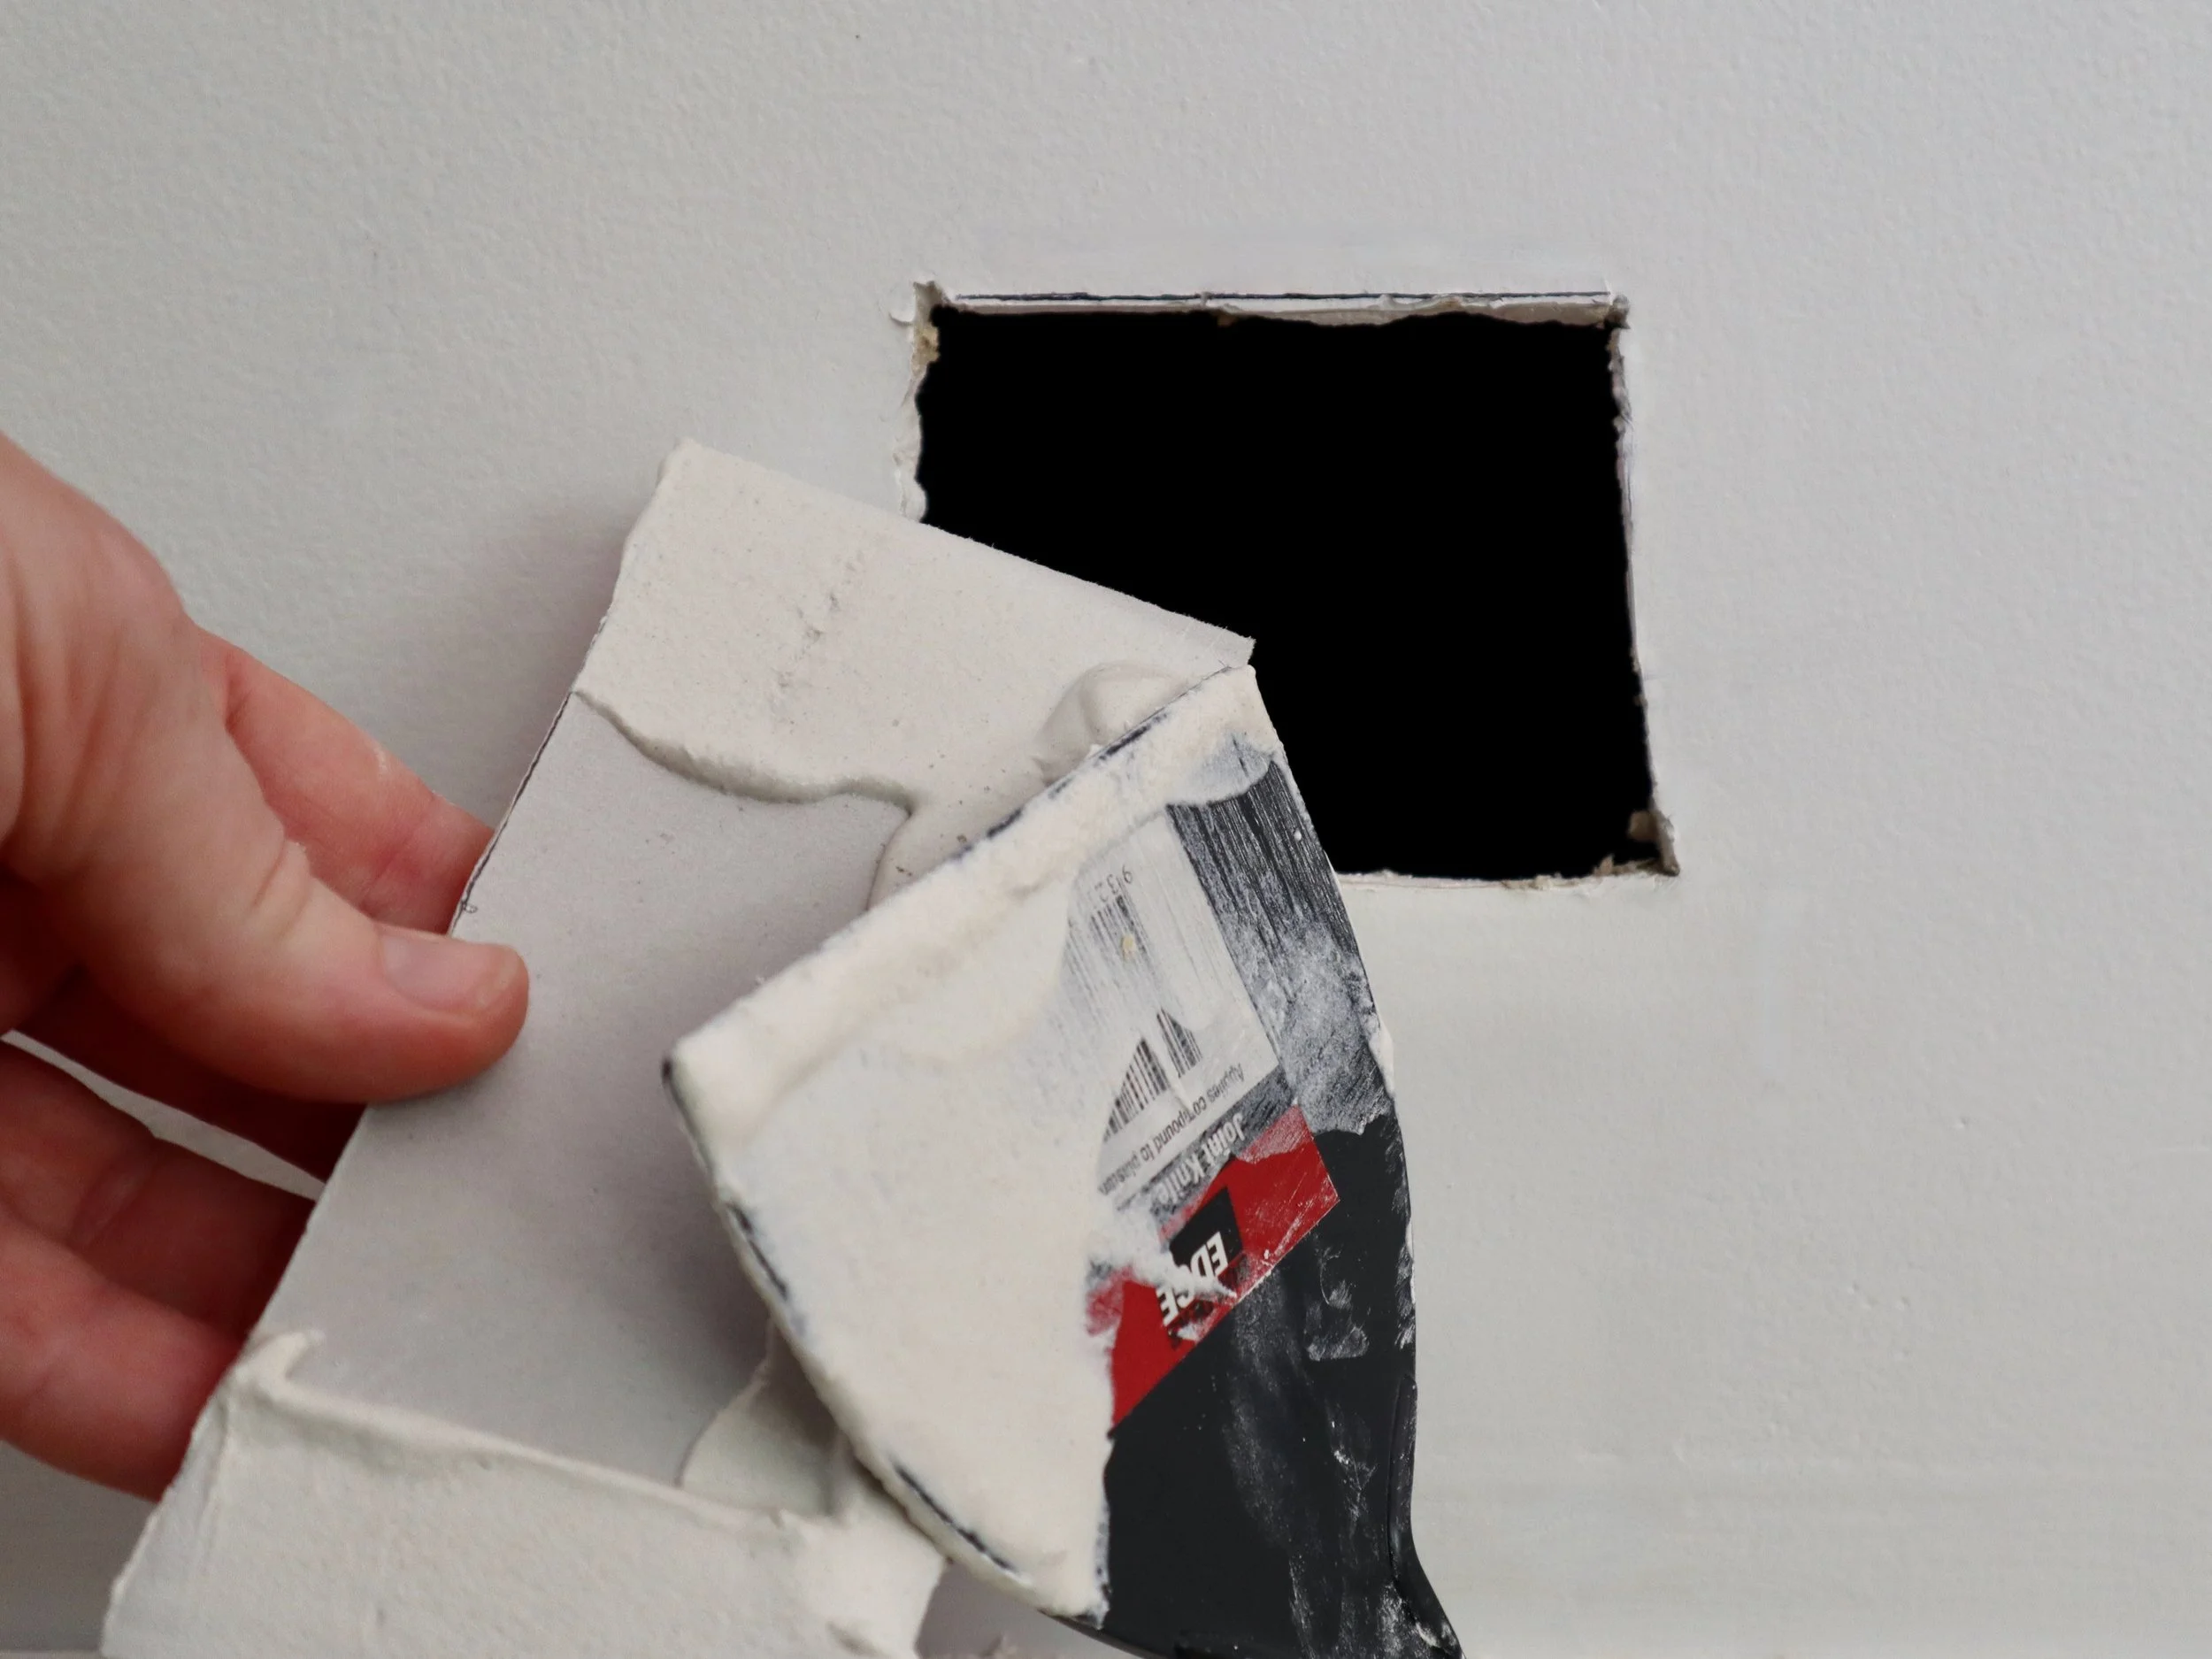
Using a plasterboard saw, I cut diagonally into the corners…

… and scored around the edges with a utility knife.
TIP Hold the knife with the handle slightly outwards to leave an angled edge that allows for more plaster.

Then I pushed the excess into the wall and cleaned up the outside edges with the knife.
From the remaining panel, I cut two backing pieces the same width of the cavity and double the height. I combined one cup of compound and ⅔-cup of water in the small bucket and mixed it with the broadknife.
I applied compound around the front face of a backing piece…
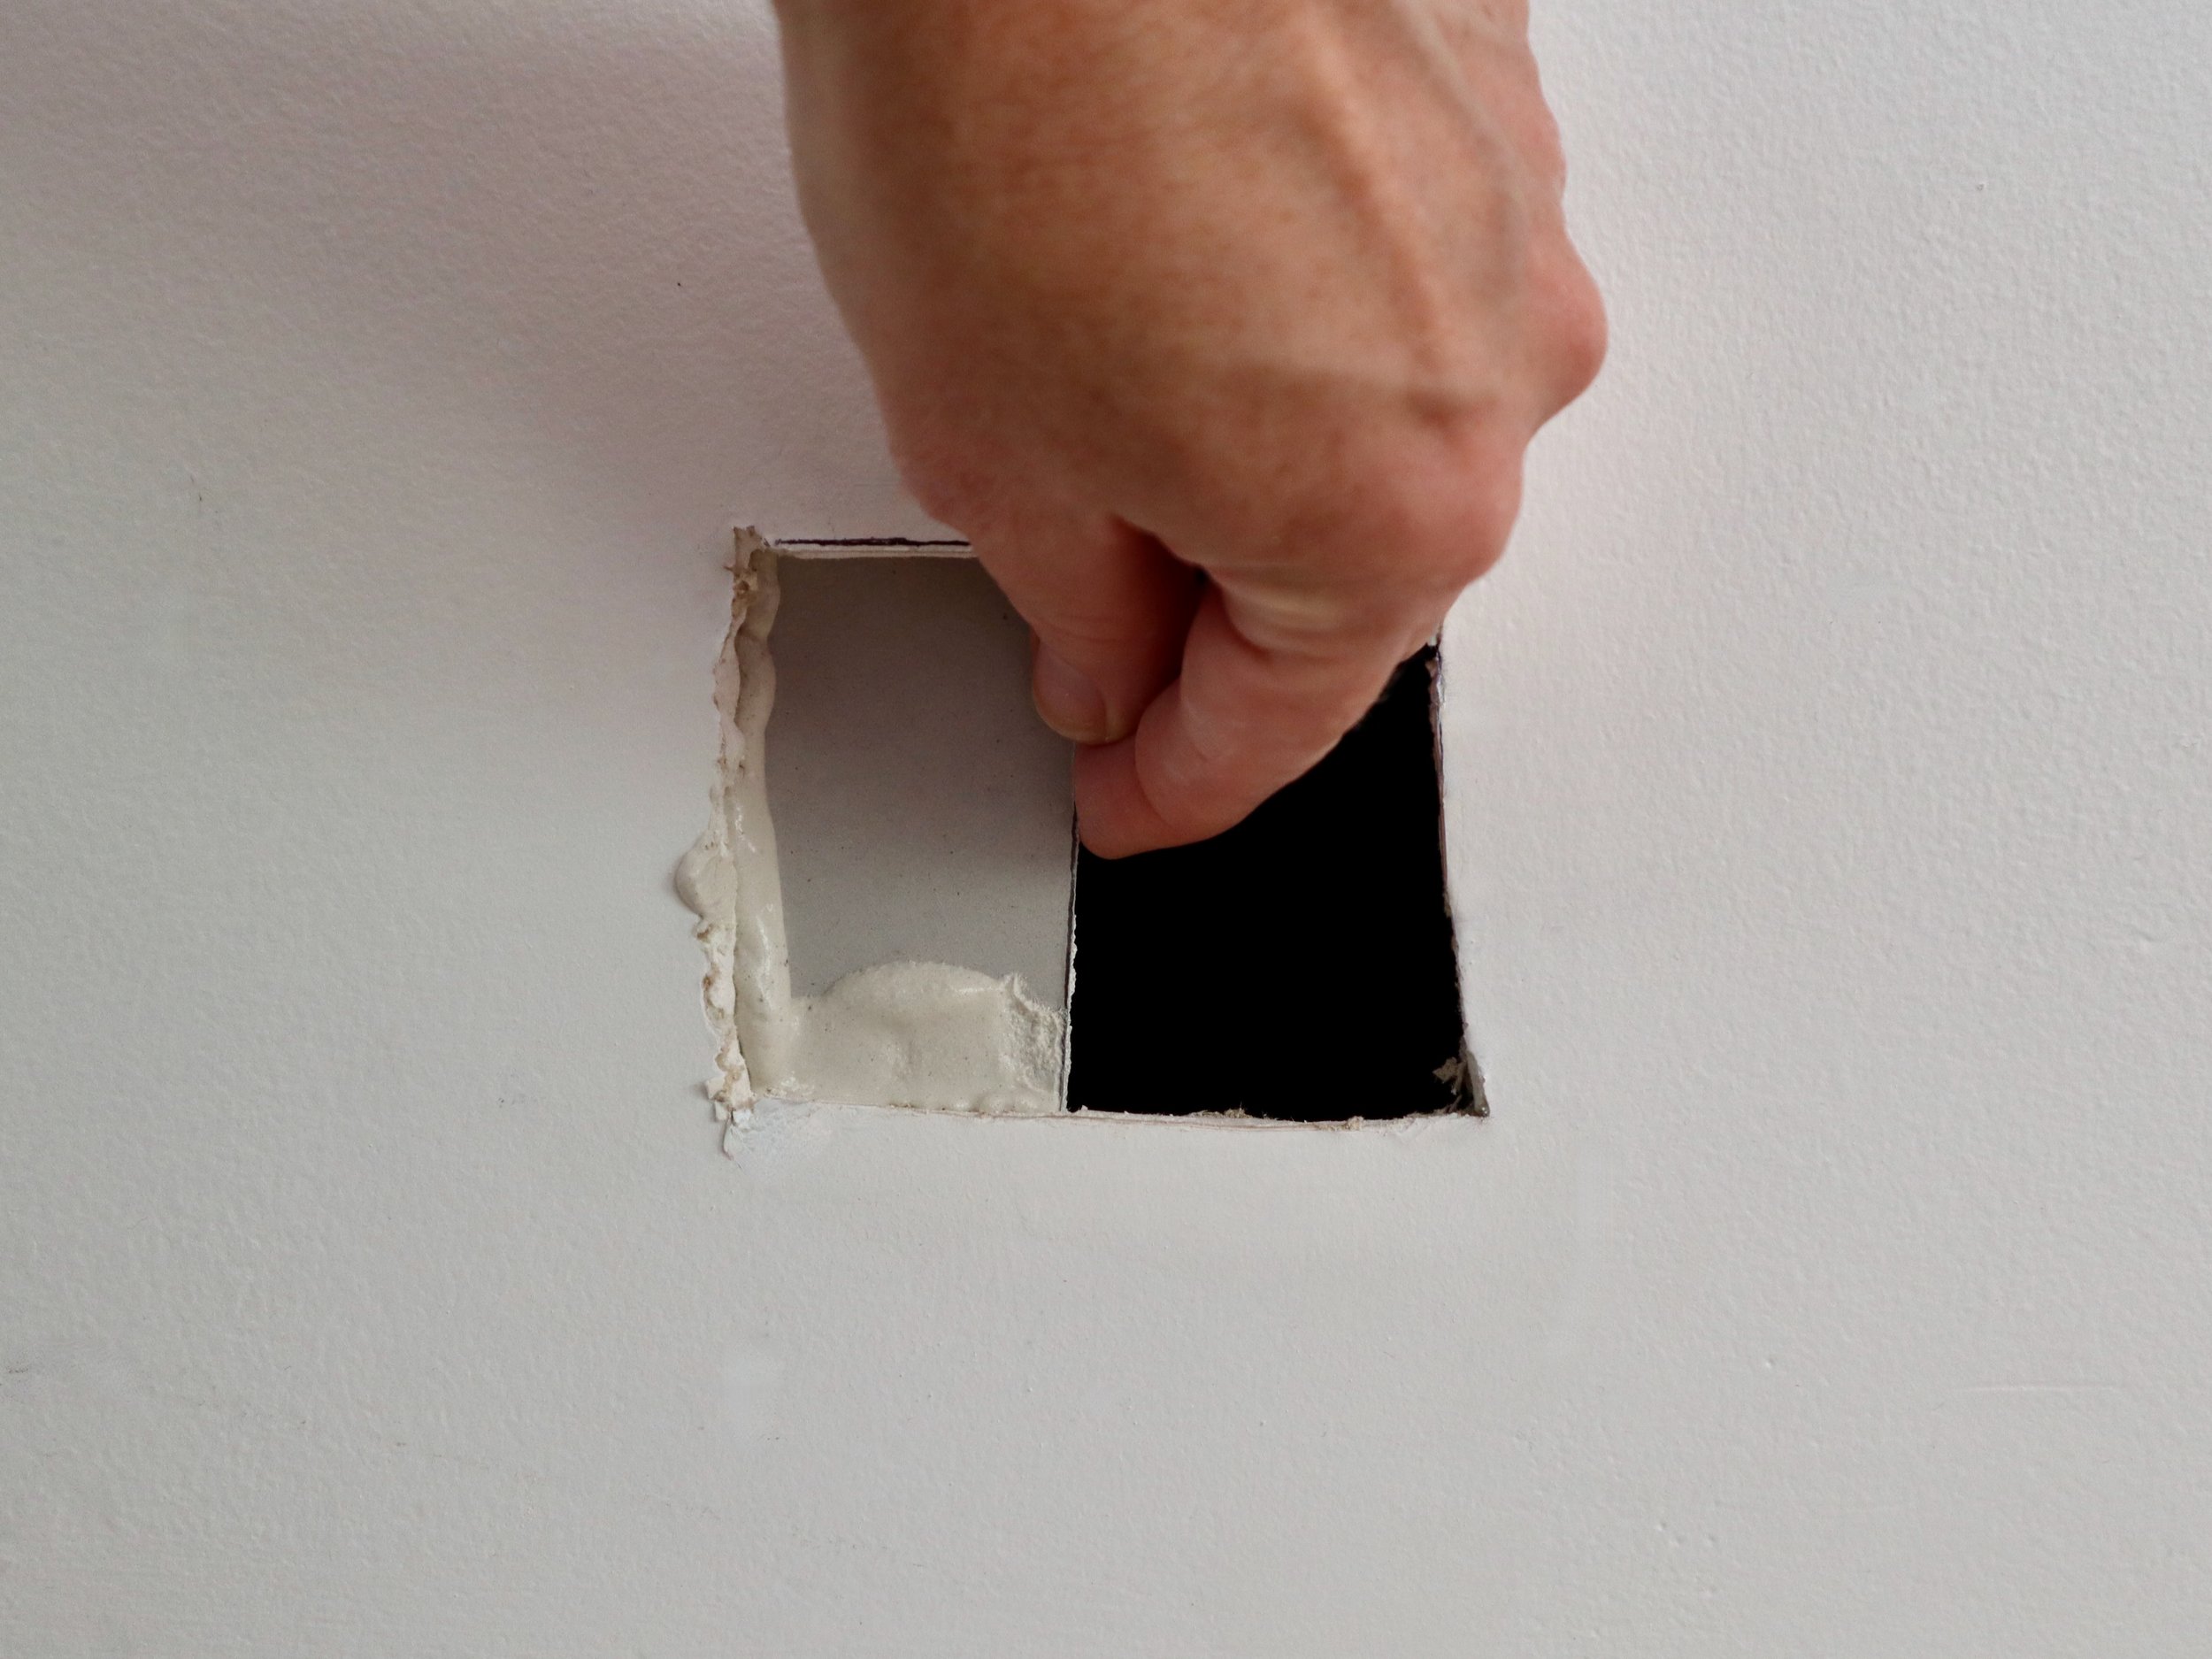
… and positioned it with the face against the wall to cover about a third of the cavity, holding it against the wall for 30 seconds to make sure it adhered.
I covered the other side the the remaining piece and left them both to dry for an hour or so.
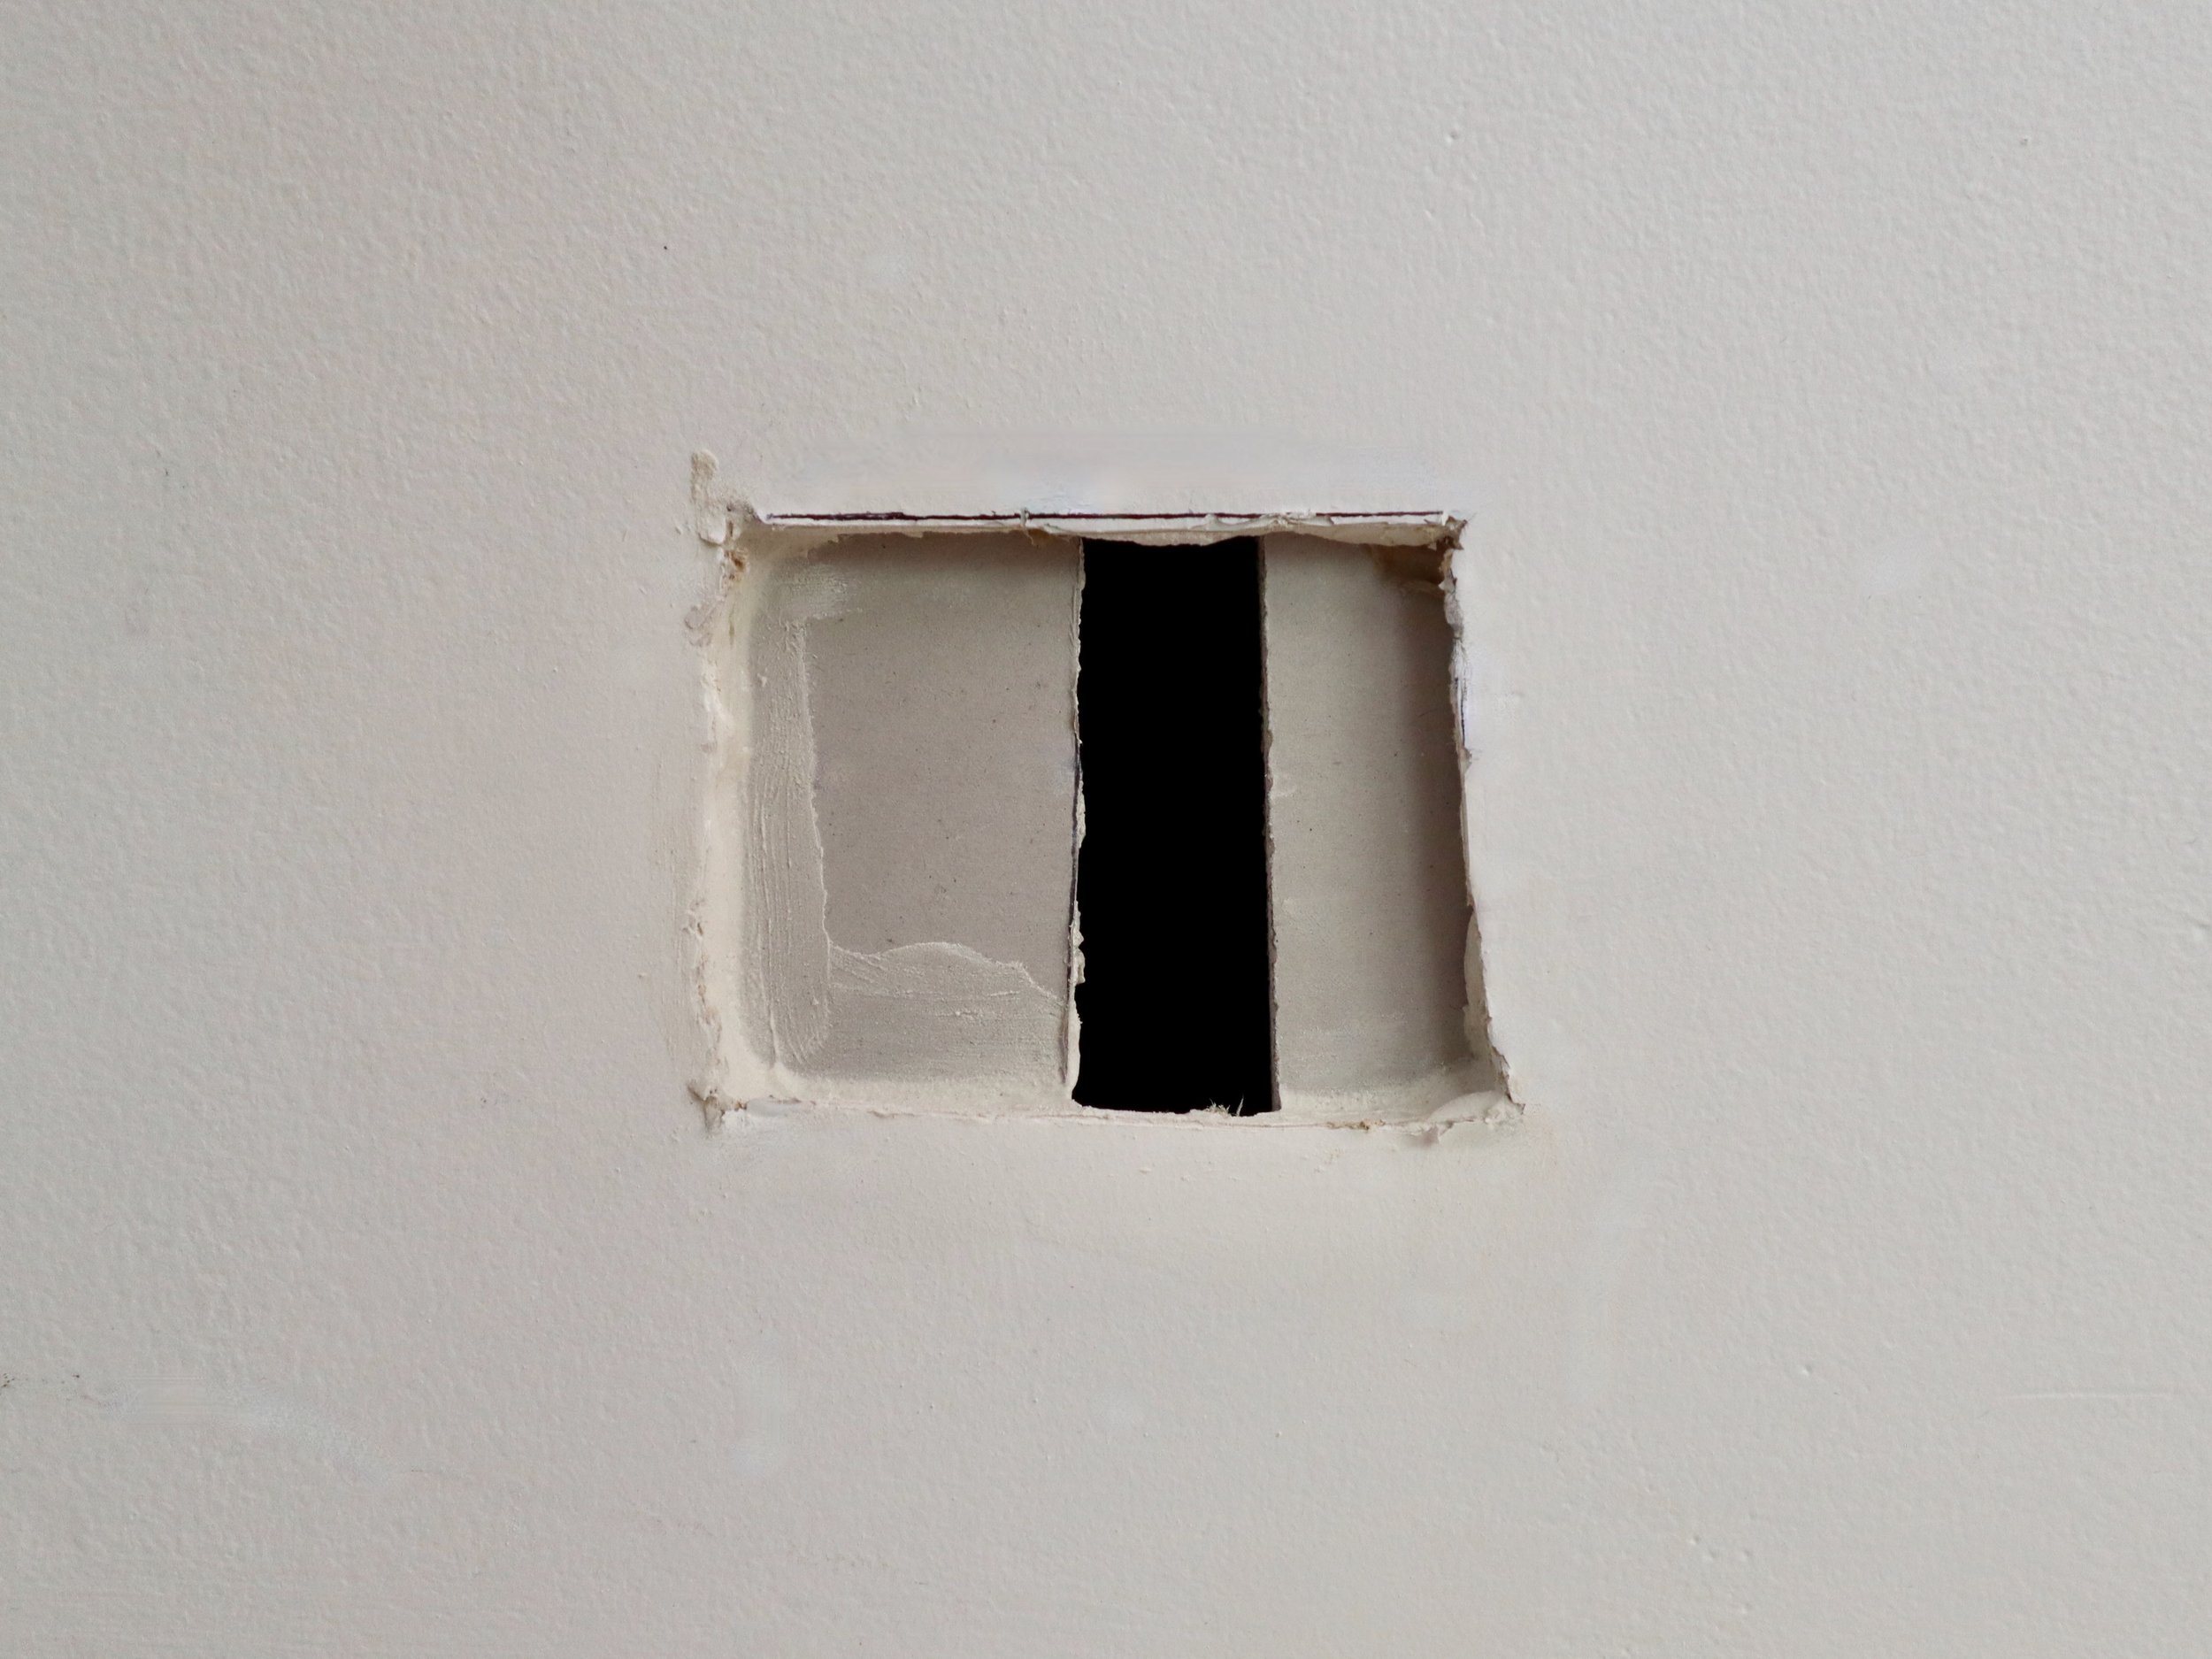
I applied compound over my filler piece and positioned it to cover the backing pieces, wiping away any excess that squeezed out, and left it to dry.
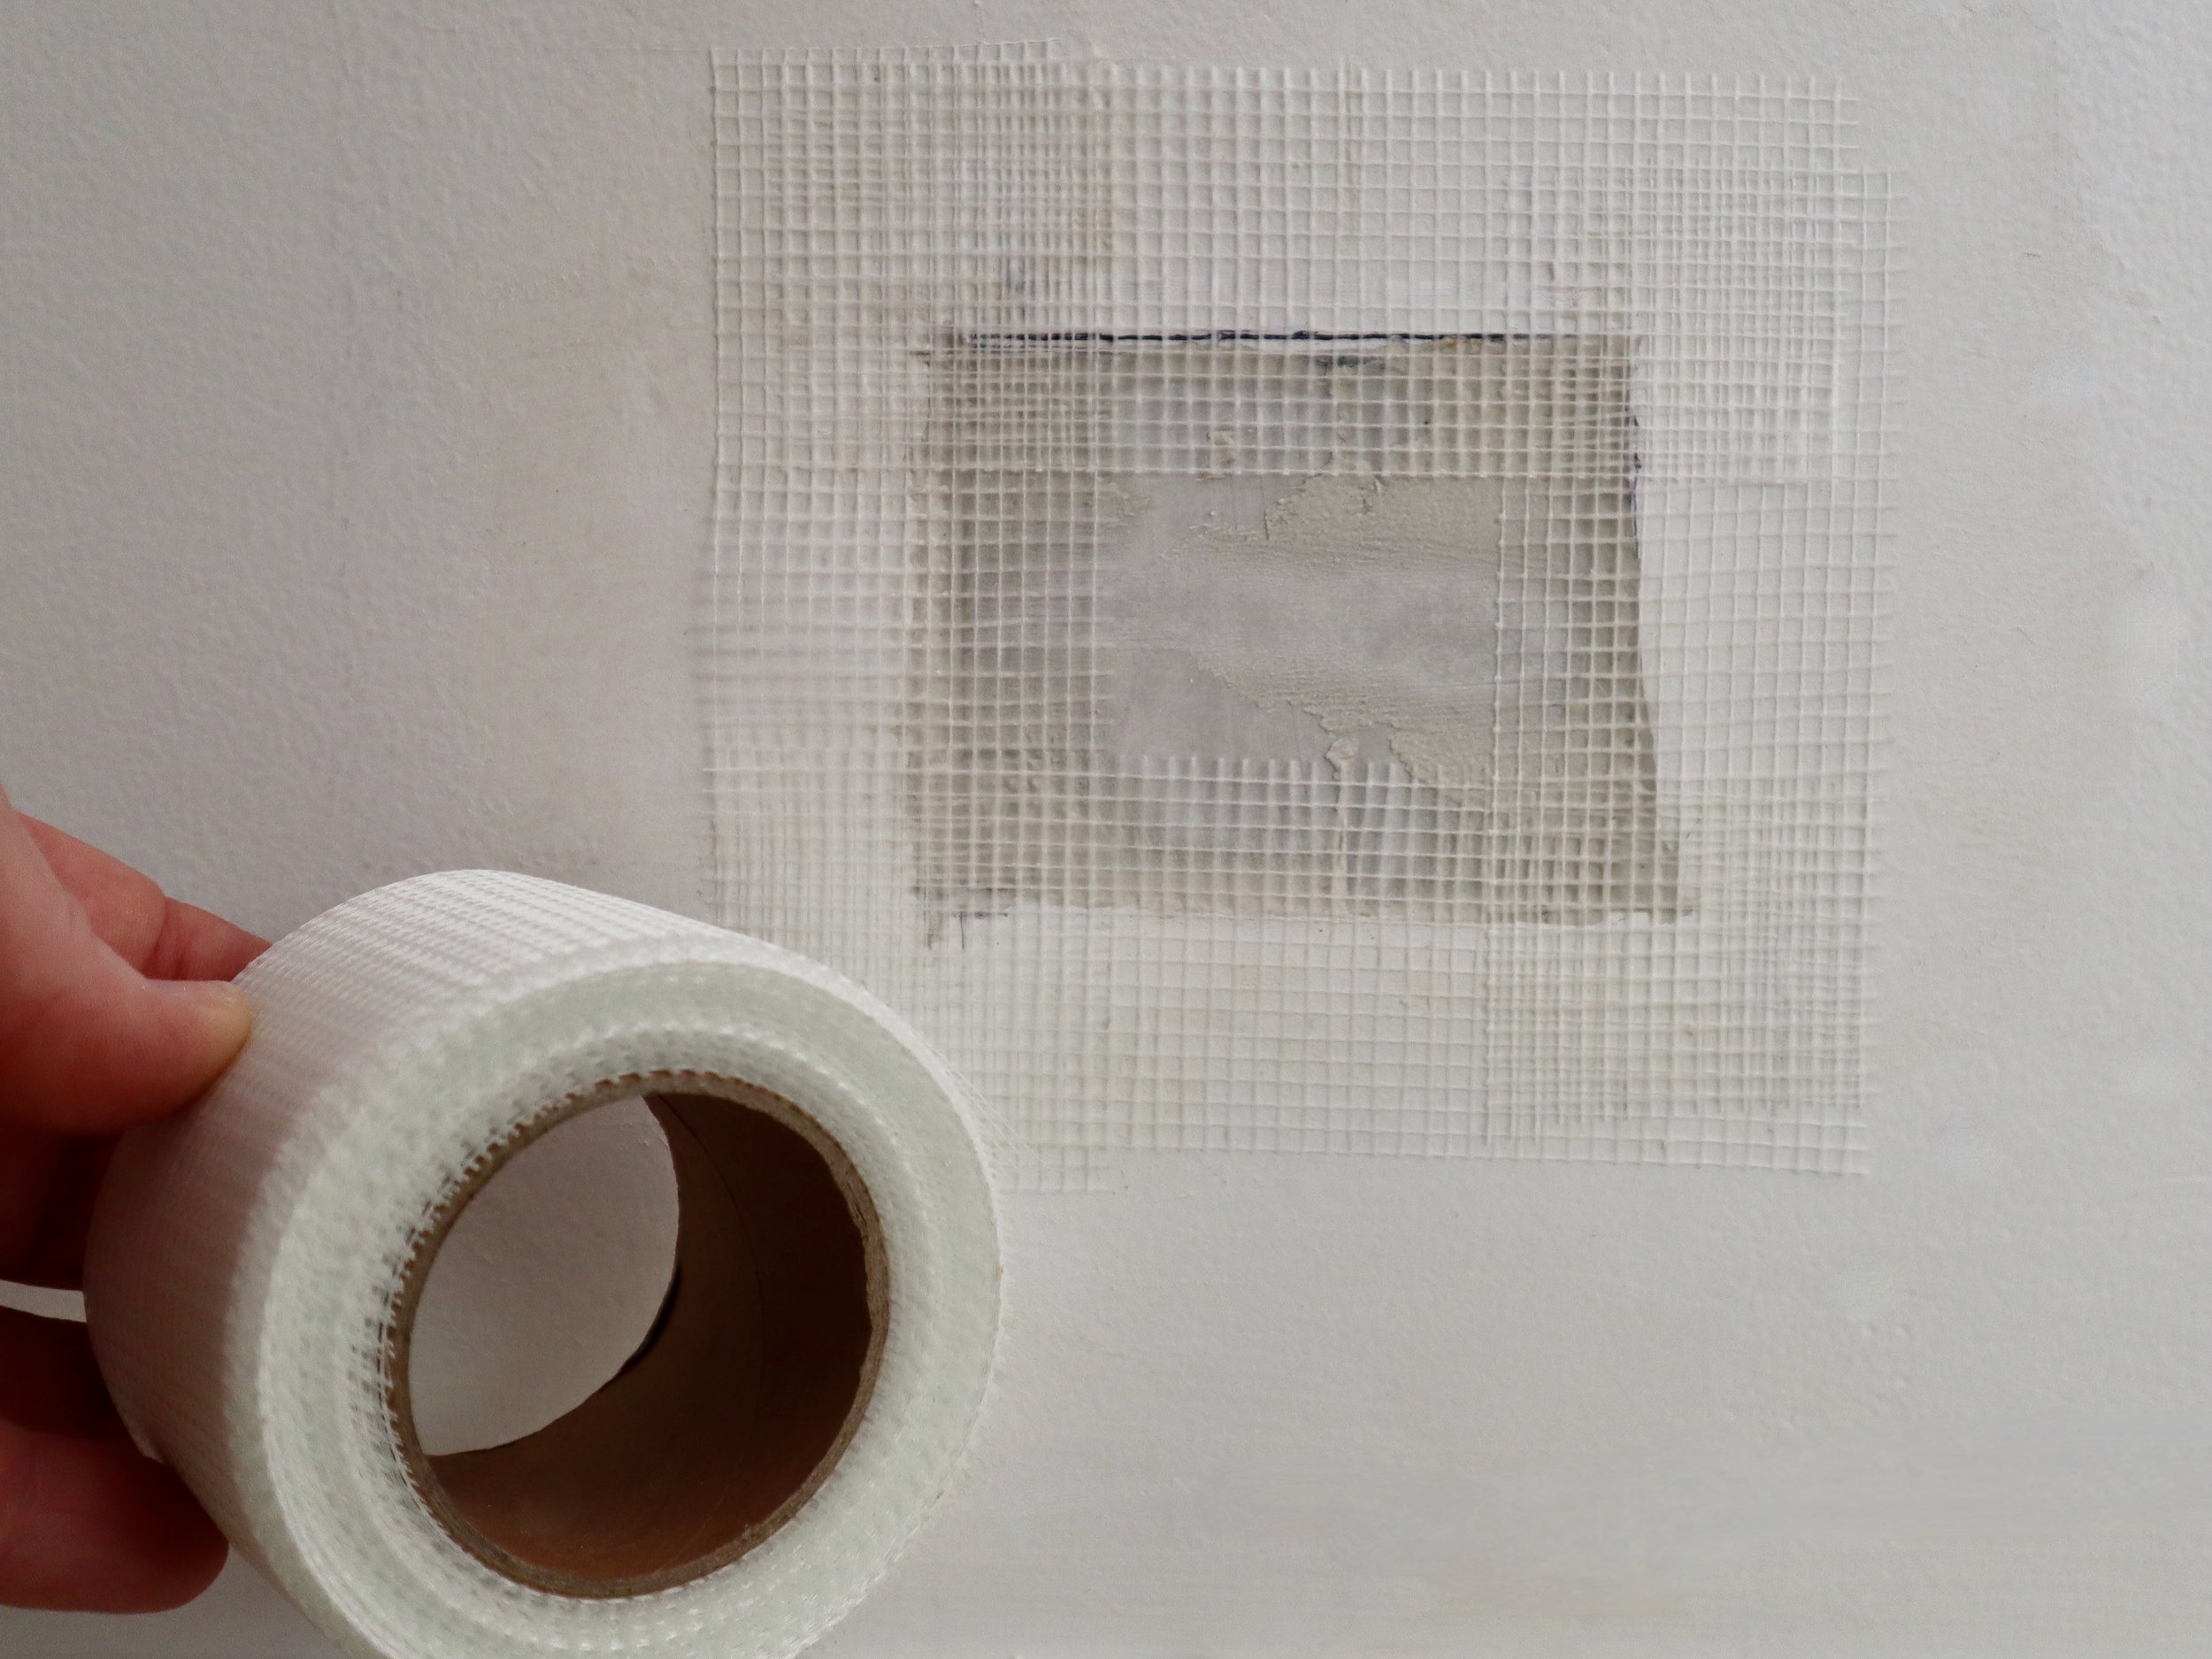
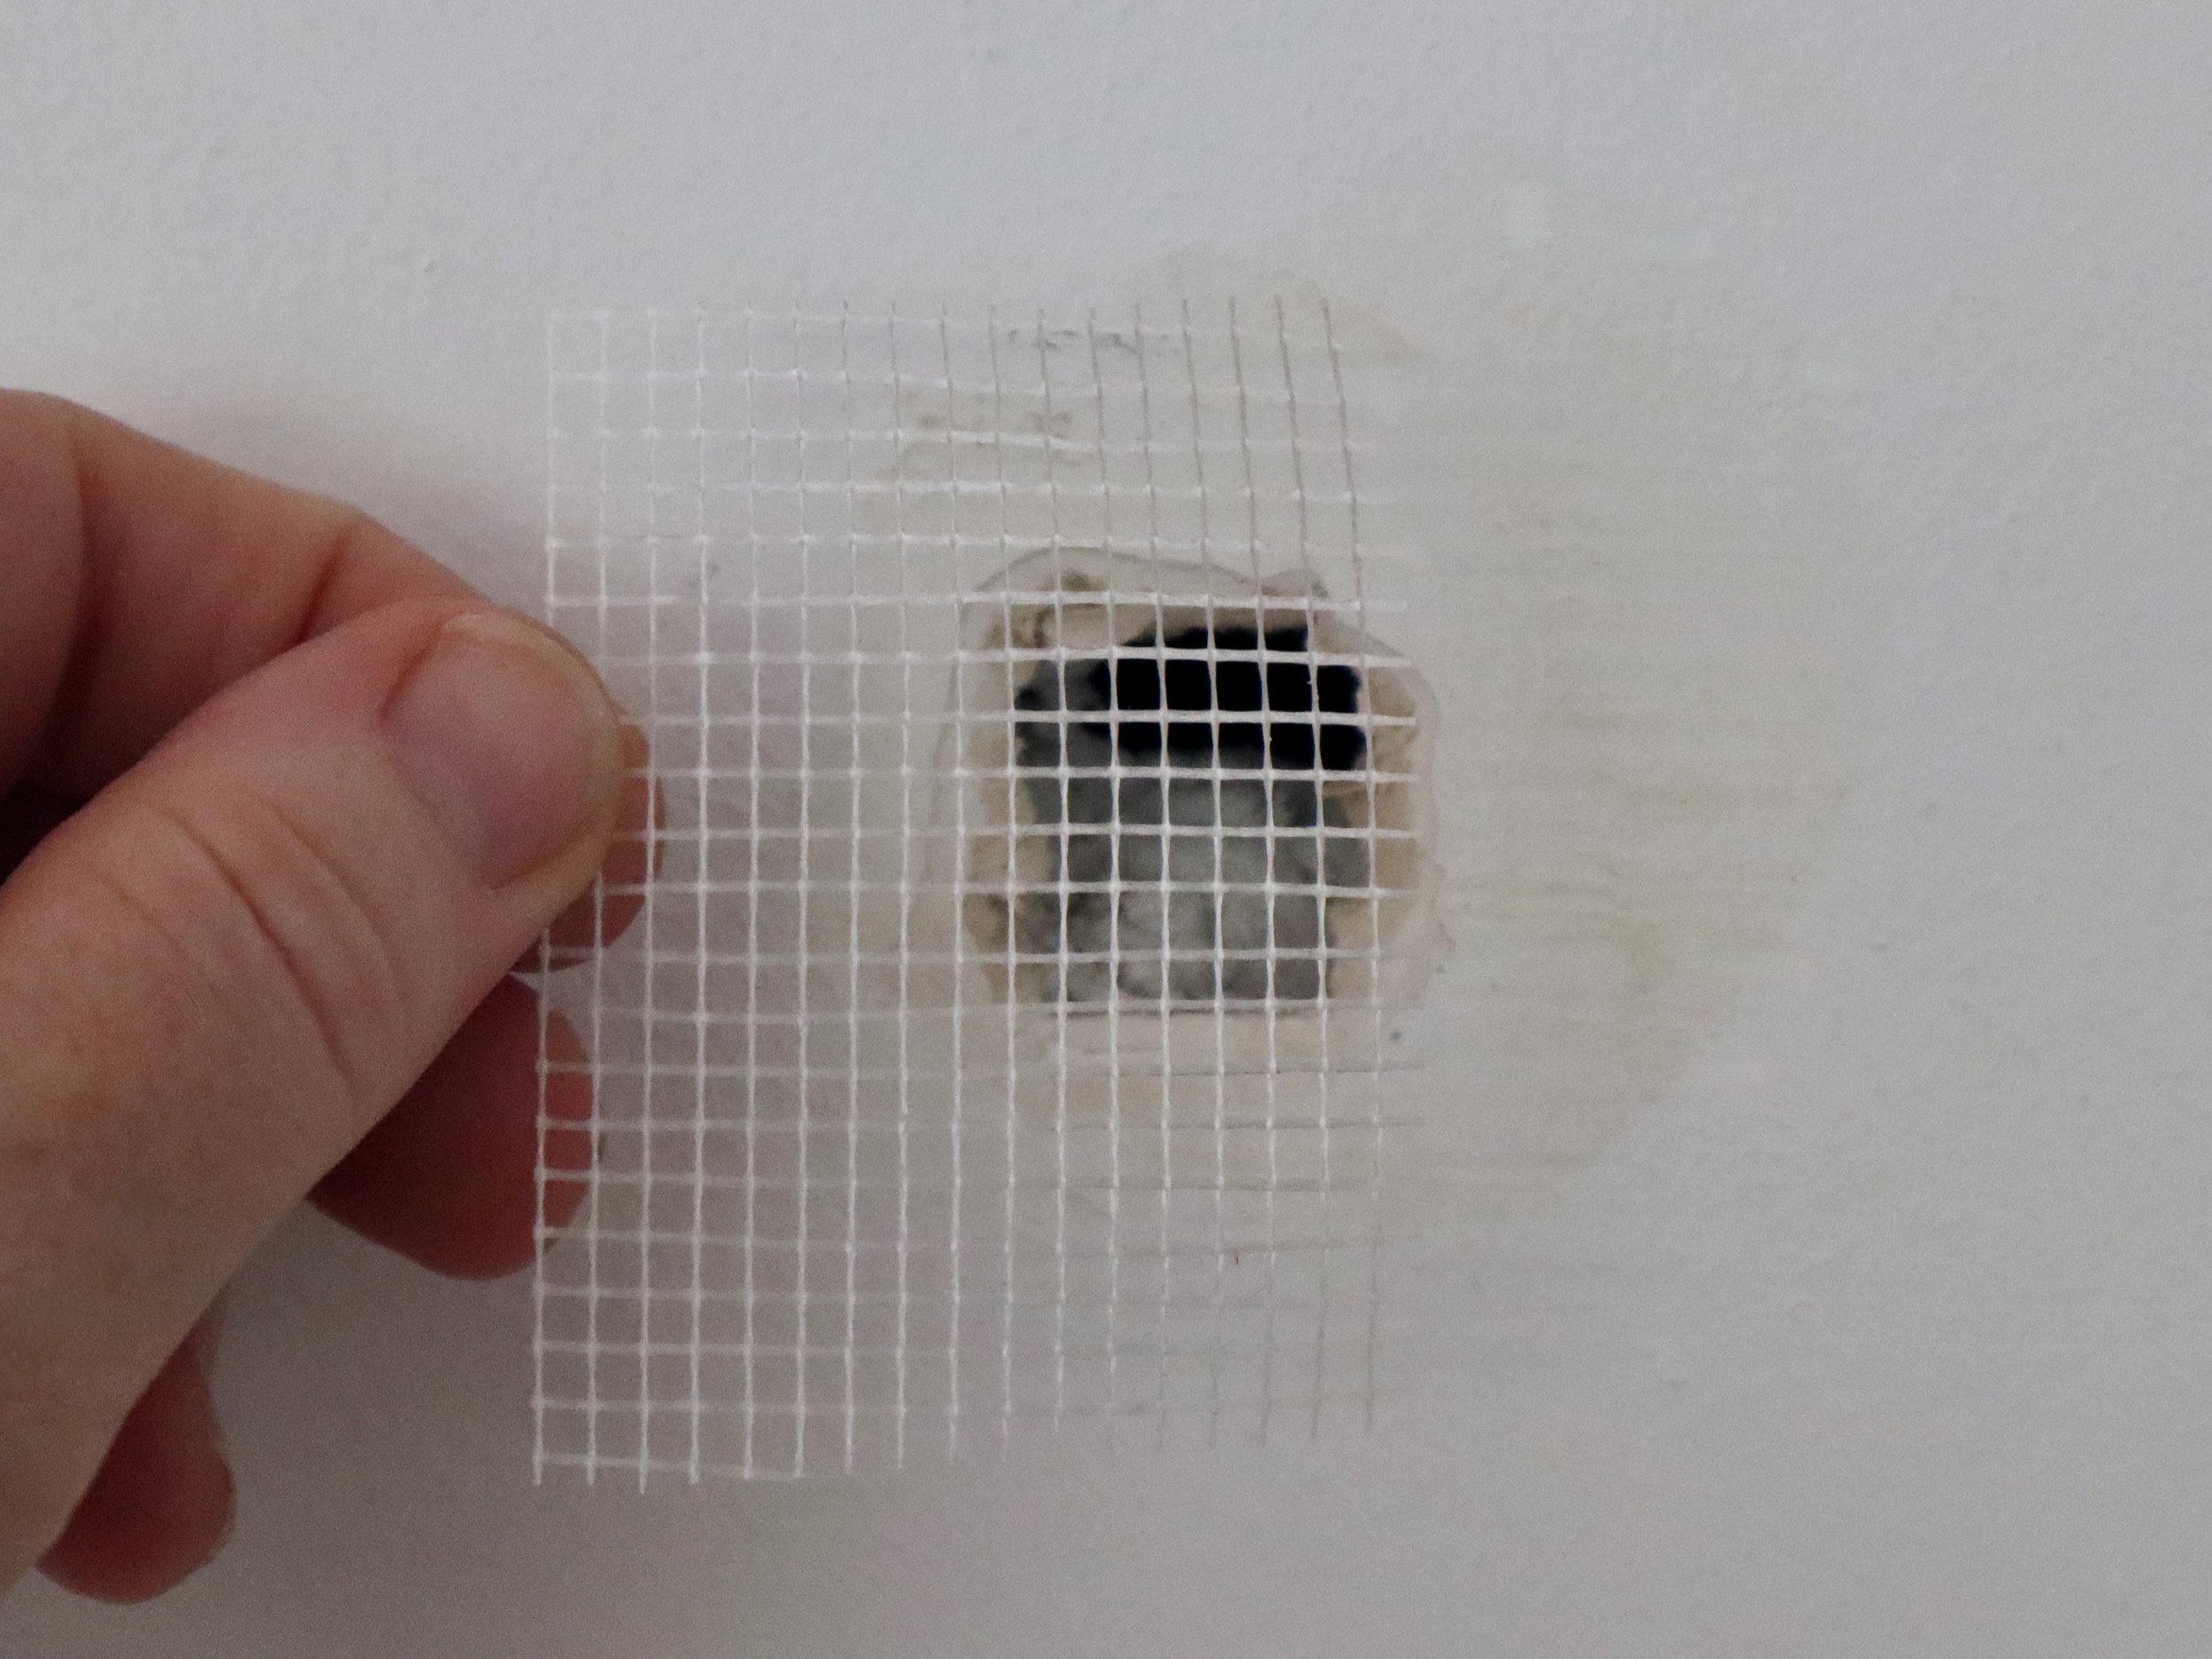
I cut pieces of mesh tape and positioned them around the edges, overlapping at the corners.
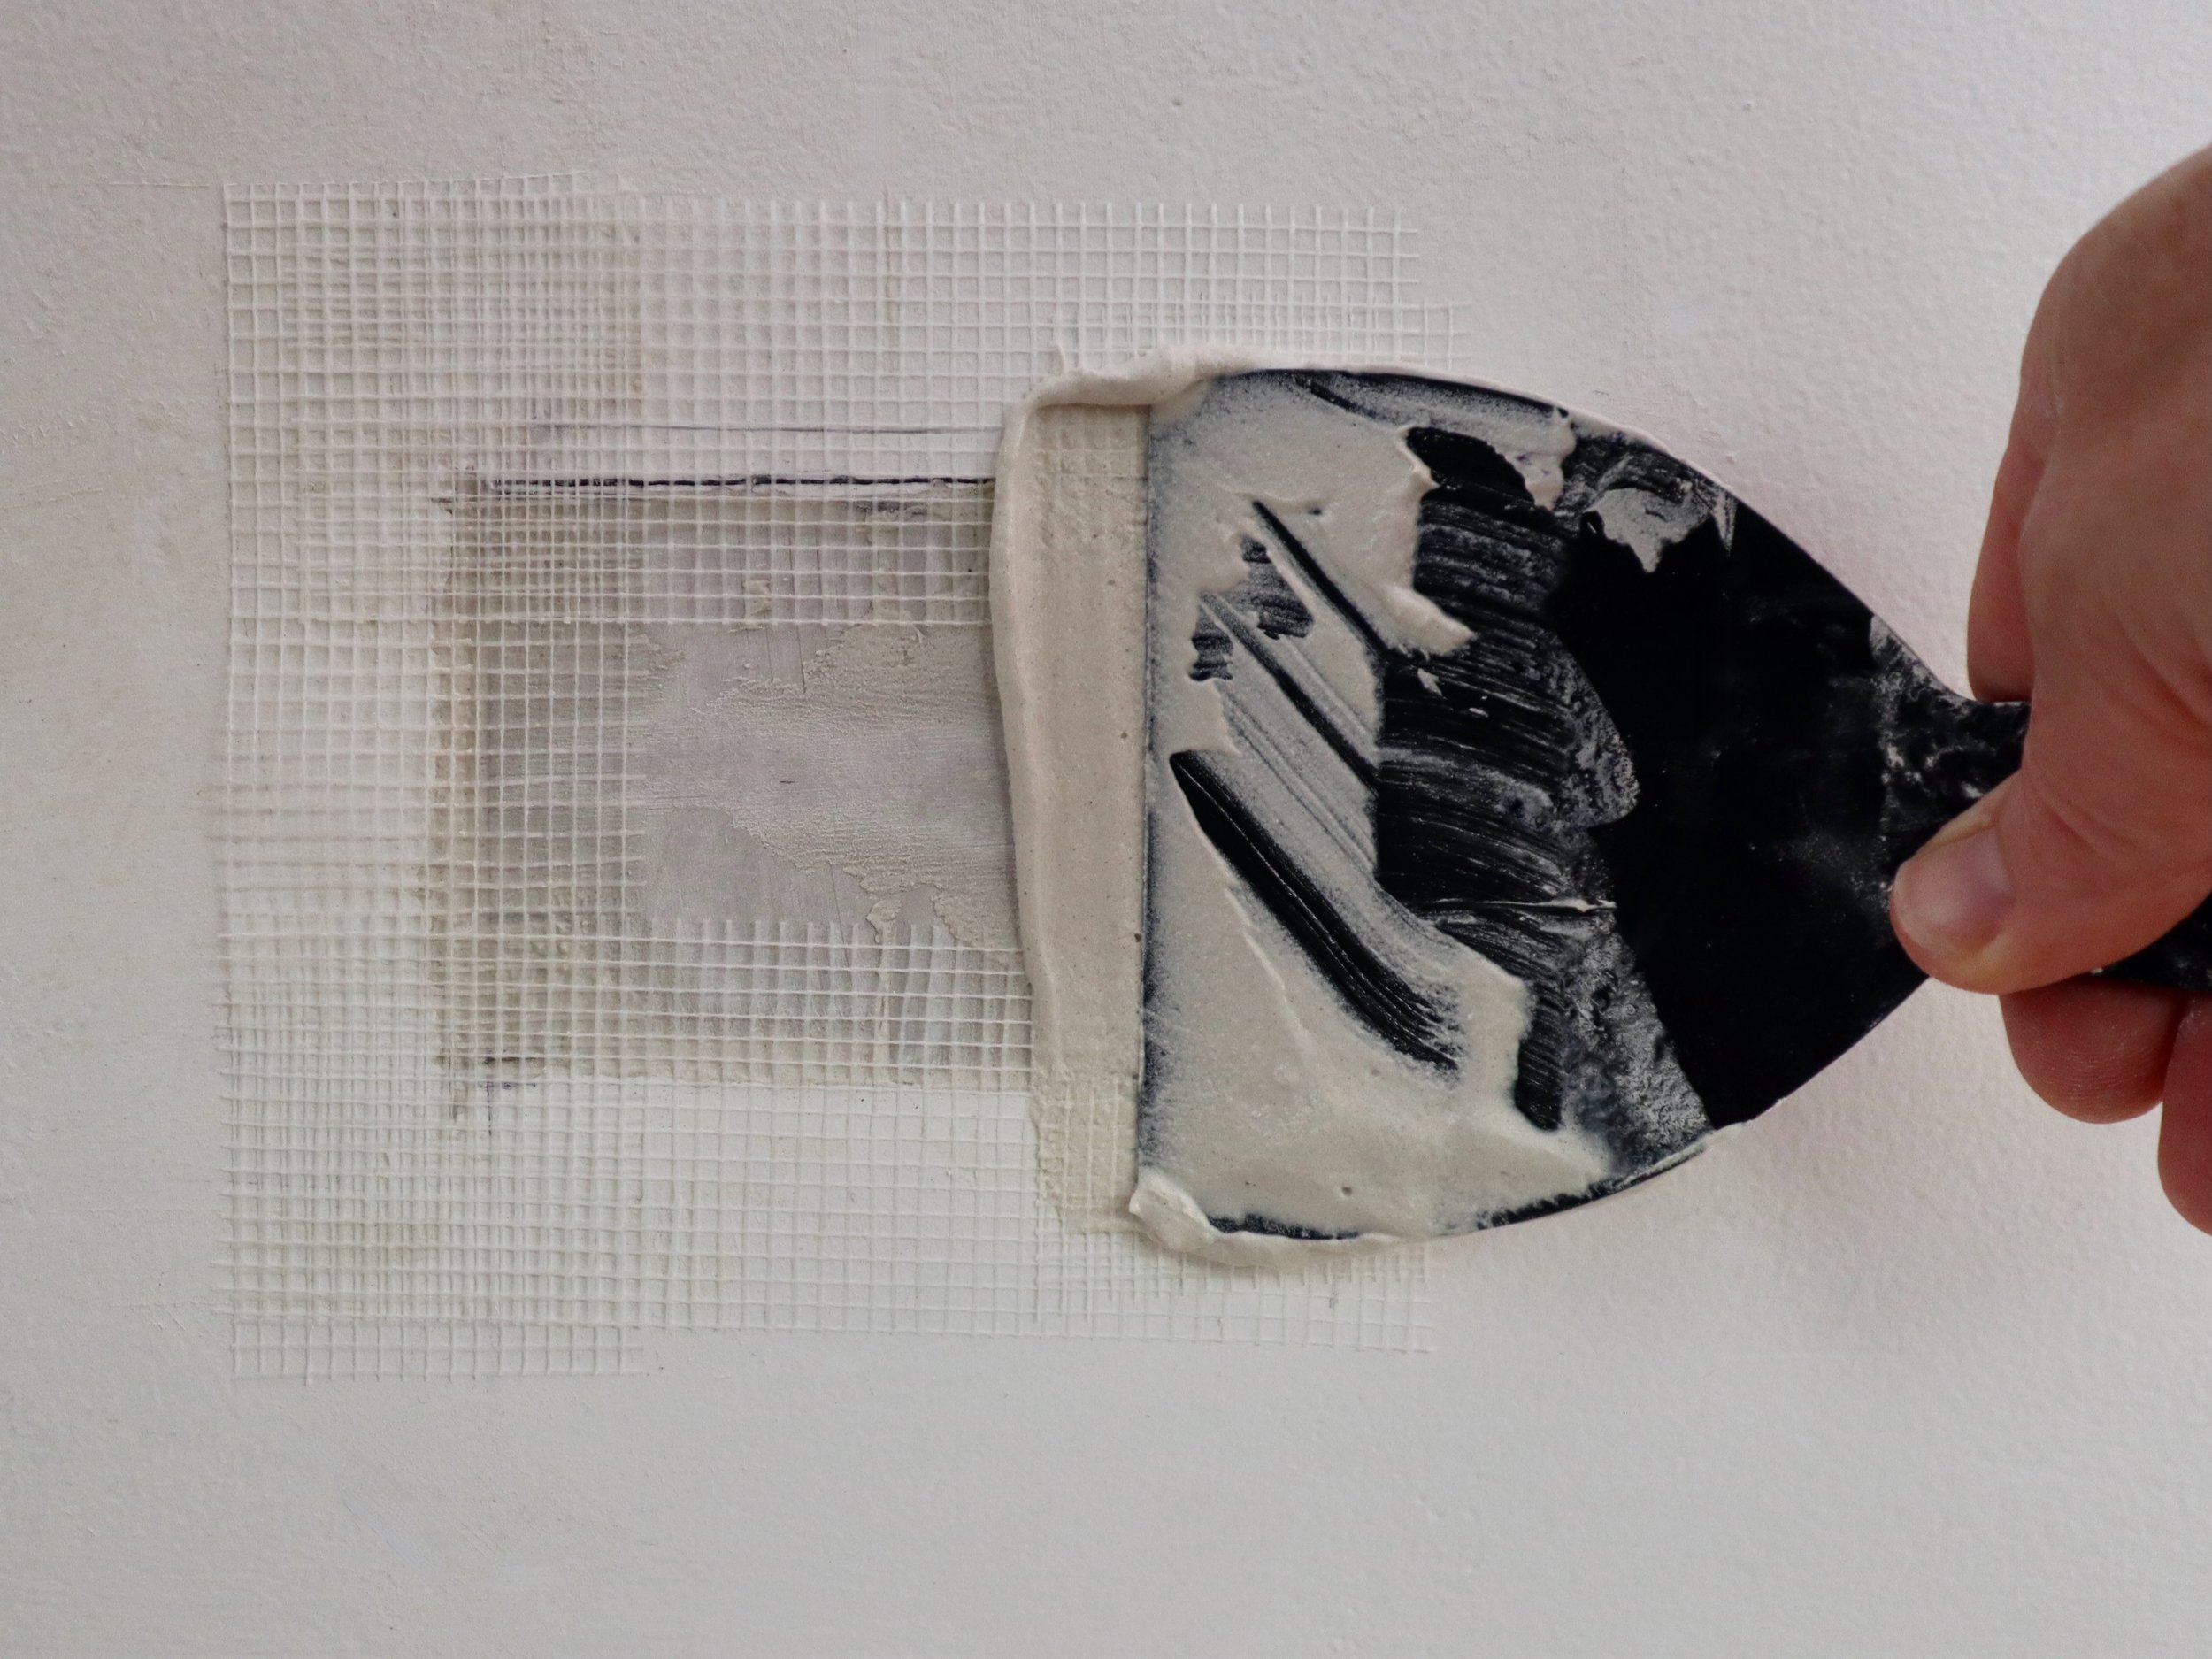
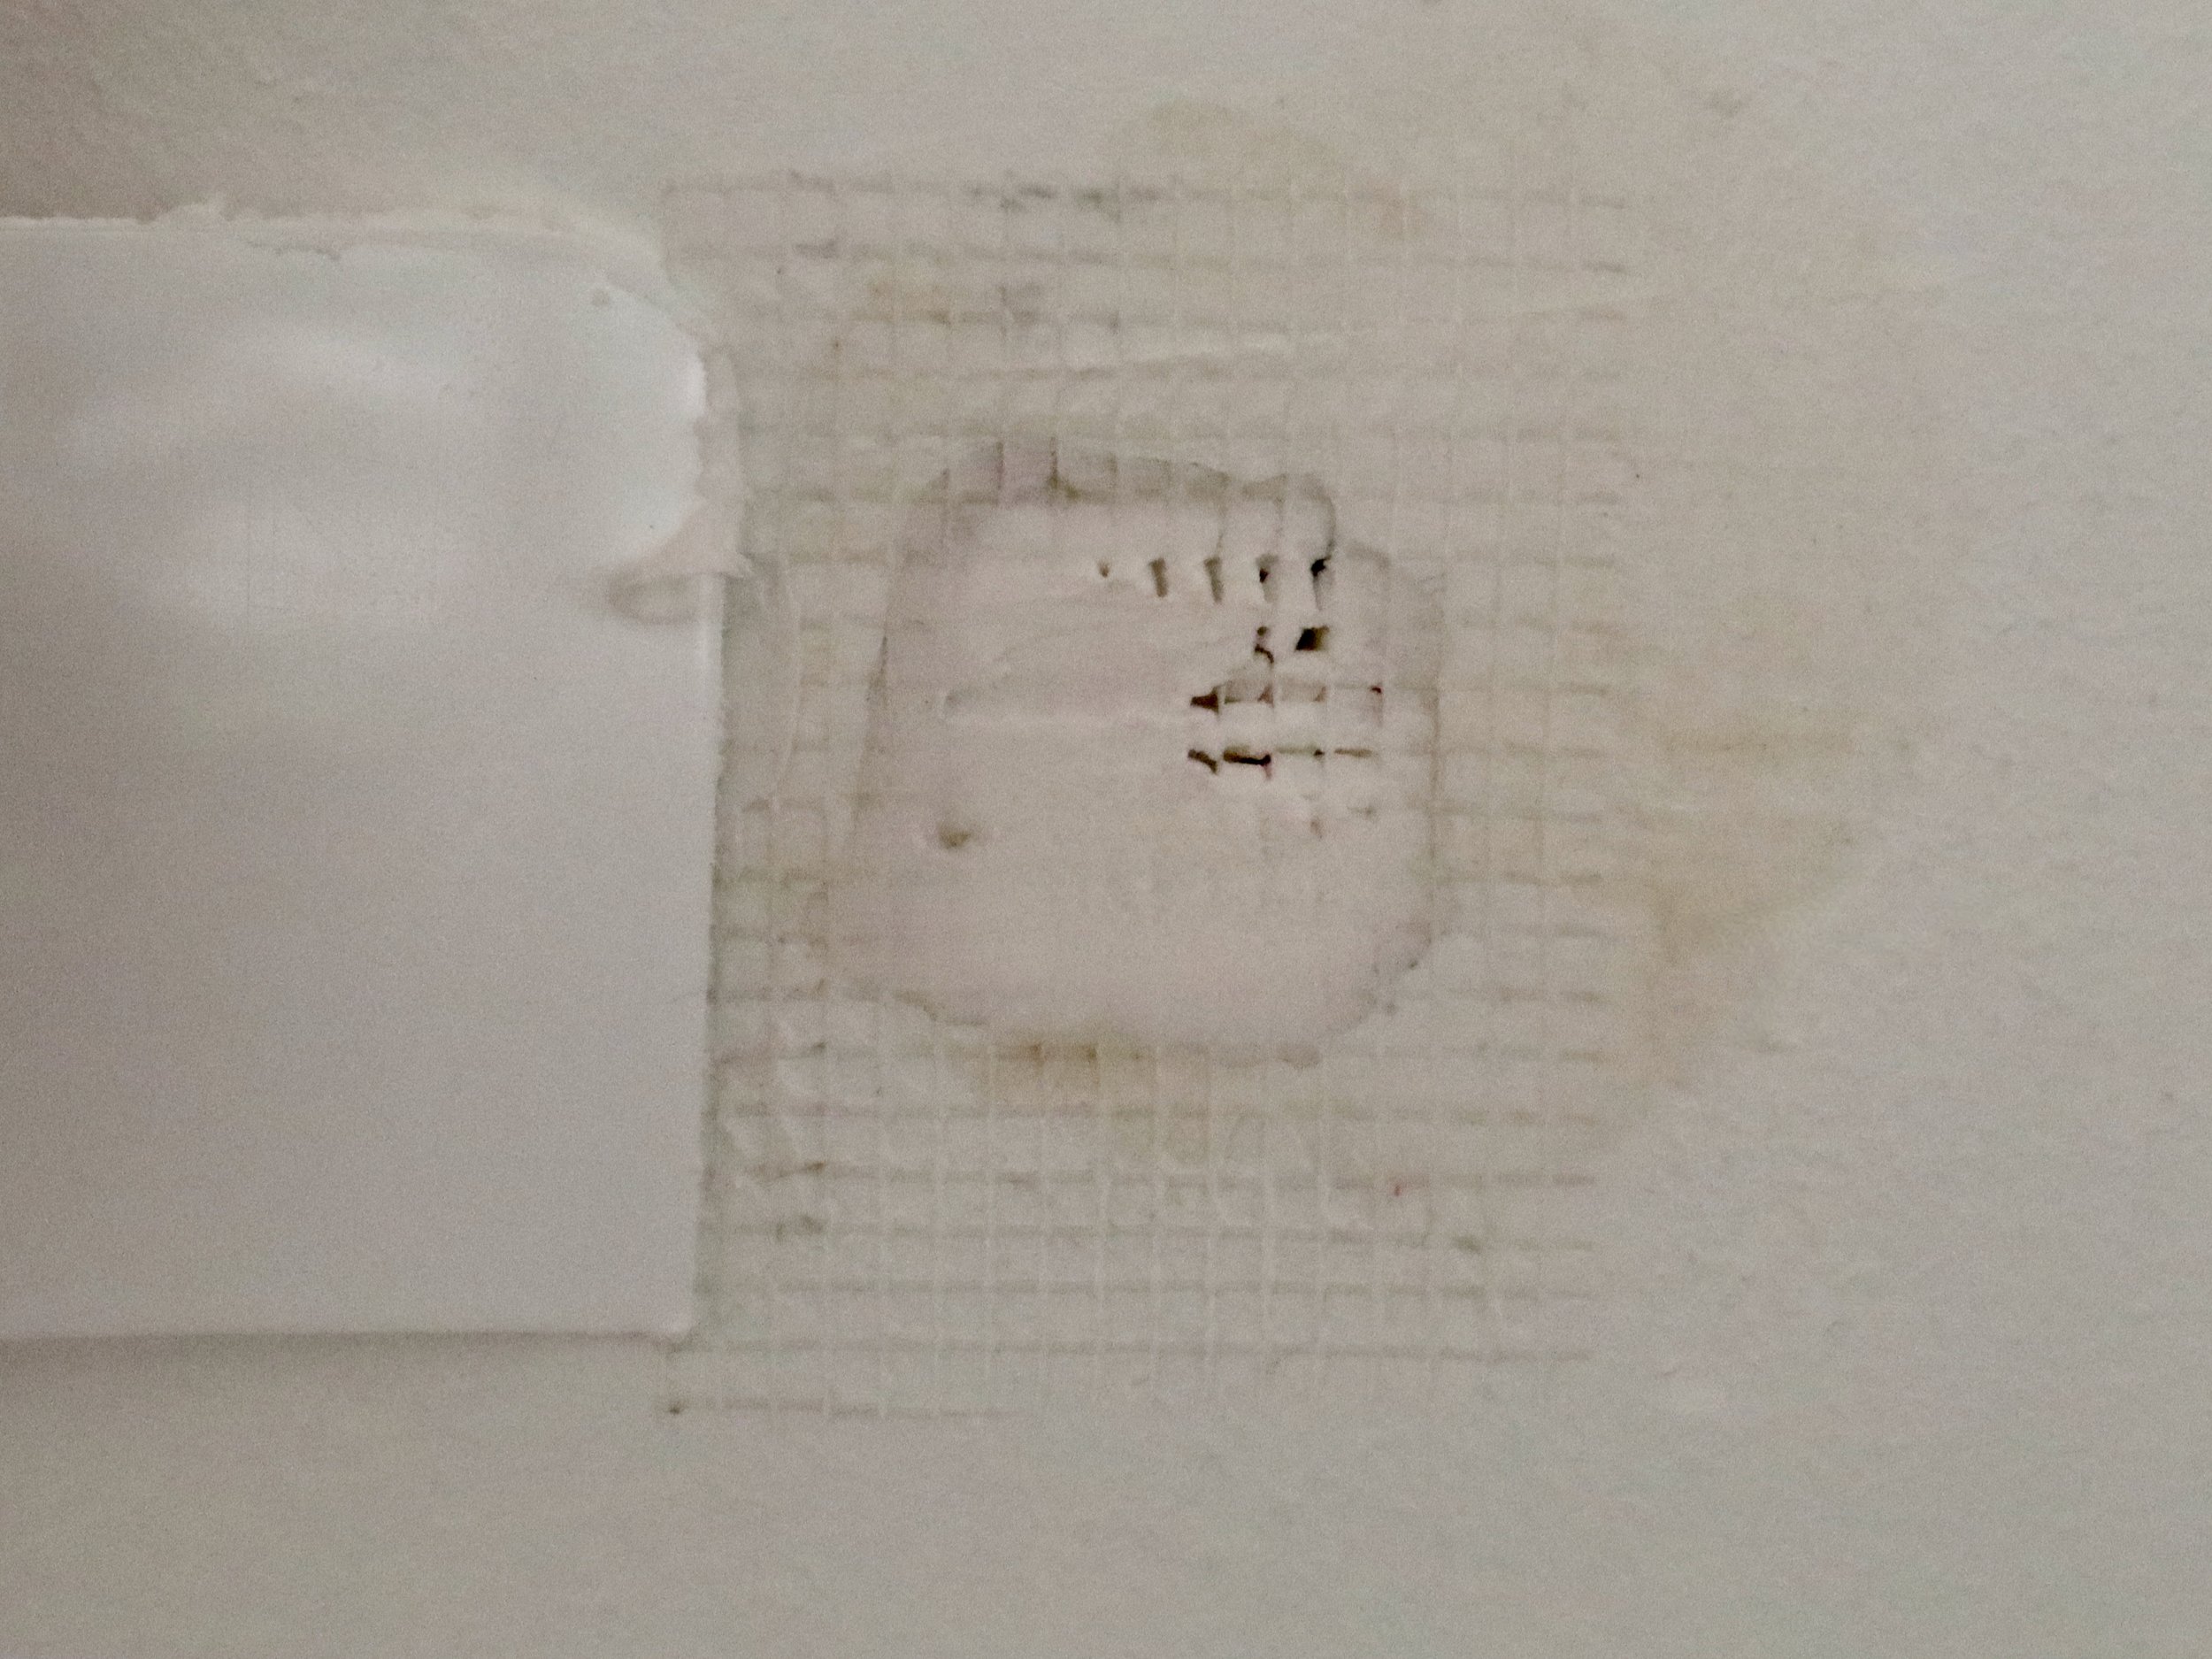
I mixed up a fresh batch of compound and used the broadknife to apply it over the tape, feathering it out onto the wall and leaving it to dry thoroughly.
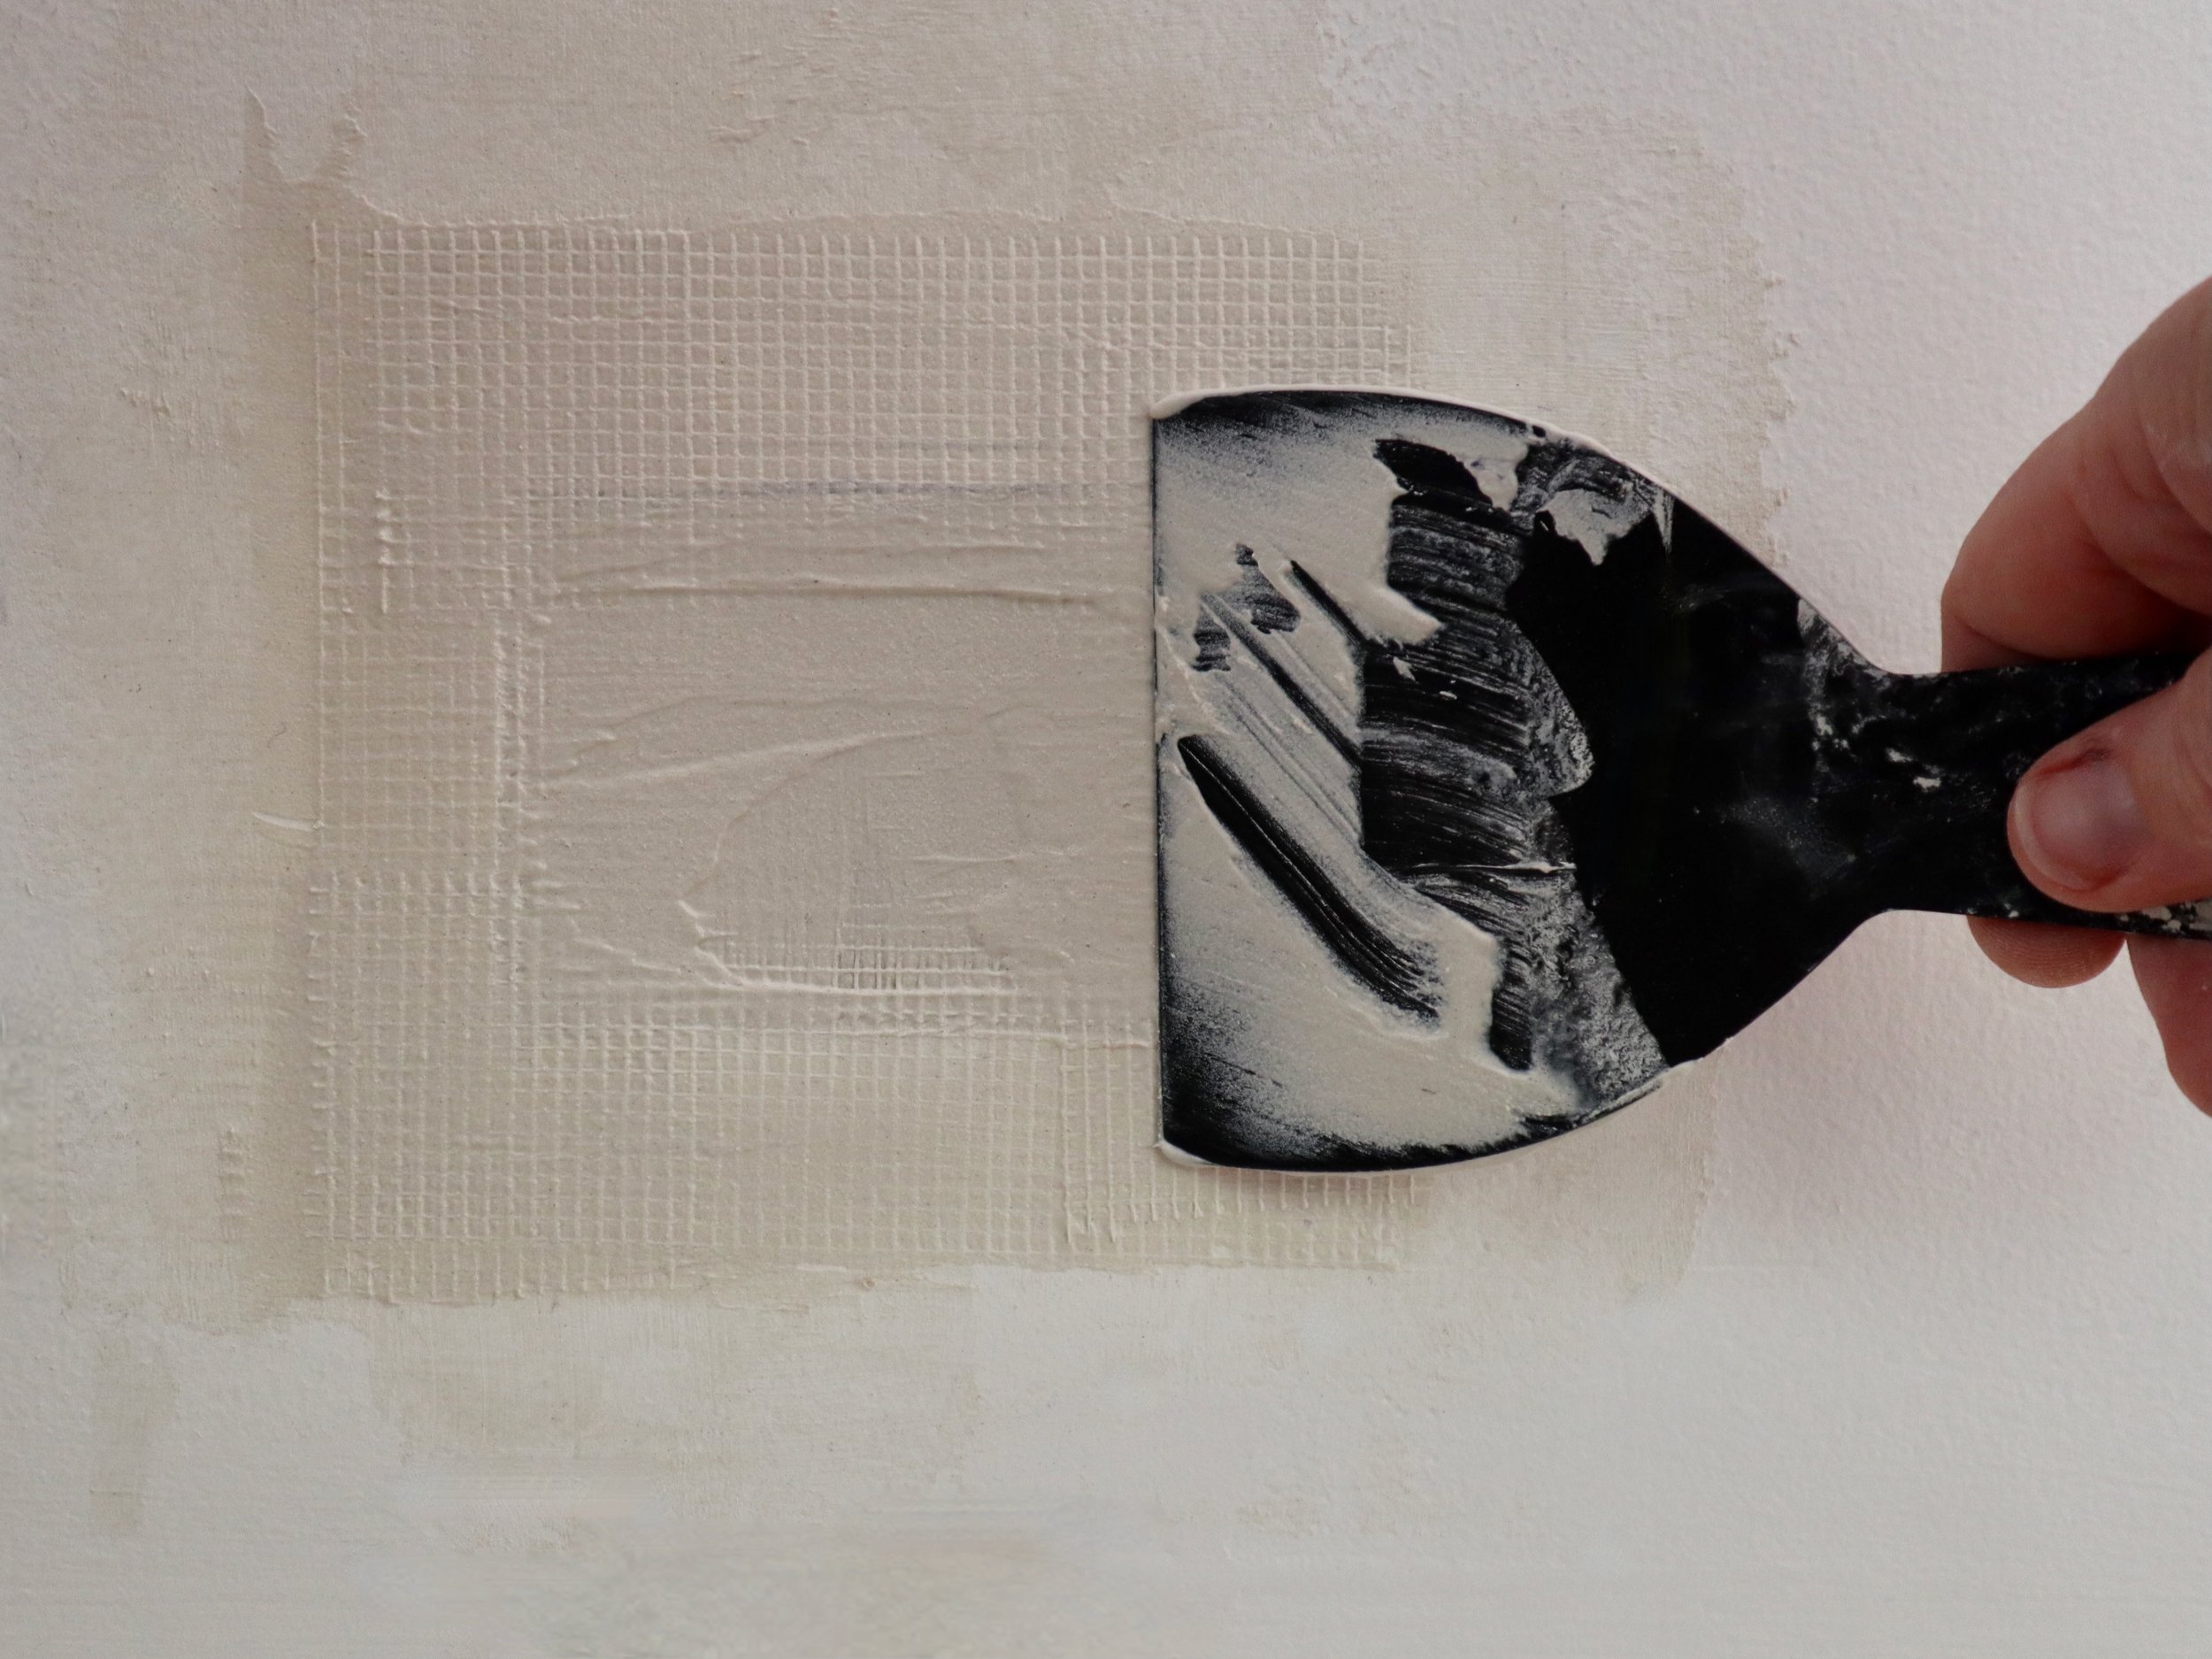
I sanded with 180-grit abrasive paper, wiped away the dust and applied another layer compound, leaving it to dry thoroughly.
TIP Don’t rush into sanding. The compound lightens as it dries, so make sure there are no dark patches. If it’s still wet, sanding tends to remove chunks instead of smoothing the surface.
I sanded again and wiped away the dust with a cloth.
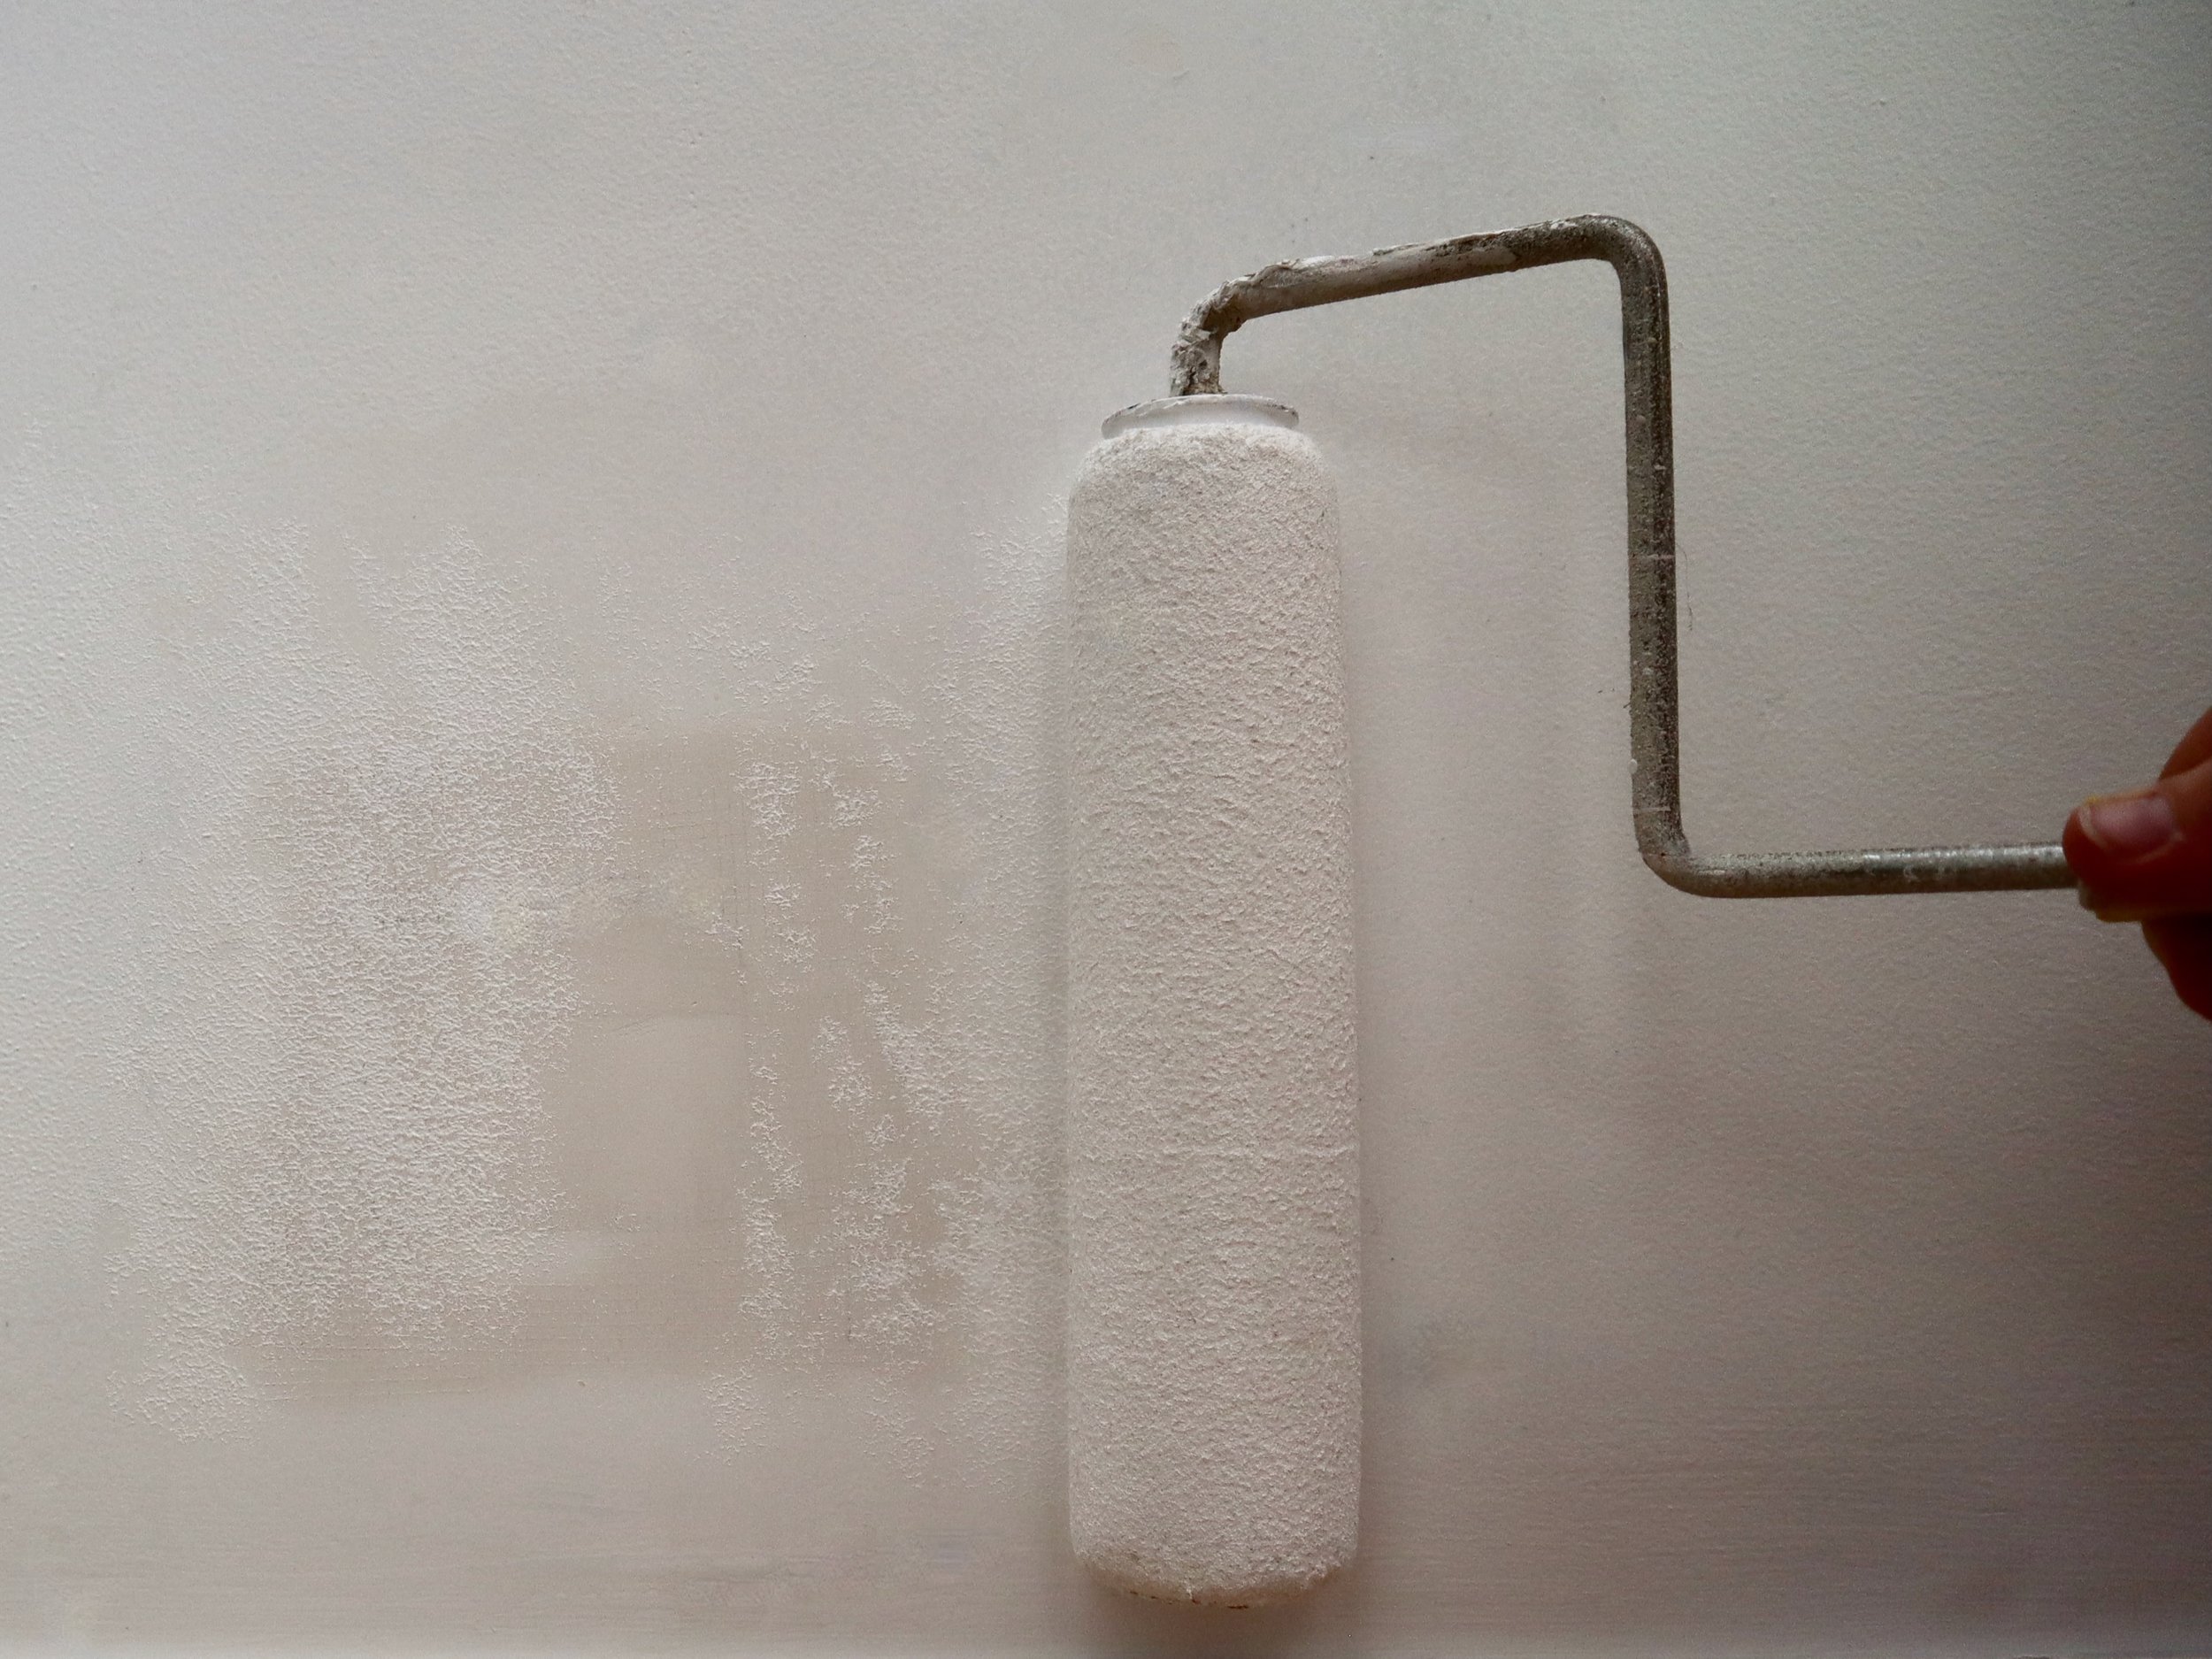
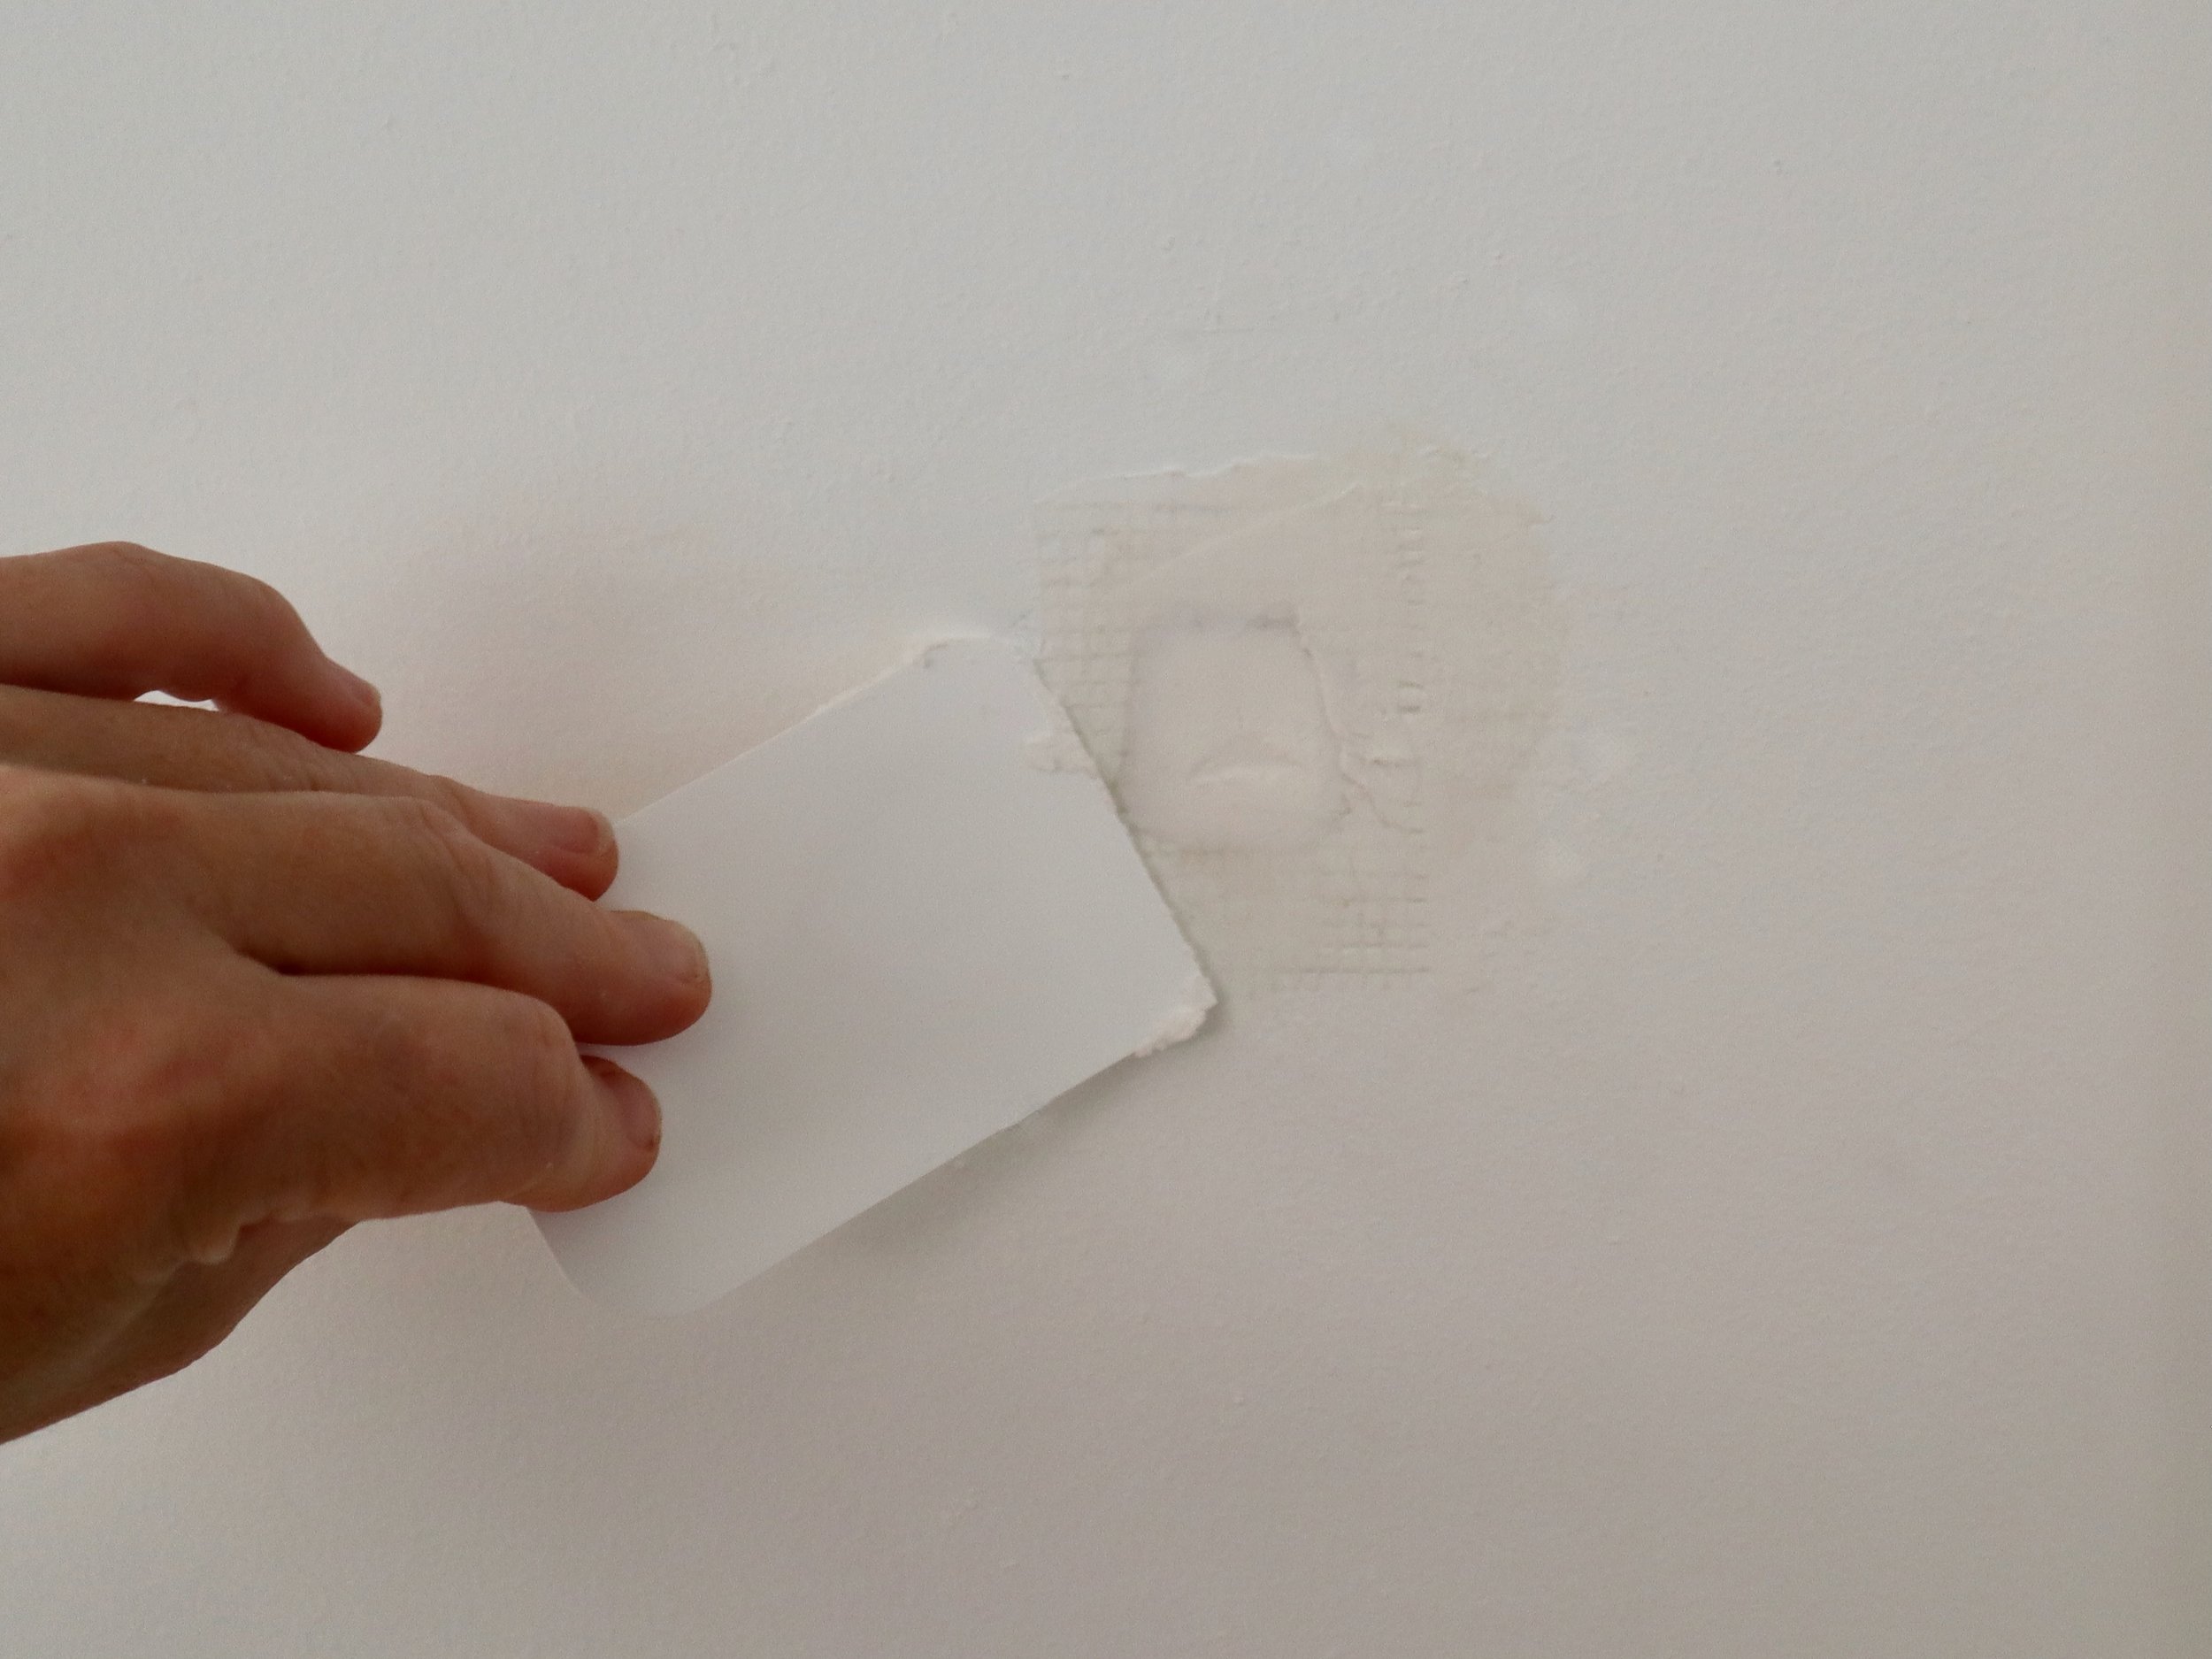
To paint over the patch, I rolled over the repaired area with same-colour wall paint and left it to touch-dry. Then I painted the entire wall to refresh it completely.
Do you have holes to patch up for perfectly seamless walls?
Tag me on your project and follow more of my DIY journey on Instagram for tool tips, home improvement and simple building tutorials.