Refresh entrance tiles
Alun Machin

Sprucing up this front entrance has been on my DIY to-do list for ages. I wanted to refresh the tiles while keeping them intact, so decided to apply a similar three-step process to the one I use for reviving timber: clean, coat and seal.

BEFORE The tiles were still in good condition, but the grout had weathered and chipped. The spacing between them allows for a new layer of grout 3-4mm thick. Choosing a pale colour will make the area look cleaner and brighter.
“This three-part project takes just a couple of hours to DIY, but plan it over a long weekend to allow for thorough drying times.”

PART 1: CLEAN
I scrubbed off old paint spills with a scourer and Bondall Waterbased Paint & Varnish Stripper…

… then spritzed all over with Betta Tilecare Tile & Grout Cleaner, leaving it to work it’s magic for a couple of minutes.

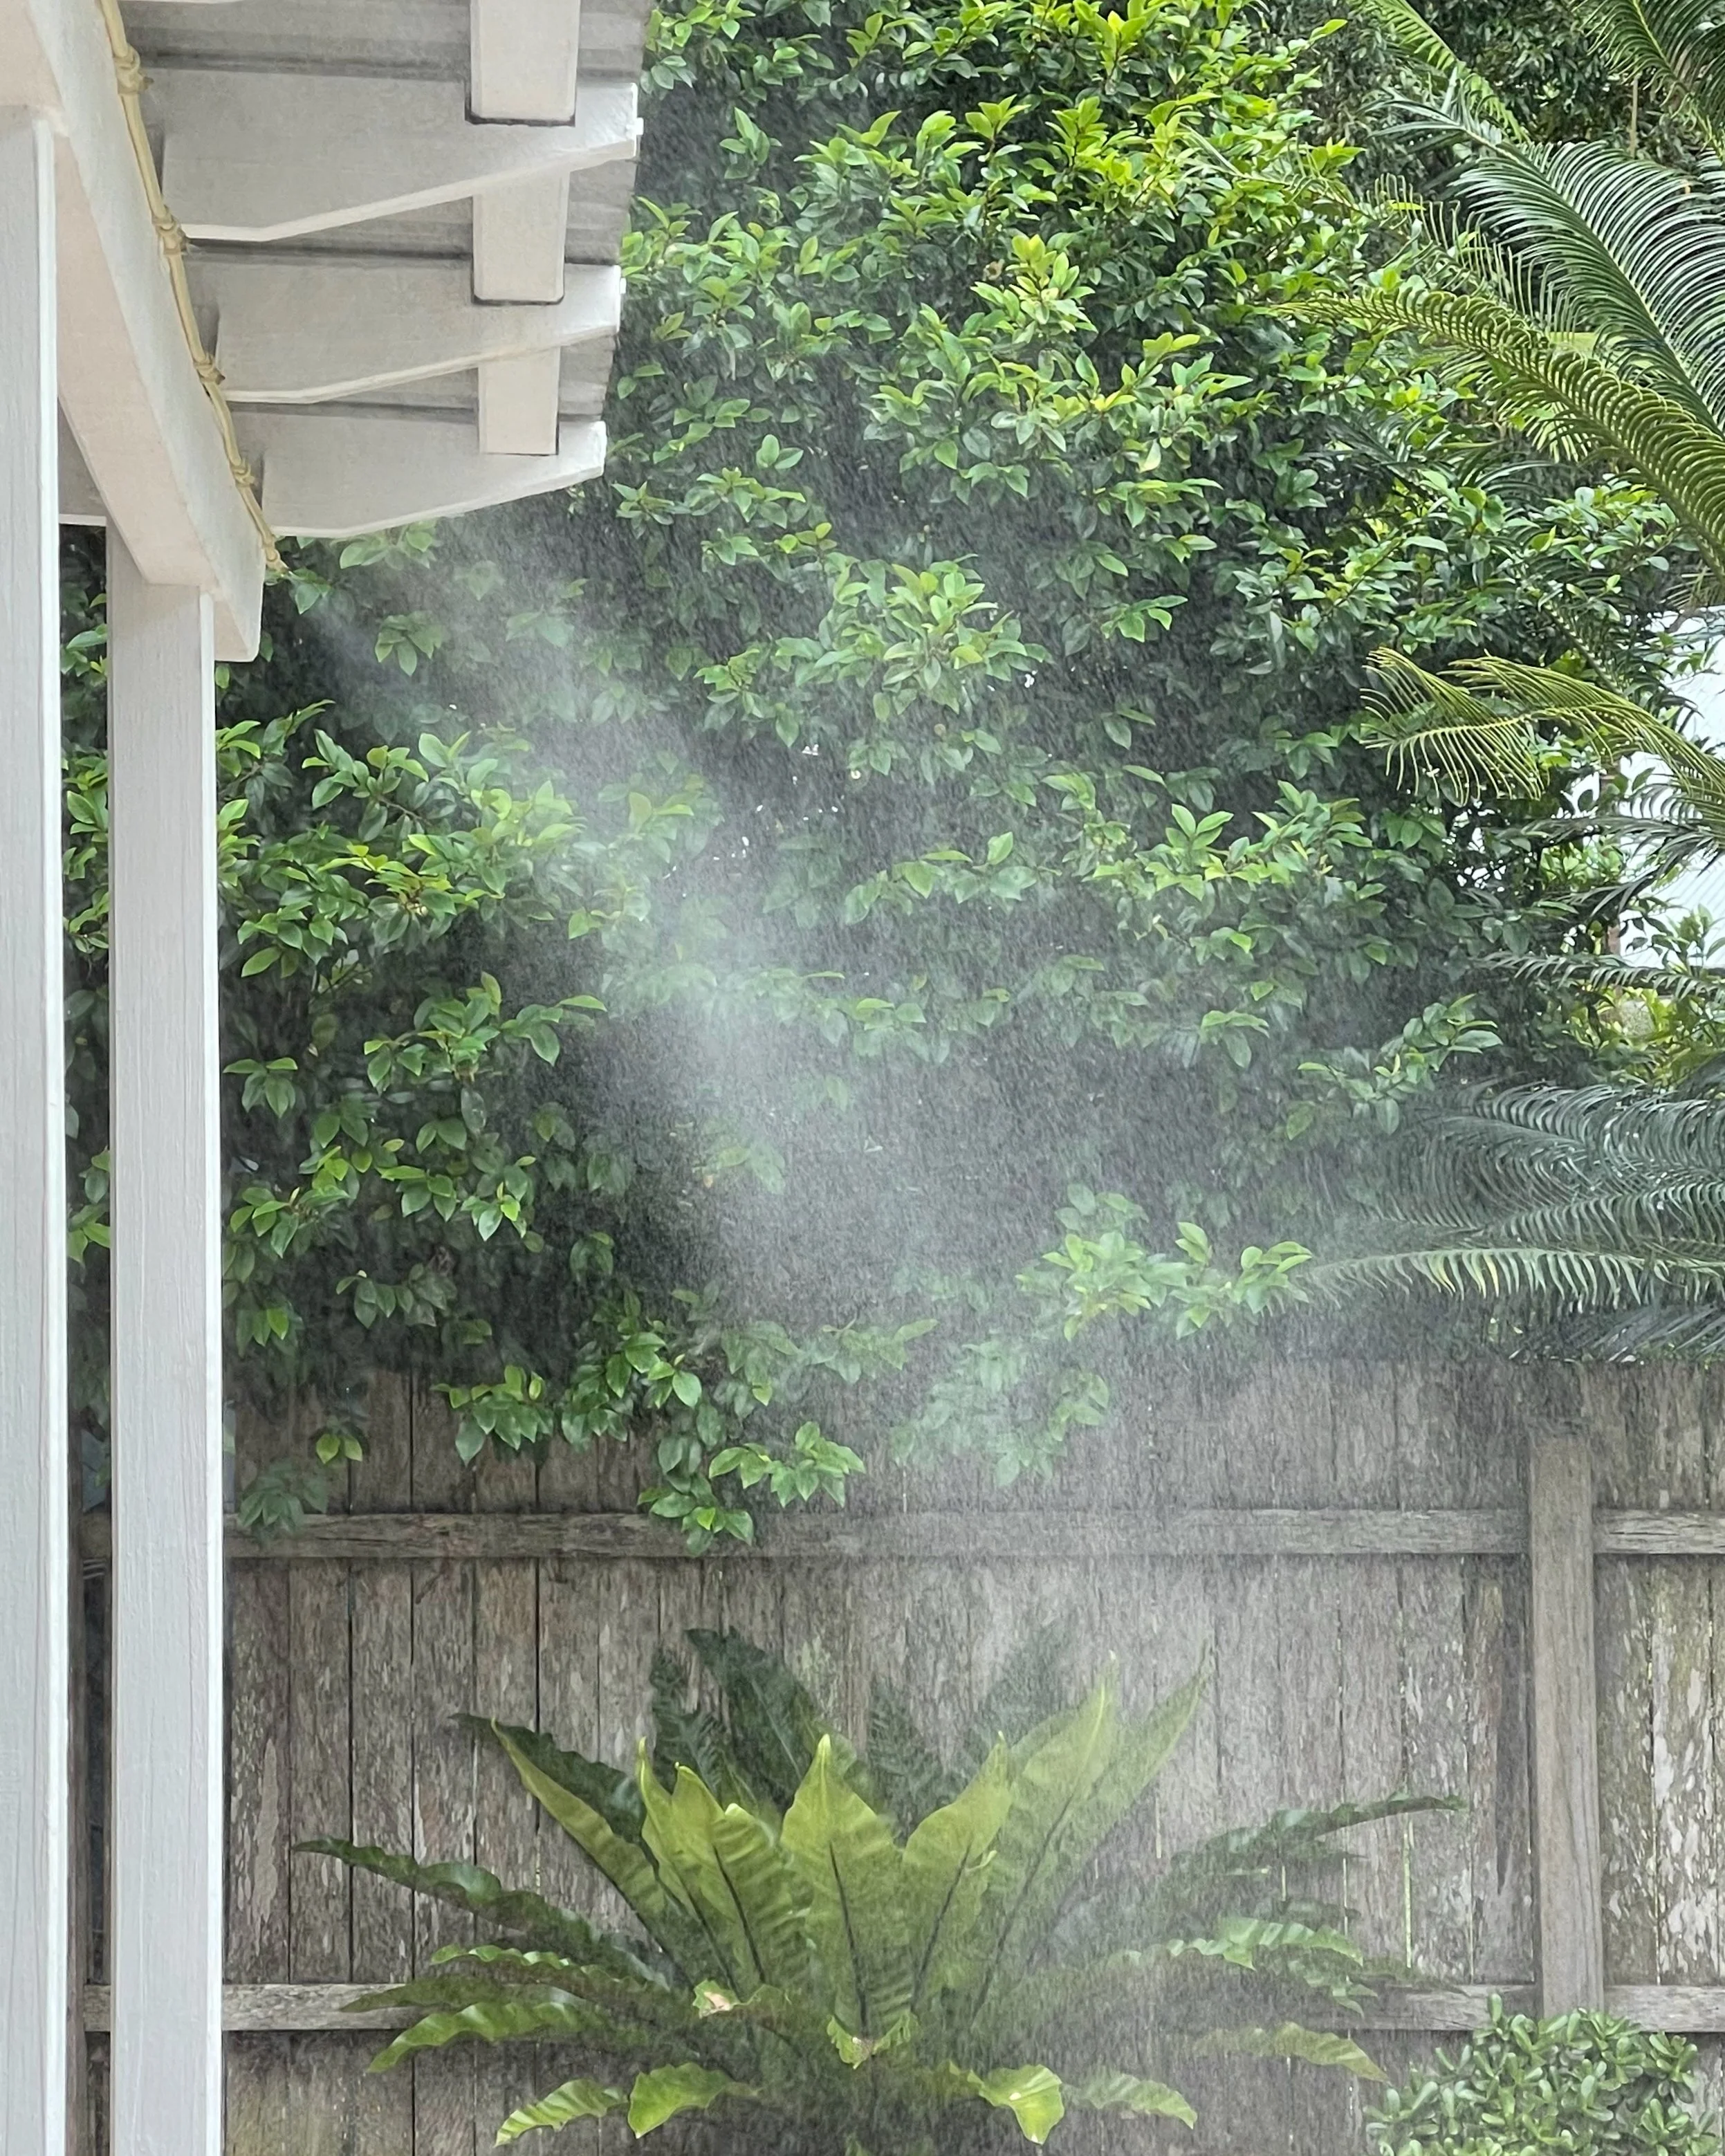
While the cleaner was still wet, I rinsed it away using Fern Water Jet Power Washer that simply clips onto the hose, providing enough pressure to clean without damaging the surface.

PART 2: COAT
I used a pre-mixed grout solution, applying it with a small rubber trowel by pressing it into the gaps between the tiles in a diagonal motion, removing the excess as I went along.
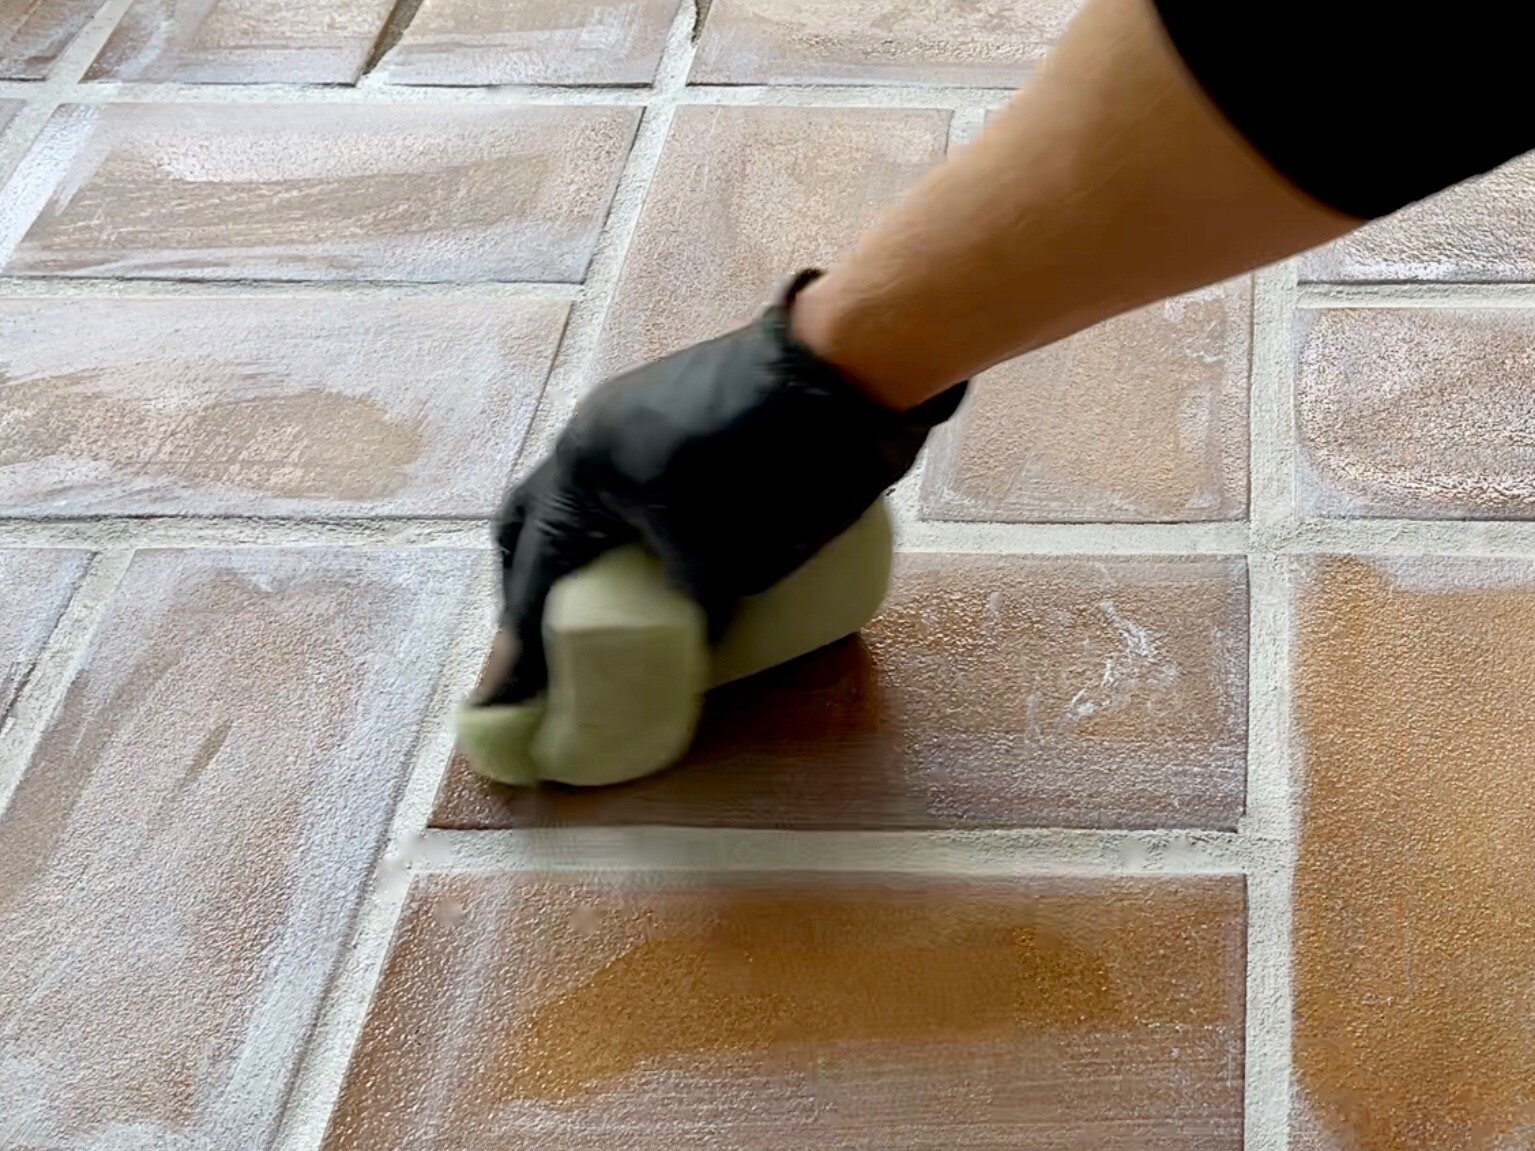
Working in sections meant I could leave each for about 15 minutes before wiping the tiles clean, being careful not to press on any still-damp grout. When the re-grouting was done, I used a clean sponge to remove the haze that appears on the tiles as it dries.

PART 3: SEAL
To seal the tiles and protect the grout from discolouring I used a mini roller to apply Betta Tilecare Tile & Grout Sealer, working in sections to apply one coat, applying the second while the area was still wet.
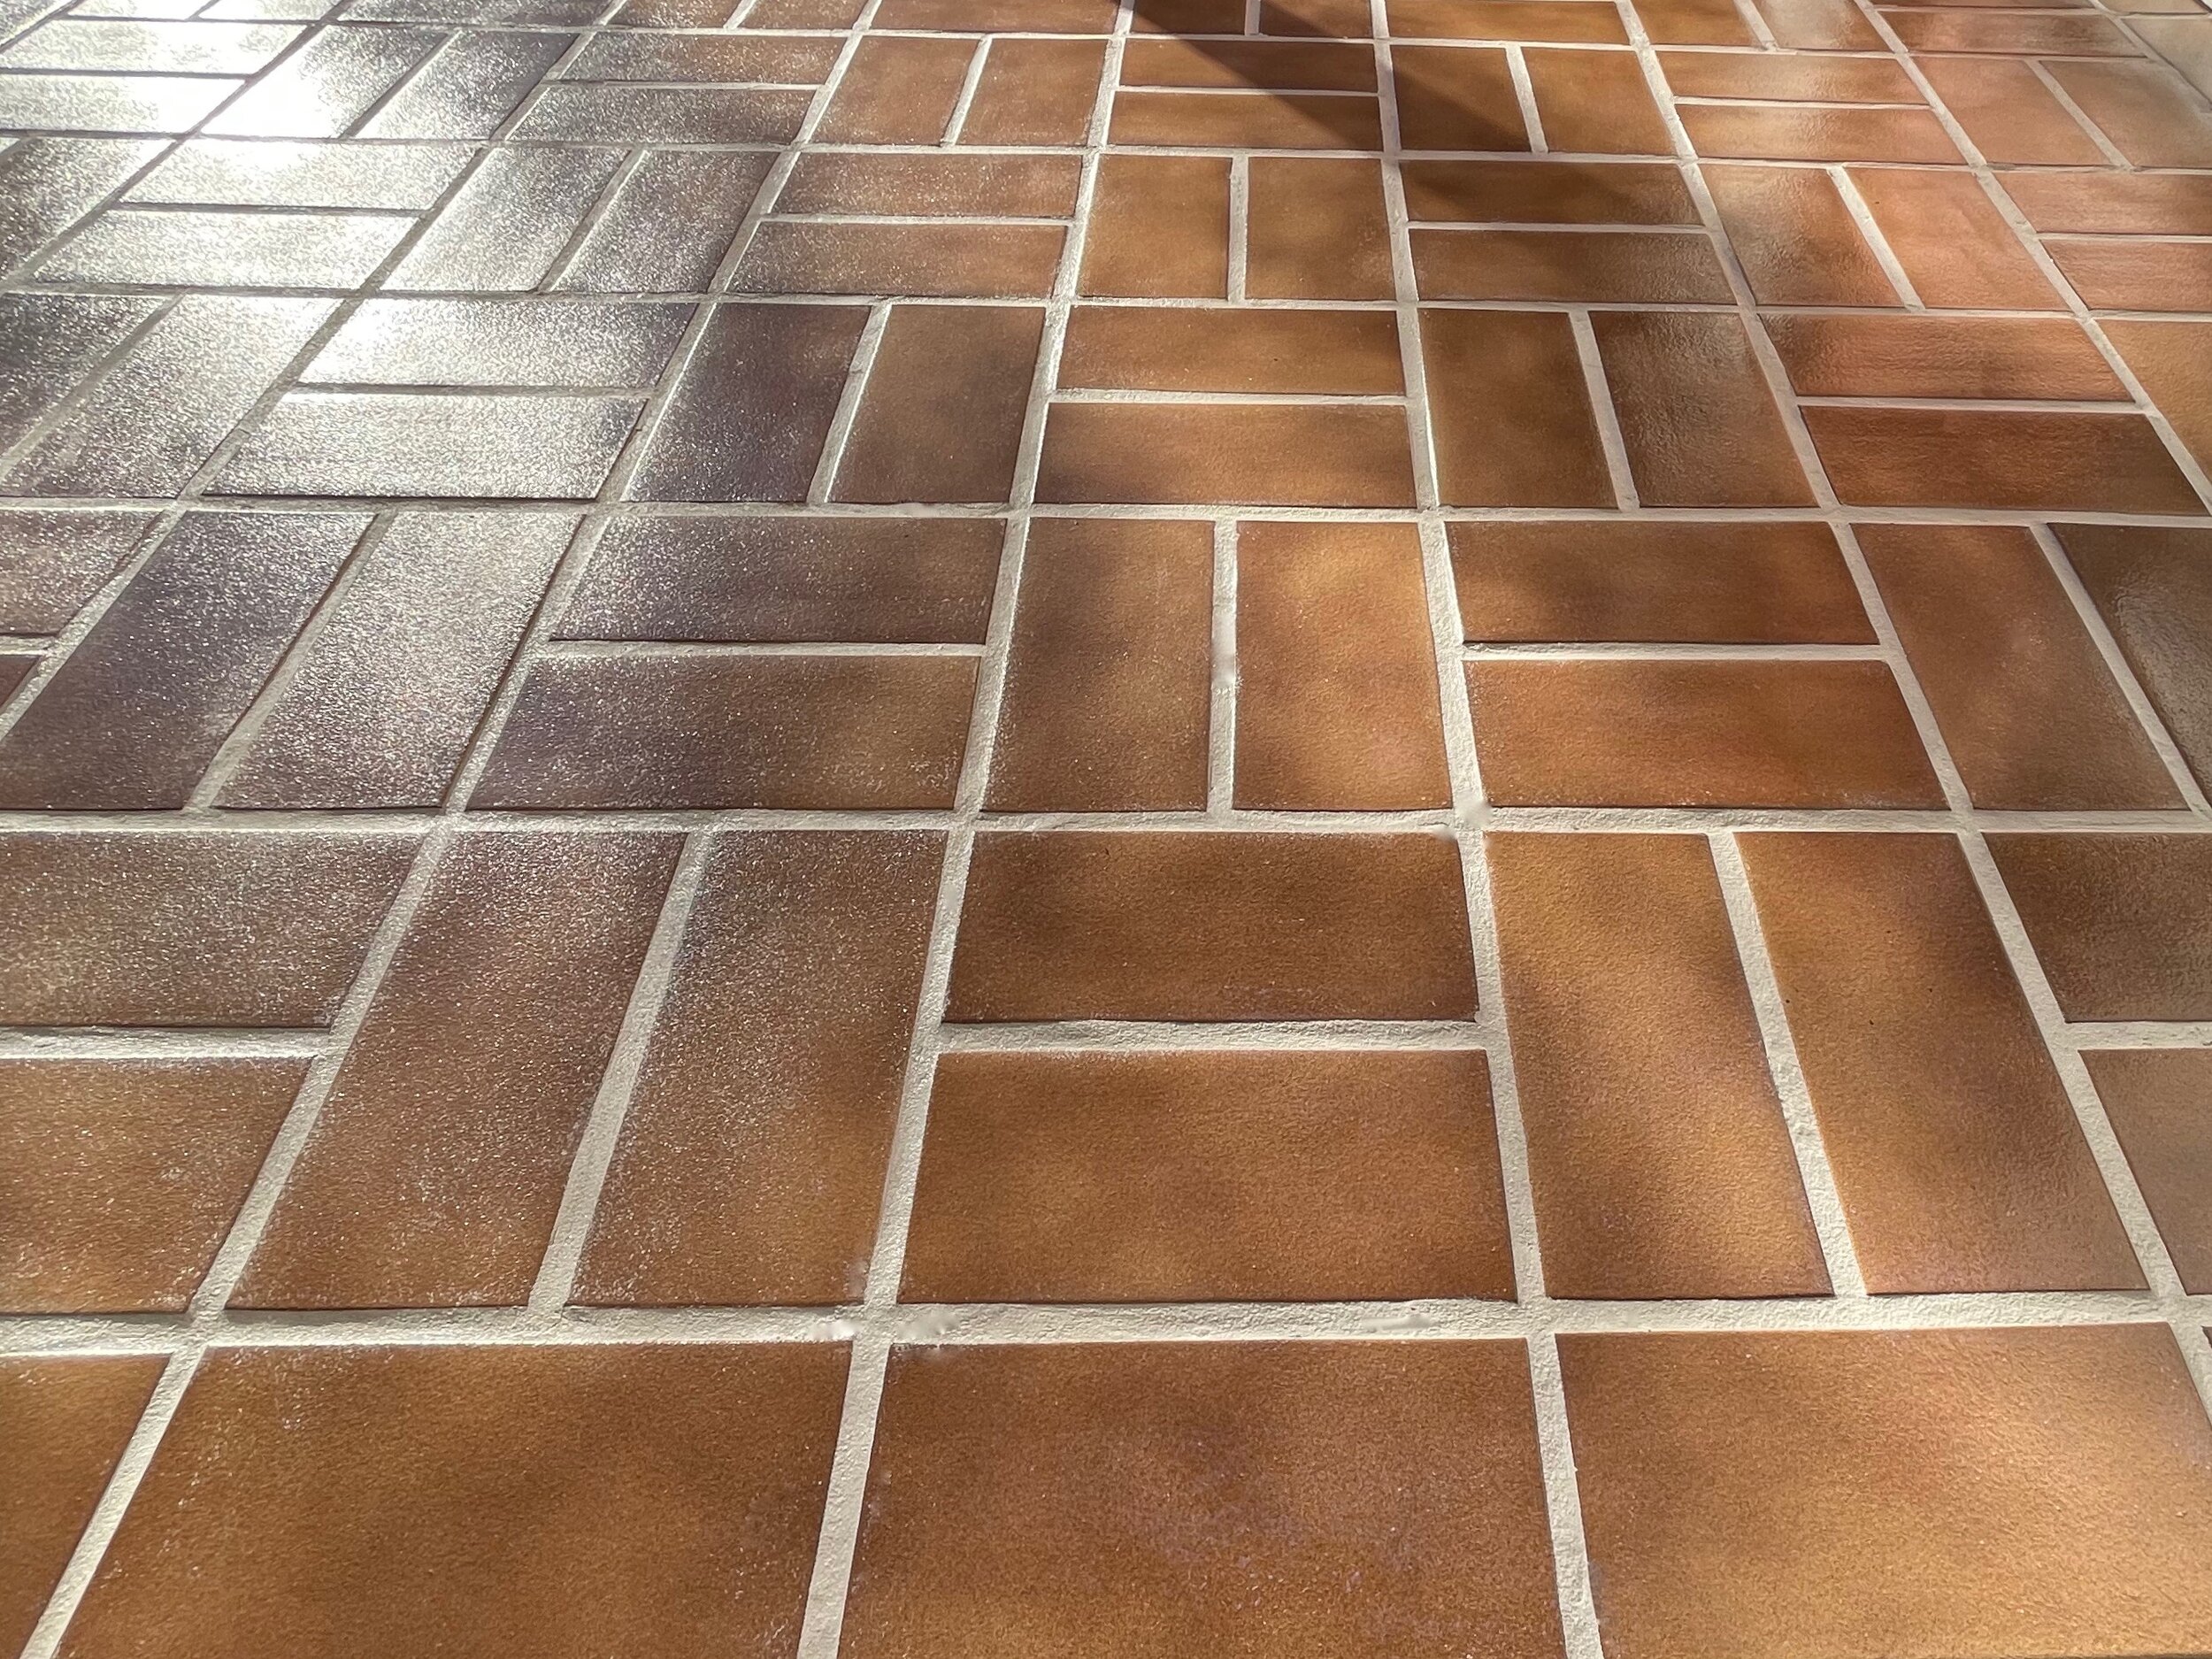
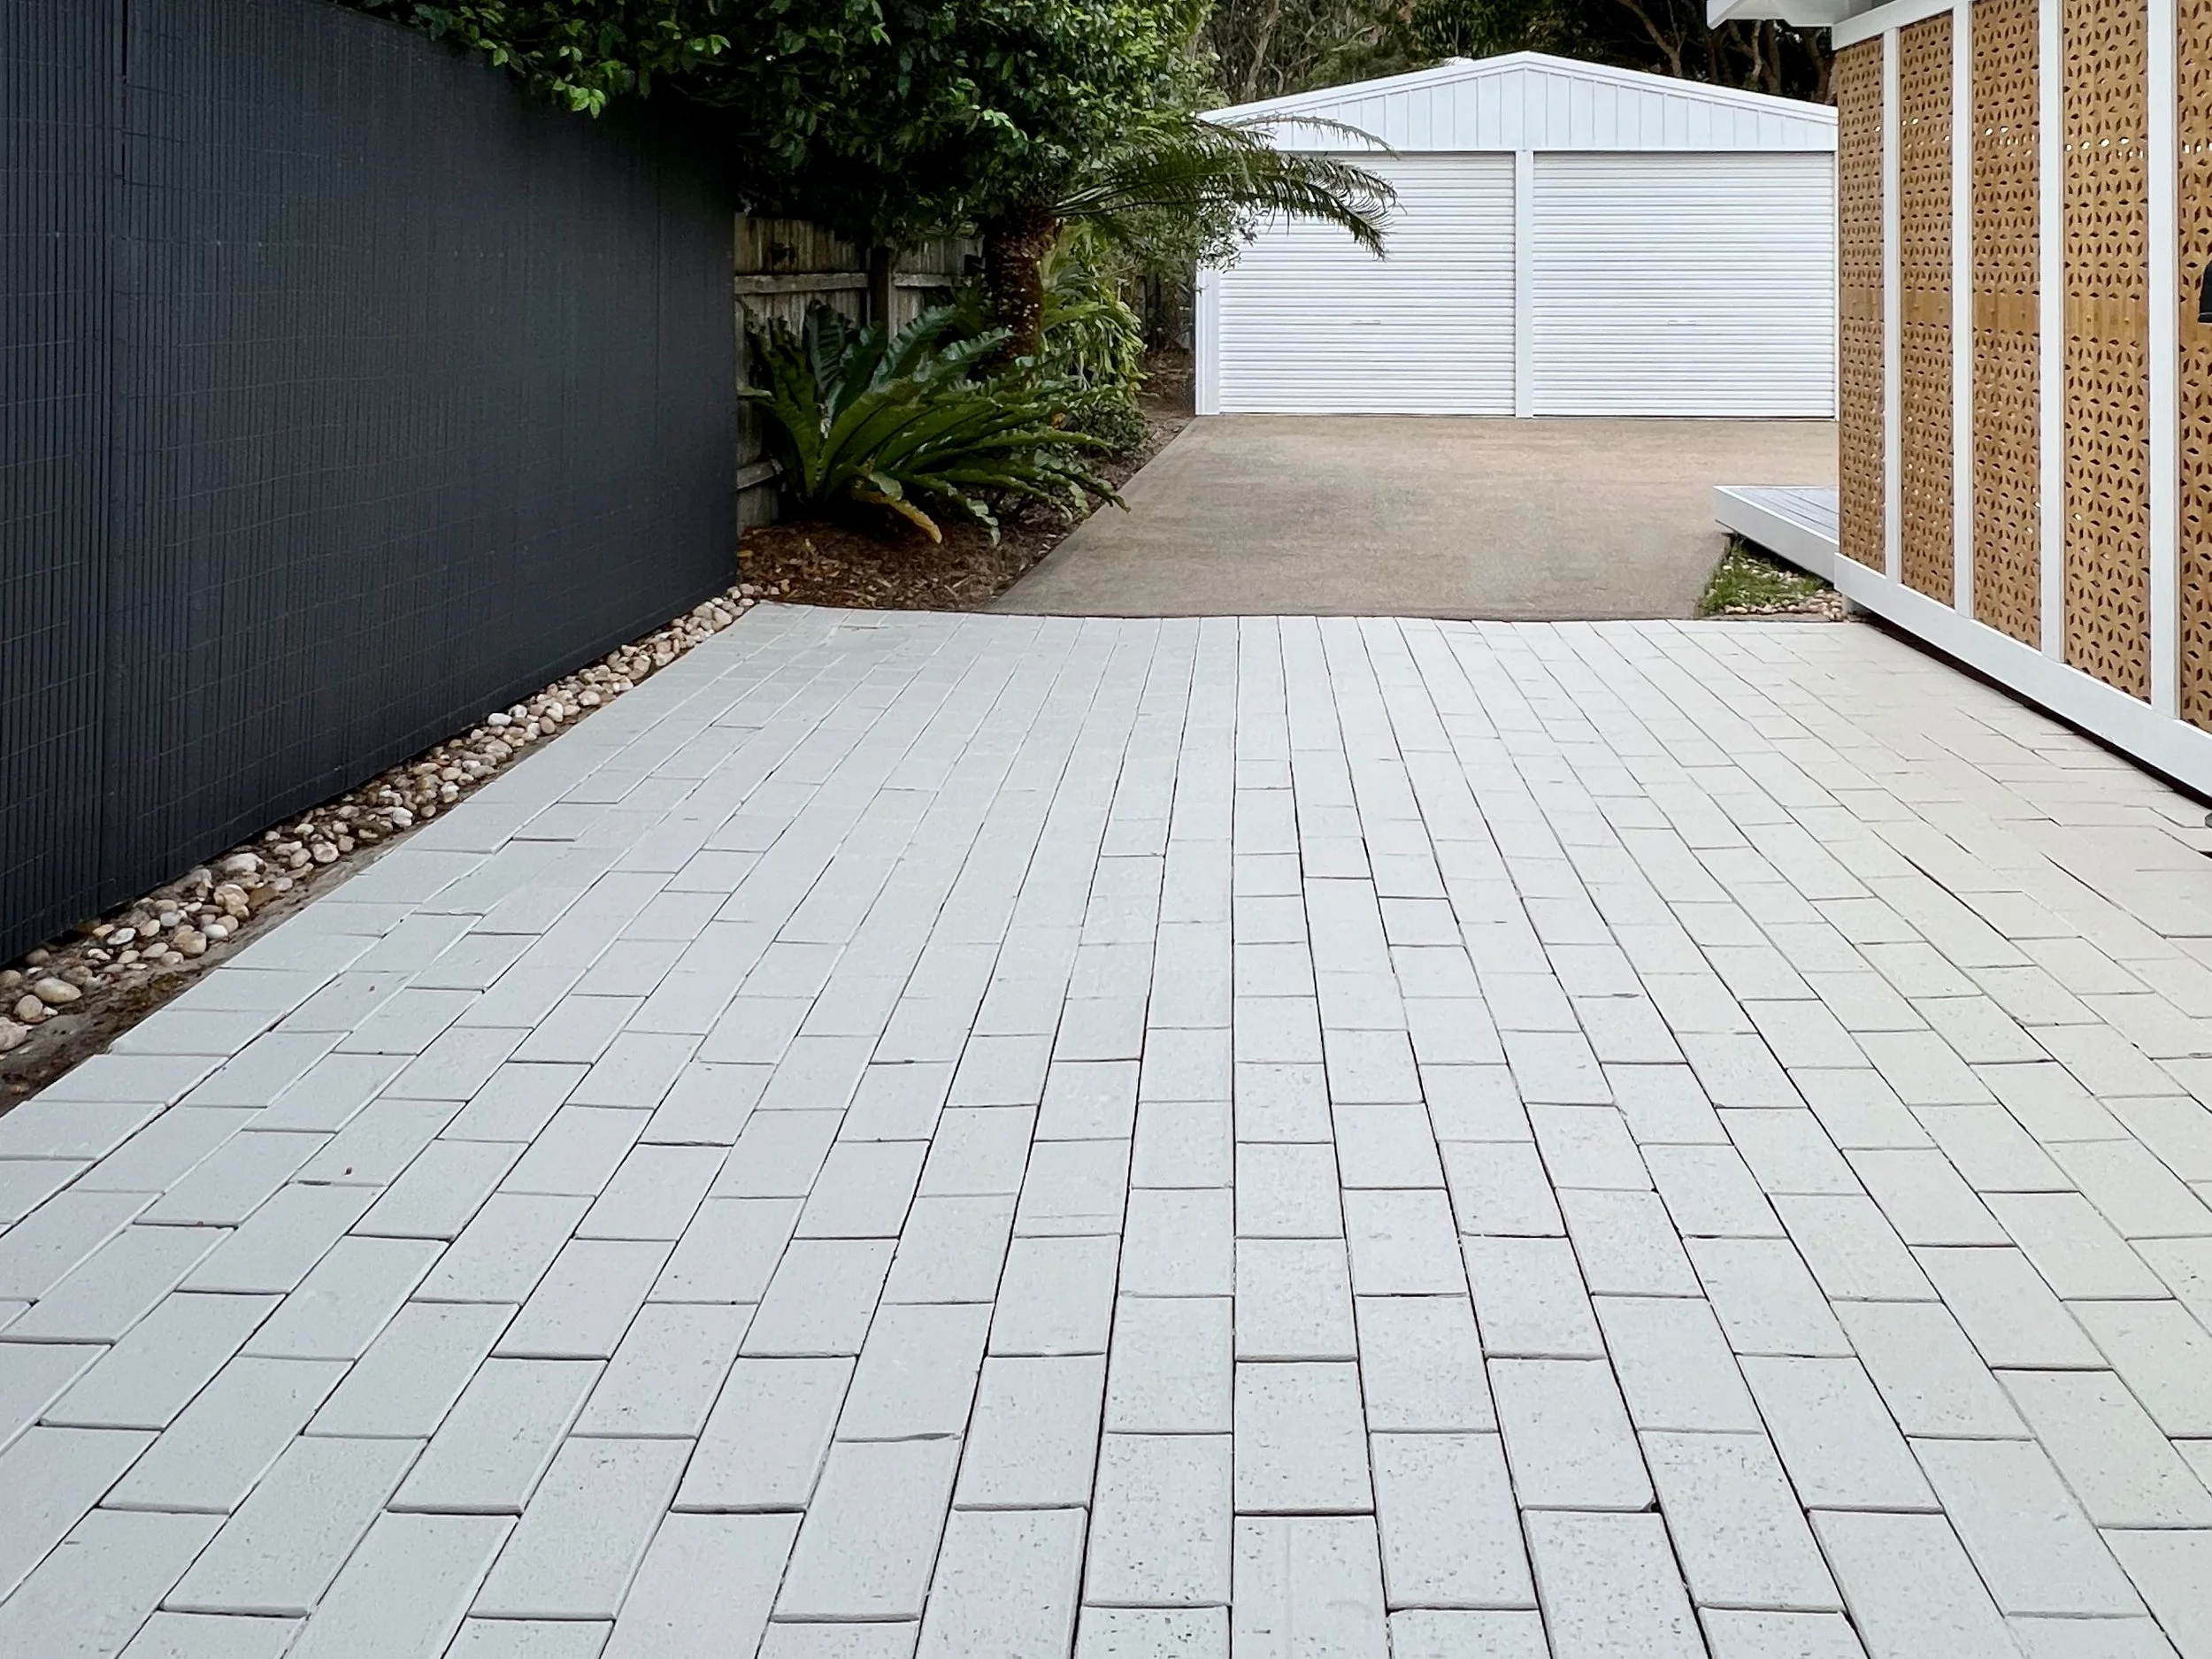
AFTER The entire surface took less than an hour to completely seal and dry with a lovely silky, non-slip feel.

Do you have tiles that need reviving? The trick is to seal the newly refreshed grout so it stays cleaner for longer.
Tag me on your project and follow more of my DIY journey on Instagram for tool tips, home improvement and simple building projects.