Retro Chair Makeover
Alun Machin

In every Aussie garage is an unloved chair and my favourite thing to do is to revamp them by putting a new spin on an old piece that has stood the test of time and proven itself to be sturdy, reliable and valued, even if some parts have been so loved they’re worn out.
Repurposing can be budget friendly, but it also equals bespoke. It’s satisfying to have one-of-a-kind furniture in your home that represents memories or inspires conversation.
It has a story to tell, making it unique and often worth repairing. And you can become a part of the story by restoring the value and purpose.

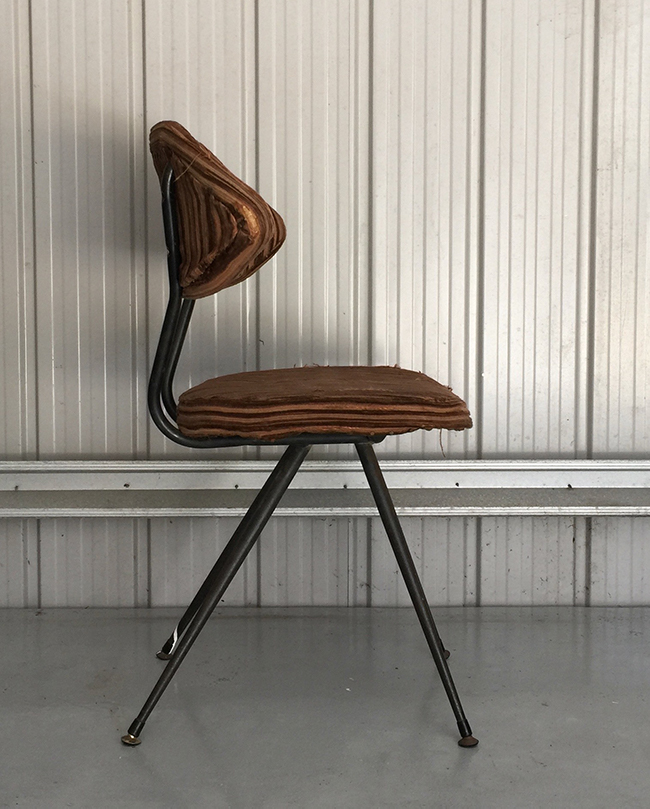
BEFORE This gorgeously shaped retro chair is a classic, but the brown velvet was worn and dated.

Under the seat was a face and some history where Gerard wrote his name and dated it 21-10-1972 so I’m guessing the velvet was upholstered then.
To reupholster a basic chair seat you need a heavy-weight fabric, wadding, foam, pliers, staple gun with staples no longer than the thickness of the base (usually 8-10mm), hammer, scissors and a screwdriver.

When removing the parts to be upholstered, keep the fasteners to re-attach later.
Under the original upholstery you may find the bent plywood has a lovely form and is just as comfortable without re-doing, so simply sand and stain for a professional finish.
The feet of vintage chairs tend to wear out so replace them with new rubber tips to add a modern twist while protecting your floors.

Step 1 Remove the upholstery
Use pliers to remove the tacks or staples, being careful not to damage the foam – if it’s in good condition, leave it attached.
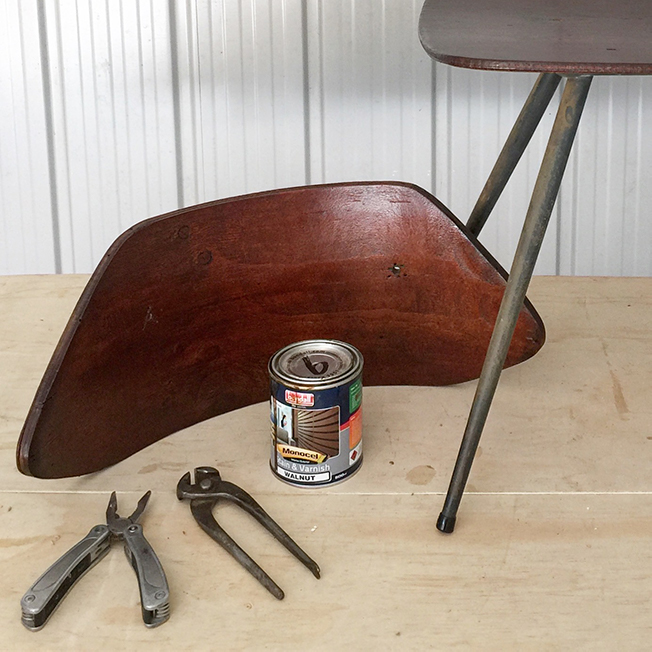
Step 2 SEAL RAW TIMBER
Sand any timber that will be left uncovered to remove splinters and then stain or varnish with two coats of Monocel Stain & Varnish in Walnut and leave to dry.

Step 3 ATTACH THE FOAM
Cut a piece of upholstery foam the same size and shape as the base and staple into the side of the foam to attach it around the base.

Step 4 POSITION THE WADDING
Centre the base face down, fold the wadding over to staple it at the centre. Pull the wadding taught on the opposite side and staple, working around the base. Trim the wadding with scissors about 10mm from the staples.
TIP Always position the staple gun to sit flat on the surface to shoot.
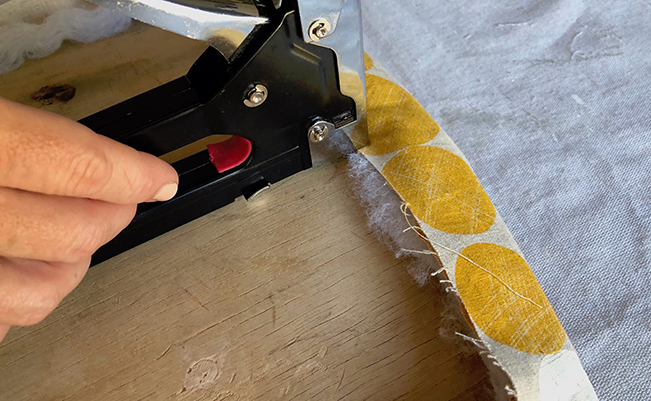
Step 5 ADD THE FABRIC
Centre the pattern on the seat, flip it over then fold the fabric over to staple. On the opposite side, pull the cloth tight to staple and continue from the centre of opposing sides, working around the base, pulling the fabric to remove creases.
TIP Be prepared to remove the odd staple with a screwdriver and reposition the fabric to ensure the pattern remains straight.

Step 6 FINISH UNDERNEATH
Trim the excess with scissors then cover with a piece of calico, folding the edges under to prevent fraying before stapling.

Step 7 ATTACH THE SEAT AND BACK
Using the the original fasteners, reposition the seat and the back, making sure all the screws and bolts are tight and the chair is safe to sit on.
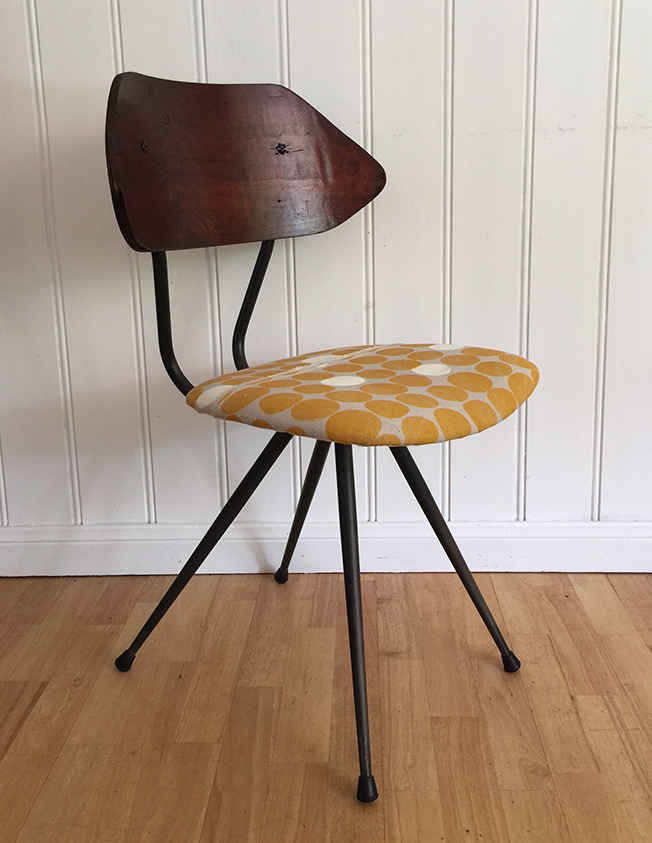
AFTER The mid-century chair is finished in a walnut stain and varnish, the seat reupholstered in Cloth Fabric and finished with new rubber feet.